Page Navigation
How to Add, Update and Delete Product Sub Category
This document provides a complete, end-to-end walkthrough for managing product subcategories in the backend dashboard — including adding, editing, deleting, bulk deleting, restoring, and permanently deleting subcategories.
Overview
By following this document, you will be able to:
- Add a new product subcategory
- Customize subcategory colors and display settings
- Use solid or gradient color modes
- Map subcategories to main product categories
- Edit existing subcategories
- delete or bulk delete subcategories
- Restore deleted subcategories from Trash
- Permanently delete subcategories when required
Add a New Product Subcategory
Follow these steps to create a new product subcategory.
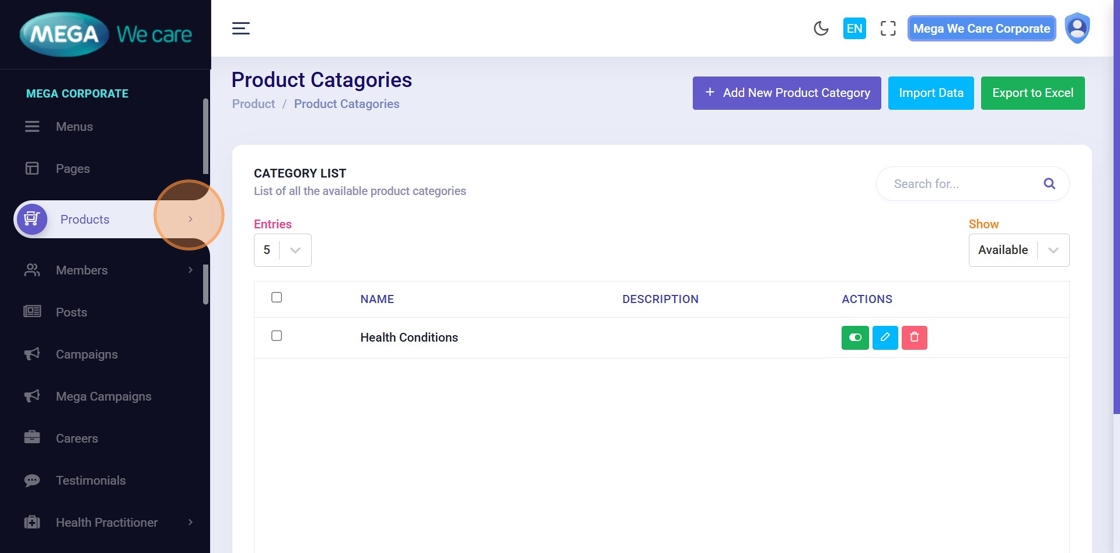
Step 1: Open the Products Menu
From the backend dashboard, click on the Products tab.
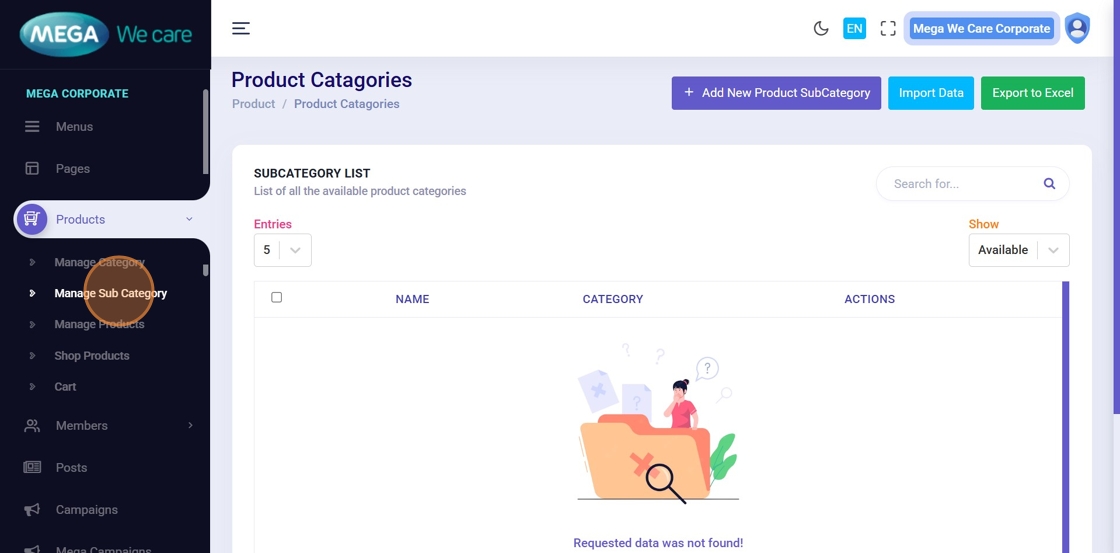
Step 2: Open Manage Sub Category
Under the Products menu, click Manage Sub Category. This opens the Product Subcategory listing page.
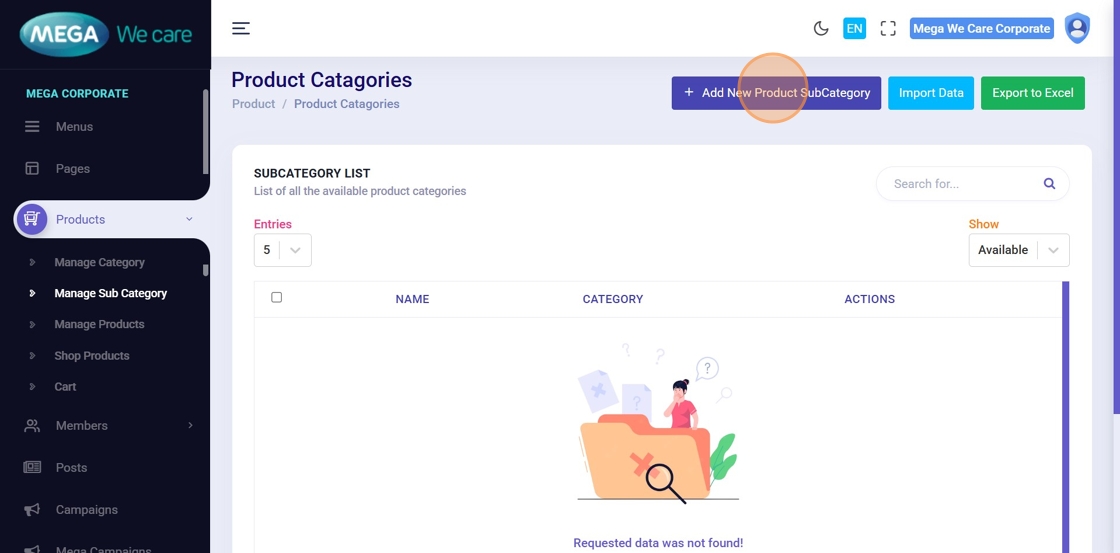
Step 3: Add a New Product Subcategory
Click Add New Product Sub Category to open the creation popup.
Step 4: Enter Subcategory Details
In the popup, fill in the required fields, including:
- Subcategory Name
- Background Color
- Category Title Color
- Display-related settings
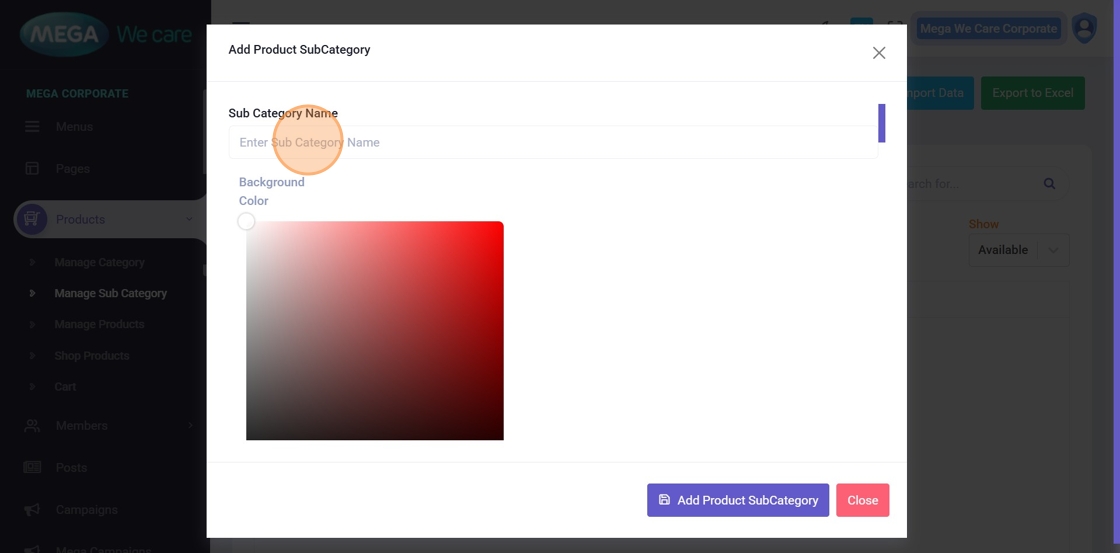
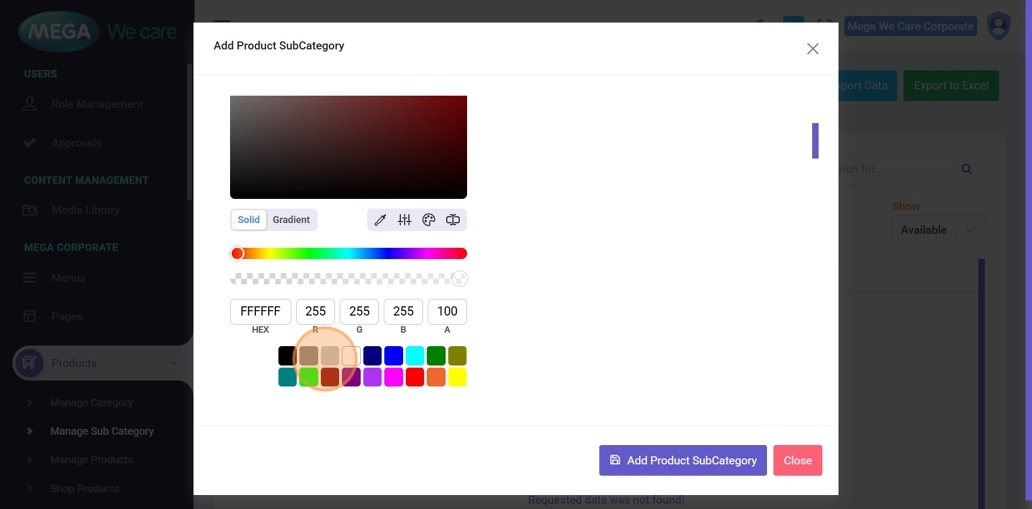
Step 5: Choose Color Style (Solid or Gradient)
Use the color picker to customize the appearance:
- Solid Color – single color background
- Gradient Mode – enables gradient color combinations
Select the option that best matches your brand or UI design.
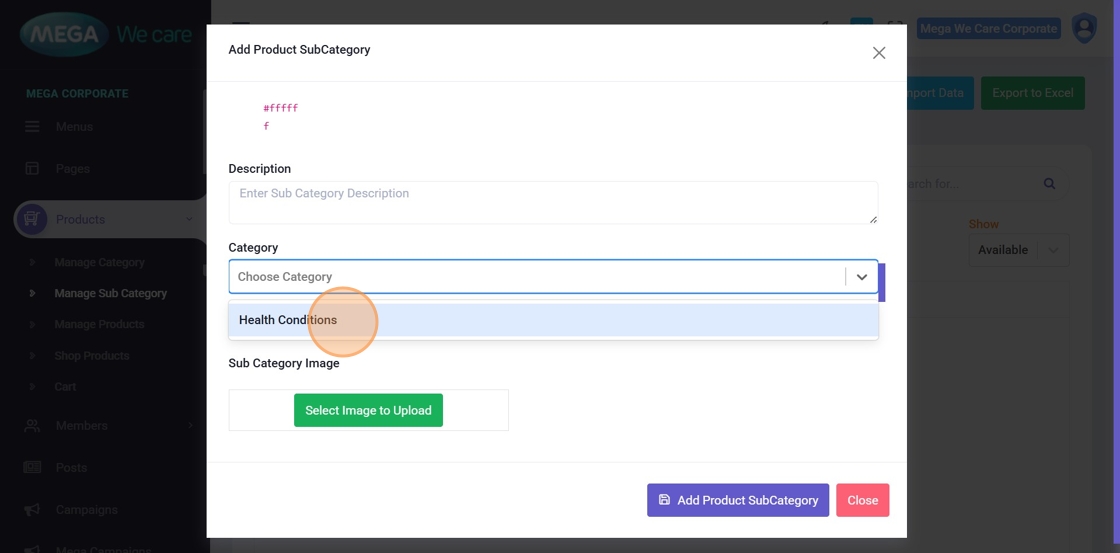
Step 6: Map Subcategory to a Main Category
If the subcategory belongs to an existing main category, select it from the Category dropdown. If it does not require mapping, you may leave this field blank.
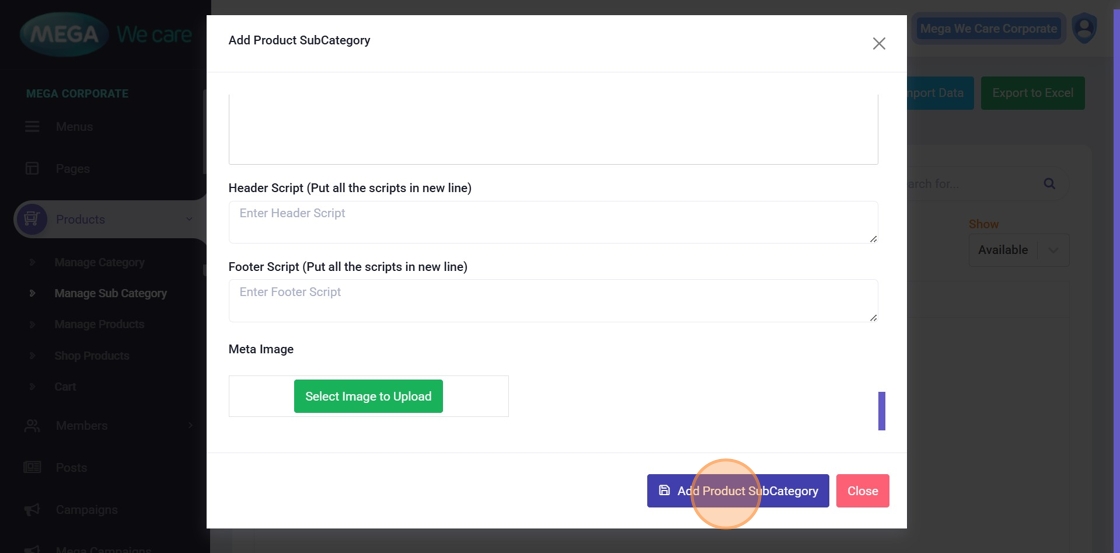
Step 7: Save the Subcategory
💾 After completing all required details, click Add Product Sub Category to create the subcategory.
Edit an Existing Product Subcategory
Use these steps to update subcategory details whenever changes are needed.
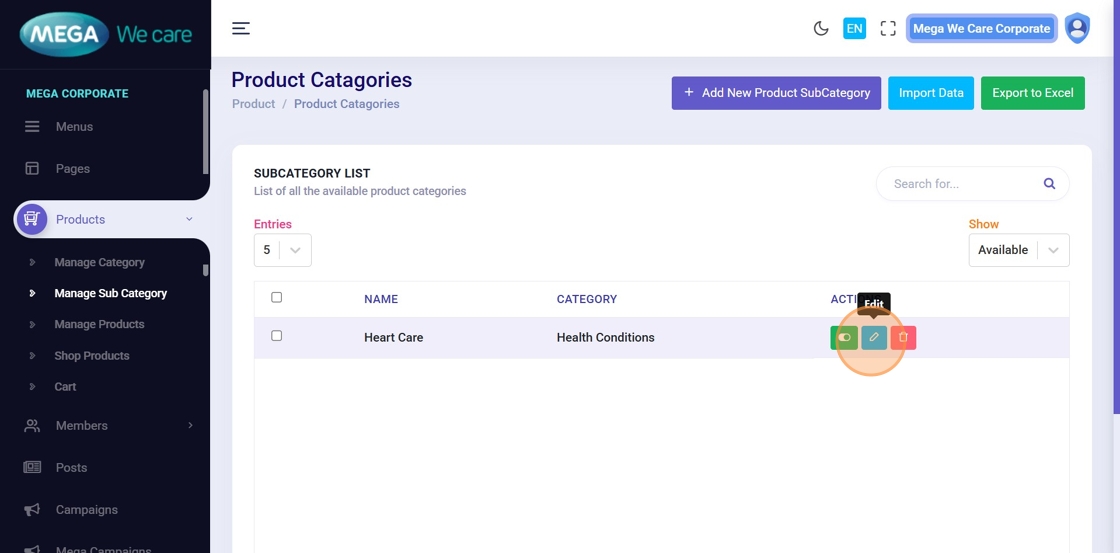
Step 8: Click the Edit Icon
Locate the subcategory in the list and click the Edit icon.
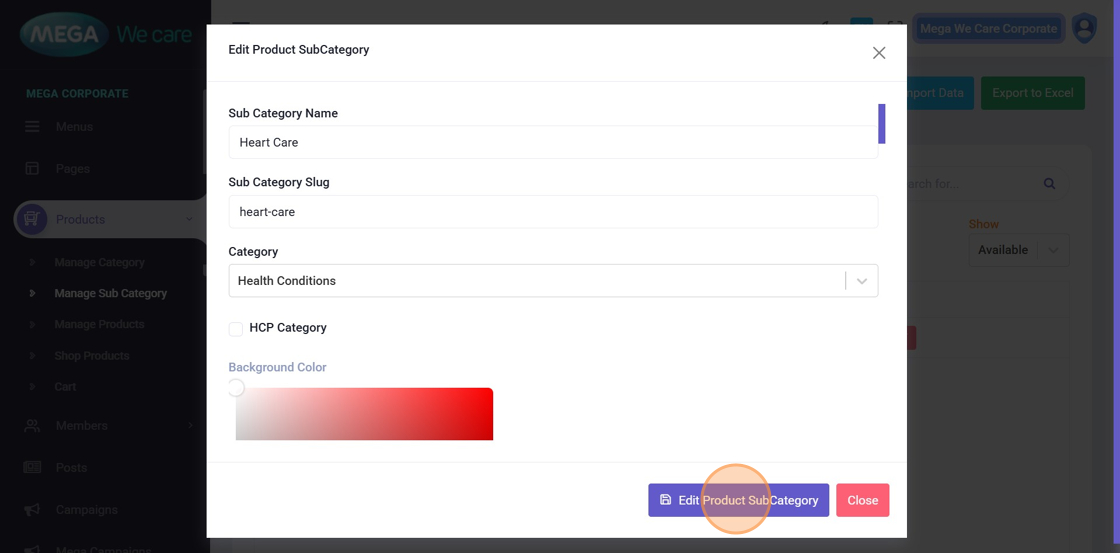
Step 9: Update Subcategory Information
In the edit popup, you can modify:
- Subcategory Name
- Background and Title Colors
- Category Mapping
- Display and visual settings
Once updated, click Edit Product Sub Category to save the changes.
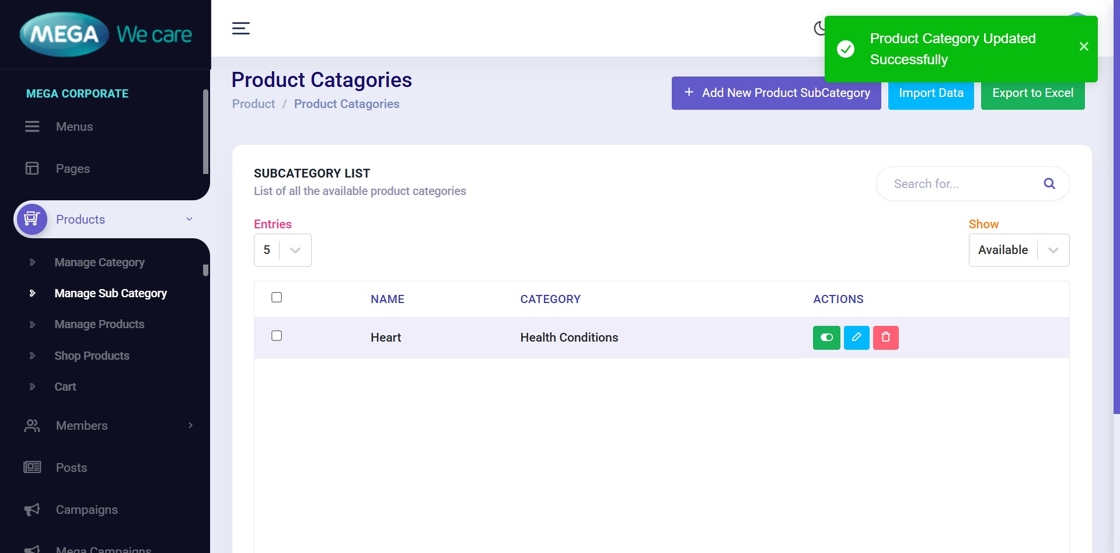
Step 10: Confirm Successful Update
After saving, A confirmation message is displayed and you will be redirected back to the Manage Product Sub Categories page
This confirms that the changes have been applied successfully.
Delete, Restore, or Permanently Remove Subcategories
This section explains how to remove subcategories without accidental data loss.
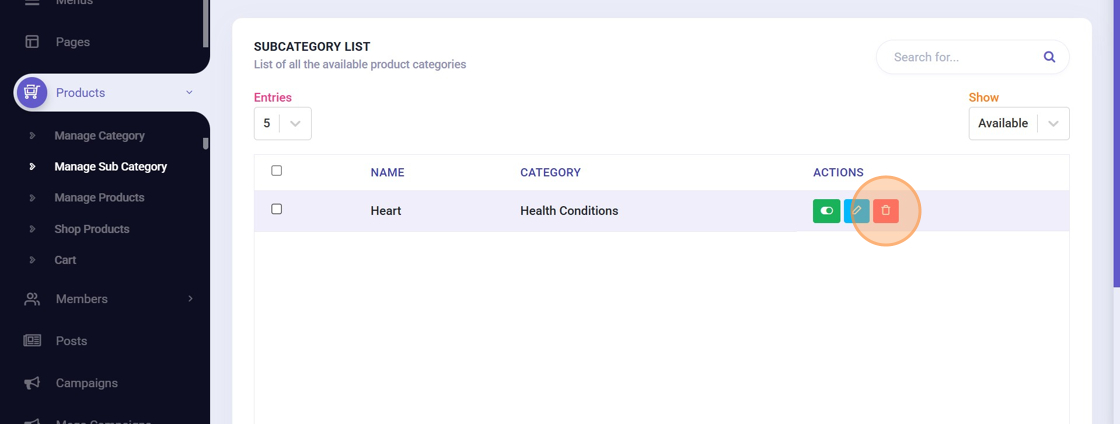
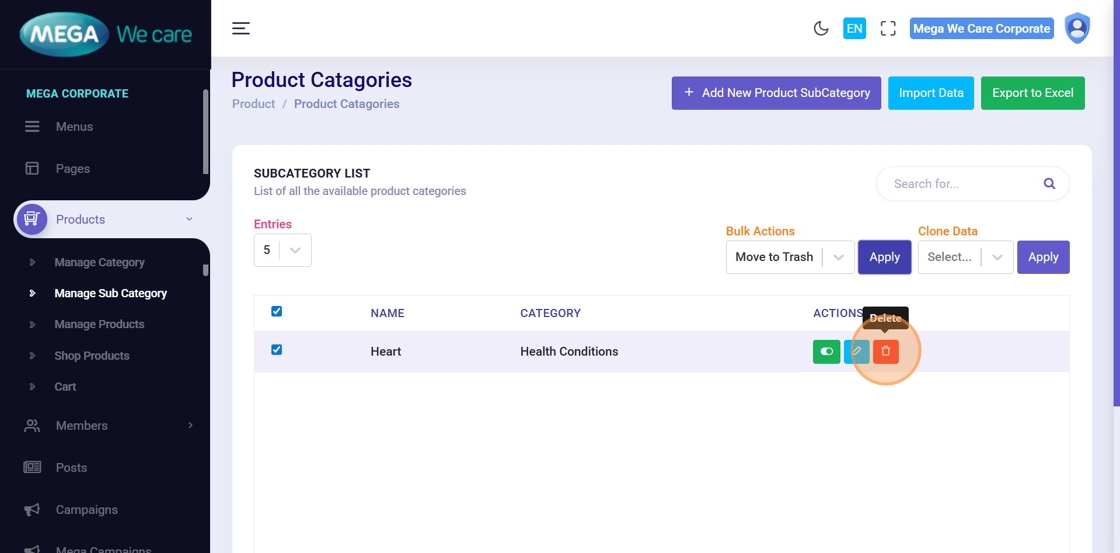
Step 11: Delete a Subcategory
Click the Delete icon next to a subcategory. The item is moved to Trash and it is retained for 30 days, during which it can be restored.
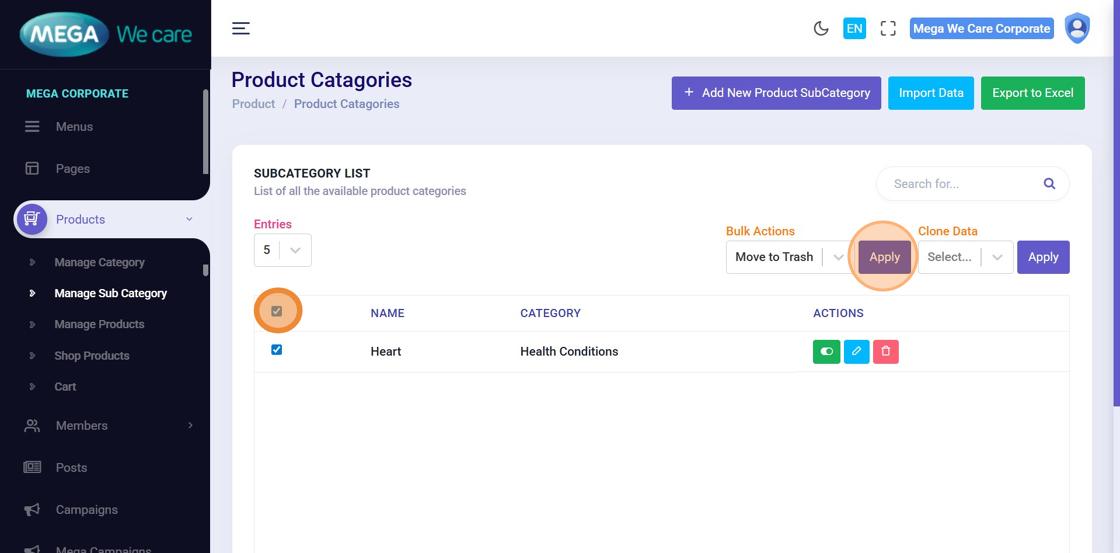
Step 12: Bulk Delete Multiple Subcategories
To delete multiple subcategories at once:
- Select the checkboxes for the required items
- Choose Move to Trash from the dropdown
- Click Apply
All selected subcategories will be moved to Trash.
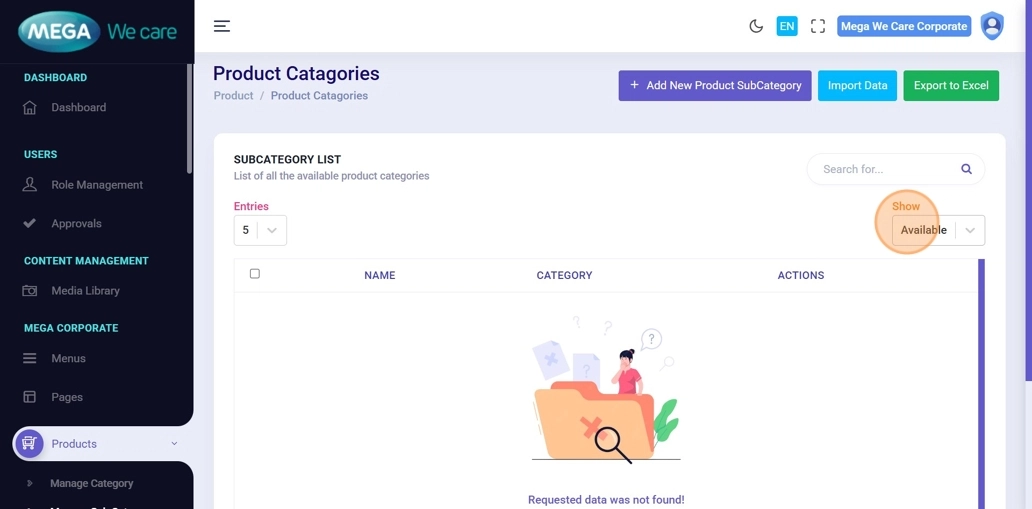
Step 13: View Trashed Subcategories
Change the status dropdown from Available to Trash to view all deleted subcategories. From here, you can restore or permanently delete items.
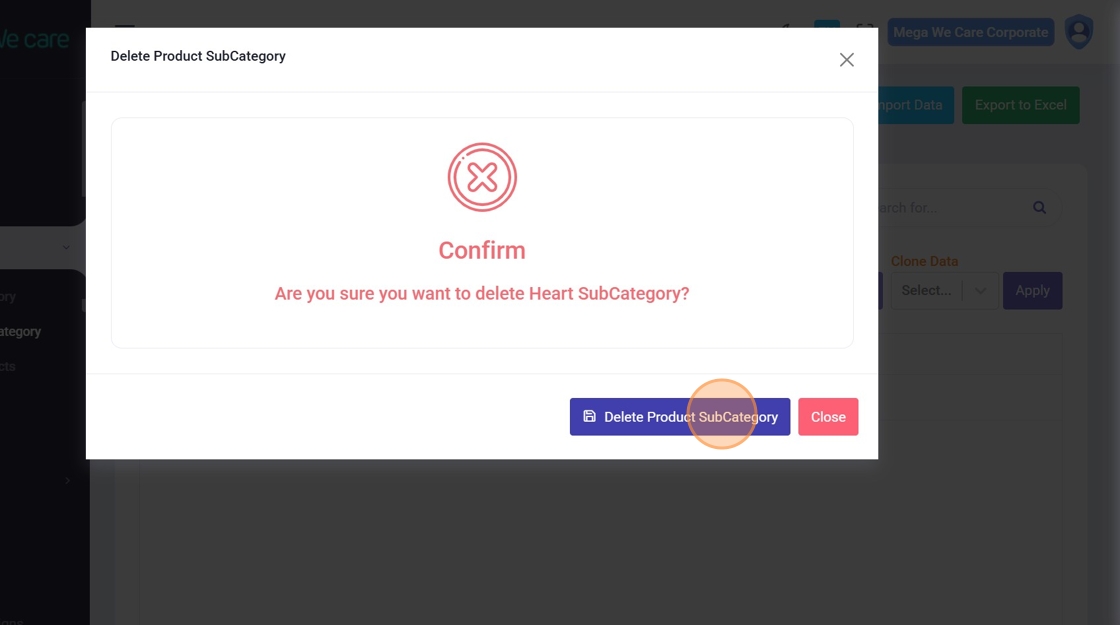
Step 14: Permanently Delete a Subcategory
While in the Trash view, click the Delete icon for the subcategory you want to remove permanently. A confirmation popup will appear.
Step 15: Confirm Permanent Deletion
Click Delete Product Sub Category to permanently remove the subcategory. This action cannot be undone.
Important Notes
- To map a category to this subcategory, select the required option from the Category dropdown. Otherwise, keep it blank.
- If you want to include this sub category in the HCP section, select the HCP Category checkbox. Otherwise, keep this option unchecked.
Summary
By following all the steps, you can create customized product subcategories, link them to main product categories, update subcategory details at any time, delete or bulk delete items, restore them within 30 days, and permanently delete them when they are no longer needed.