Page Navigation
How to Add, Update and Delete GHBY Sub Category
The GHBY Sub Category module allows users to create detailed sub categories under main categories, update their content, and remove them when needed. These sub categories help organize GHBY content more efficiently and improve the overall user navigation experience.
Overview
Using this document, you will learn how to:
- Navigate to the GHBY Sub Category section
- Create new sub categories with descriptions, colors, SEO details, images, and FAQs
- Update any existing sub category including its title, slug, colors, FAQs, and images
- Delete a sub category safely using the built-in delete action
- Confirm every operation through system success messages
This ensures your GHBY content remains structured, updated, and easy to manage at all times.
Add a New GHBY Sub Category
1. Open Admin Dashboard
Start by accessing the main dashboard.

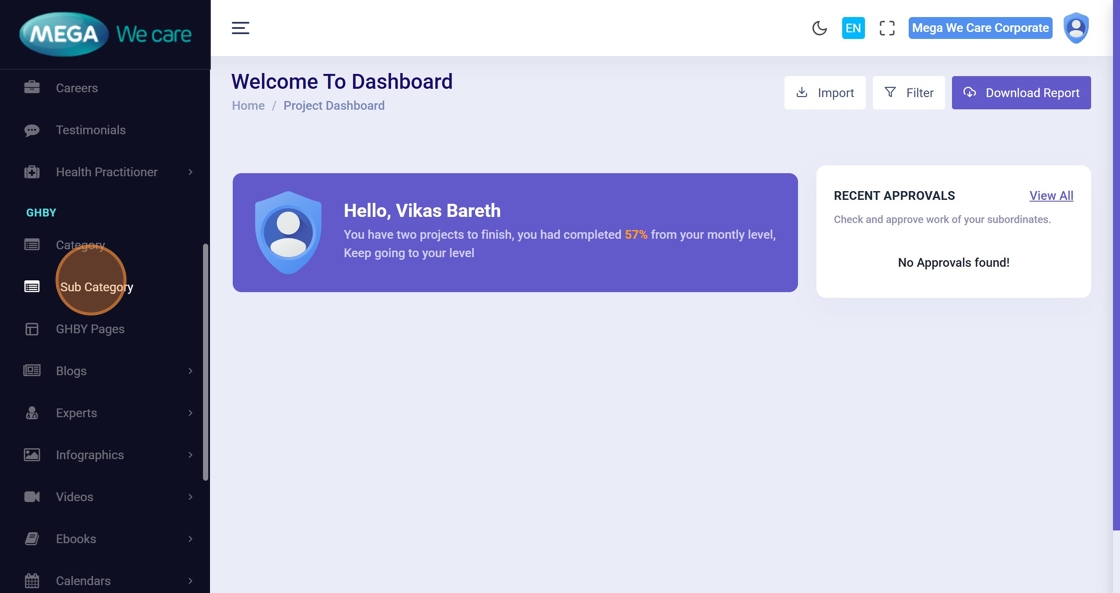
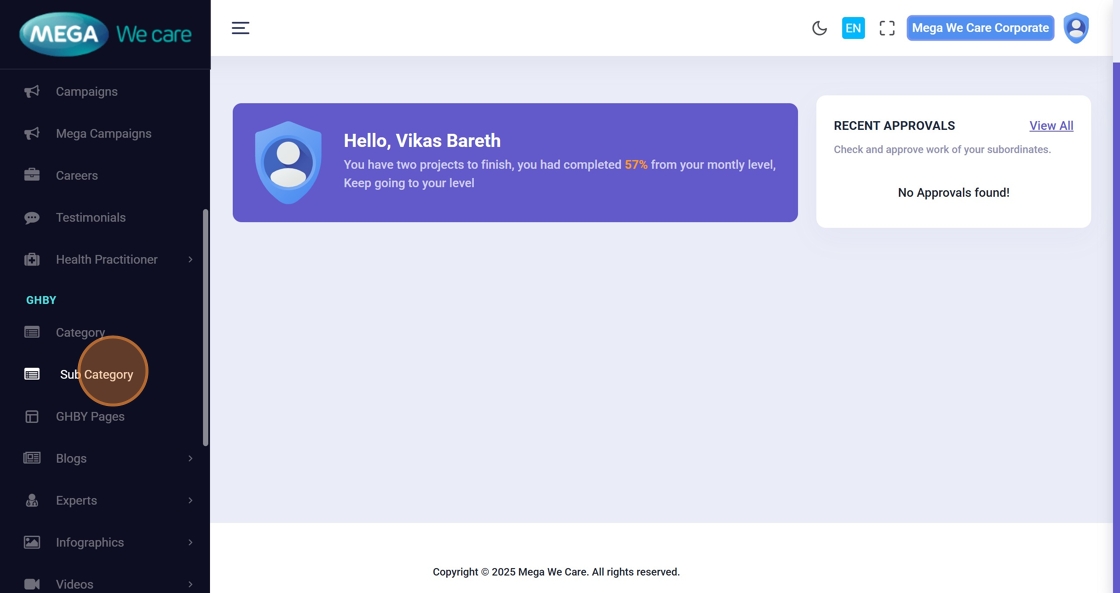
2. Click “Sub Category”
Open the Sub Category management panel from the left sidebar.
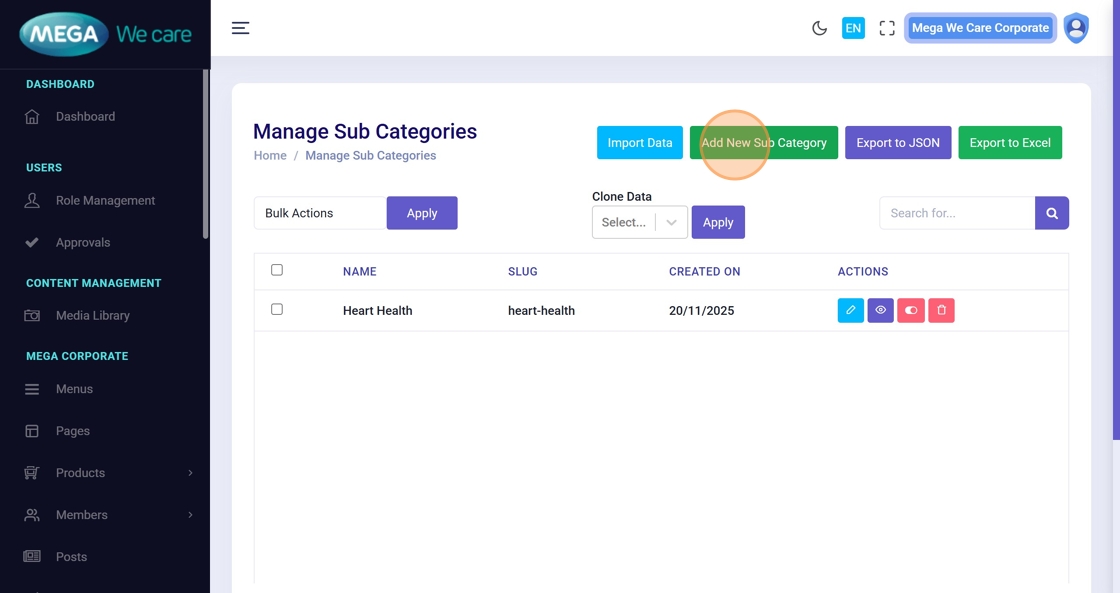
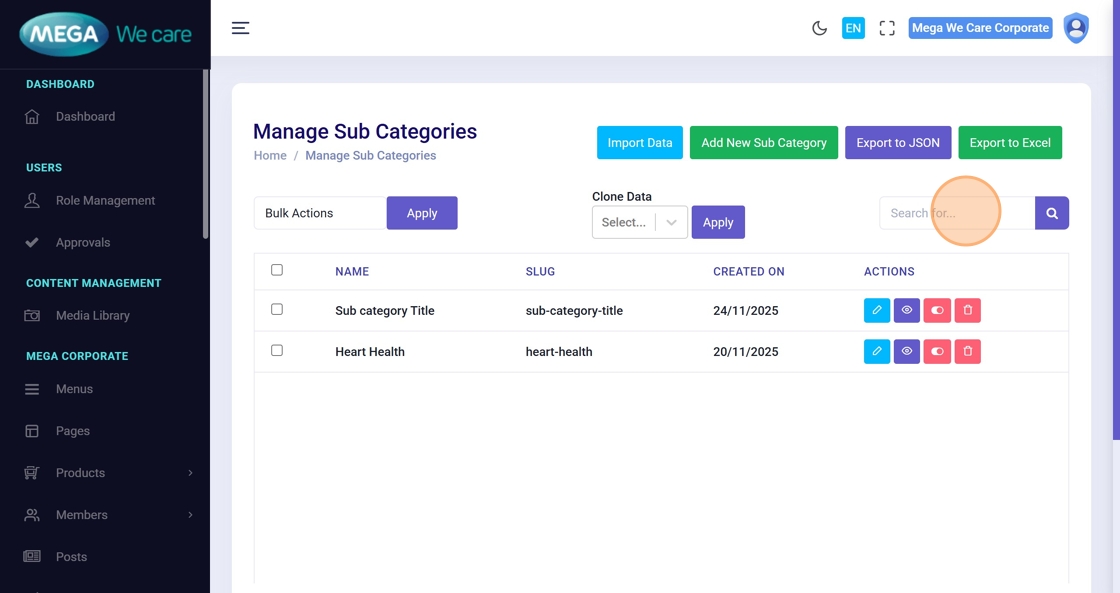
3. Click “Add New Sub Category”
This opens the creation form.
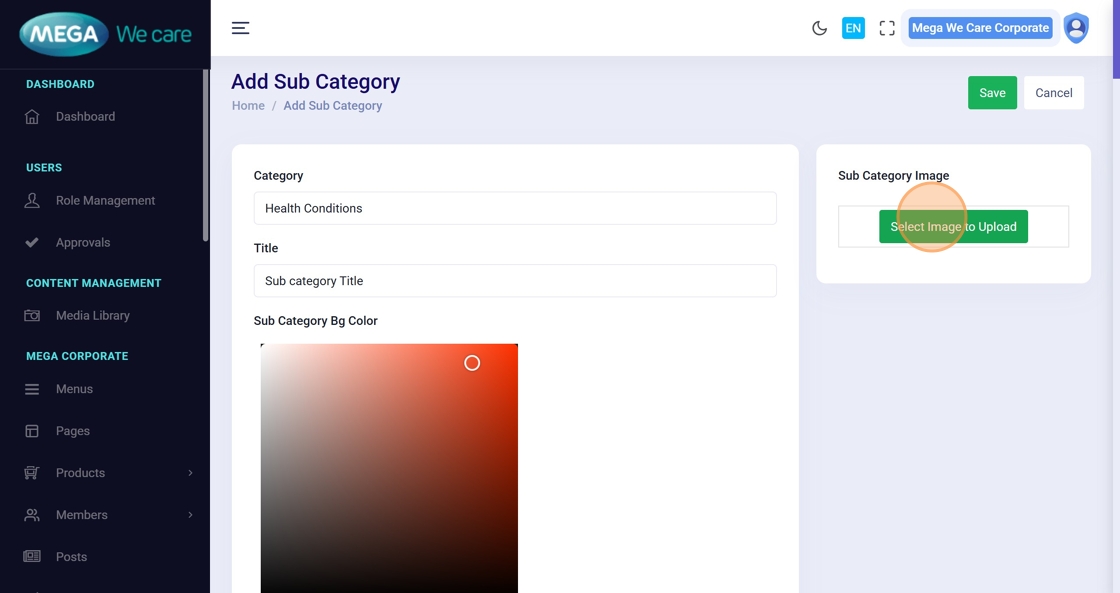
4. Select Main Category
Choose the category under which the sub category will be created.
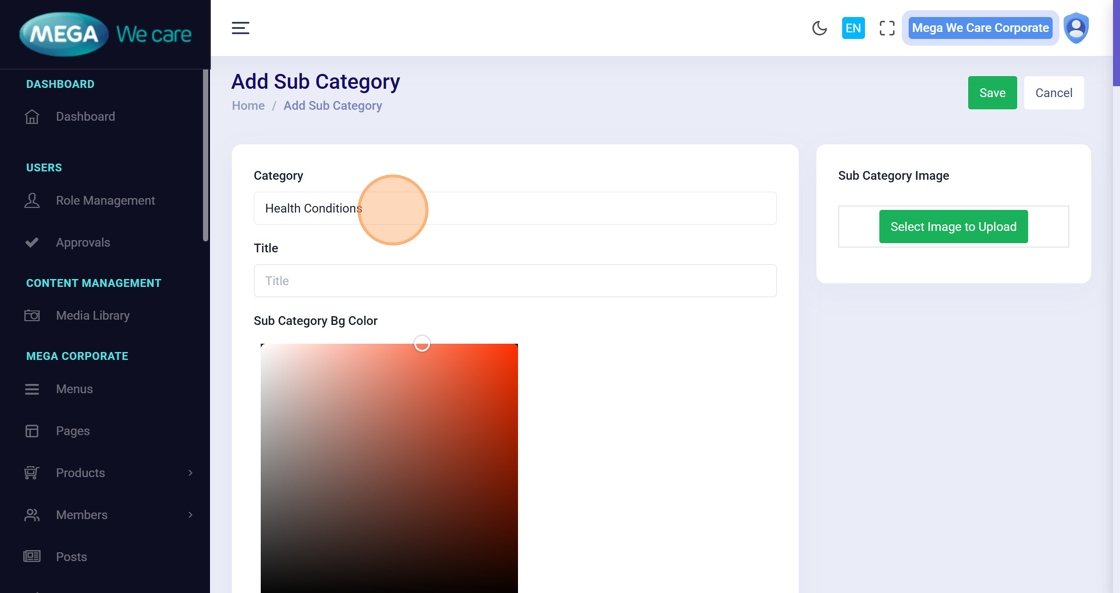
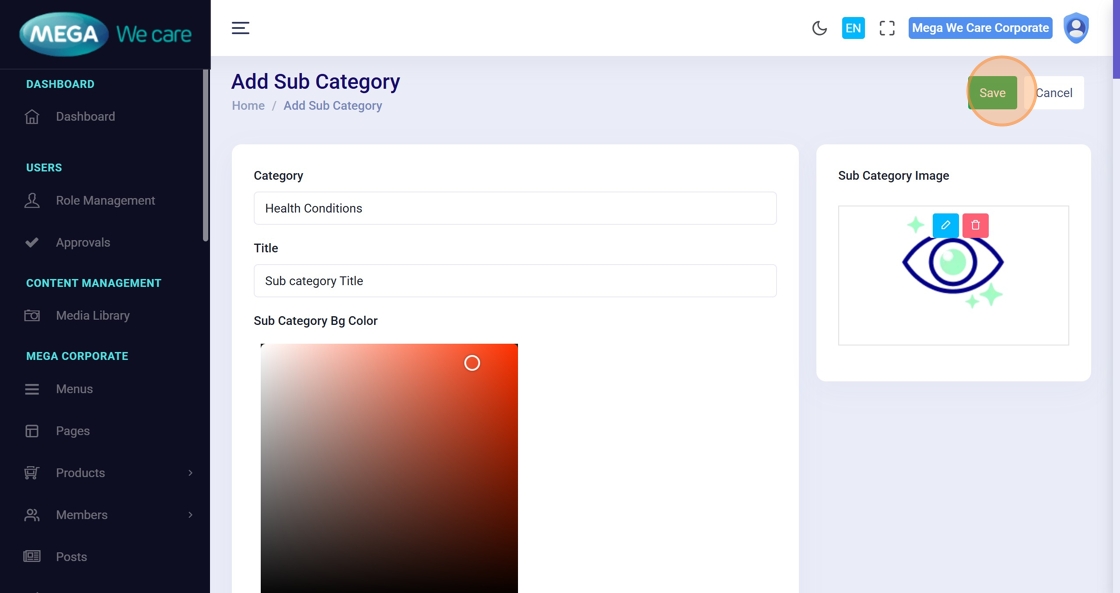
5. Enter Sub Category Title
Type the sub category name.

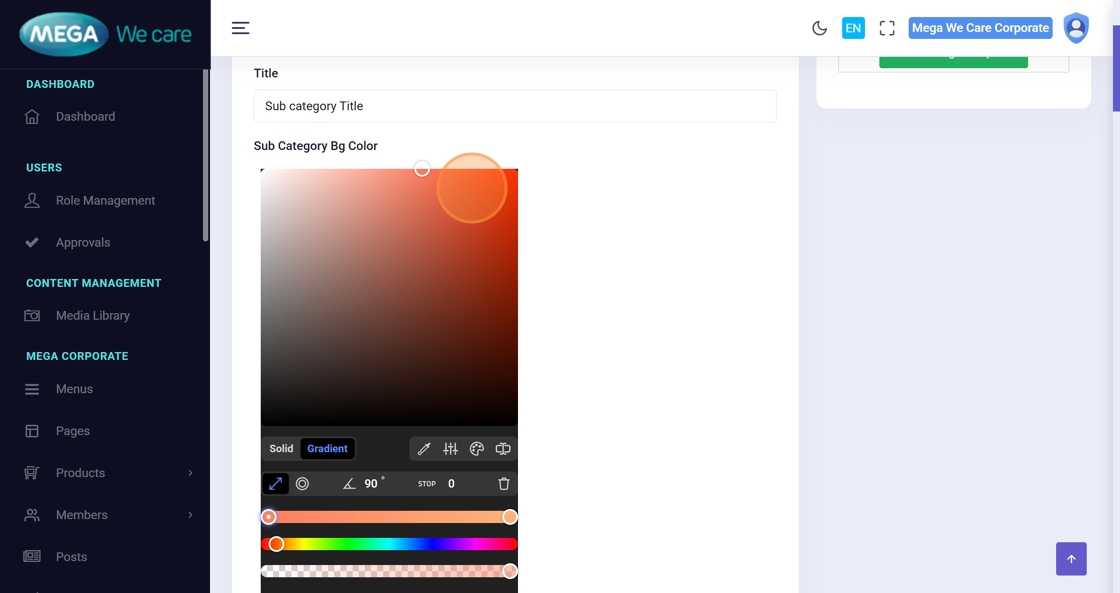
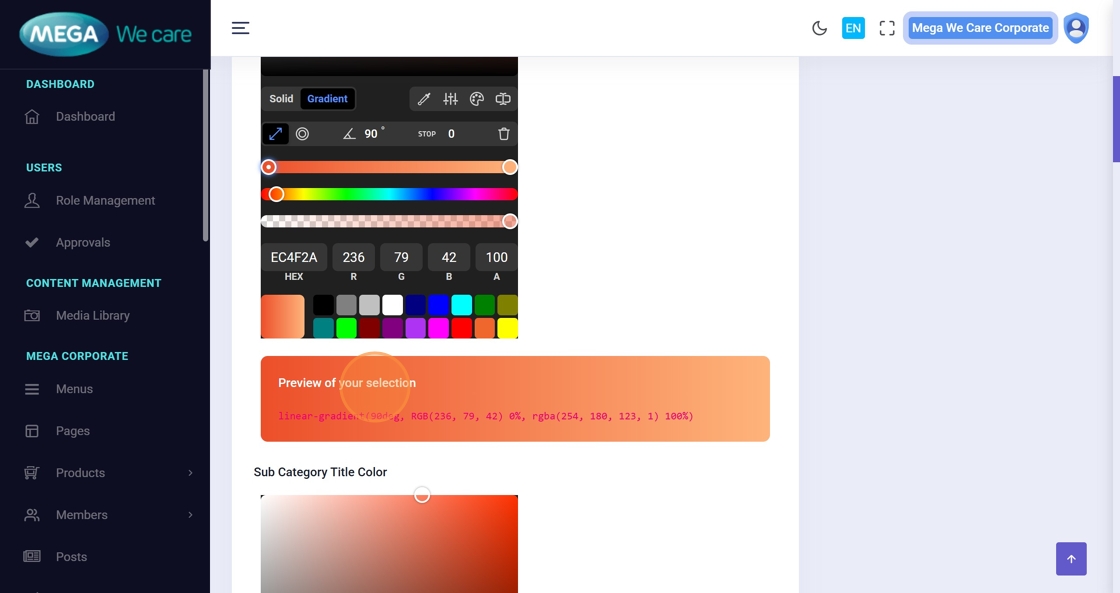
6–7. Choose Colors
Use the color picker to set background and title colors, and review the live preview.
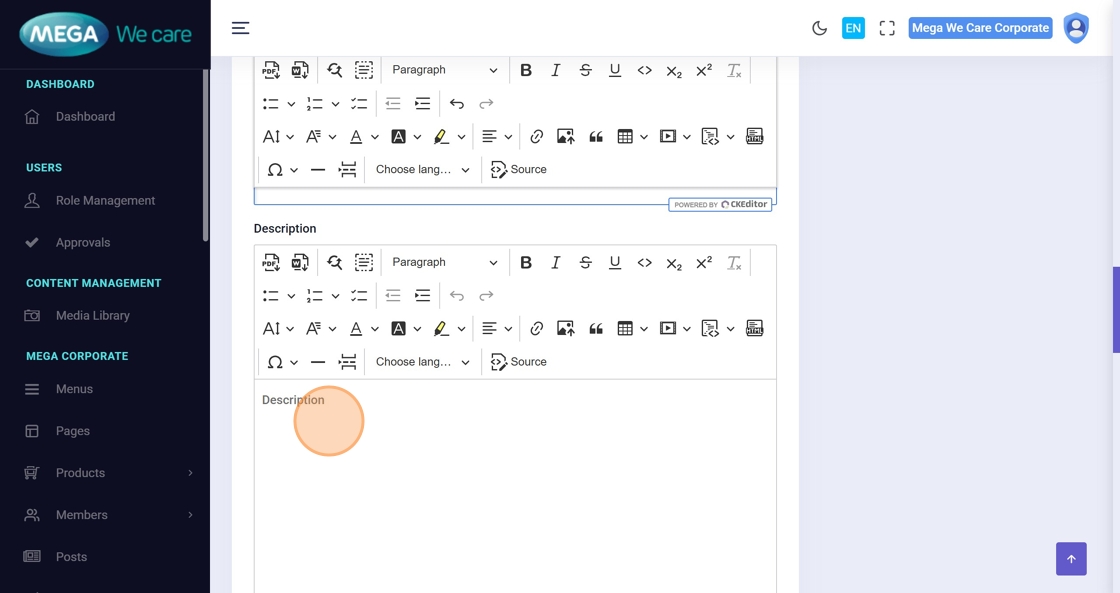
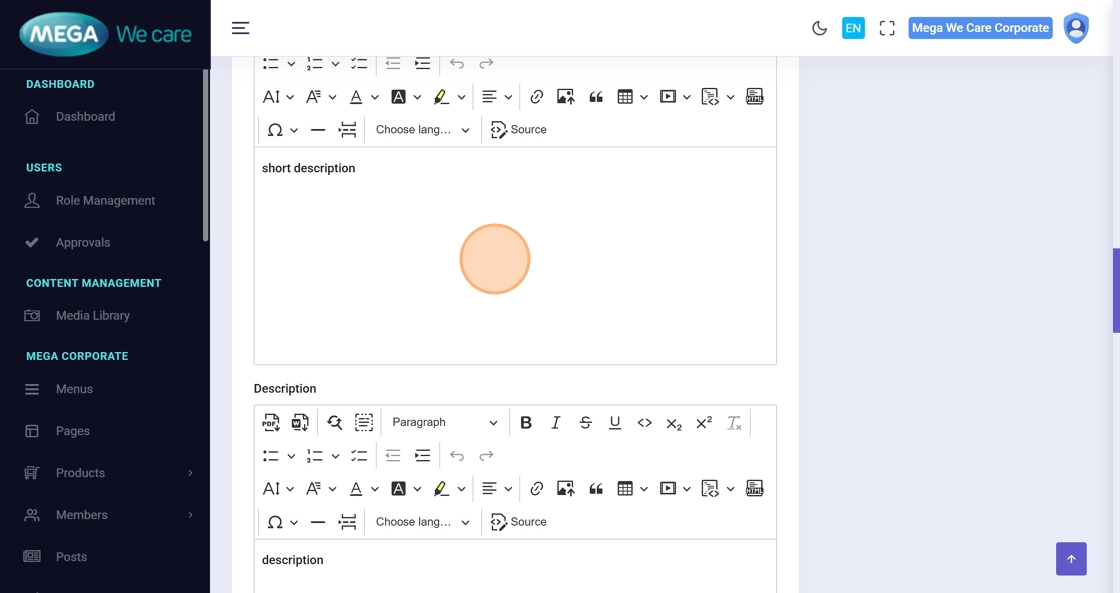
8–9. Add Descriptions
Enter:
- Short Description
- Full Description

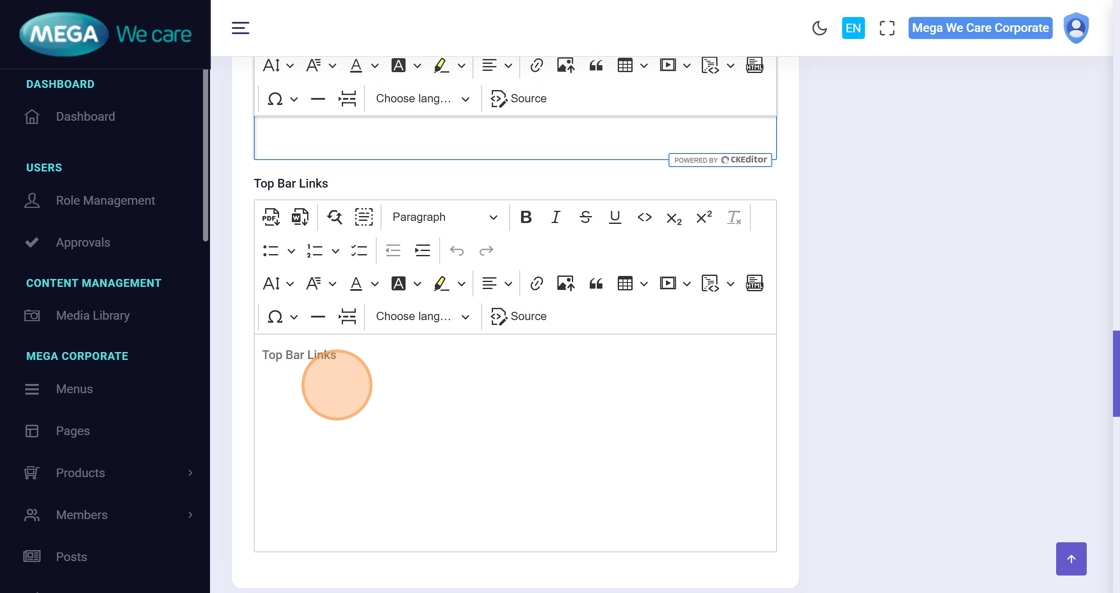
10. Add Top Bar Links (Optional)
Insert any needed links inside the editor.
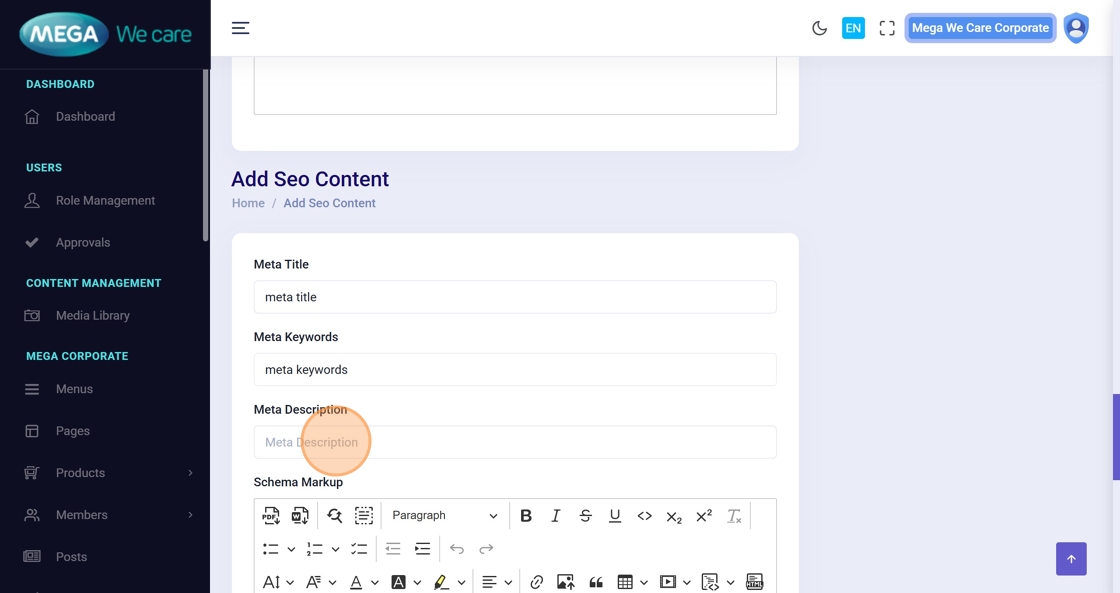
11–13. SEO Settings
Fill out:
- Meta Title
- Meta Keywords
- Meta Description
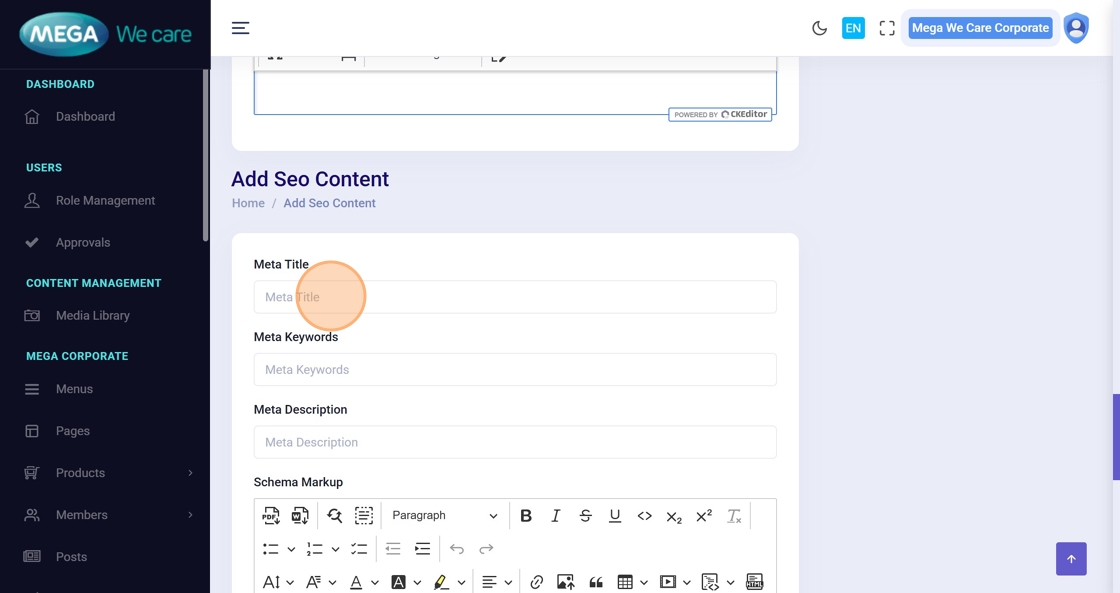

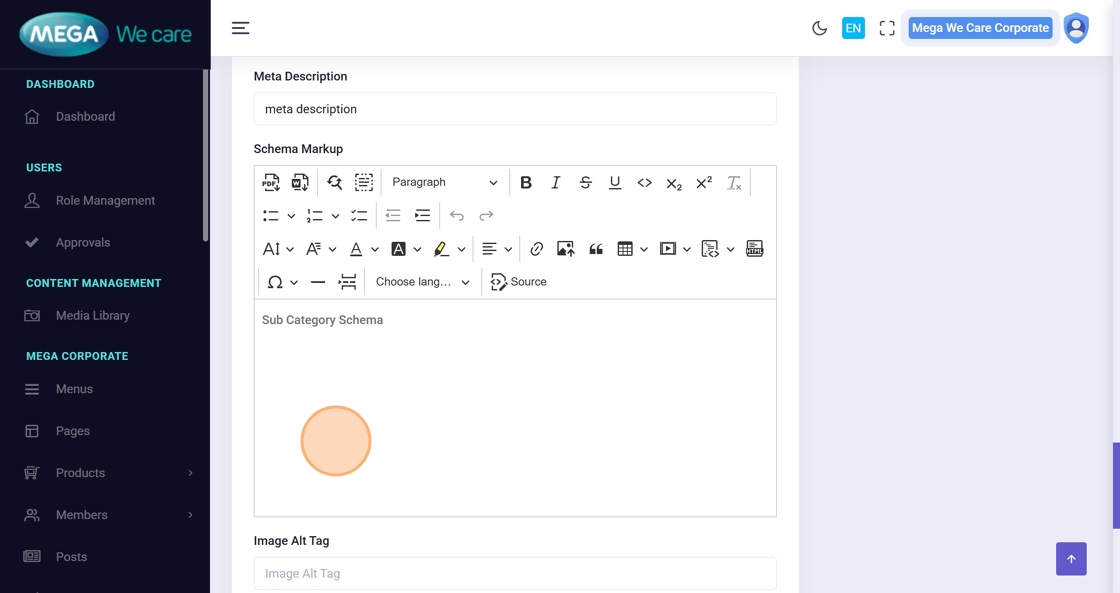
14. Add Schema
Paste JSON-LD schema in the editor.
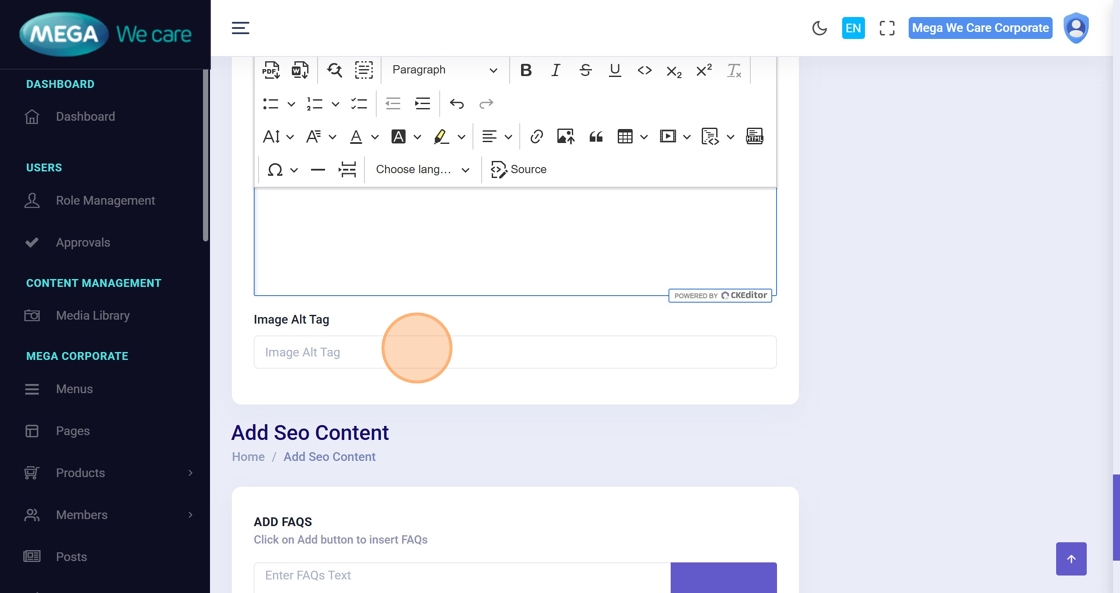
15. Add Image Alt Tag
Good for SEO and accessibility.
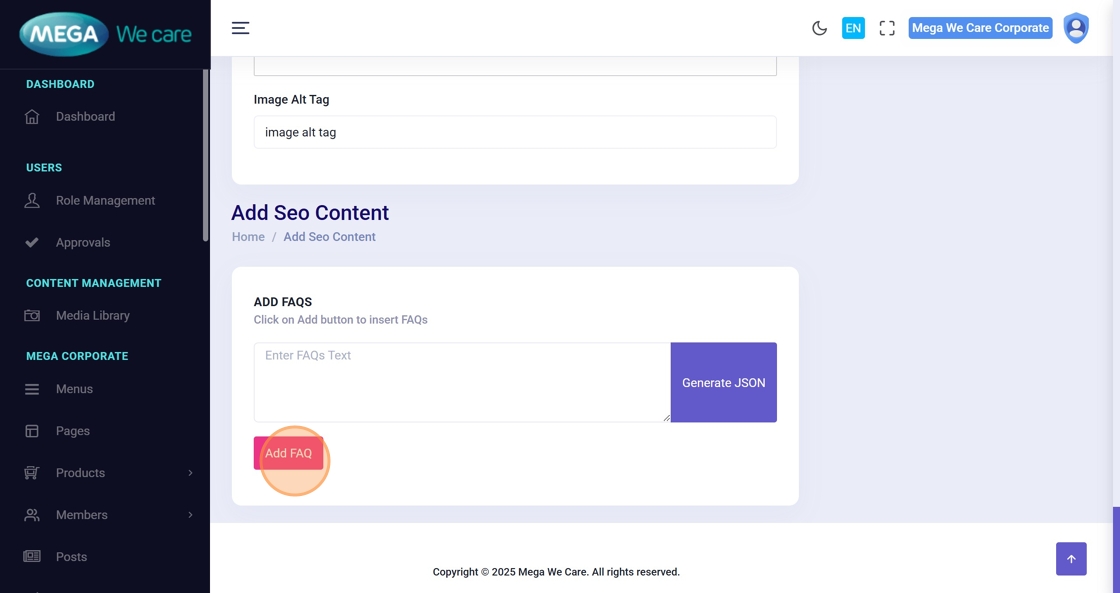
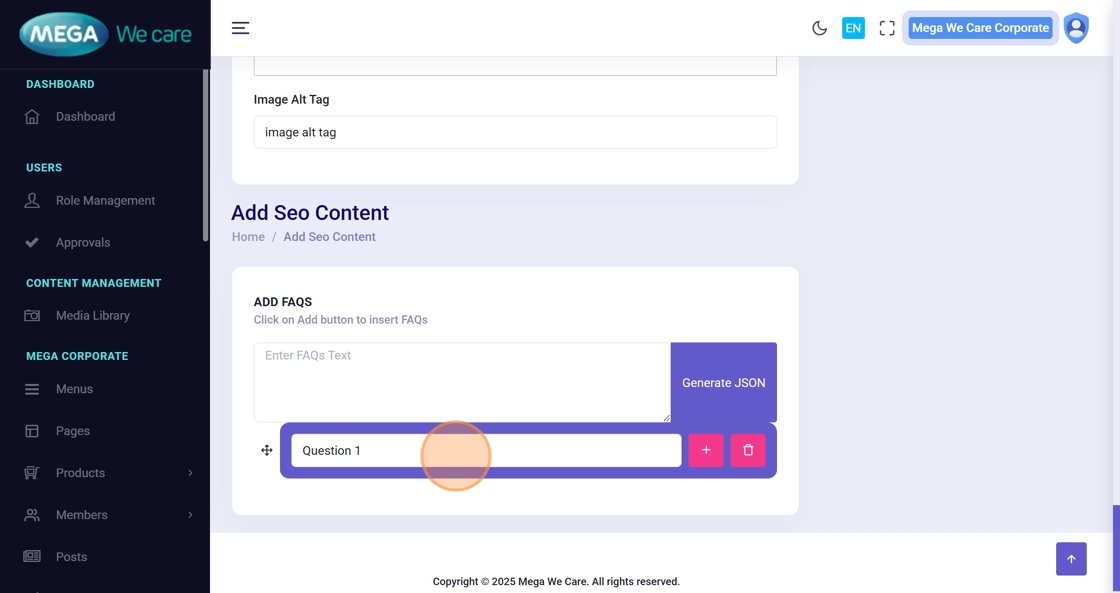
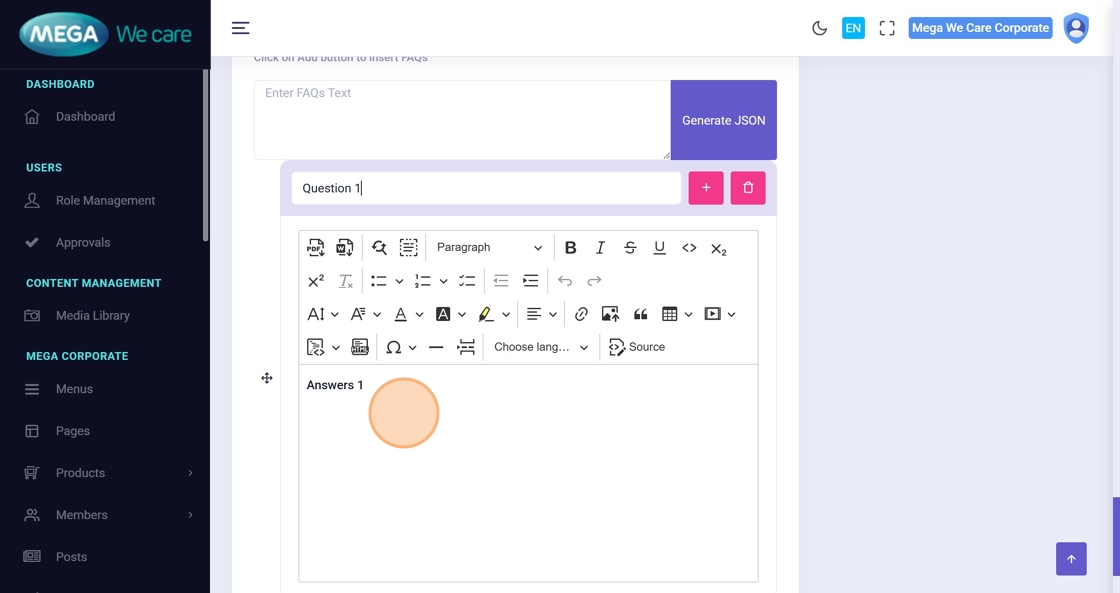
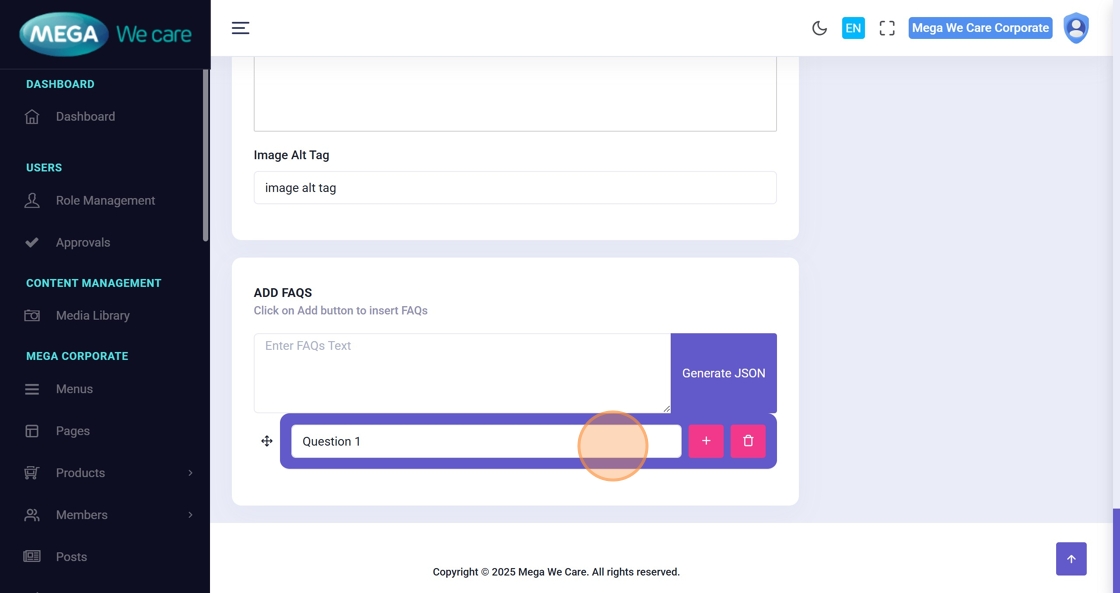
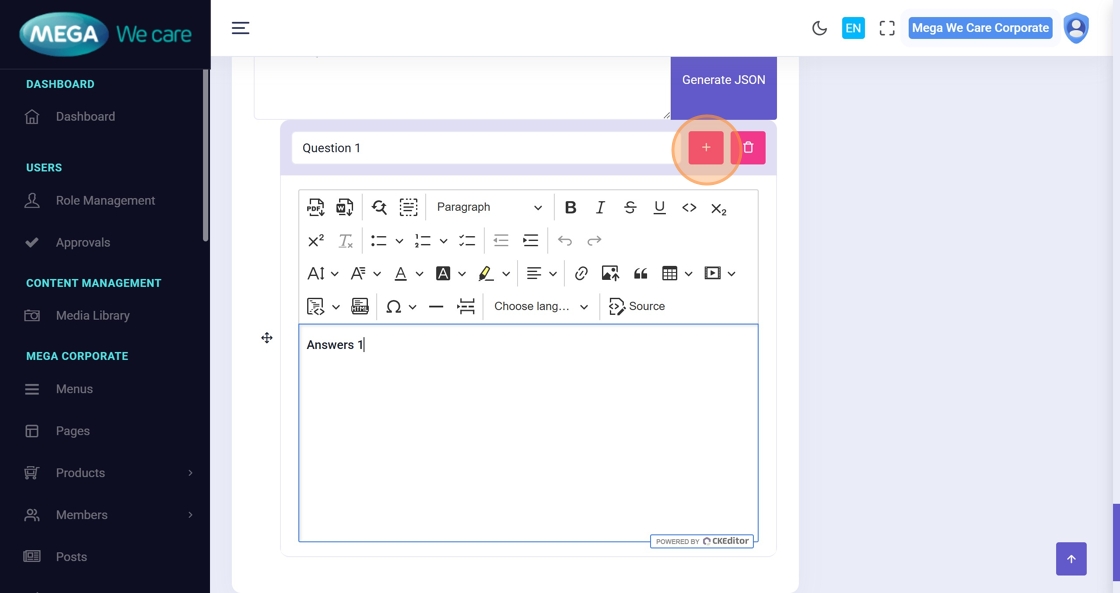
16–18. Add FAQs
- Click Add FAQ
- Enter the question
- Enter the answer
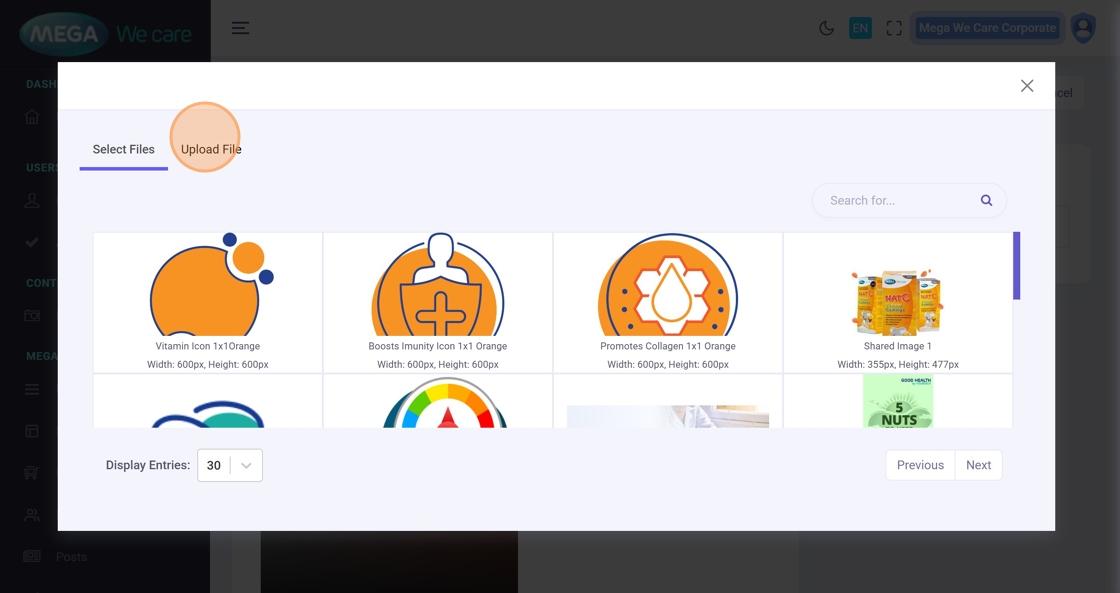
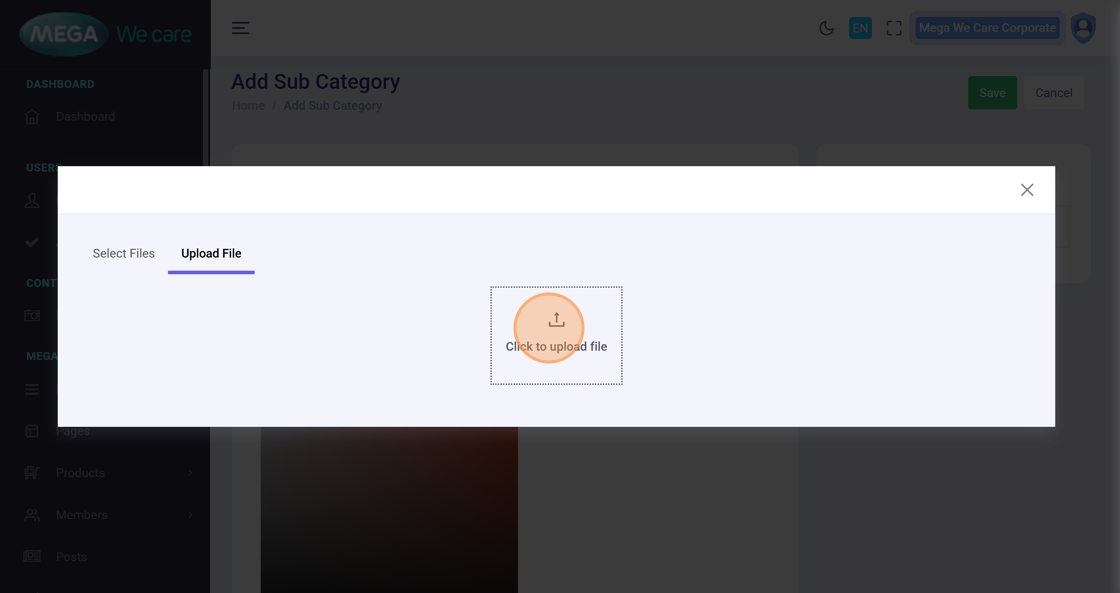
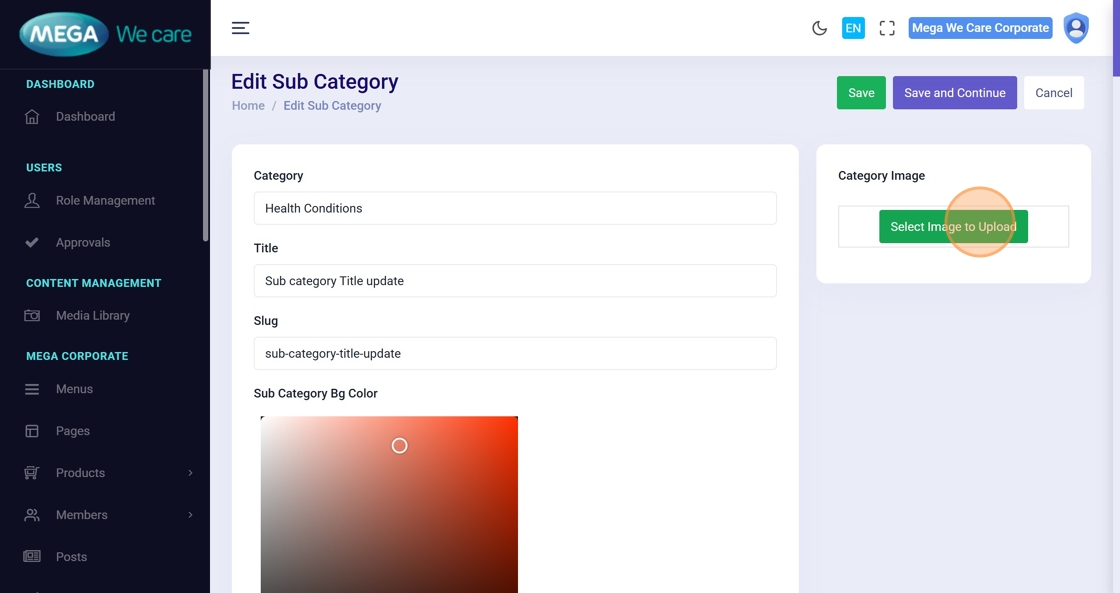
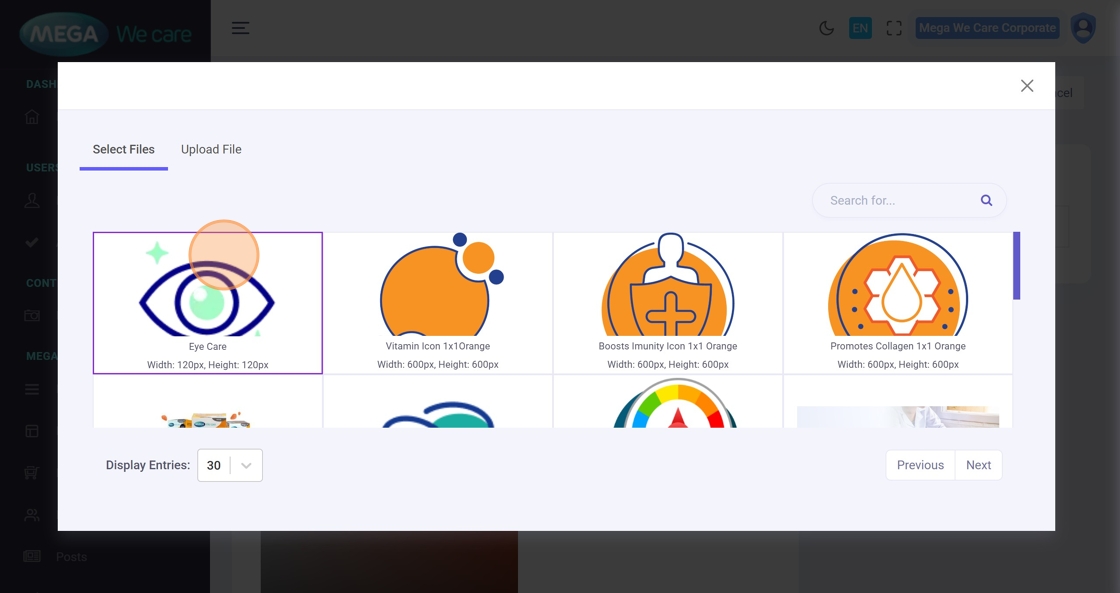
19–21. Upload Sub Category Image
Upload or select from the media library.
22. Save the Sub Category
Click Save to create the sub category.
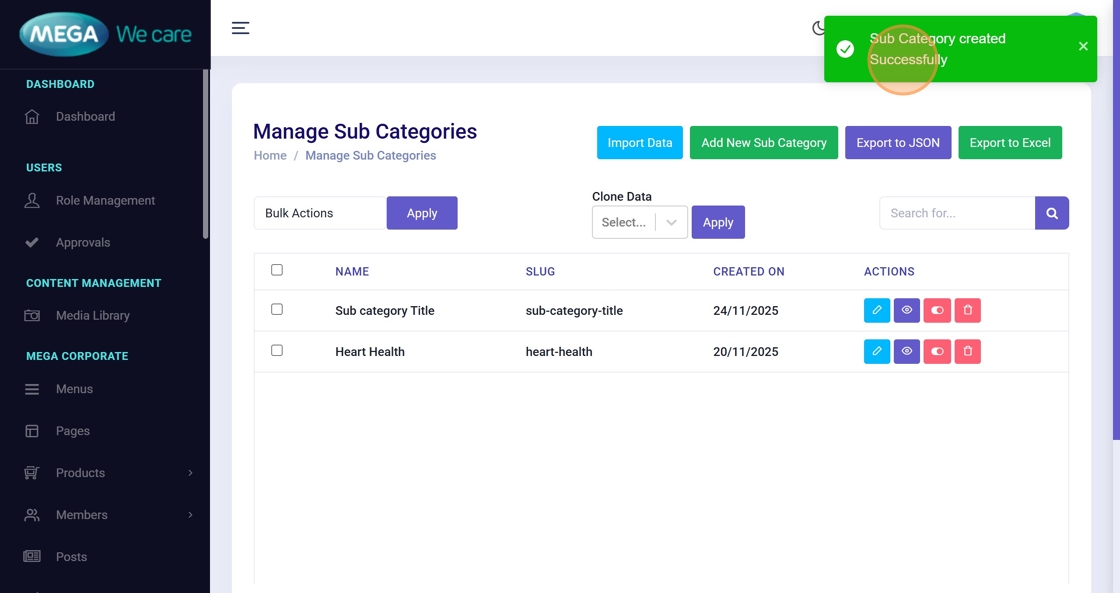
23. Confirmation
A success message — “Sub Category created Successfully” — appears.
Update an Existing GHBY Sub Category
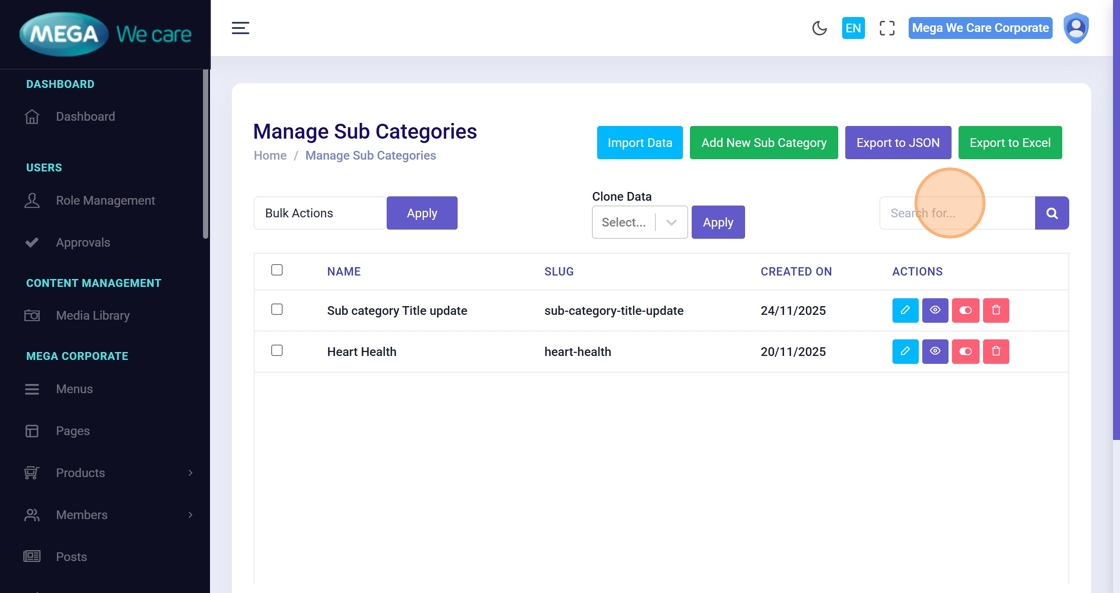
24–25. Open Sub Category List
Go to the sub category section again.
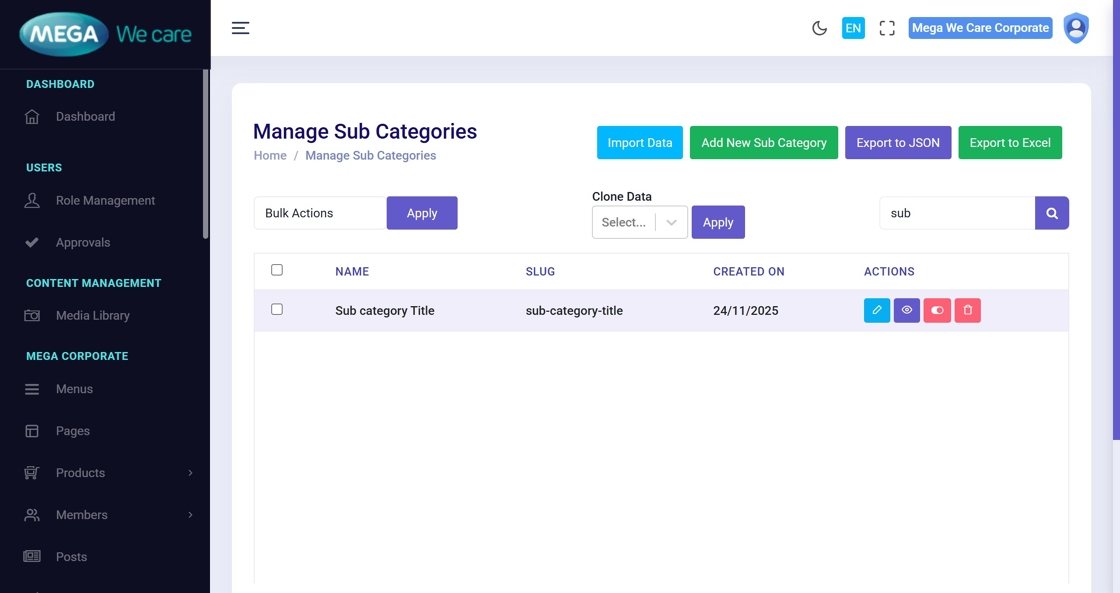
26–27. Search for a Sub Category
Use the search bar to find the sub category.
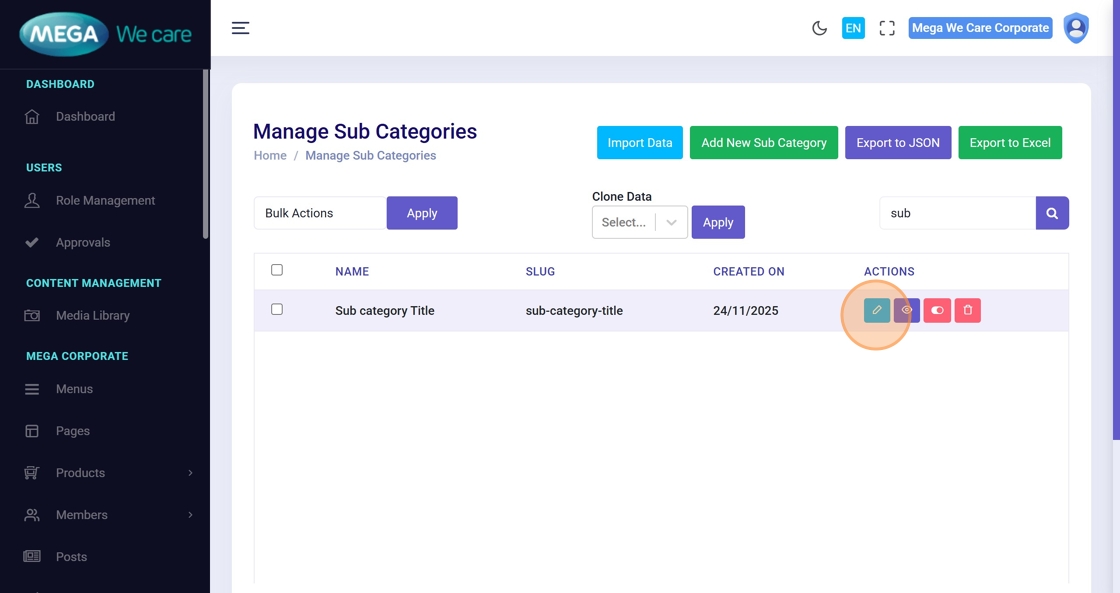
28. Click Edit Icon
Open the edit form.
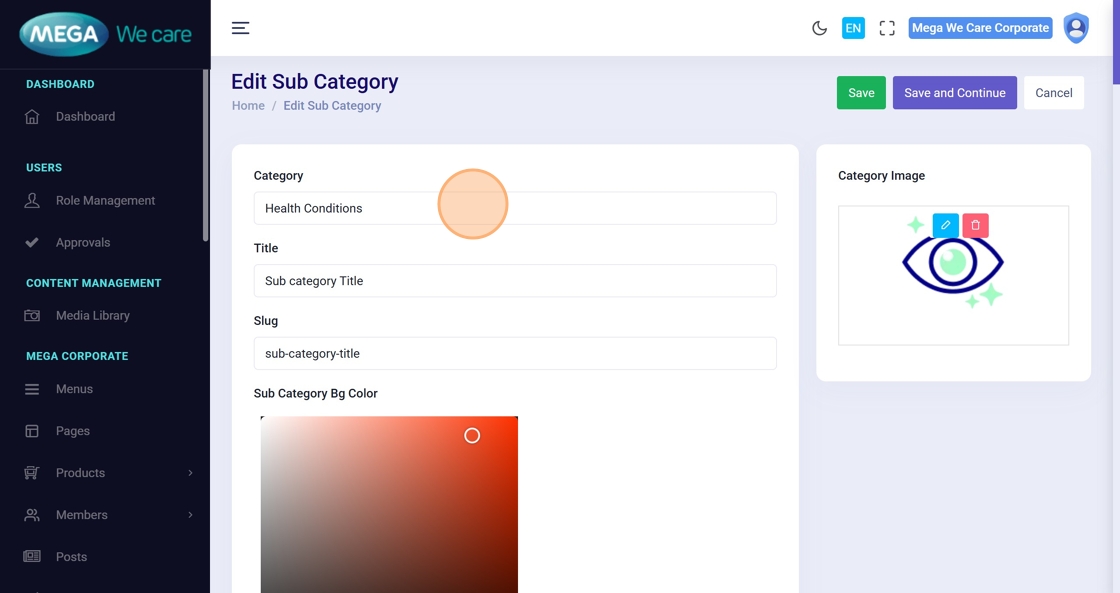
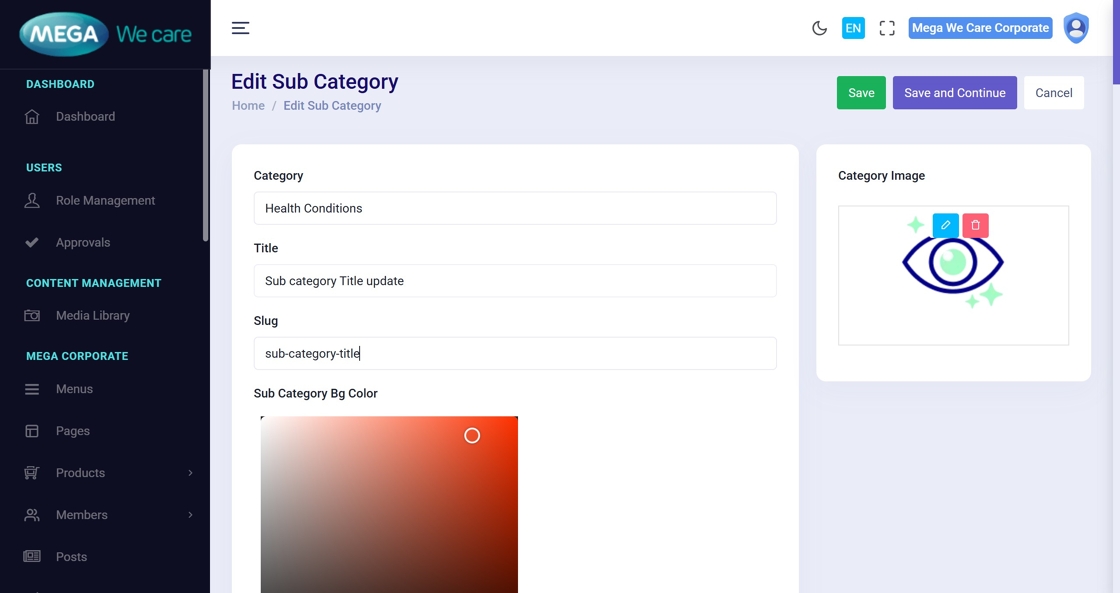
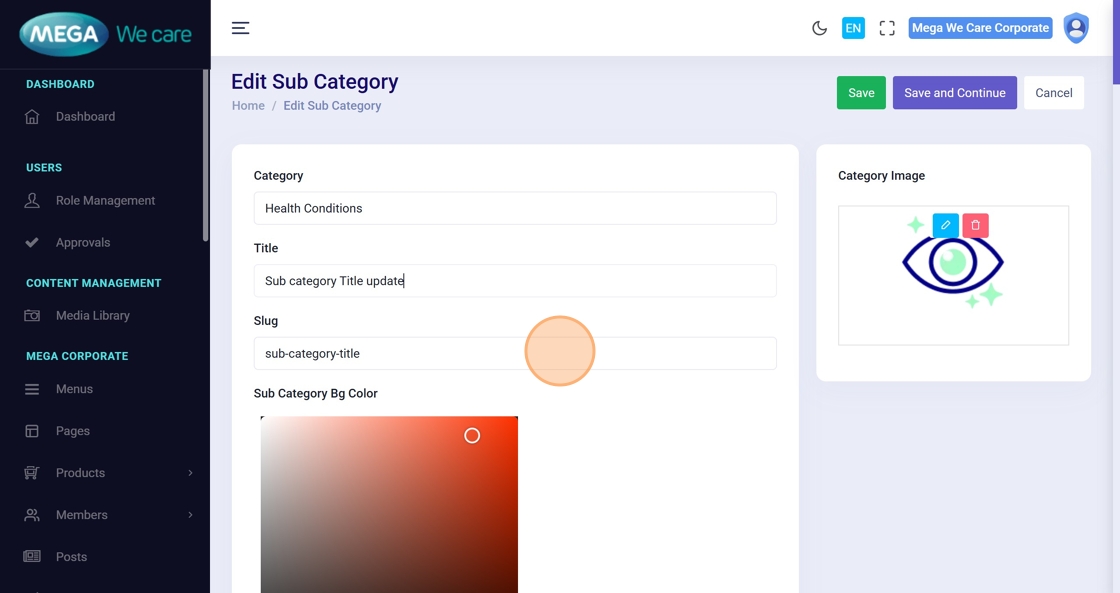
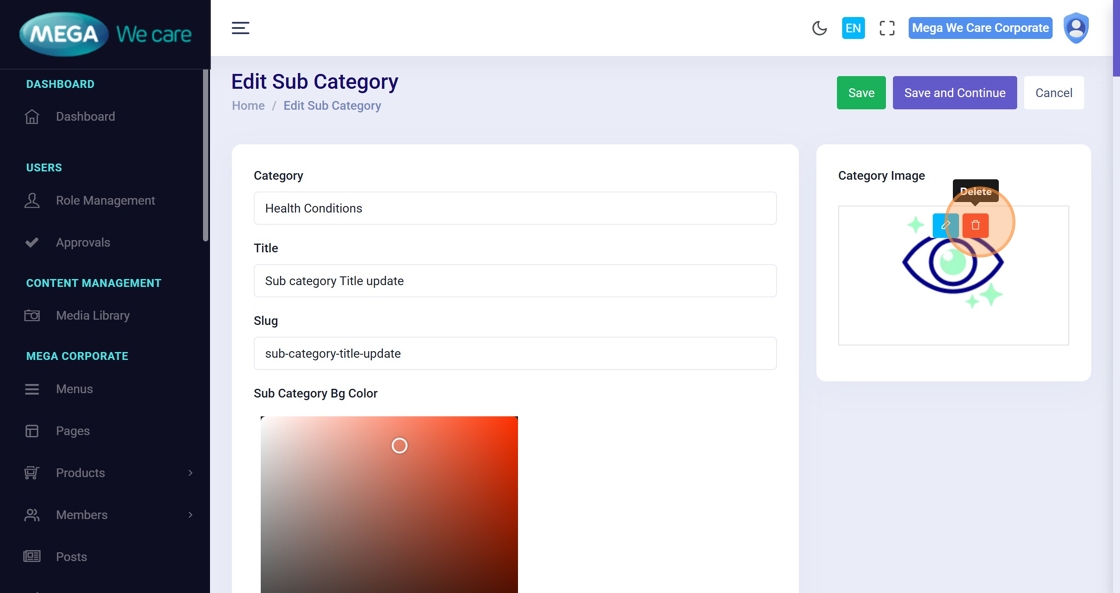
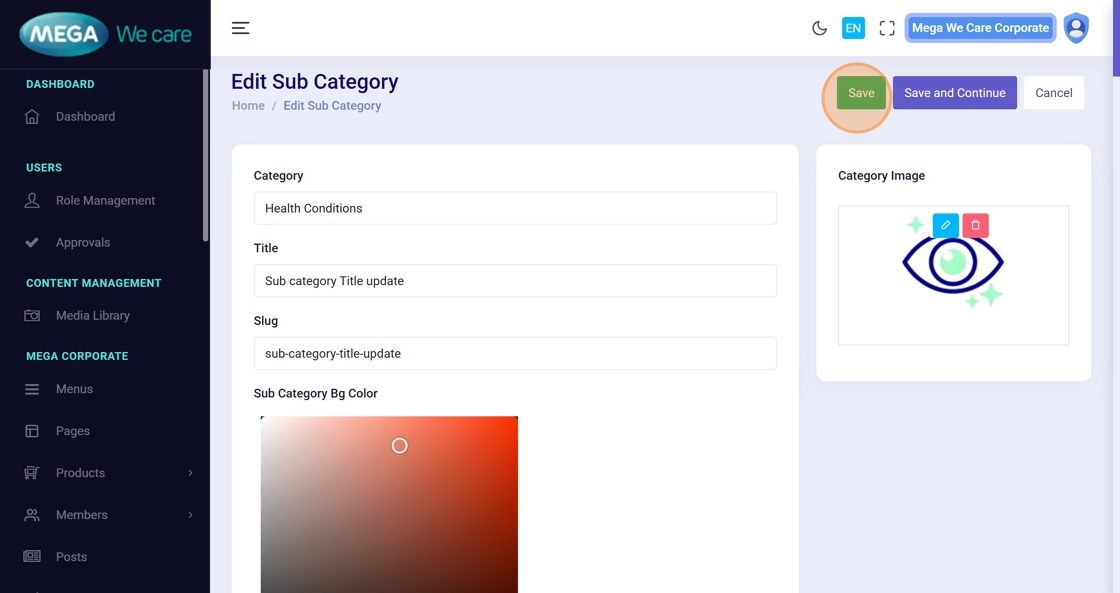
29–33. Update Details
You can modify:
- Category association
- Title
- Slug
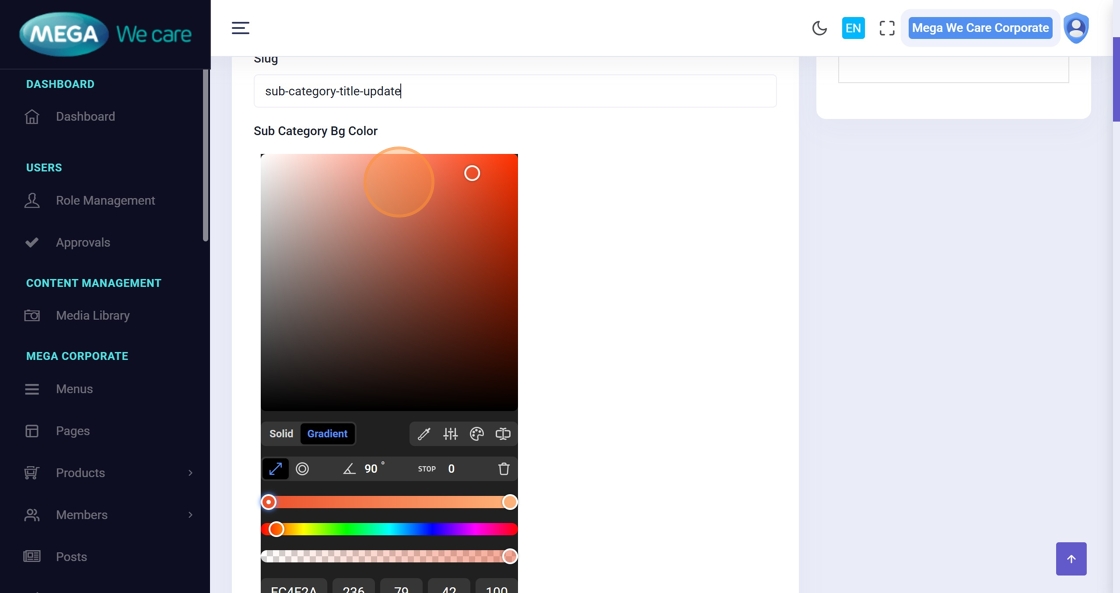
- Colors
- Descriptions

34–36. Update FAQs
- Edit questions
- Add new FAQs
- Remove existing ones
37–42. Update Sub Category Image
You can:
- Remove existing image
- Upload a new one
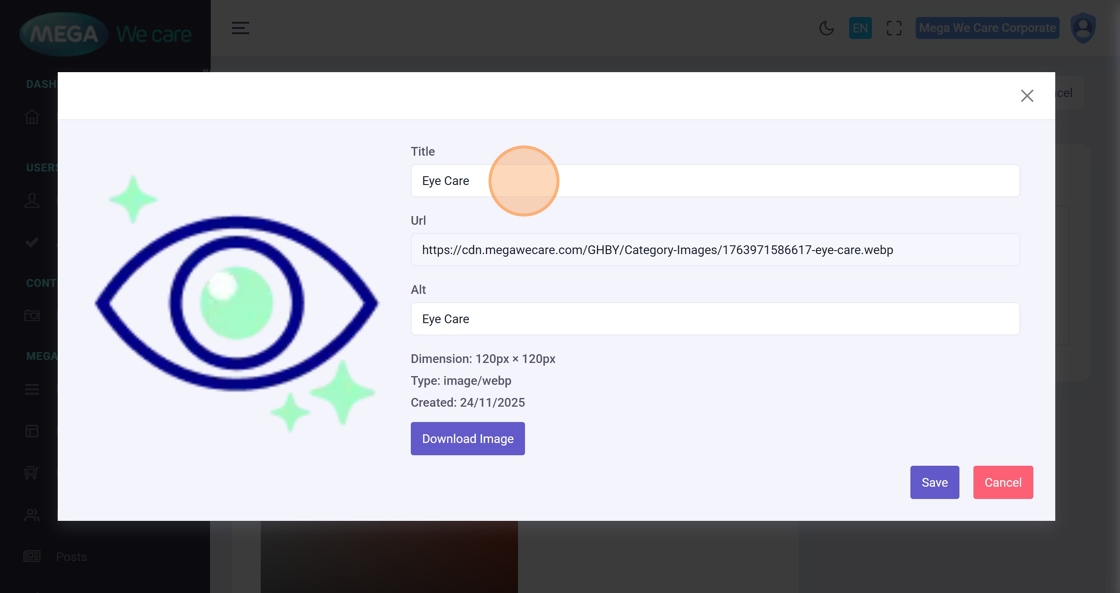
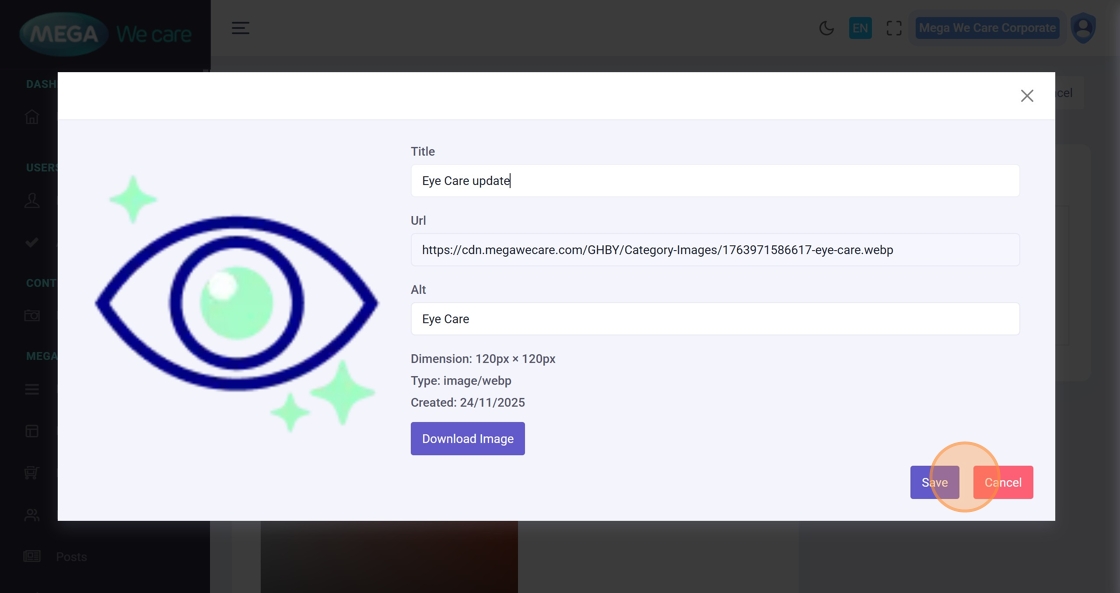
- Edit image properties (title, URL, alt text)

43. Save Updated Sub Category
Click Save to apply all changes.
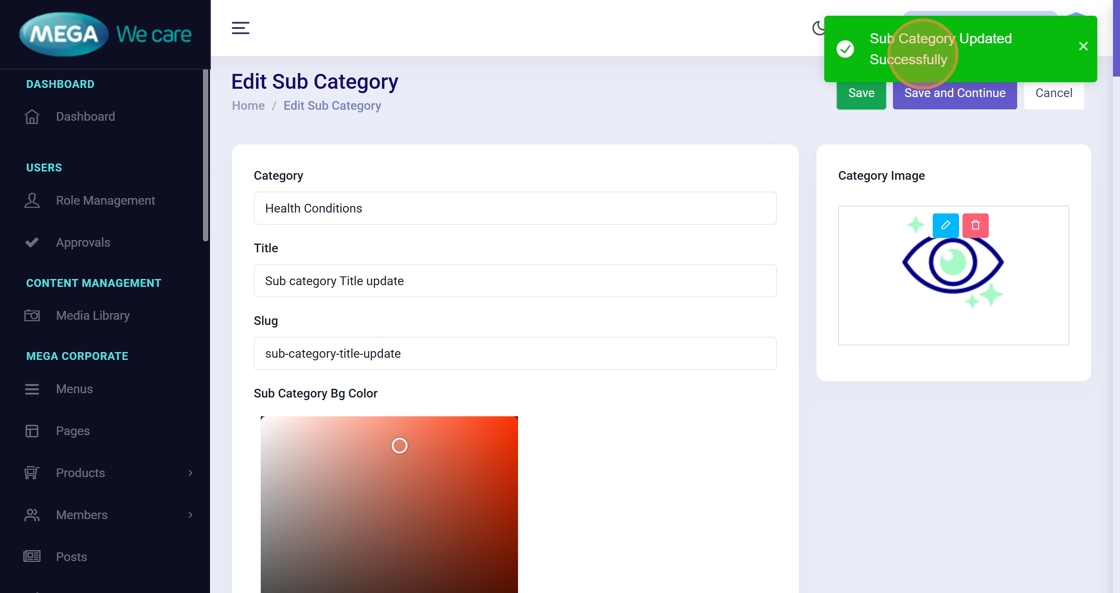
44. Confirmation
A message “Sub Category Updated Successfully” confirms completion.
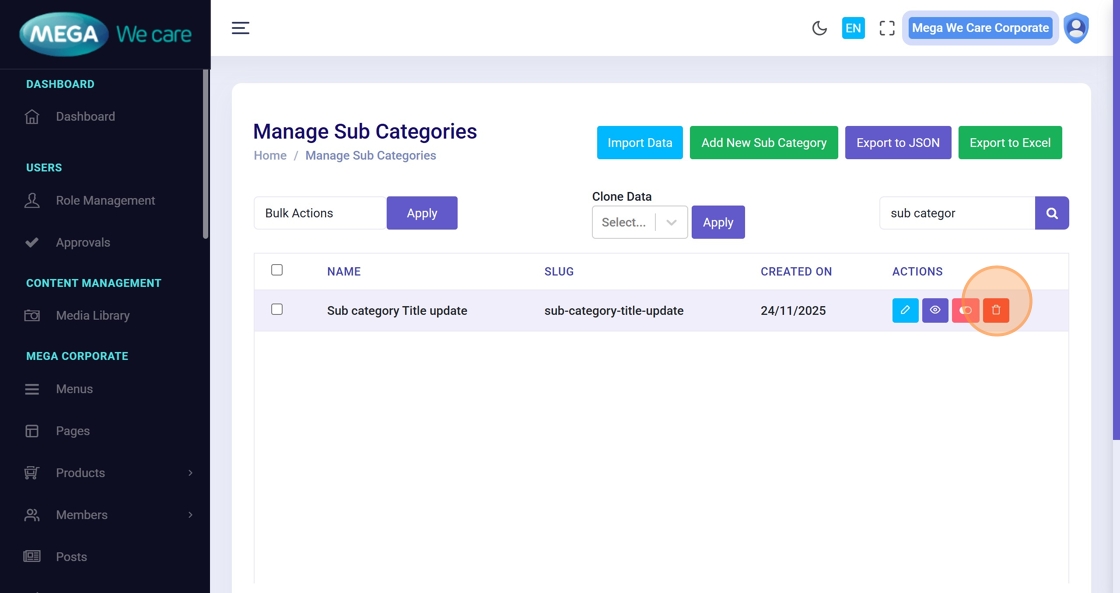
Delete a GHBY Sub Category
45–46. Open Sub Category Listing
Navigate to Sub Category again.

47–48. Search for the Sub Category
Use the search bar to locate the exact sub category to delete.

49. Click Delete Icon
Remove the sub category.
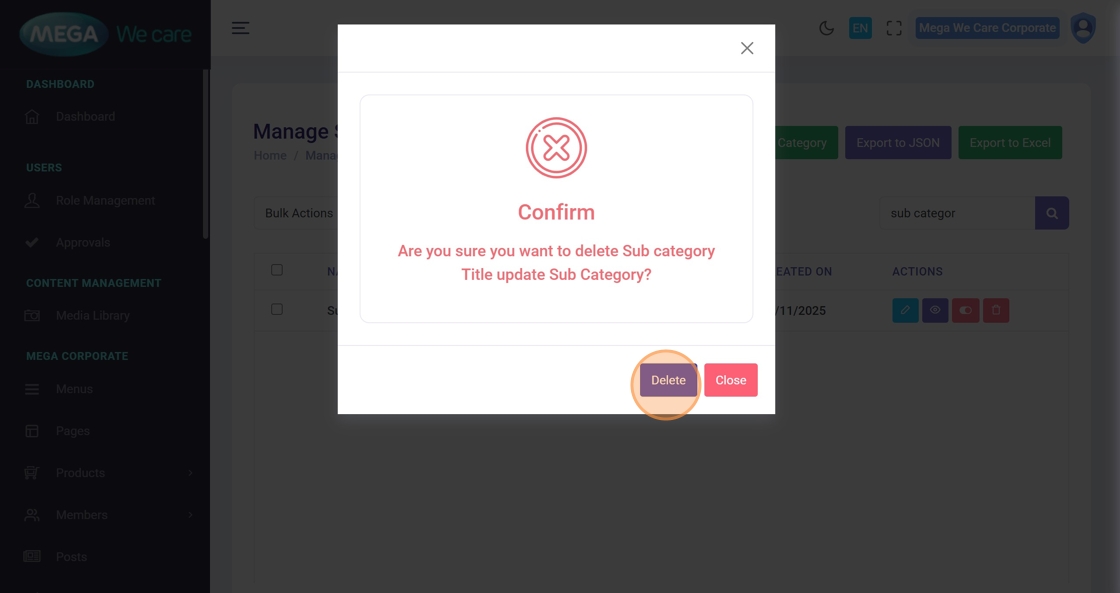
50. Confirm Deletion
Click Delete on the popup.
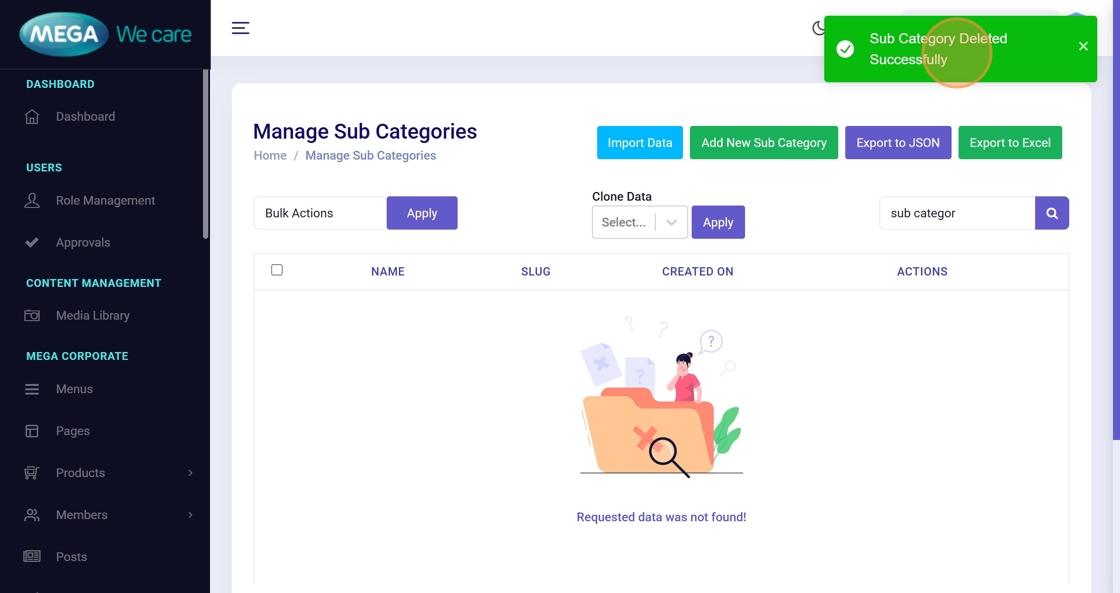
51. Deletion Confirmation
A message “Sub Category Deleted Successfully” verifies removal.
Important Notes
- Upload images only in WEBP format; do not use PNG, JPG, or JPEG files
- Also, remember to set the sub category background color and title colors. You can choose either a solid color or a linear gradient based on your requirement.
- If you want to manage FAQ's for sub category, you have to add and manage here
Summary
By following this guide, you can easily add, update, and delete GHBY Sub Categories with complete details, SEO settings, images, and FAQs, while confirming each action through system messages. This helps maintain a clean, organized, and SEO-friendly category structure within the GHBY module.