Page Navigation
How to Add, Update and Delete Blogs
This document explains step by step how users can create new blogs, publish them on the website, update existing blogs, and delete blogs easily from the dashboard.
Overview
By following this document, you will be able to:
- Create a new blog
- Create, assign, and manage blog categories, subcategories, and tags
- Assign Written By and Fact Check By experts
- Build structured content (Table of Contents, Key Highlights, Main Content, Short Description, References, FAQs)
- Upload images and audio files
- Edit and update existing blogs
- Delete blogs temporarily, restore them, or permanently remove them (single or bulk)
Before working on blogs, ensure that:
- Categories and Subcategories should be created first before adding the blog. If they are not available, create them or leave them unselected.
- Required Experts must be created before adding a blog. If they are not available, please create them first or leave them unselected.
- Images for Desktop, Mobile, Tablet, and Device are available.
Add a New Blog
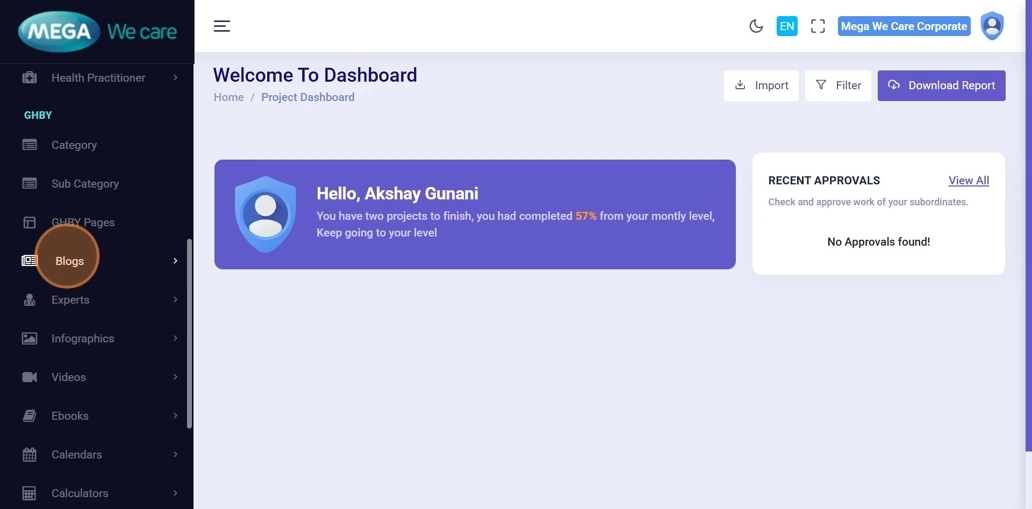
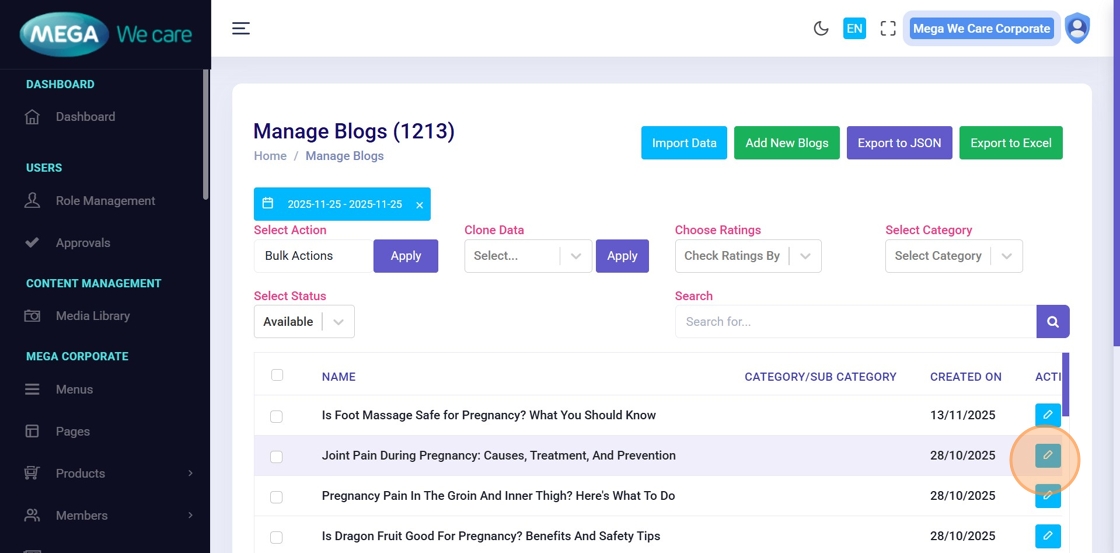
Step 1: Open Blog Management
From the Admin Dashboard, click on Blogs and then click on Manage Blogs. This page shows a list of all existing blogs.
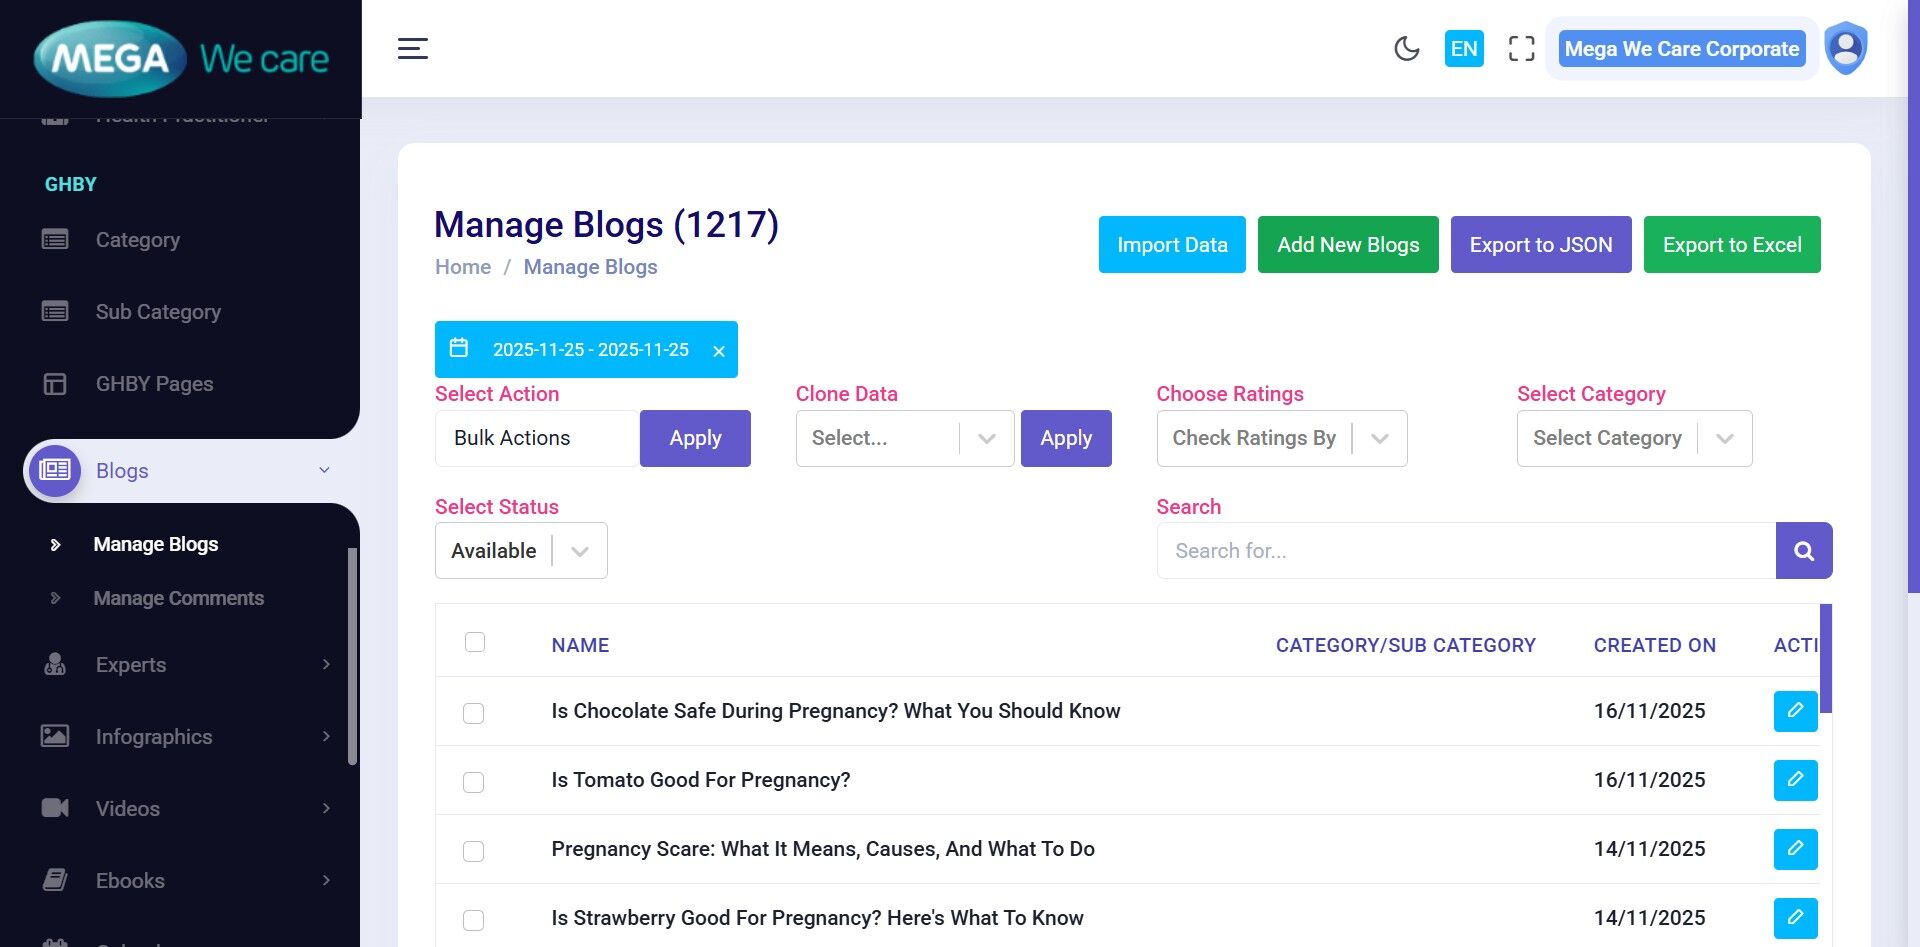
Step 2: Click “Add New Blogs”
Click Add New Blogs to open the blog creation form.
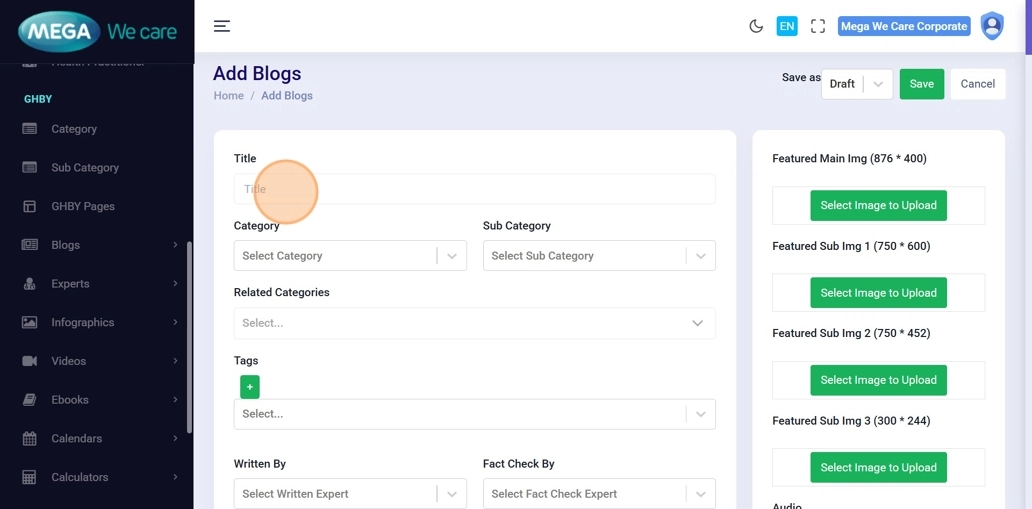
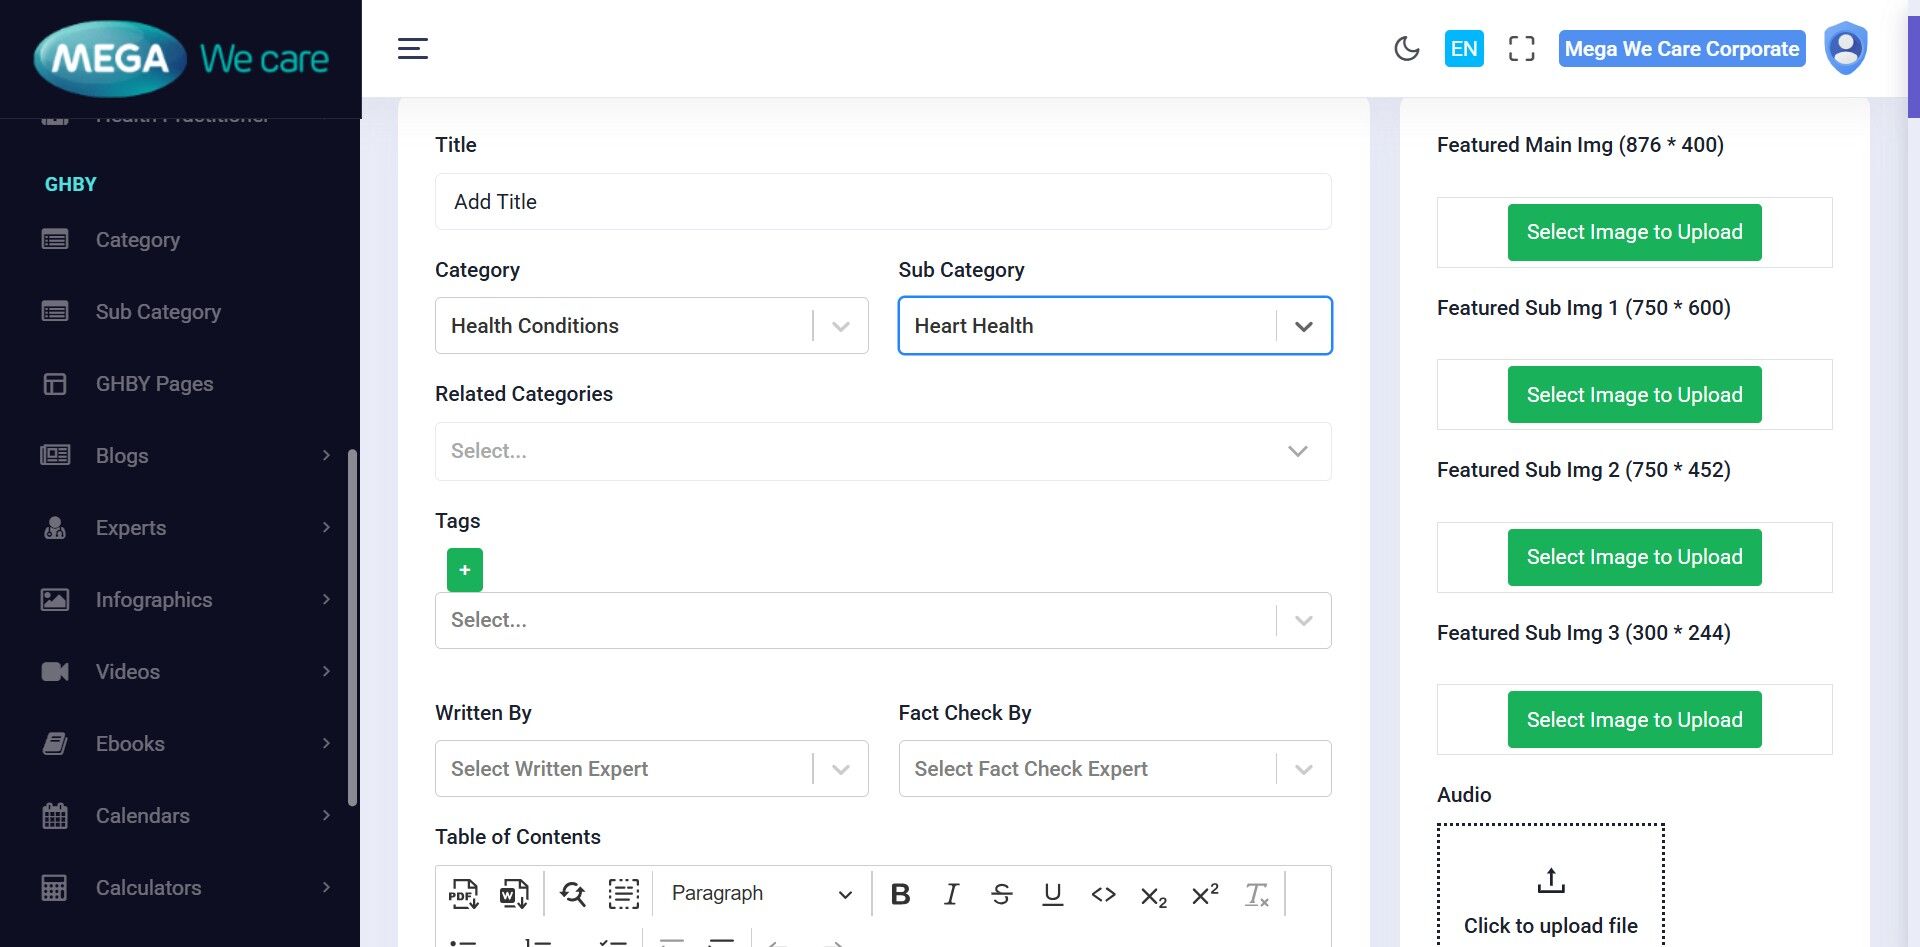
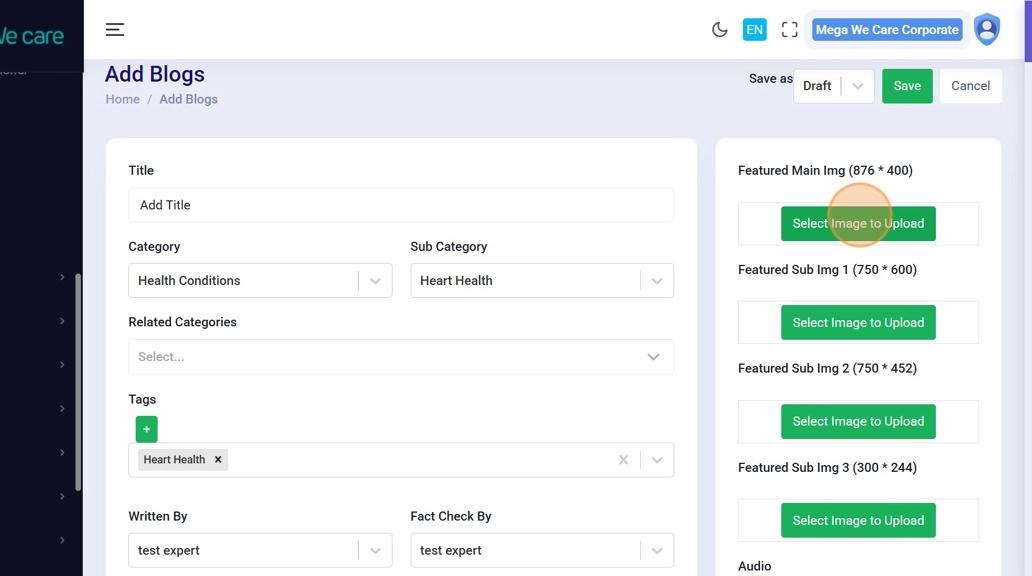
Step 3: Enter Blog Title & Category
Enter the blog title, select a category, and choose a subcategory if needed. You may select a category or a subcategory, or leave them blank. Proper categorization helps display the blog in the correct section on the website.
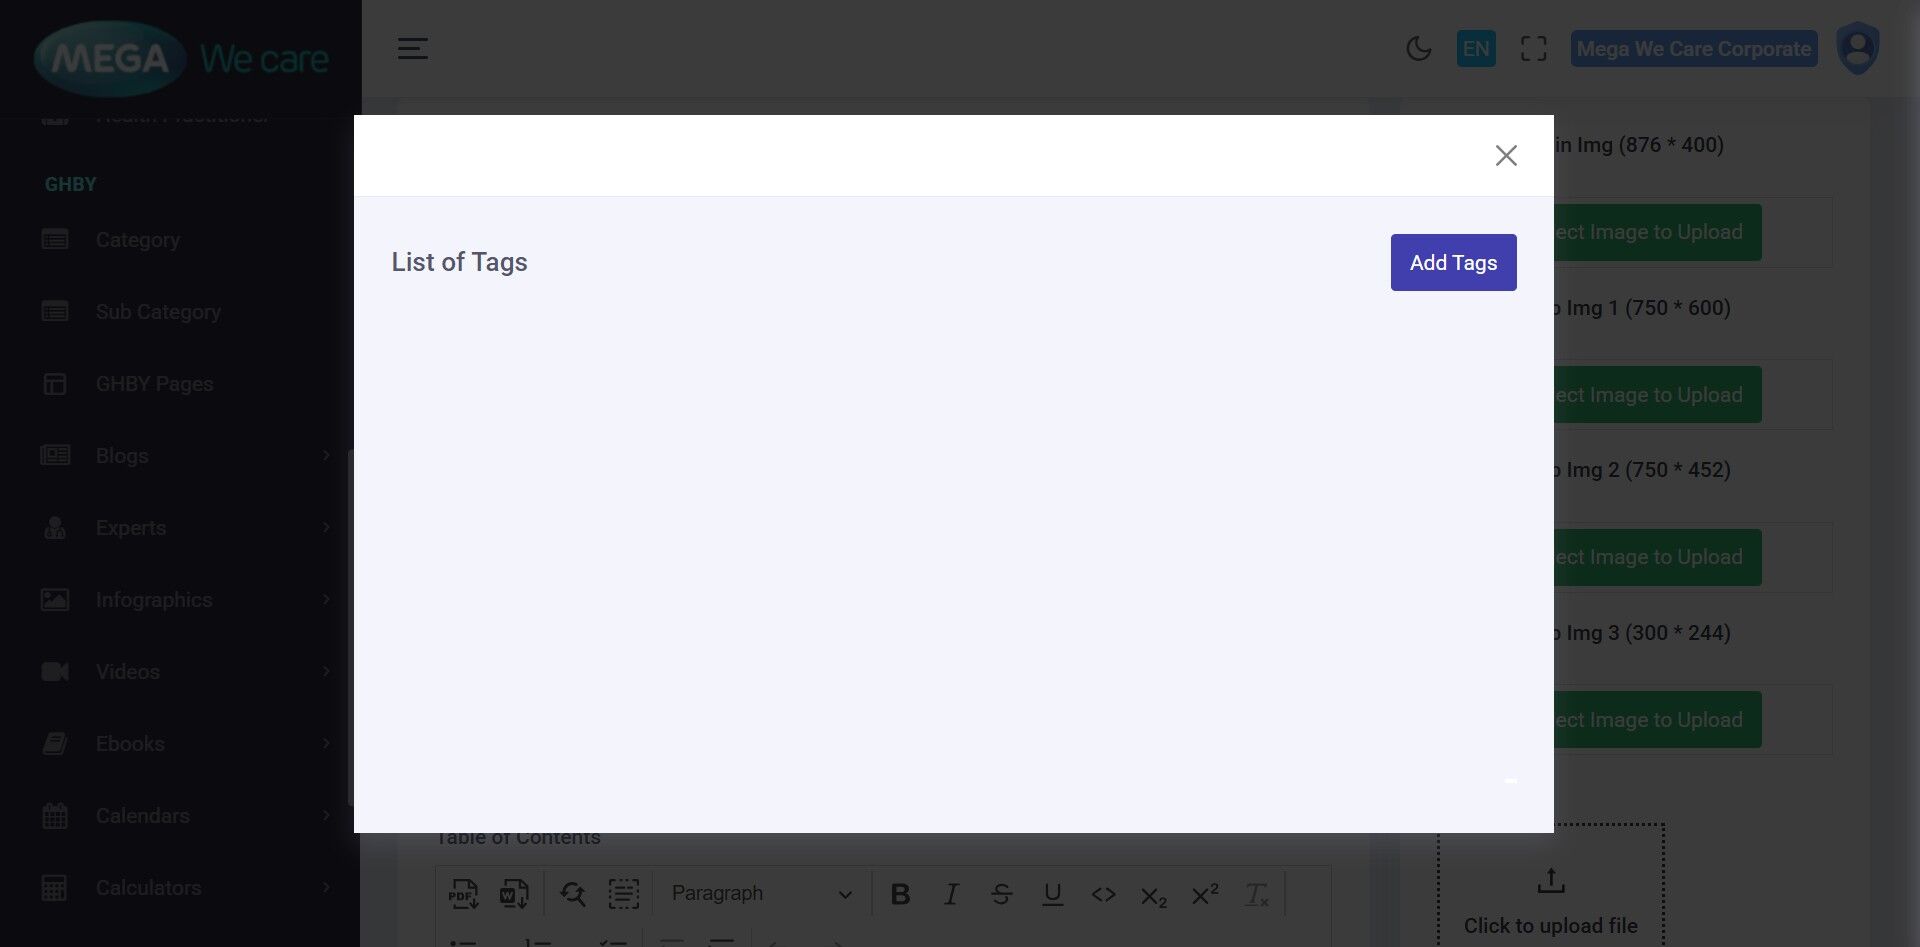
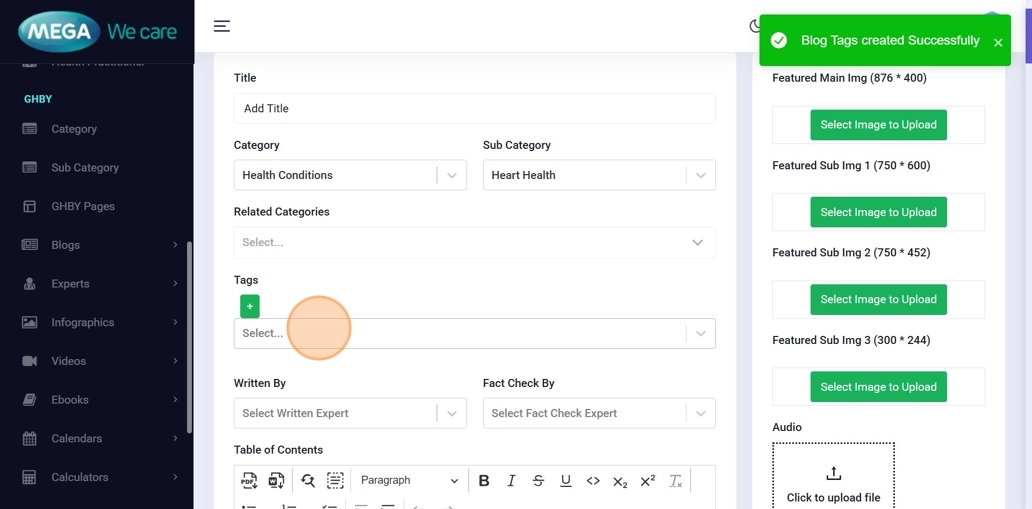
Step 4: Add Tags
Select an existing tag for your blog from the list. If the required tag is not available, click the Add (+) button to create a new one.
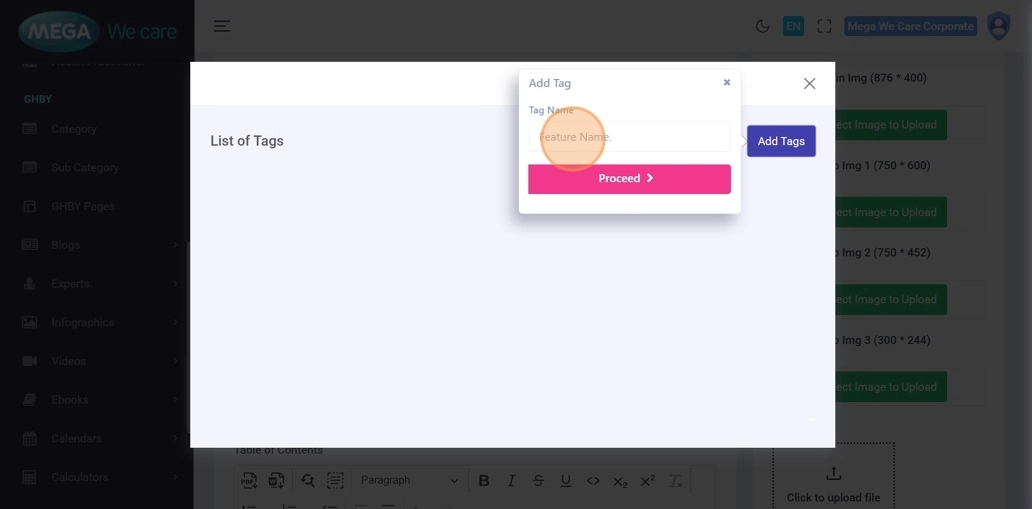
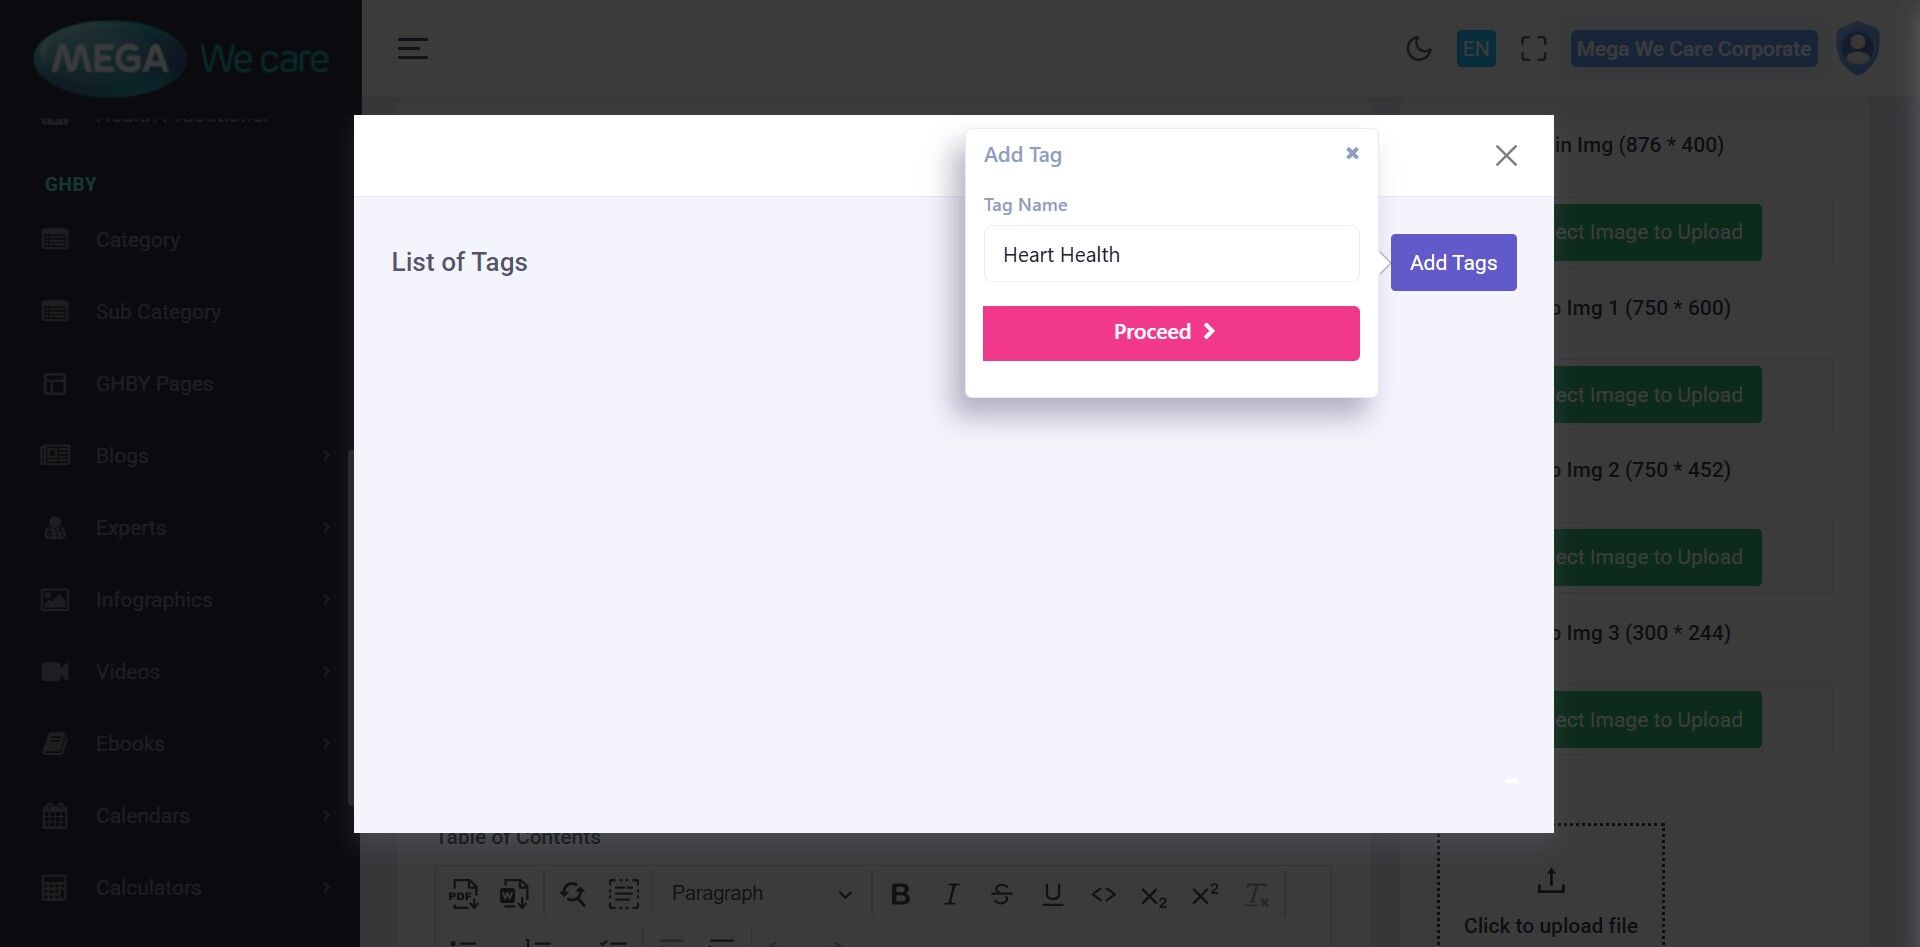
Step 5–8: Create and Save a New Tag
Click Add Tags, enter the Tag Name, and click Proceed to save it.
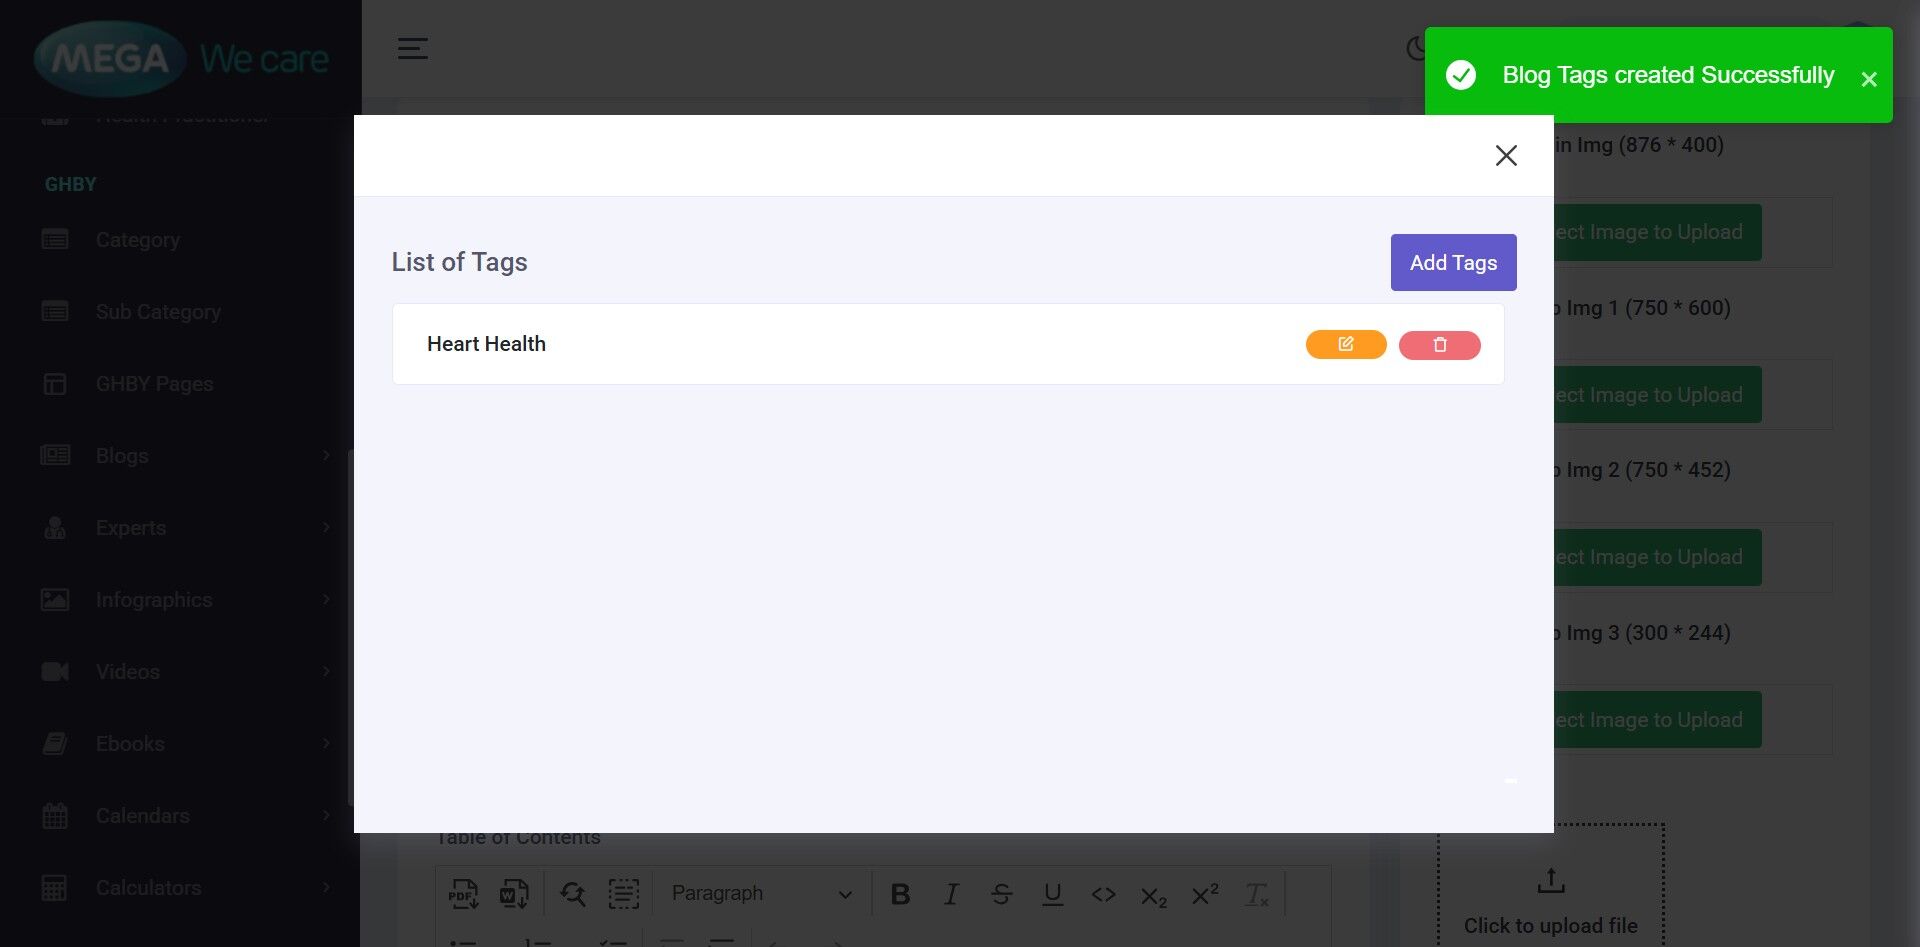
Step 9: Select Tags for the Blog
You can select one or more tags based on the selected blog category and subcategory
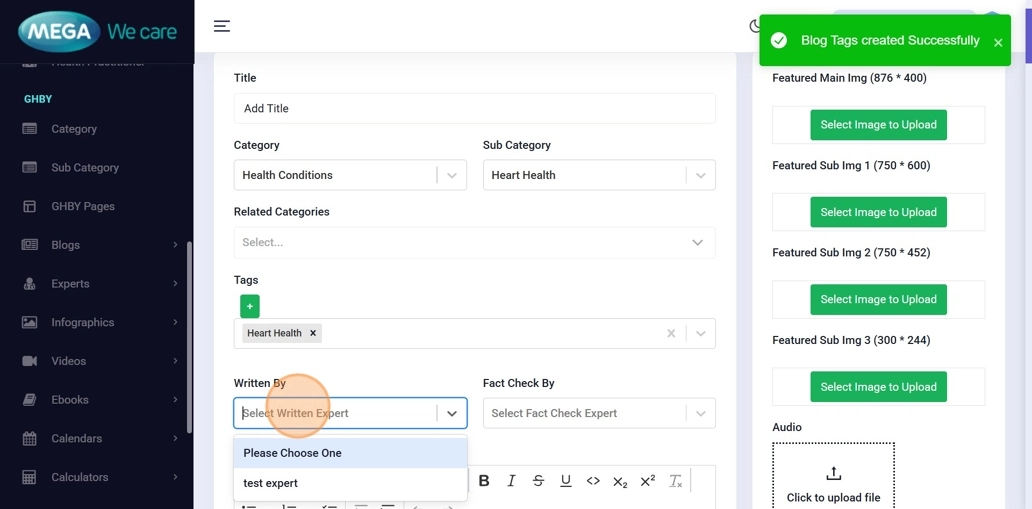
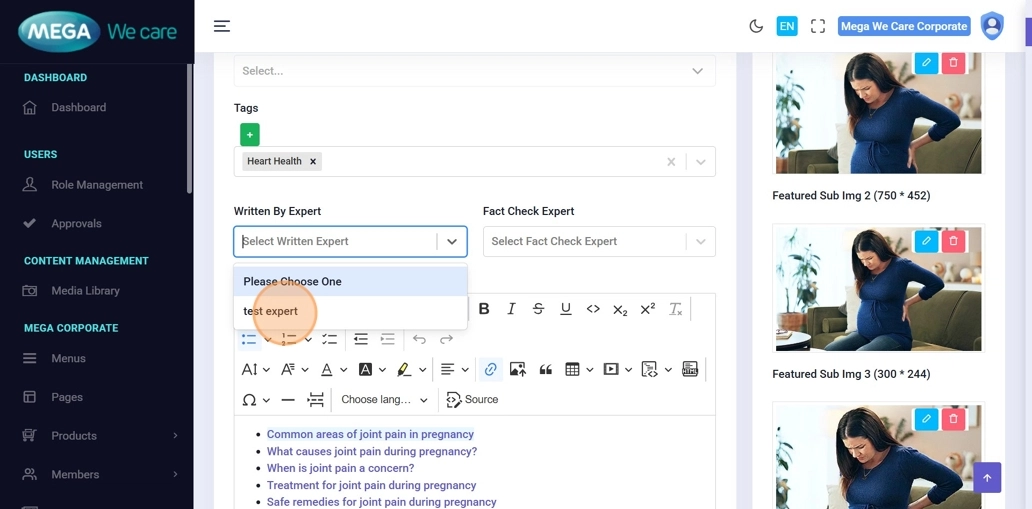
Step 10: Assign “Written By” Expert
You can select a "Written By" expert from the list. If the expert is not available, add one from navigating to Experts → Manage Experts → Add New Experts..
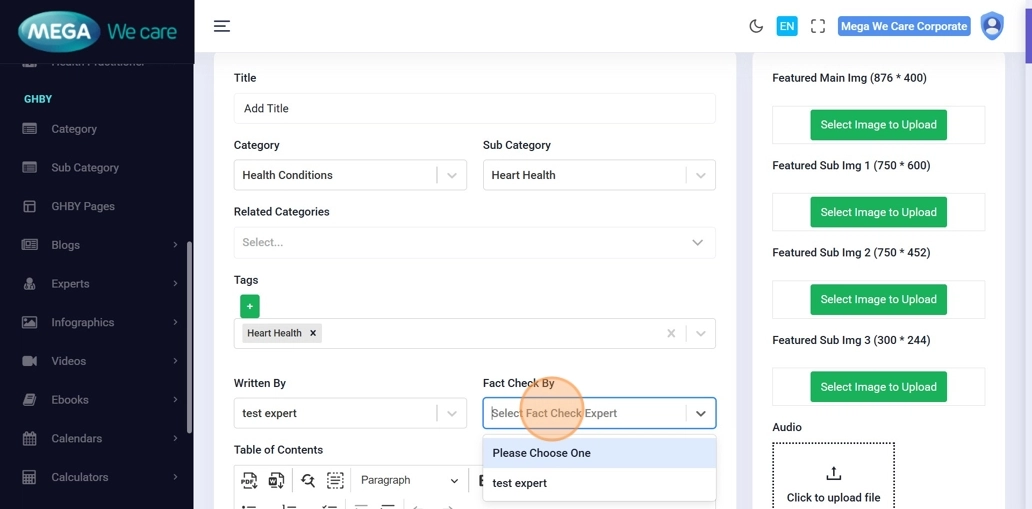
Step 11: Assign "Fact Check By" Expert
Similarly, you can select a "Fact Check By" expert from the available list. If the expert is not listed, add one from navigating to Experts → Manage Experts → Add New Experts.
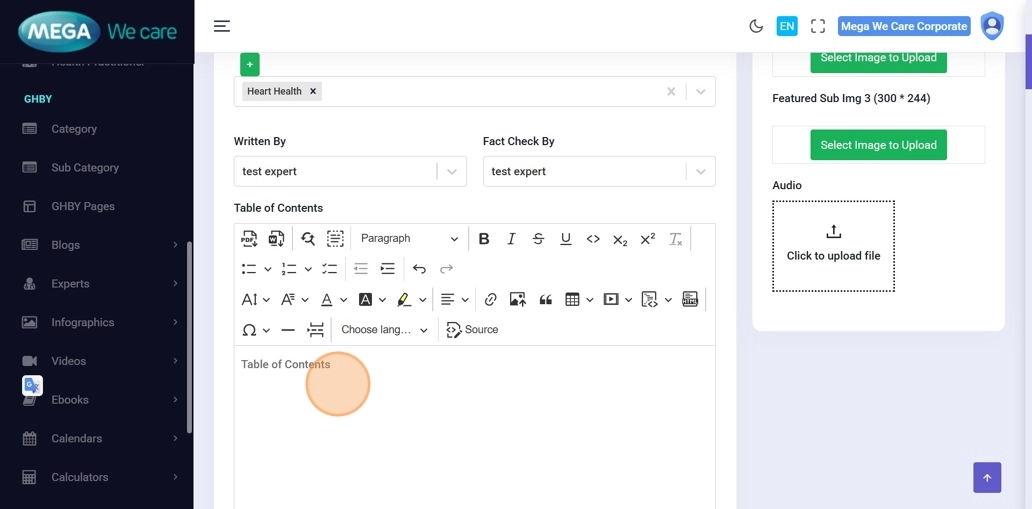
Step 12: Create Table of Contents (Table of Contents)
Add all items to the Table of Contents as bullet points. Select the text, press Ctrl + K, add the anchor link #section-name, and link it to the correct heading in the main content.
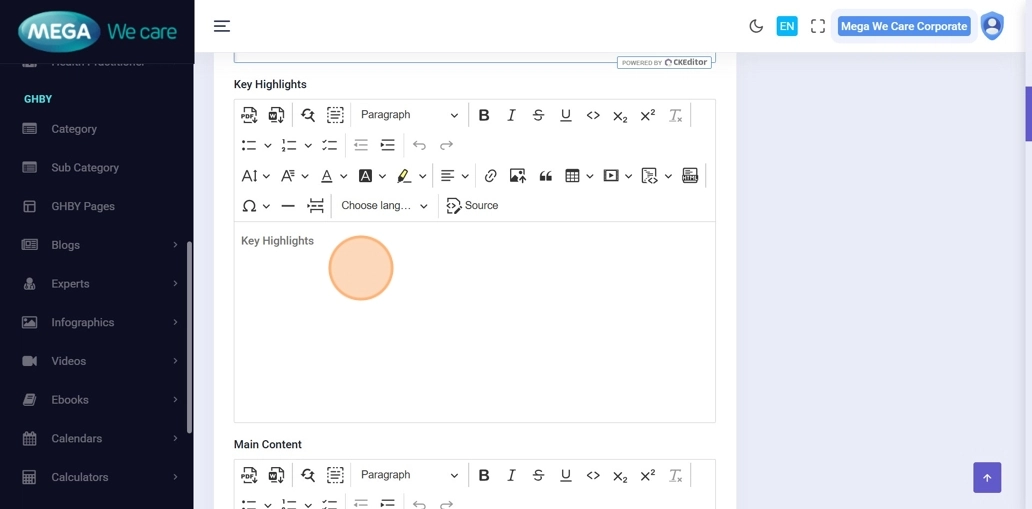
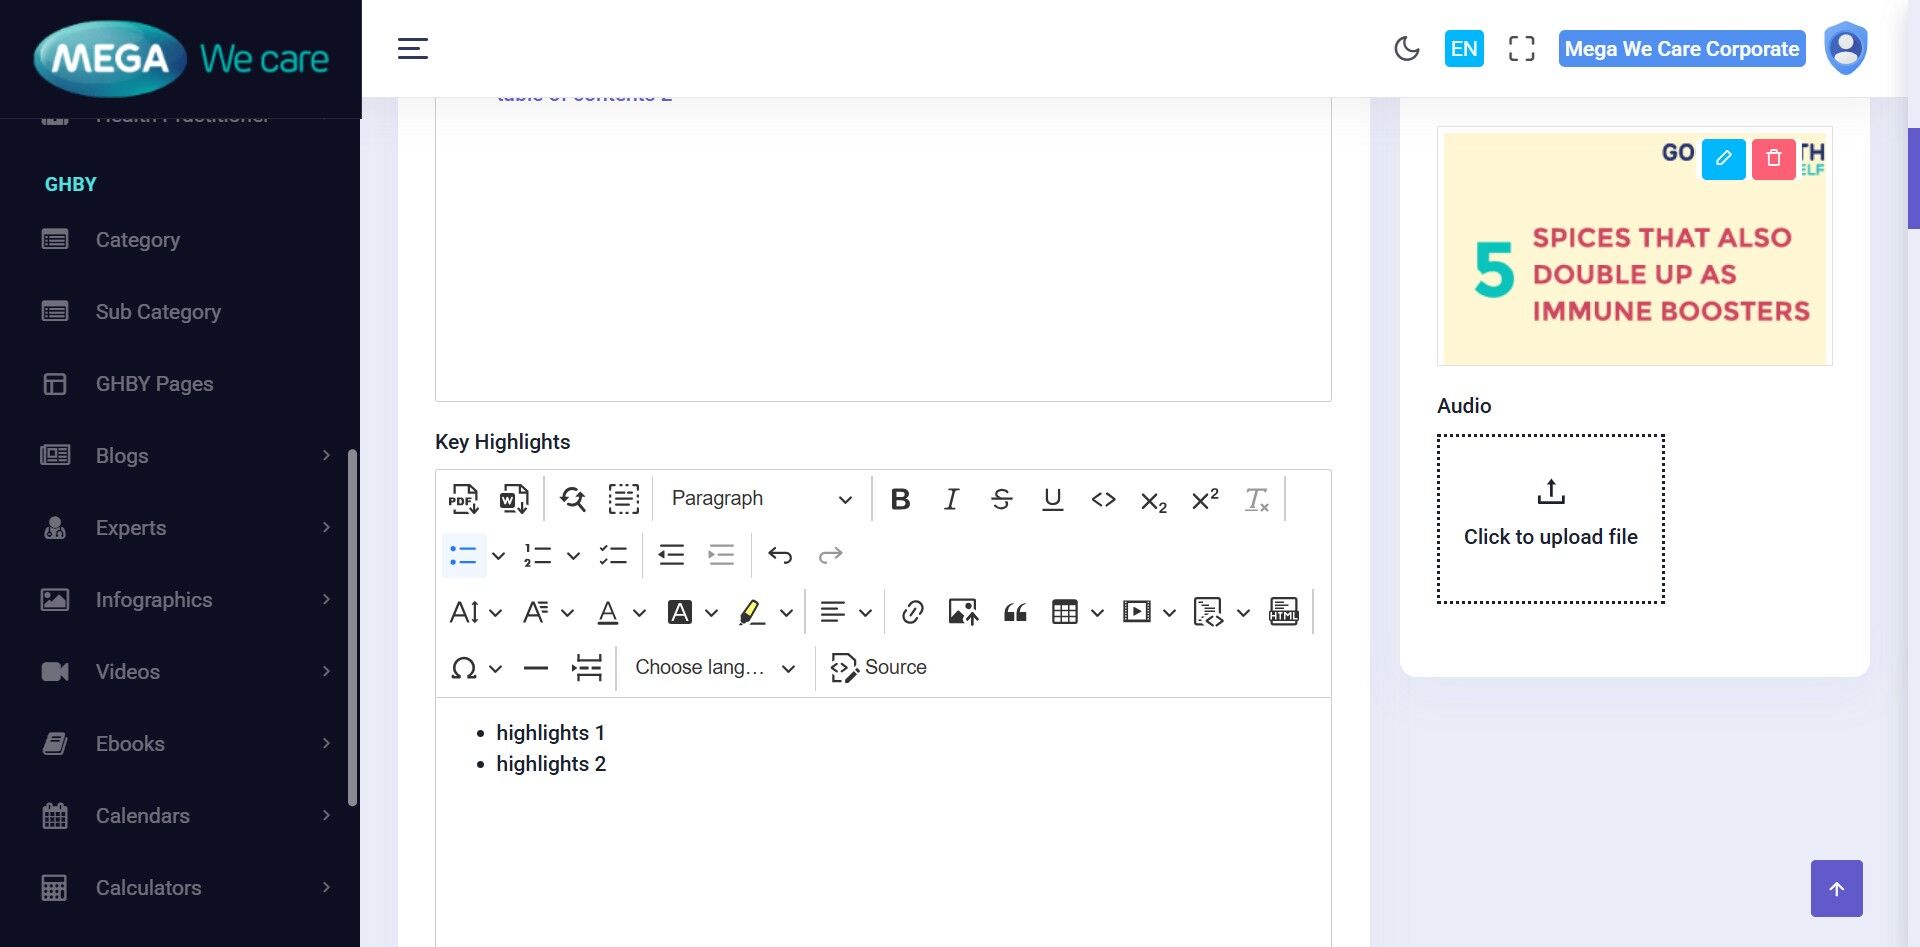
Step 13: Add Key Highlights
Add the key highlights from the given document as bullet points.
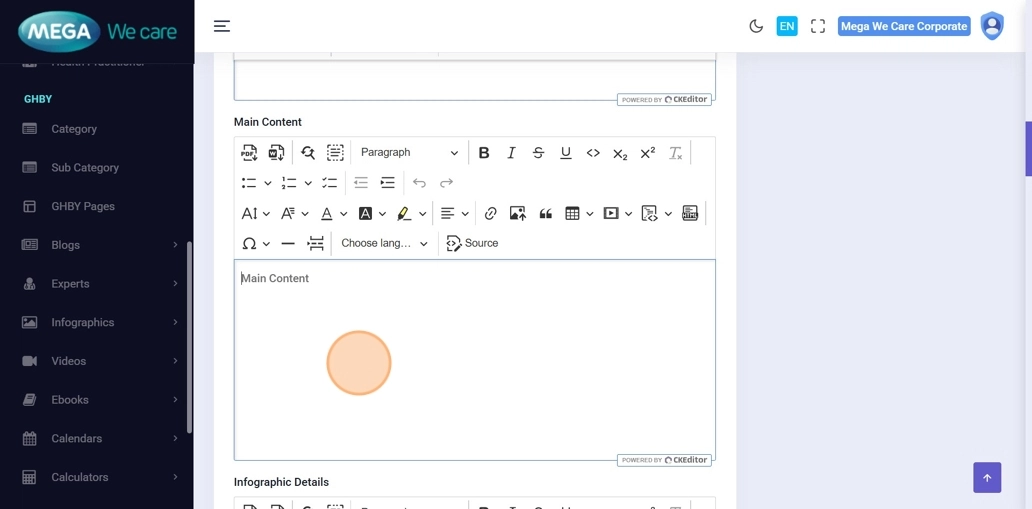
Step 14: Add Main Blog Content
Format the main content properly using H2, H3, and H4 headings, paragraphs, lists, images, and links.
⚠️ Please ensure that all headings id should match the Table of Contents anchor links.
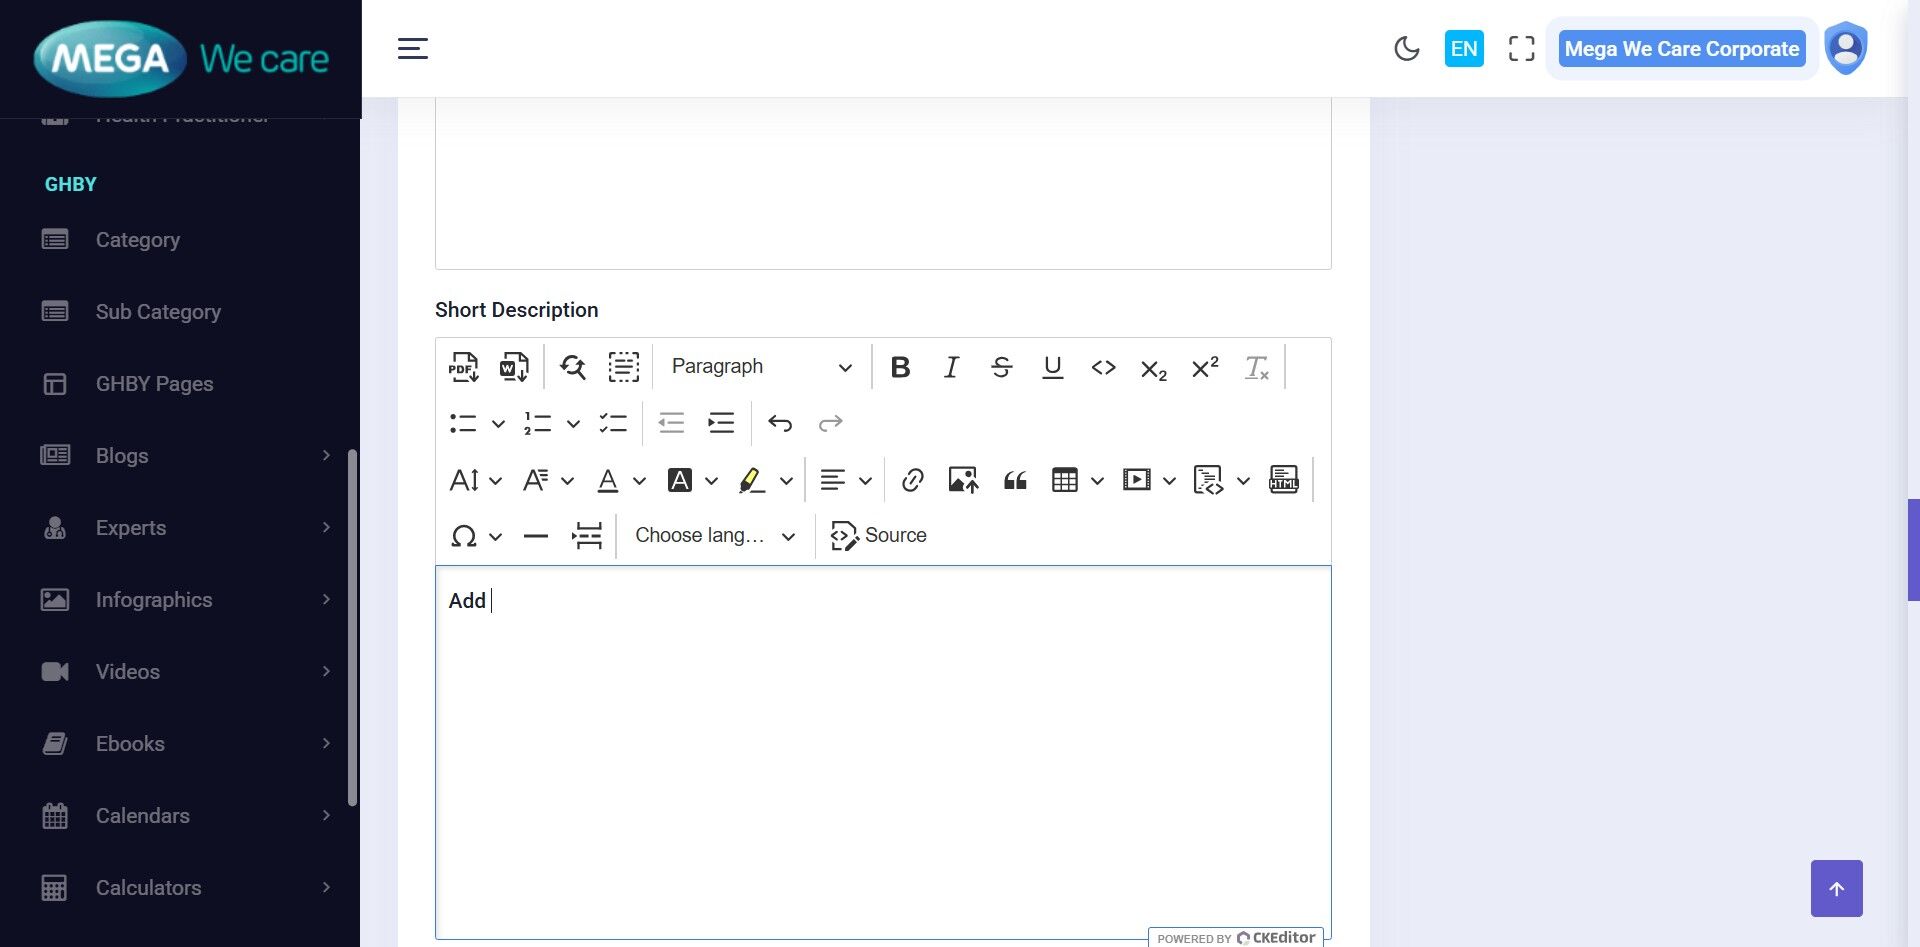
Step 15: Add Short Description
Add the short description of the blog as mentioned in the given document.
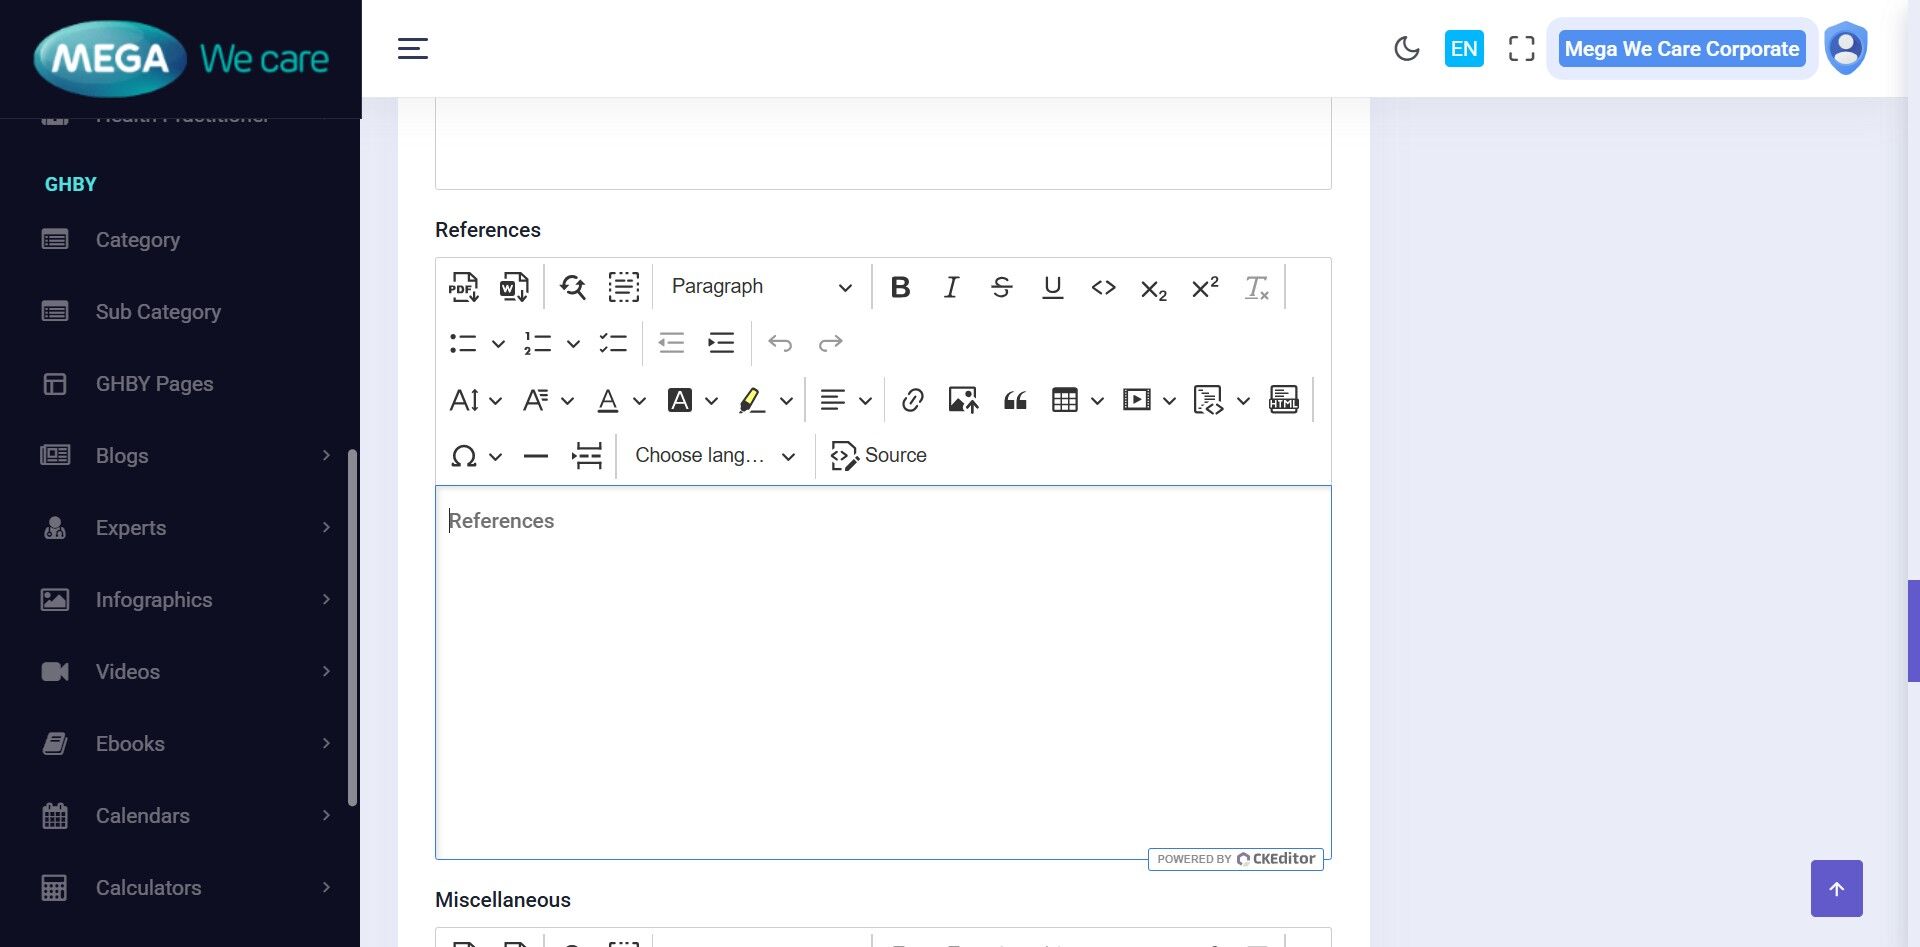
Step 16: Add References
List the references in numbered format and add their source links.
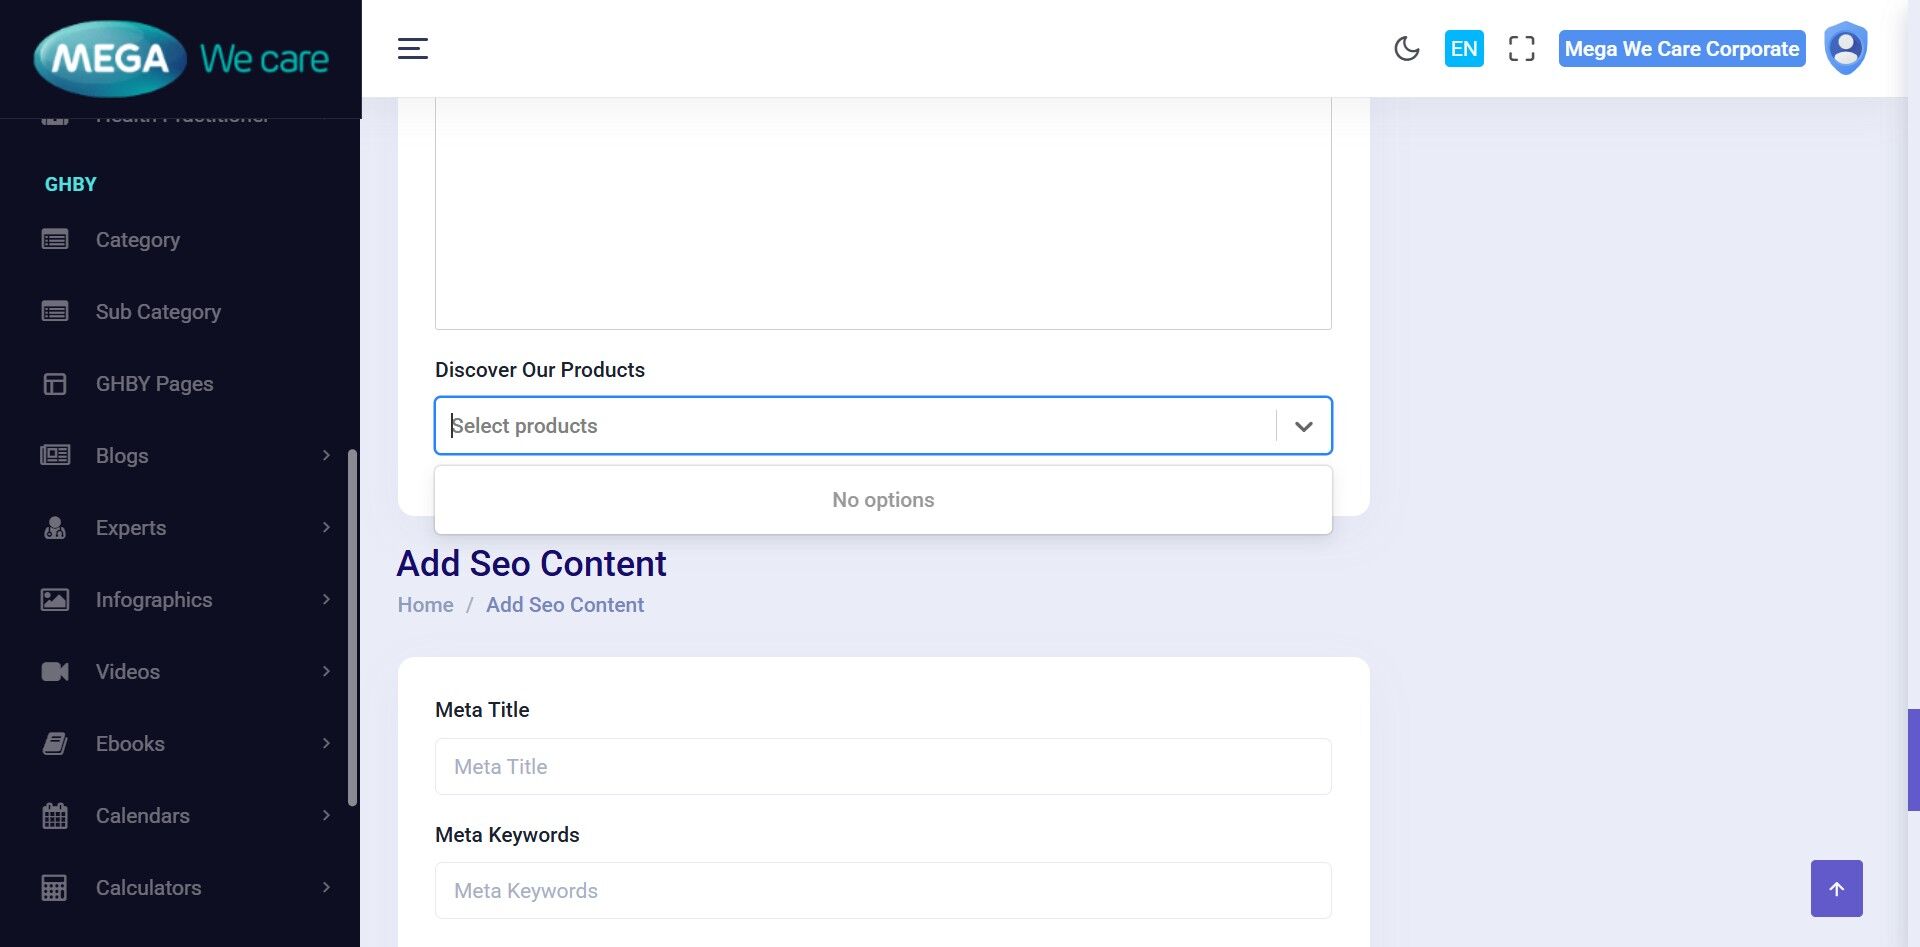
Step 17: Link Related Products
Click Discover Our Products to add products related to the blog. You can select more than one product, search for products, and change their order by dragging and dropping them. If no products have been added before, the list will be empty. Once products are added, they will appear in the list for selection.
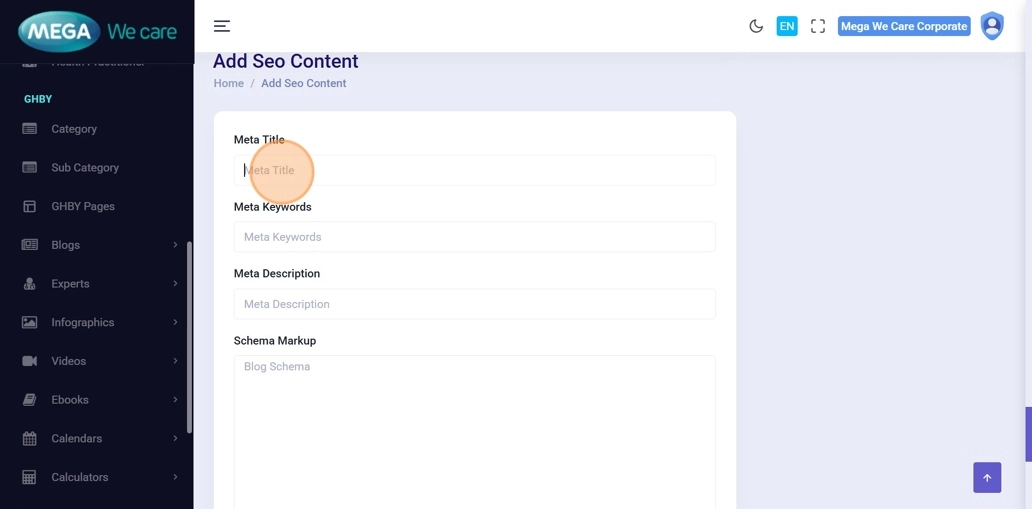
Step 18: Add SEO Details
To add the SEO details for the blog, Enter the Meta Title, Meta Keywords, and Meta Description, then add the schema markup in JSON-LD format within a tag in the Blog Schema field, and finally provide the Image Alt Tag to ensure the blog is fully optimized for search engines.
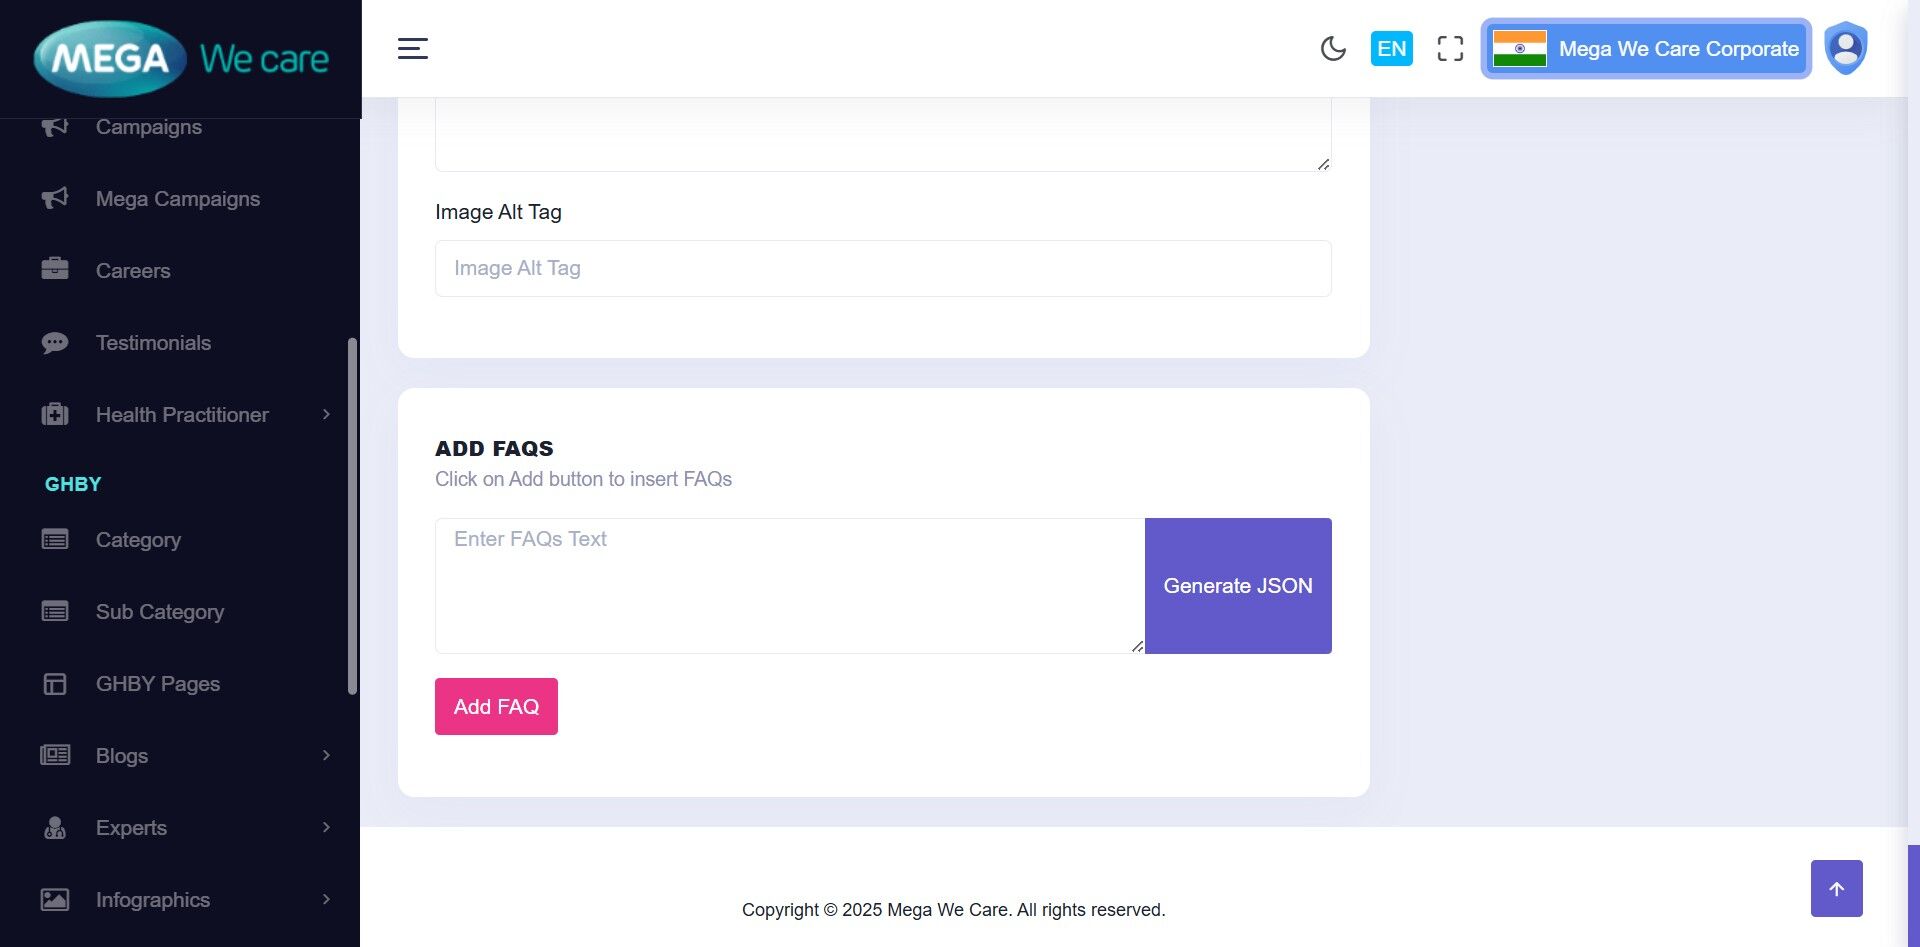
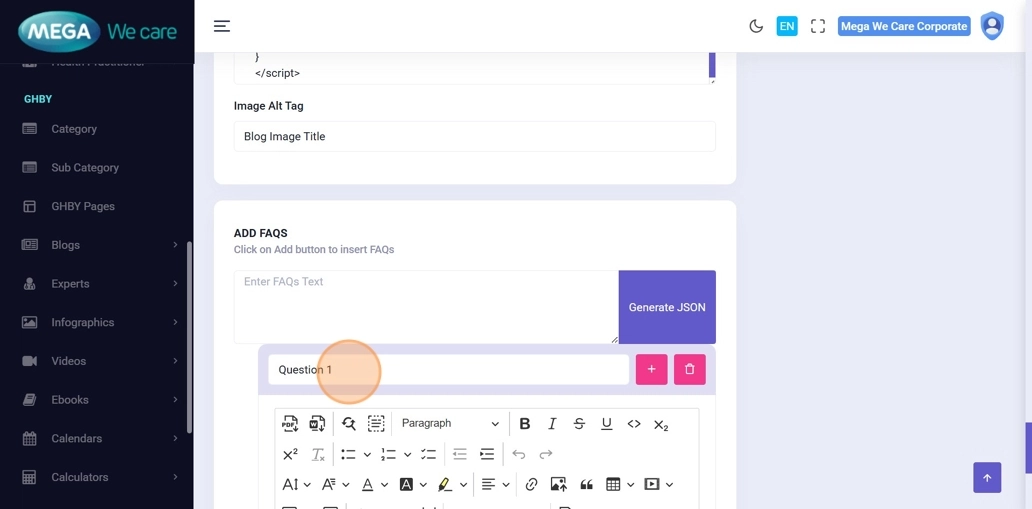
Step 19–20: Add FAQs
Click “Add FAQ” button to start adding FAQs to the blog content. When you add an FAQ, it is created immediately. You can edit the questions and answers, add multiple FAQs, change their order by dragging and dropping them, and delete any FAQ when needed.
Step 21: Upload Blog Images
Upload separate images for desktop, mobile, tablet, and different devices.
Step 22: Upload Audio (Optional)
Add an audio version of the blog if available.
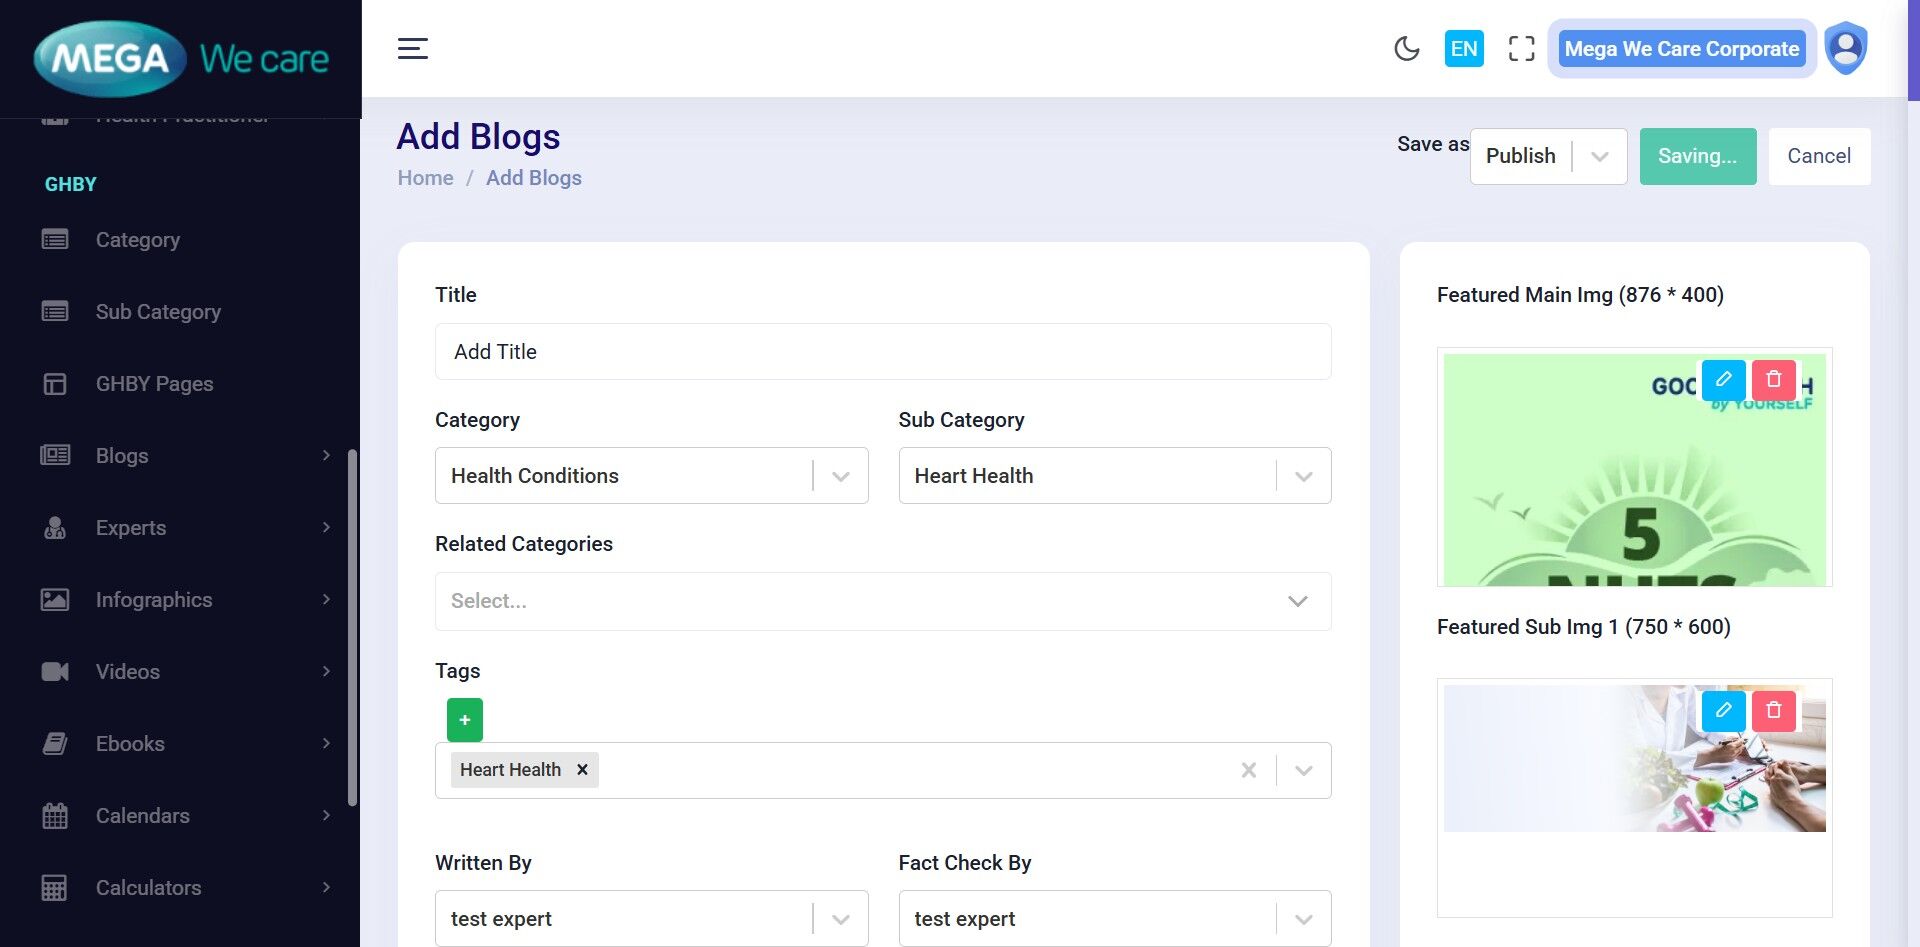
Step 23–24: Save or Publish
Choose “Save as Draft” to keep the blog for review, or select “Publish” to make it live on the website.

Edit & Update an Existing Blog
Step 25: Open Blog for Editing
Go to Blogs → Manage Blogs and click Edit.
Step 26: Update Required Fields
You can update any section, including title, slug, content, categories and tags, experts, table of contents and highlights, media, FAQs, and SEO. You only need to edit the fields that require changes.
Step 27: Save Changes
Click Save or Save and Continue to save your changes. If the blog is published, the updates will appear live right away. If it is a draft, it will not be visible on the website.
Section 3: Delete, Restore & Permanently Delete Blogs
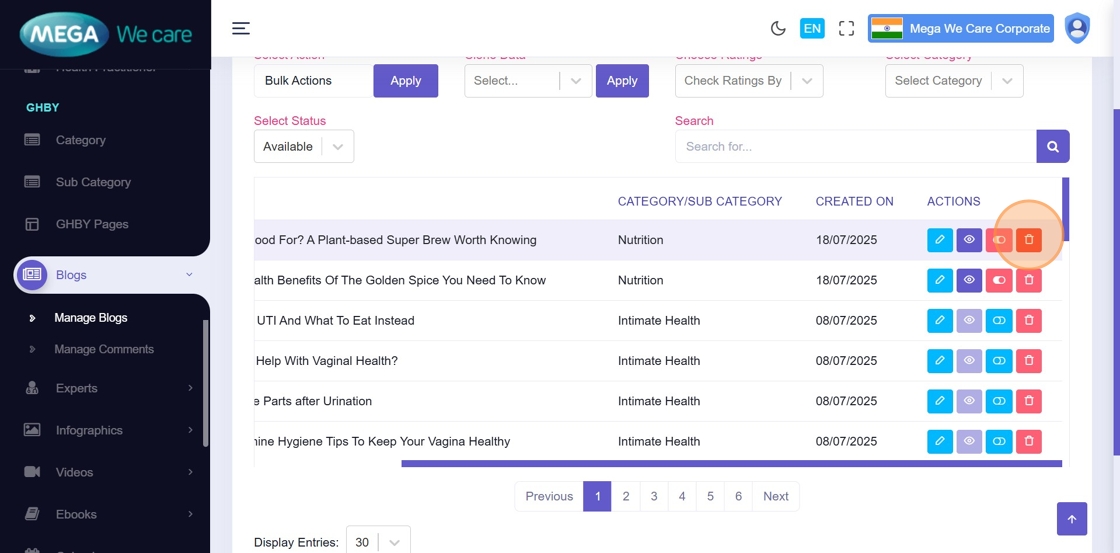
Step 28: Delete a Blog
To delete a blog, click the Delete icon. The blog will be moved to the Trash and will stay there for 30 days before being permanently removed.
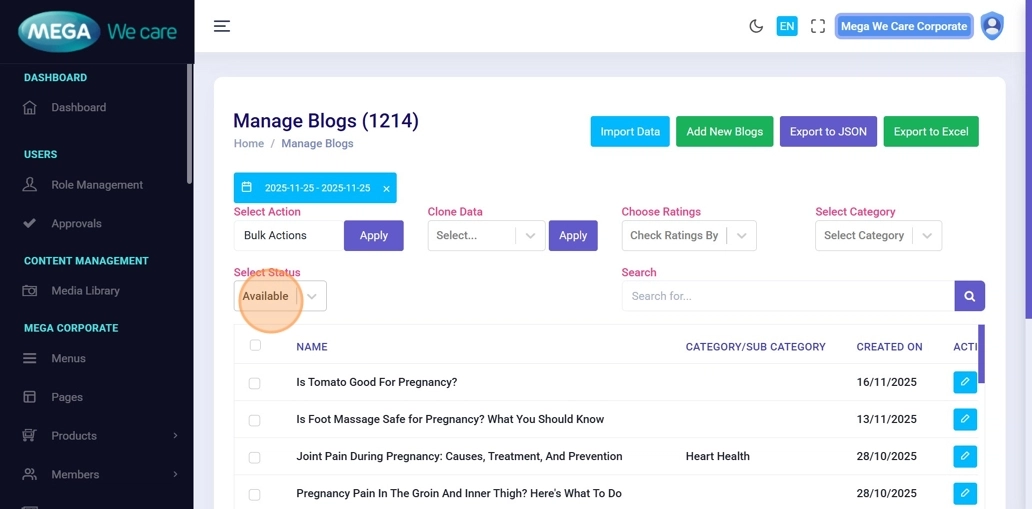
Step 29: View Blogs in Trash
After a blog is moved to Trash, open the Select Status dropdown and change it from Available to Trash to see all deleted blogs. From here, you can restore one or more blogs or permanently delete the selected or all trashed blogs.
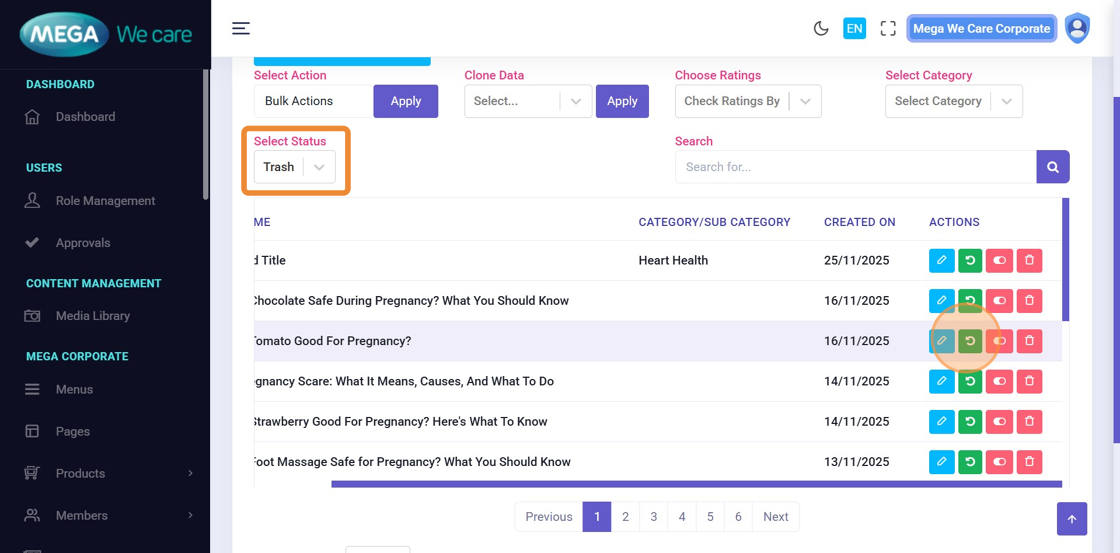
Step 30: Restore a Blog
To restore a blog, switch the Select Status filter from Available to Trash, then click the Restore icon on the desired blog. This will successfully move the blog back to the active list.
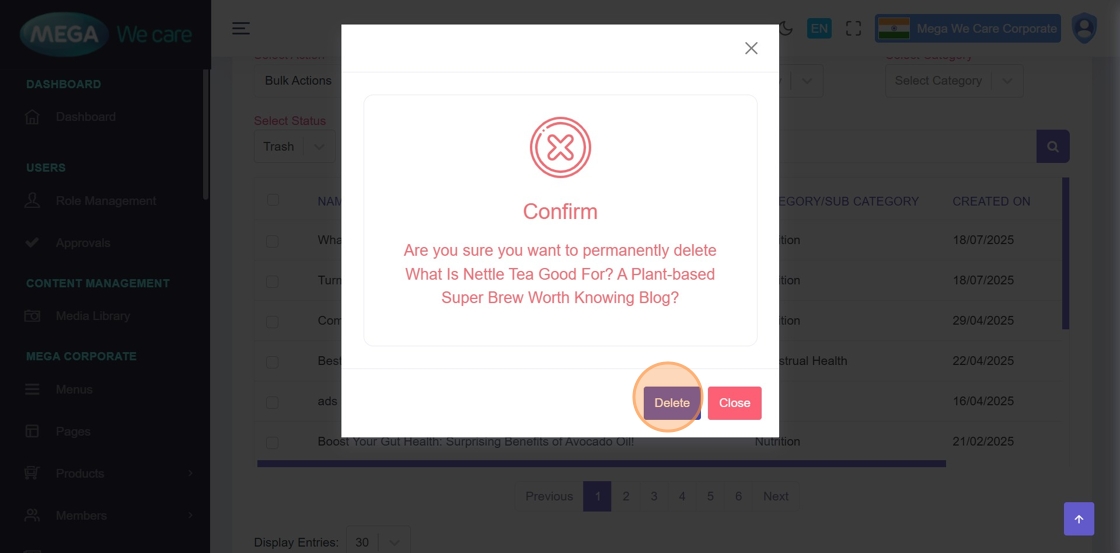
Step 31–32: Permanently Delete a Blog
After clicking the Trash icon, a confirmation popup will appear asking whether you want to permanently delete the blog. Click Delete to confirm. Once deleted permanently, the blog cannot be restored..

Important Notes
- Update the blog slug as specified in the document. If the slug is not available, contact the SEO team to update the blog slug in document.
- Ensure the Table of Contents anchors attribute match the section headings like id="example".
- In the Main Content section, make sure the Conclusion heading includes the attribute data-section="conclusion".
- In the References section, use an ordered (numbered) list and include source links. If any source link leads to a 404 error, contact the content team or remove that reference.
- Upload images in WEBP format, ensure the image size is not too large, and do not use PNG, JPG, or JPEG files. If the image is in any of these formats, convert it to WEBP before uploading.
- Carefully review blog schema markup to avoid errors on the main website
- Remember to publish the blog once it has been reviewed and updated with all required content.
Summary
By following this document, users can create, organize, optimize, update, and manage blogs end to end, including assigning experts, structuring content, handling media, and safely deleting or restoring blogs. This ensures blog content remains accurate, credible, discoverable, and well-structured