Page Navigation
How to Add New Pages, Its Sections, Its Fields, Update and Delete
This document explains how to create, manage, update, and delete pages in the backend dashboard. It covers how pages are organized, how to add and manage sections and fields, how to configure page content, update SEO details, and safely delete or recover pages to keep the website well-structured and organized.
Overview
The Pages module allows users to:
- Create Parent, Child, and Sub-child pages
- Build dynamic sections using reusable fields
- Add structured content such as banners, lists, and FAQs
- Update page configurations including URL and meta data
- Permanently delete pages when required
Create a New Page
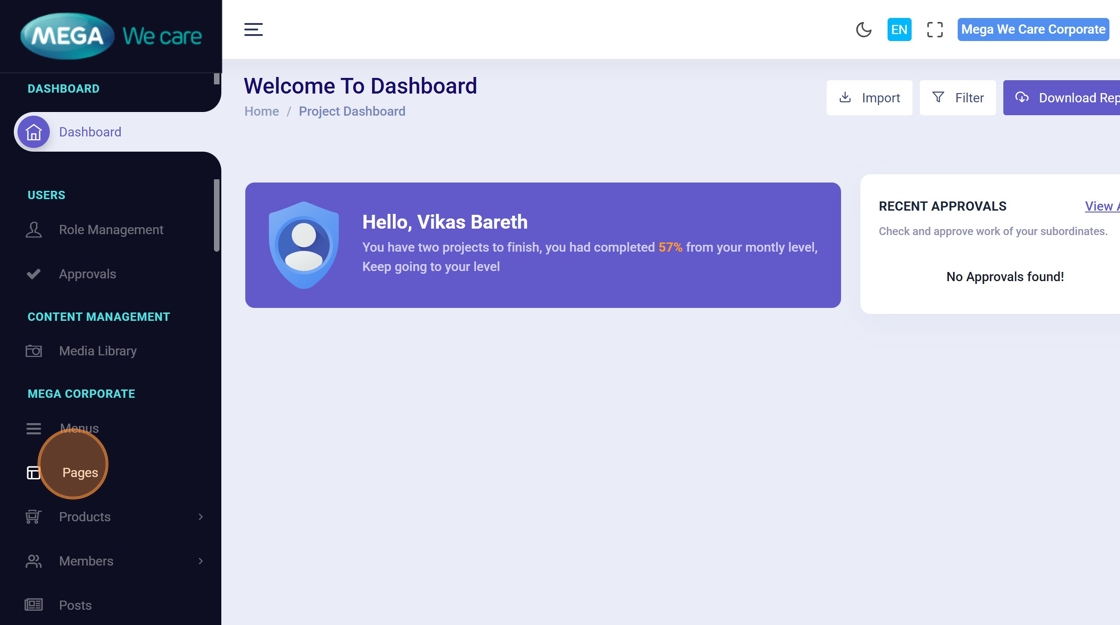
Step 1: Log in to the Admin Dashboard
Log in to the Mega We care Admin Console using your authorized credentials to access page management features.
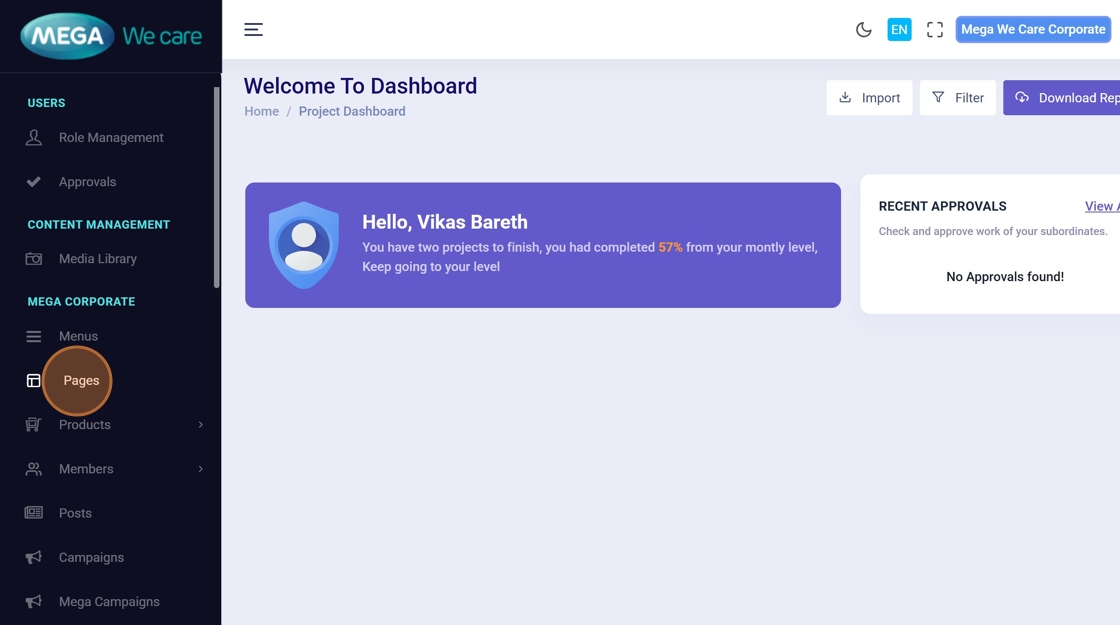
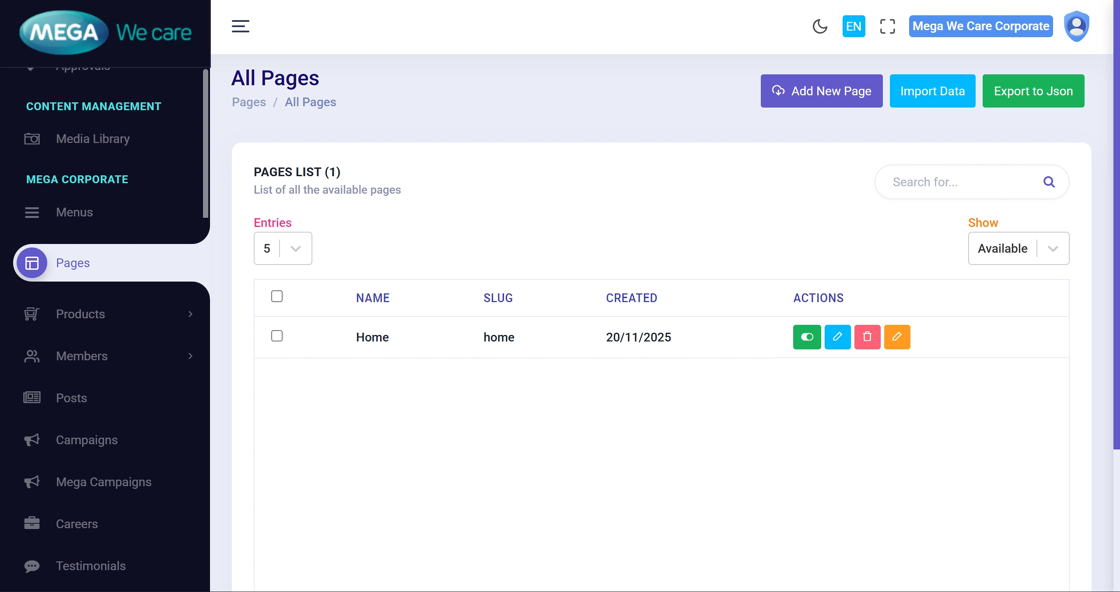
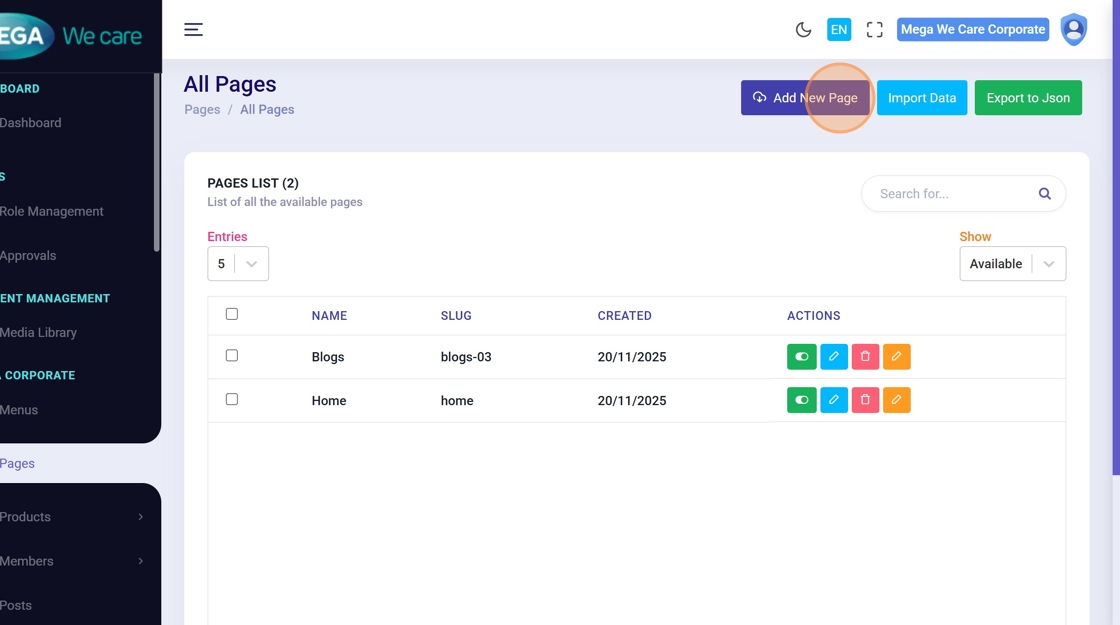
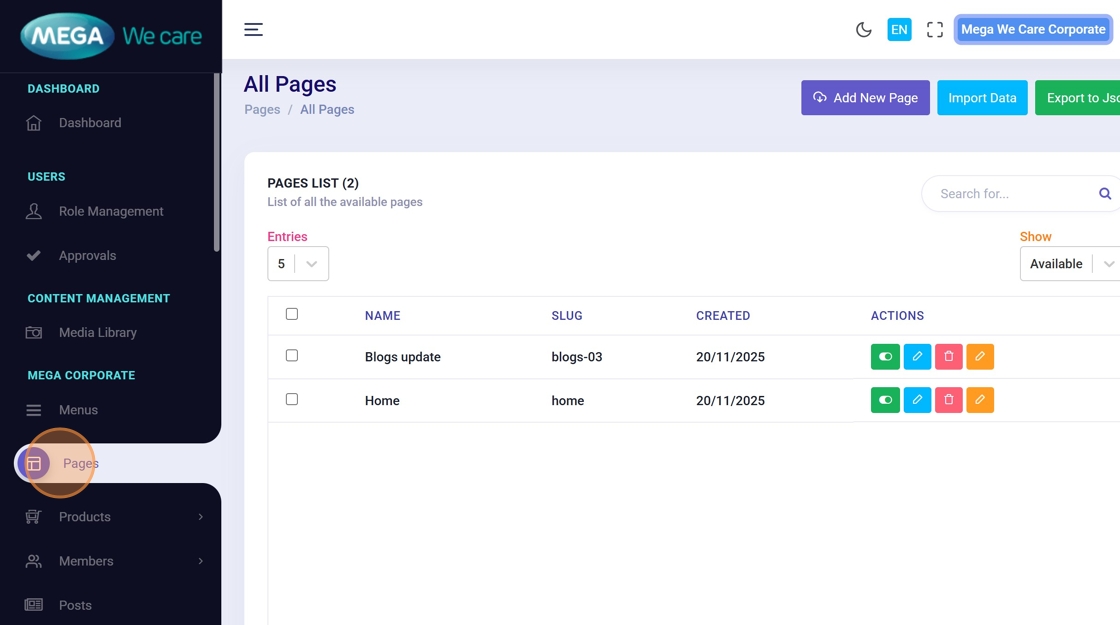
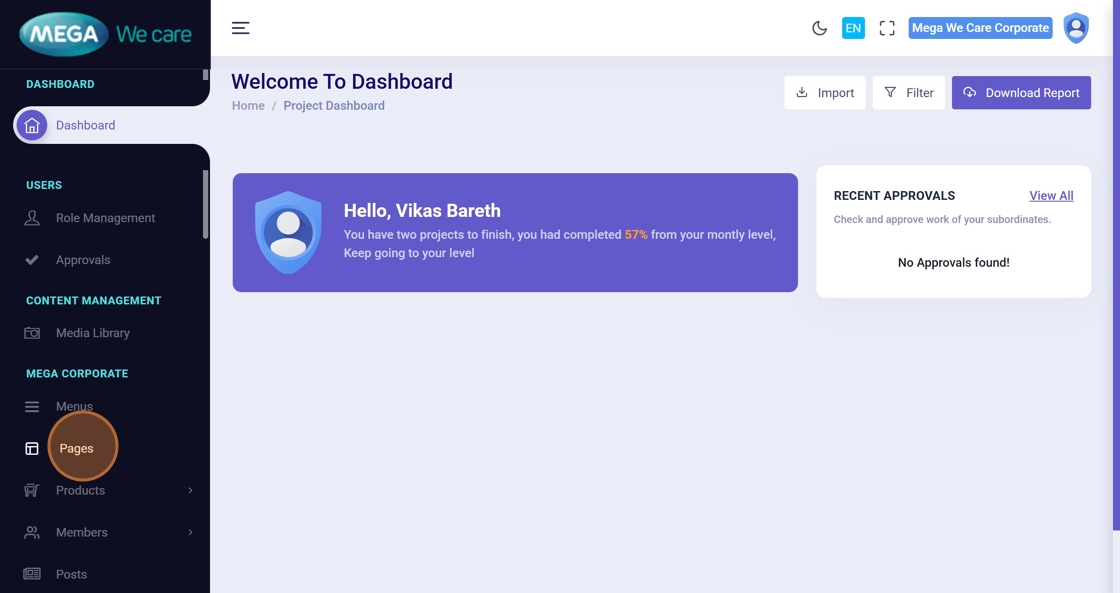
Step 2: Open the Pages Module
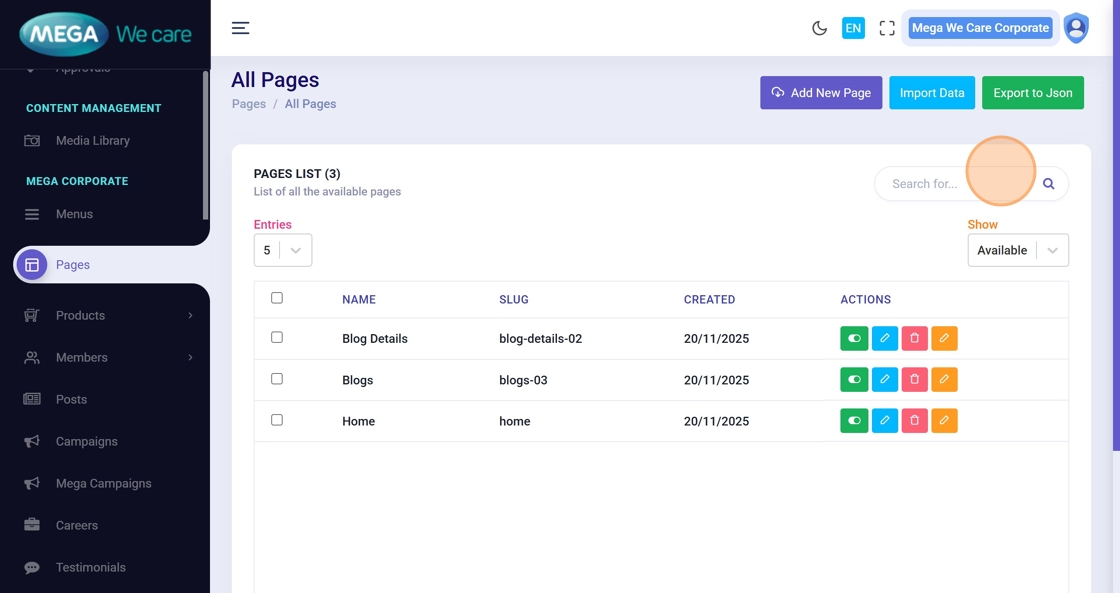
From the left sidebar, click Pages under the Mega Corporate section to view all existing pages.
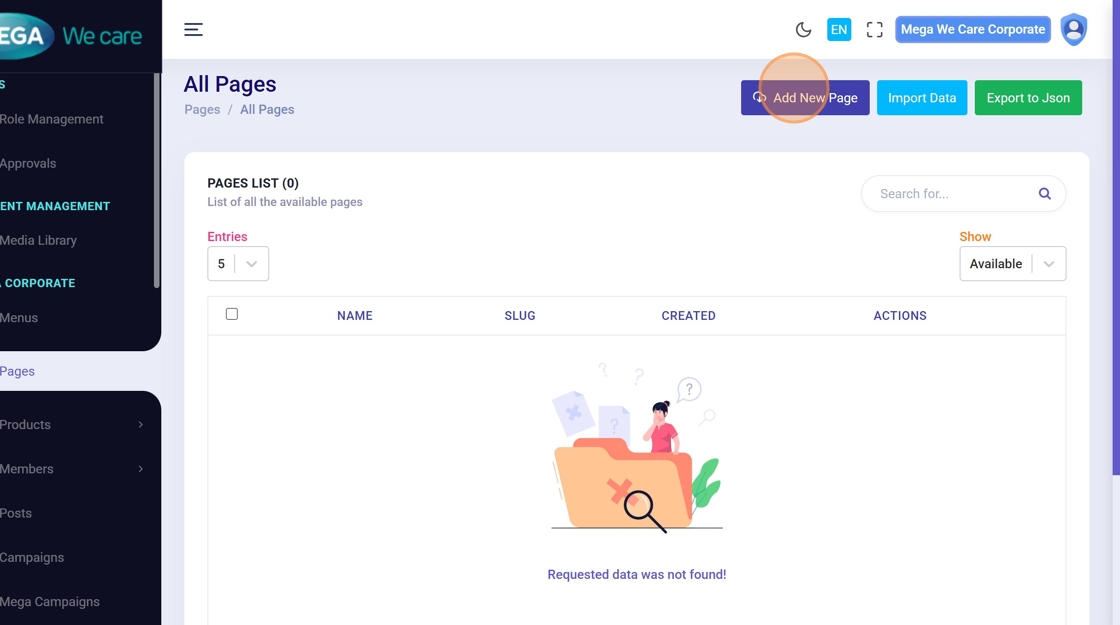
Step 3: Start Creating a New Page
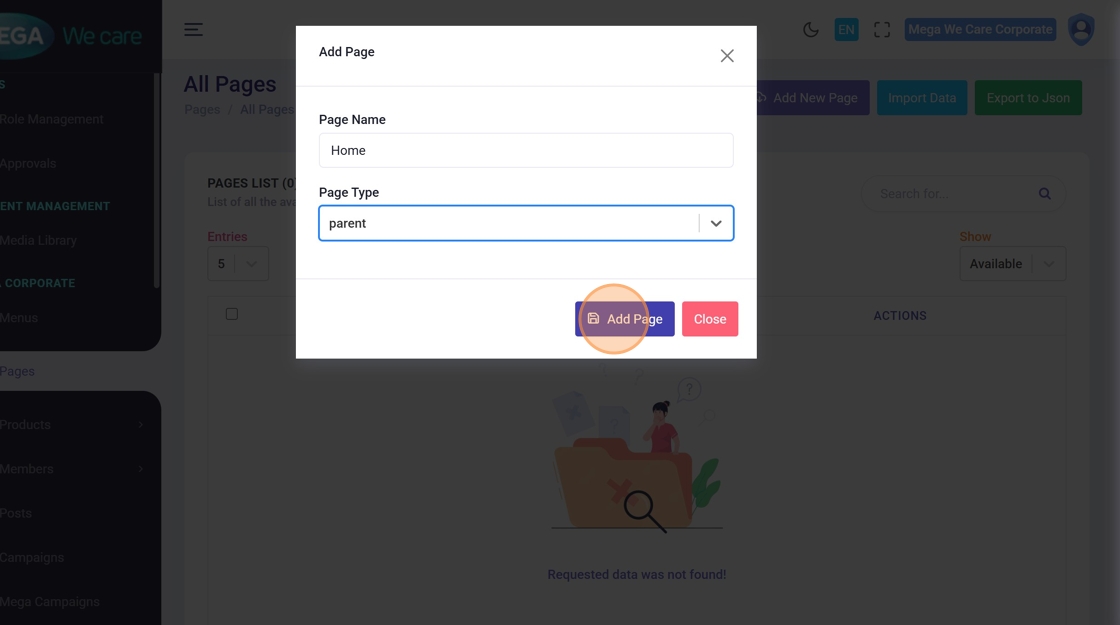
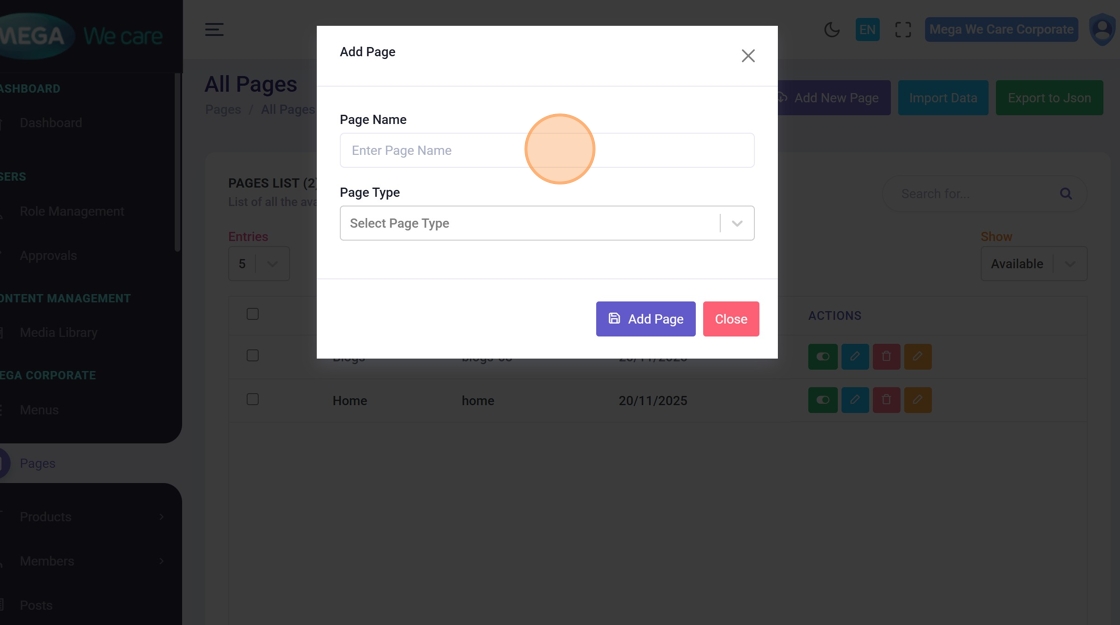
Click Add New Page from the top-right corner to open the page creation popup.
Step 4: Enter the Page Name
Type the name of the page (for example, Home).
This name is used for internal identification in the admin panel.
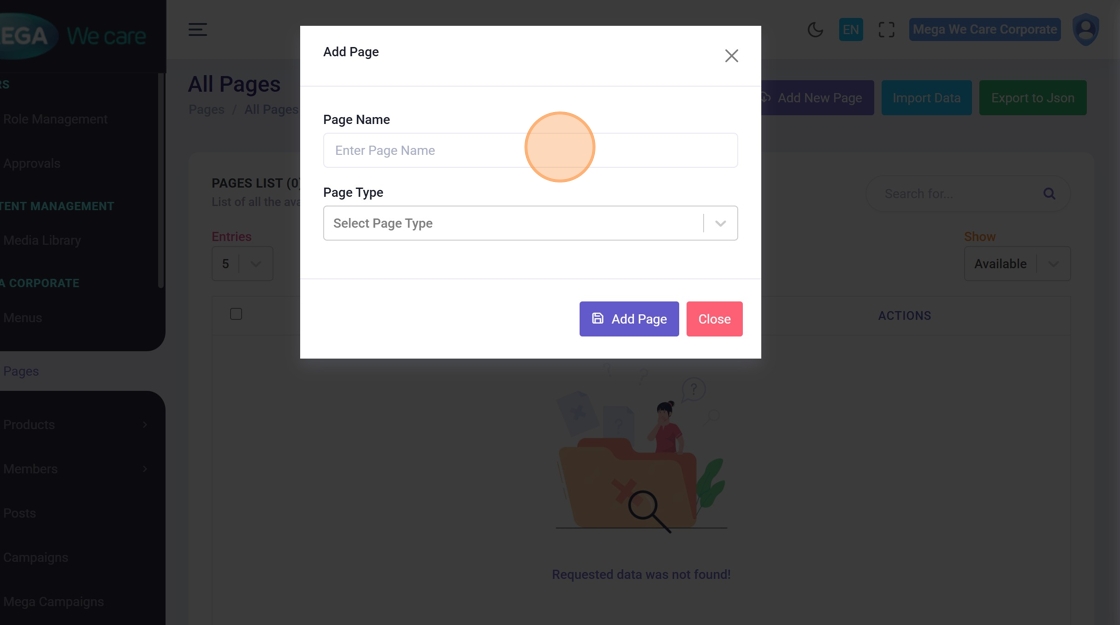
Step 5: Select the Page Type
Choose the page hierarchy:
- Parent – Top-level page
- Child – Page under a parent
- Sub-child – Page under a child page
This defines how the page appears in navigation.

Step 6: Create the Page
Click Add Page to save and create the page.
Step 7: Confirm Page Creation
Wait for confirmation.
Once saved, the new page will appear in the pages list.
Create a New Child Page
Step 8: Access the Admin Dashboard
Log in to the Mega We care Admin Dashboard.

Step 9: Open the Pages List
Click Pages from the sidebar to view all existing pages.
Step 10: Add a New Page
Click Add New Page to begin creating a child page.
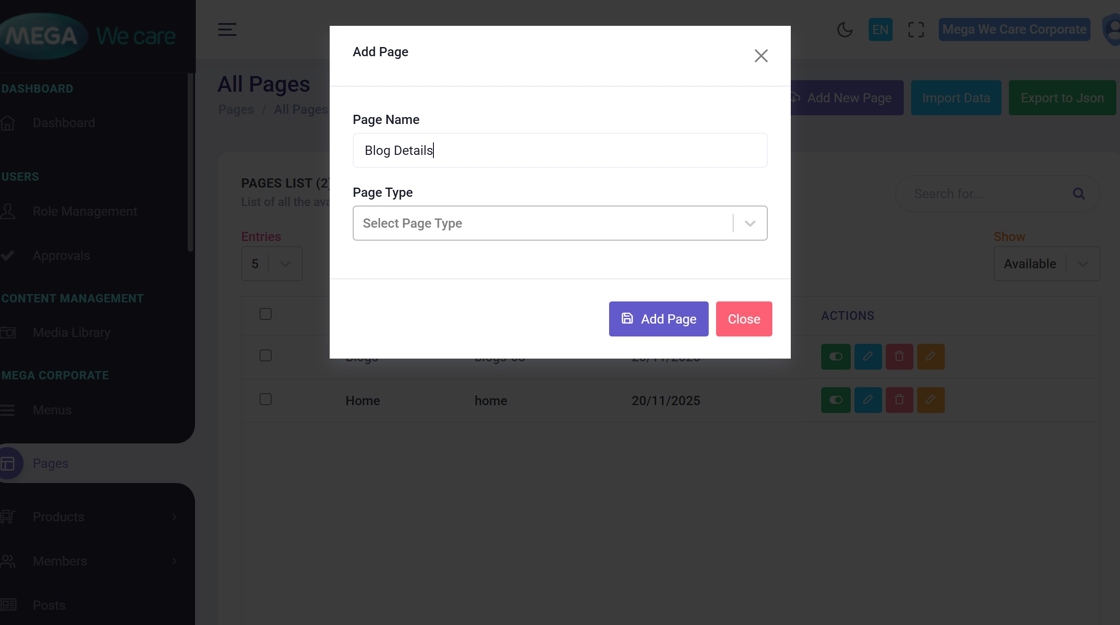
Step 11: Activate the Page Name Field
Click inside the Enter Page Name field.
Step 12: Enter the Child Page Name
Type the name of the child page (for example, Blog Details).
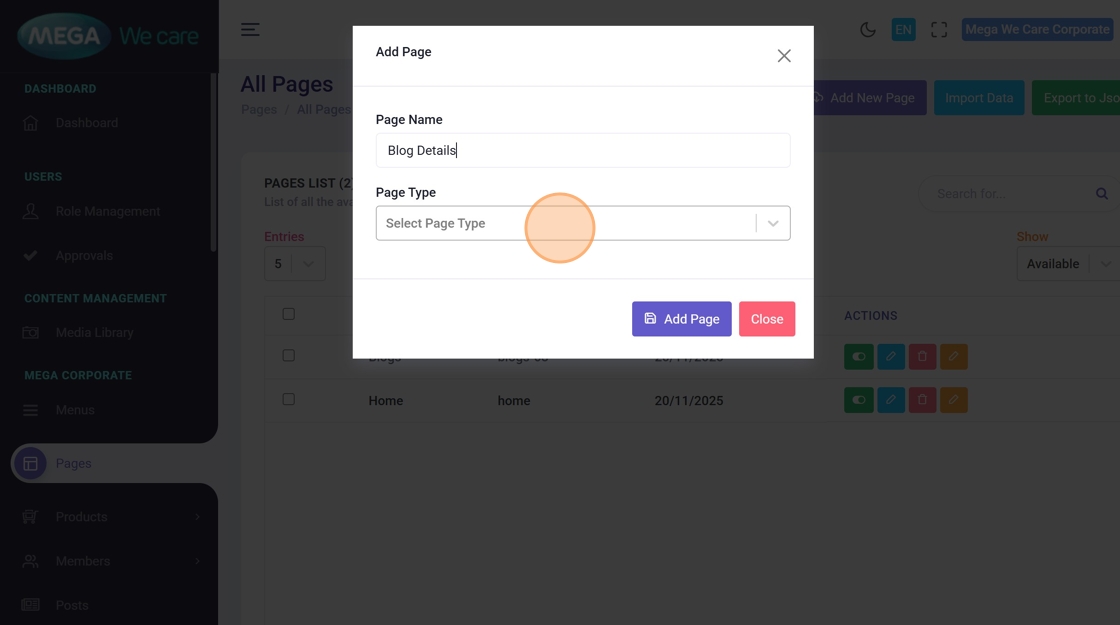
Step 13: Open Page Type Options
Click the Page Type dropdown to view available options.
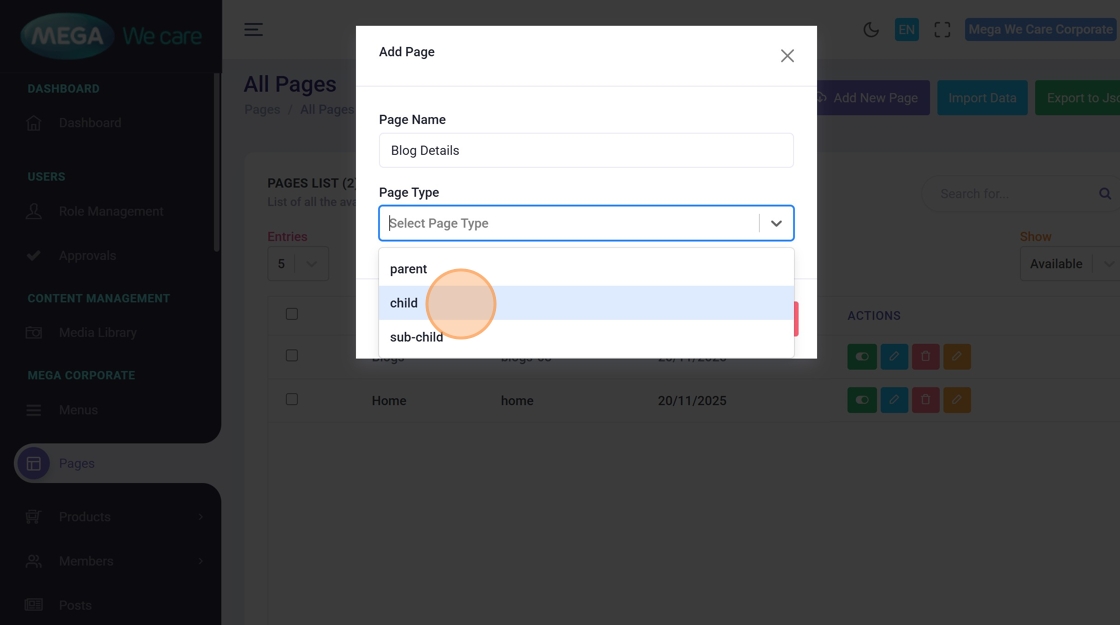
Step 14: Select Child Page Type
Choose Child to define this page as a child page.
Step 15: Choose the Parent Page
Click the Parent Page dropdown.
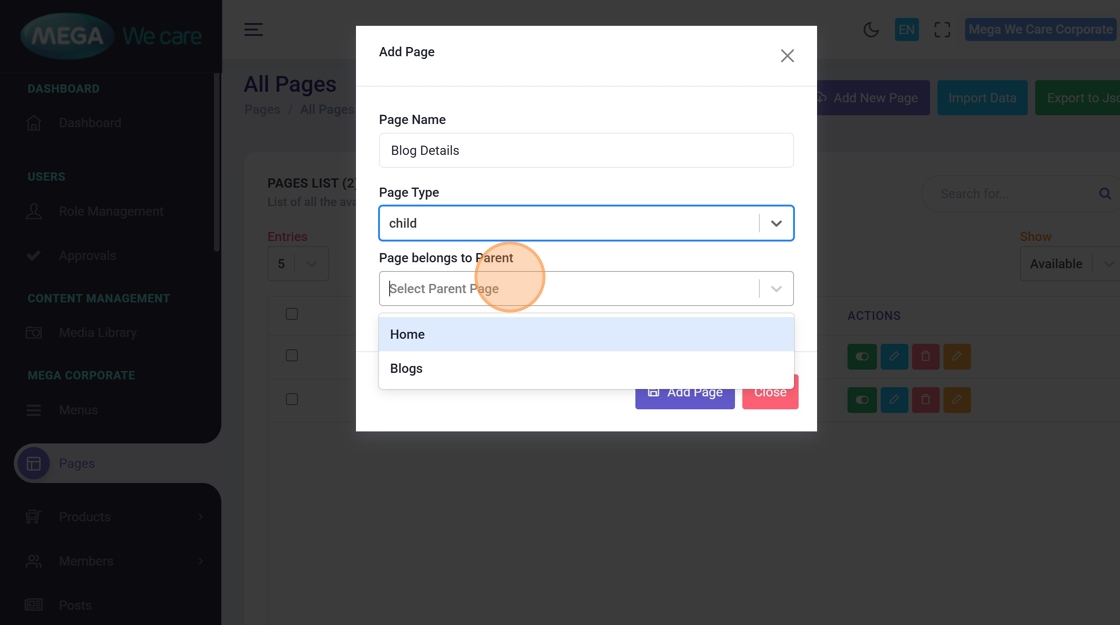
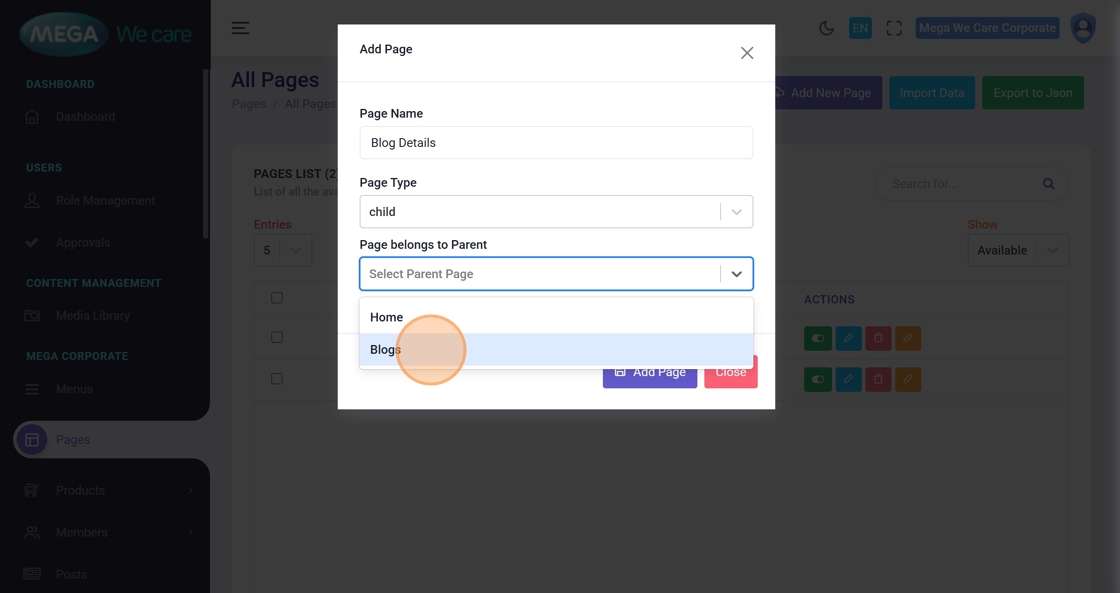
Step 16: Assign the Parent Page
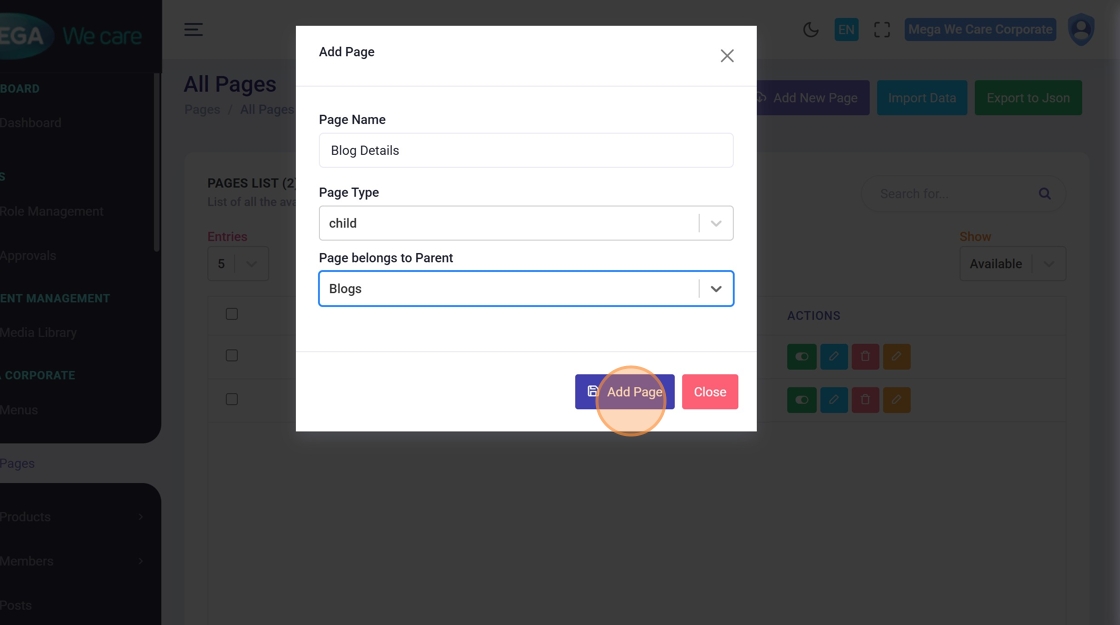
Select the appropriate parent page (for example, Blogs) to maintain correct hierarchy.
Step 17: Save the Child Page
Click Add Page to create the child page.
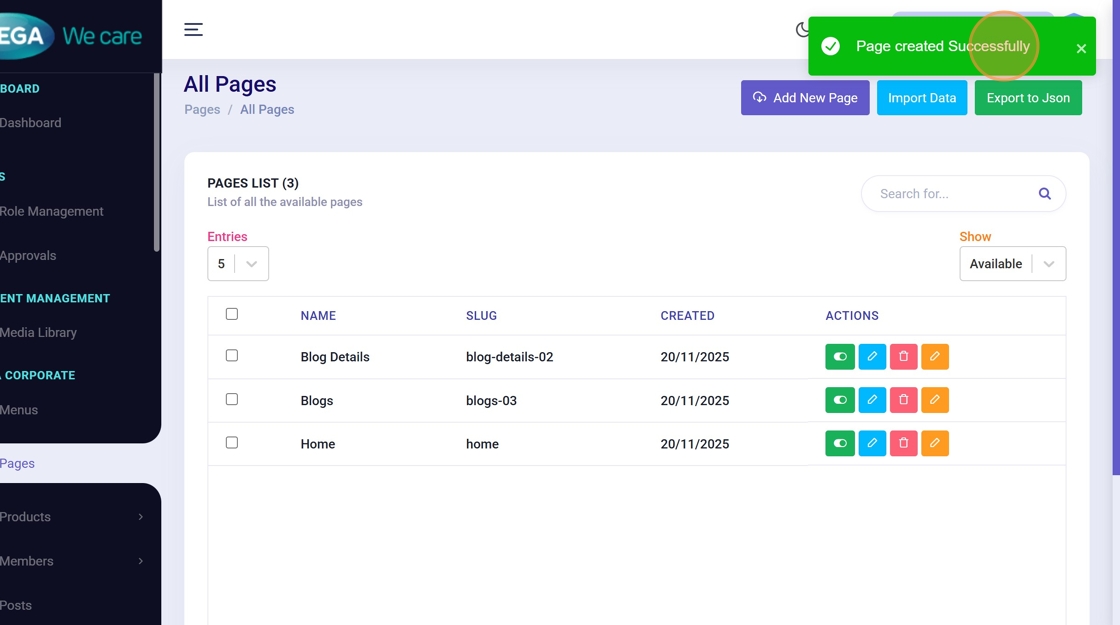
Step 18: Confirm Child Page Creation
A confirmation message appears once the child page is created successfully.
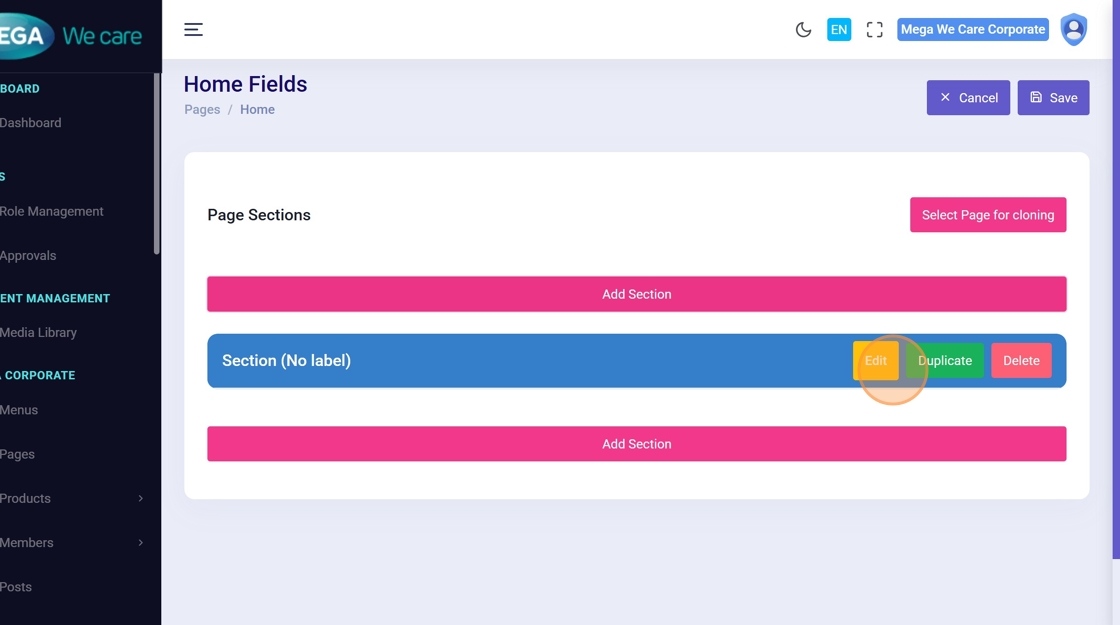
Create a New Page Section and Add Fields
Step 19: Open Pages Module
Navigate to Pages from the admin sidebar.
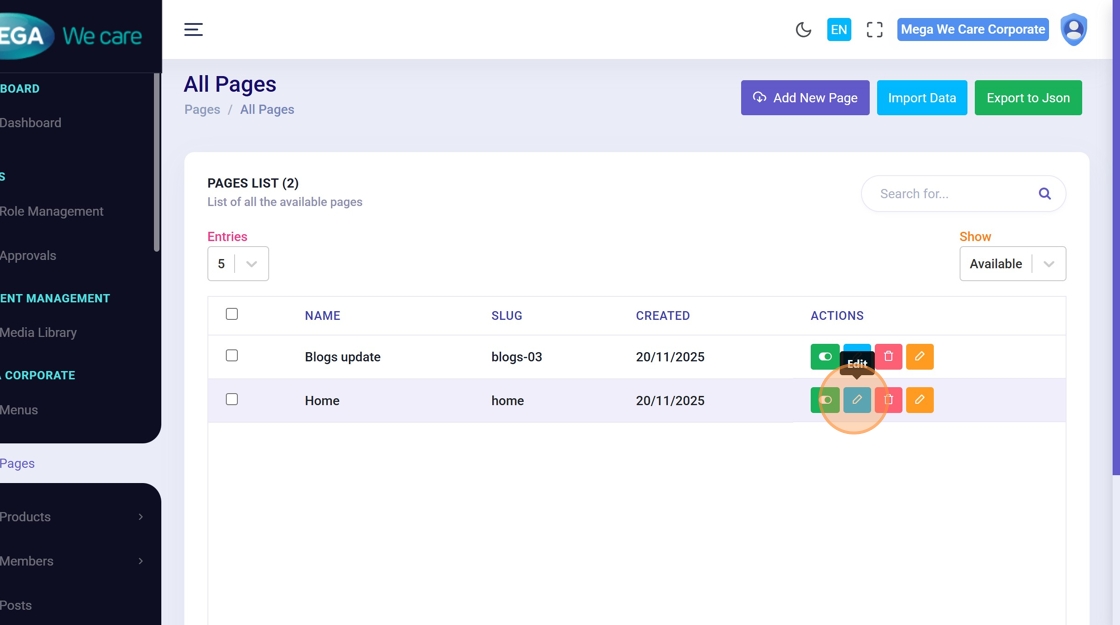
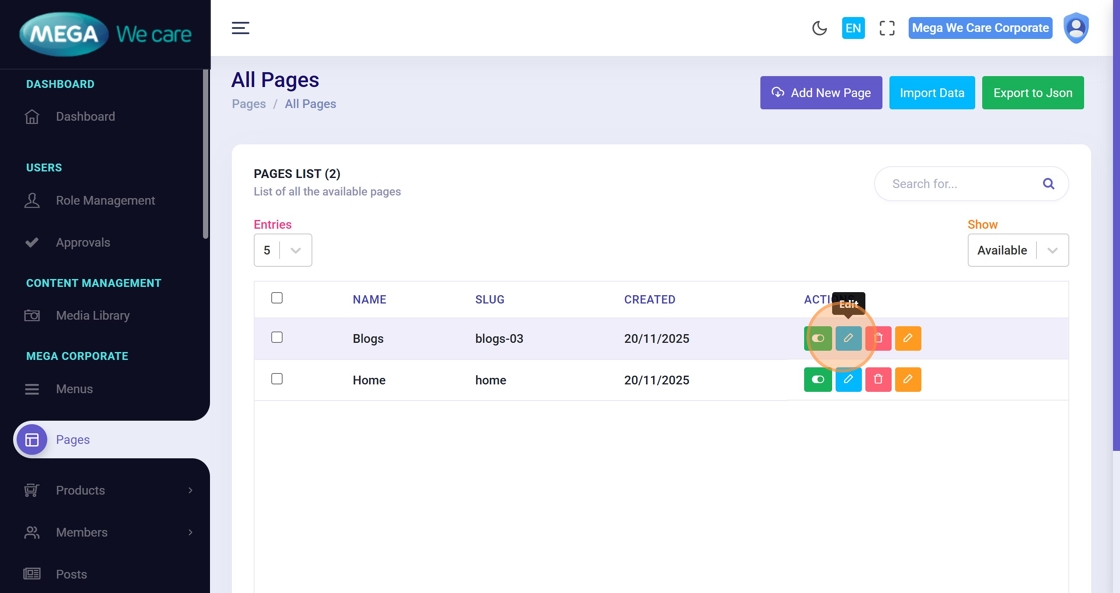
Step 20: Edit the Target Page
Locate the page and click Edit to configure its content.
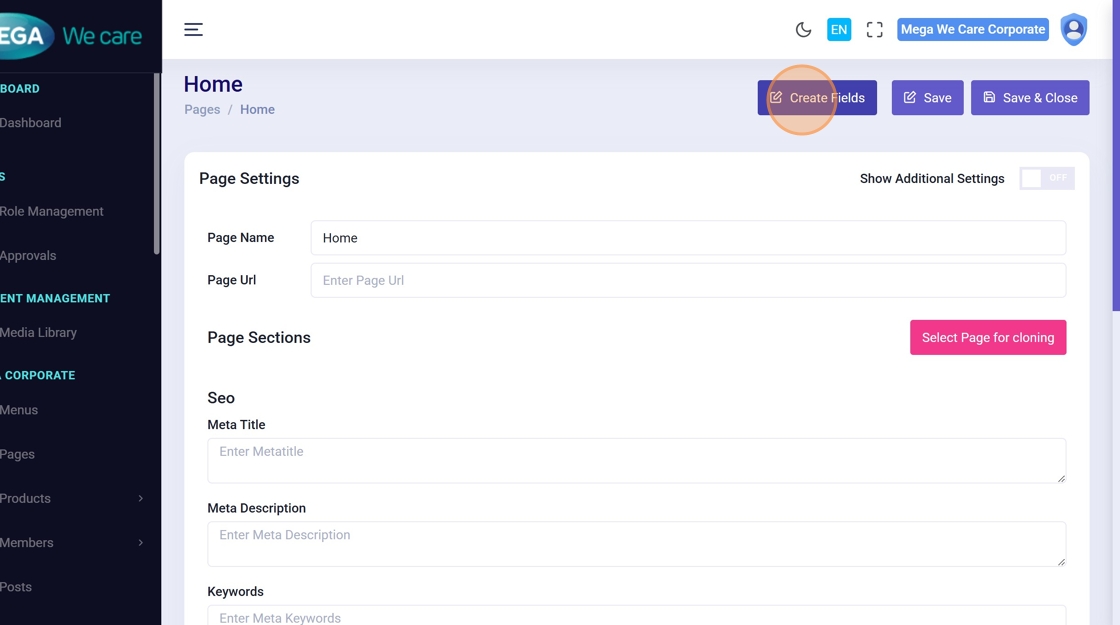
Step 21: Open Section & Field Builder
Access the section and field builder interface for the selected page.
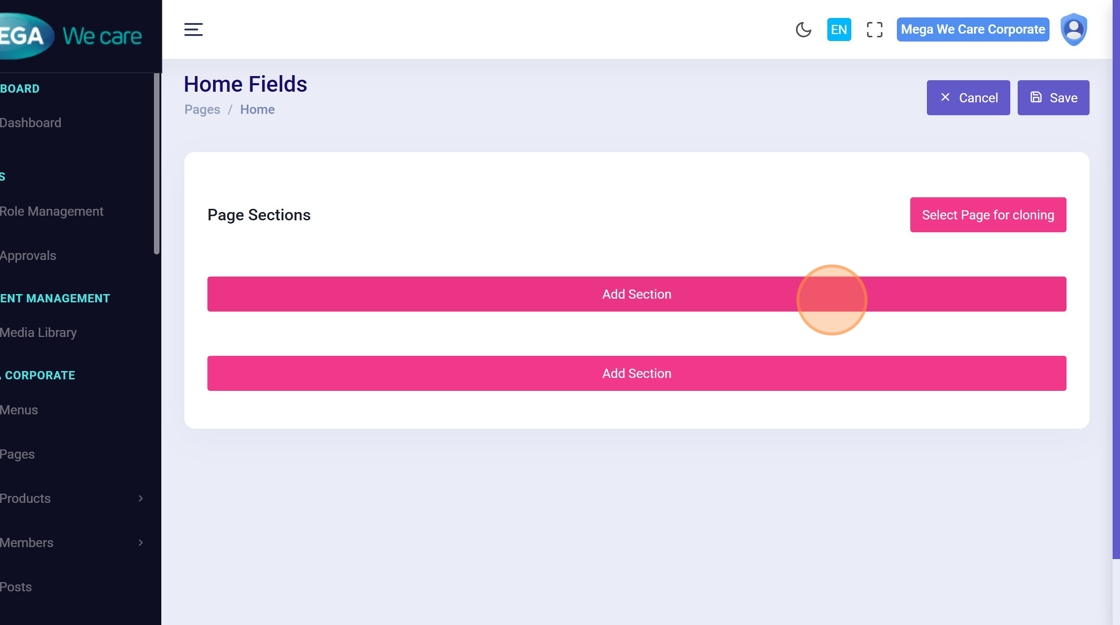
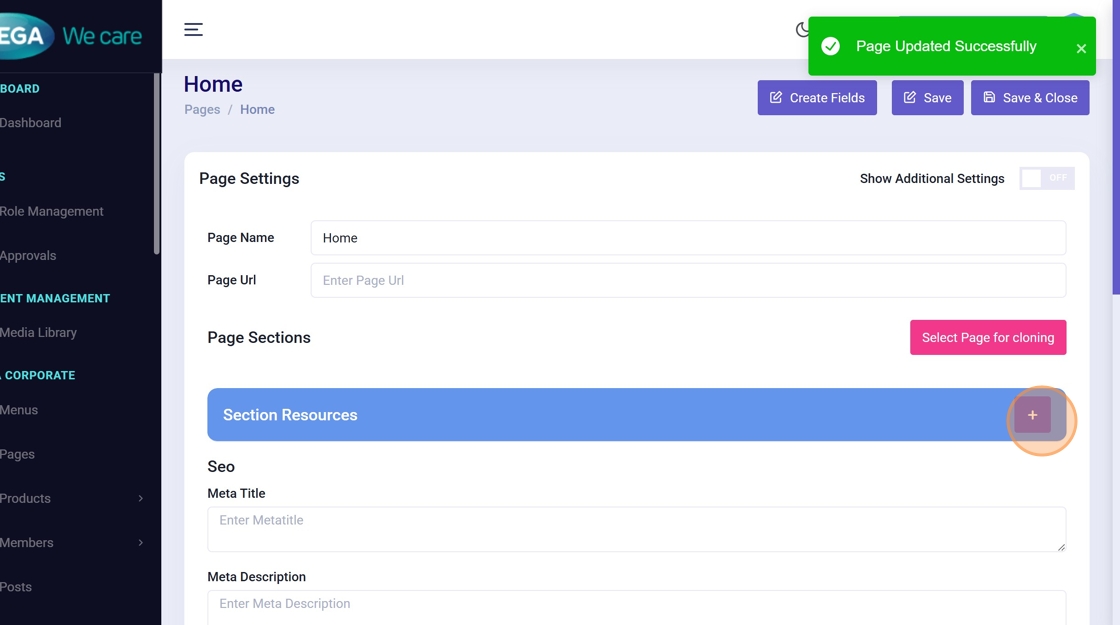
Step 22: Add a New Section
Click to add a new section block to the page layout.
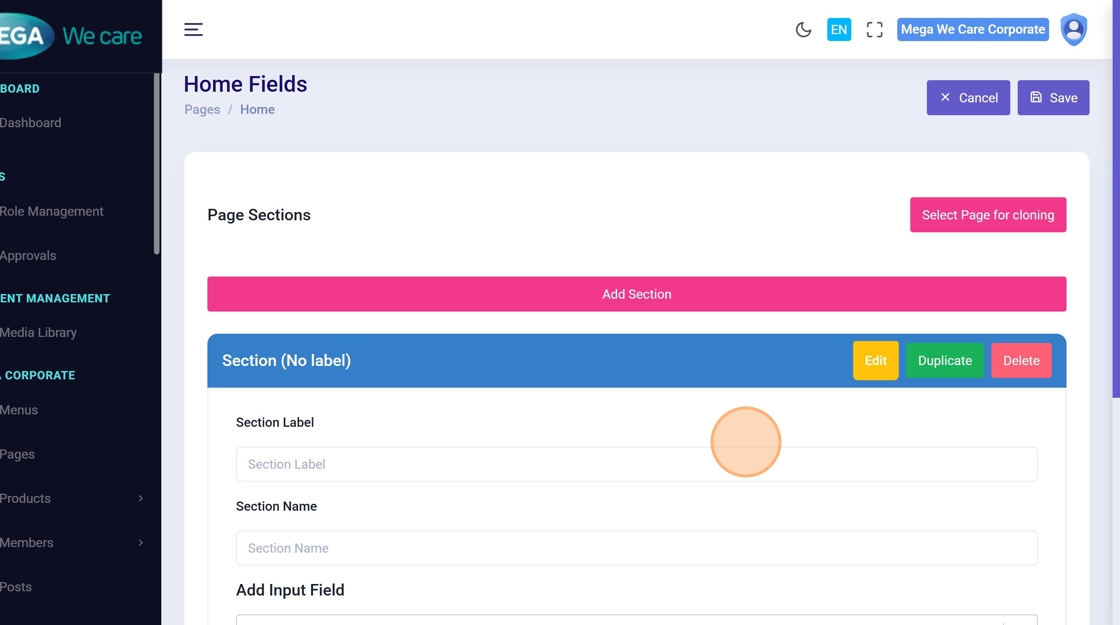
Step 23: Open Section Settings
Open the configuration panel for the newly added section.
Step 24: Define the Section Label
Enter a clear label to identify the section.
Step 25: Example Section Label
Example: Resources.
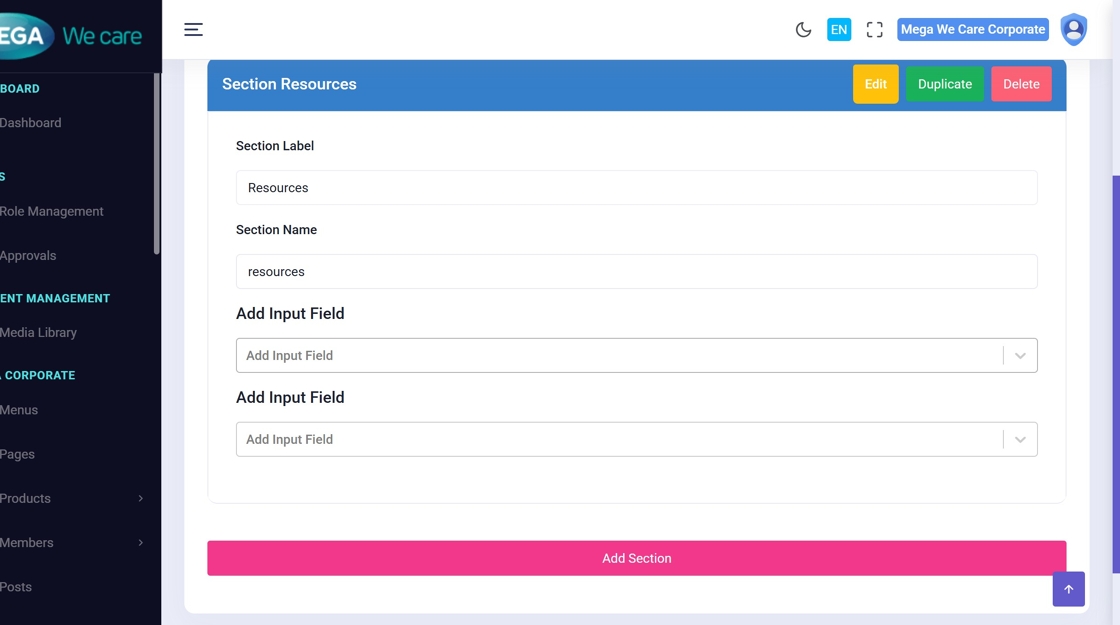
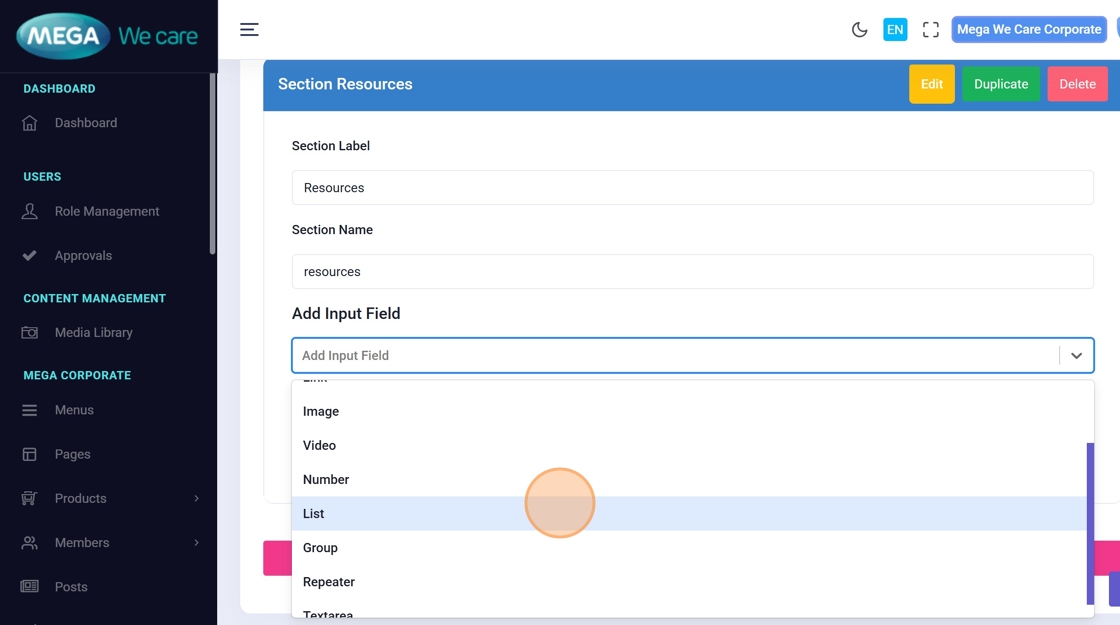
Step 26: Add Input Fields
Begin adding input fields inside the section.
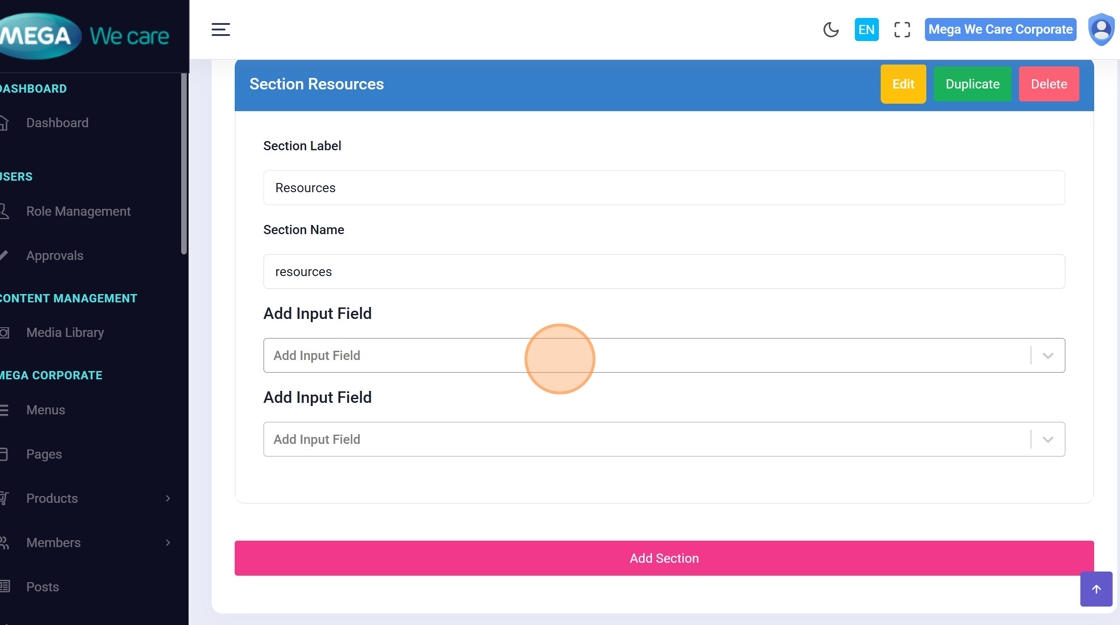
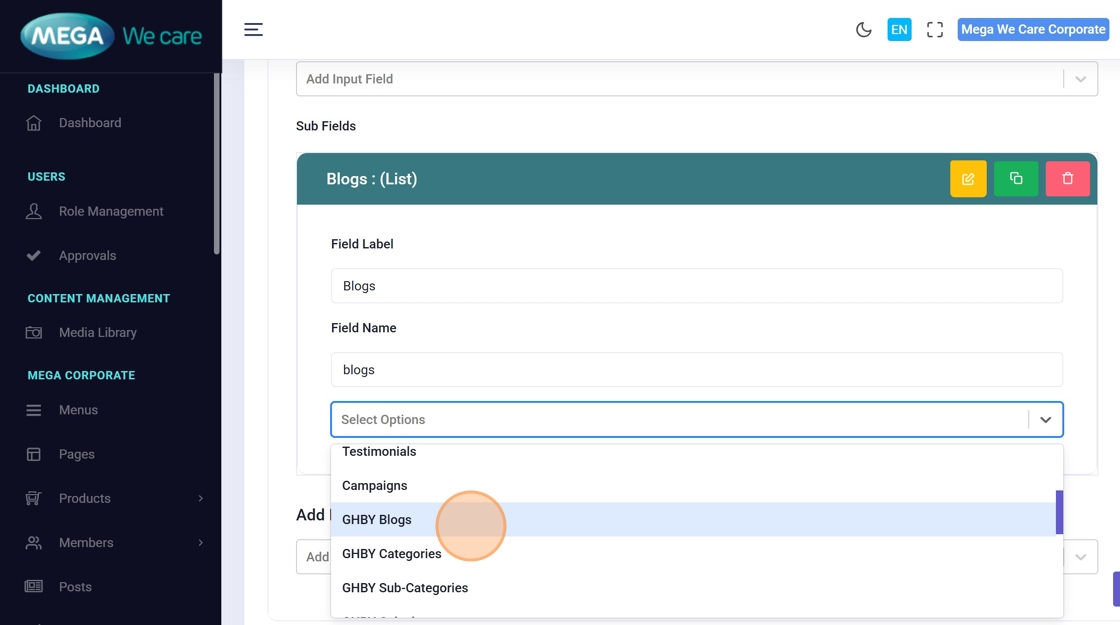
Step 27: Select Field Type
Choose the appropriate field type (for example, List) based on content needs.
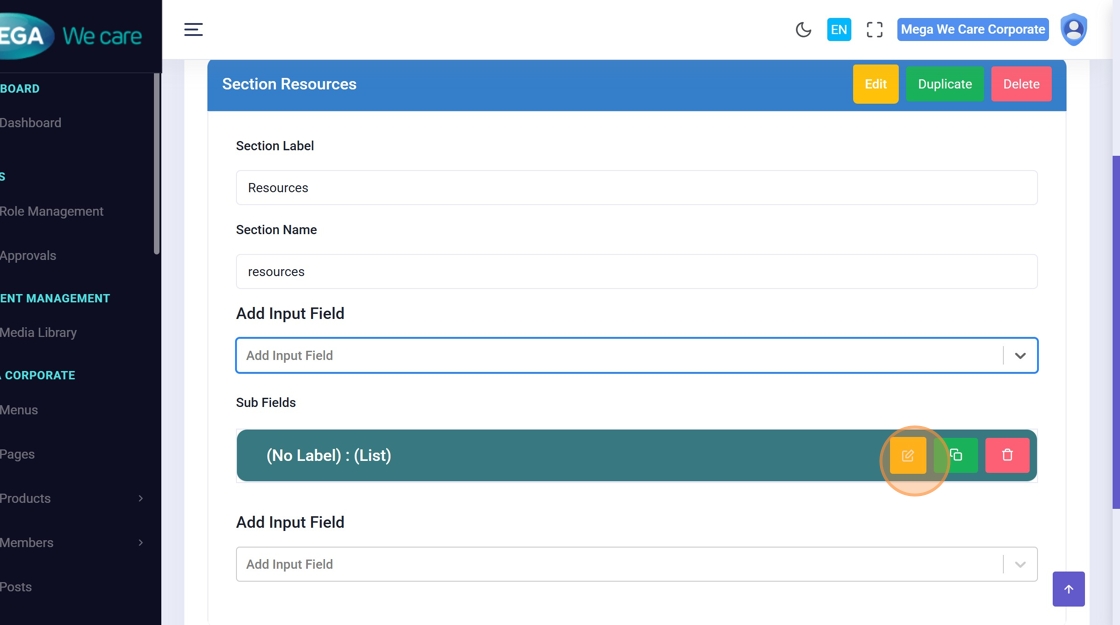
Step 28: Configure the Field
Open the field configuration panel.
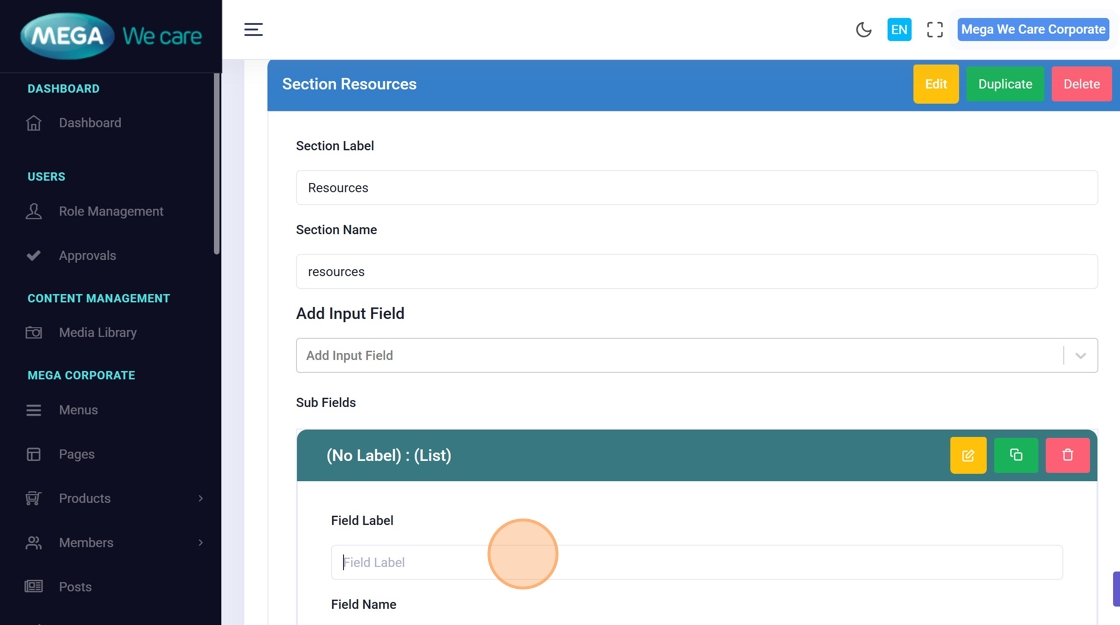
Step 29: Enter Field Label
Provide a clear field label to describe the content.
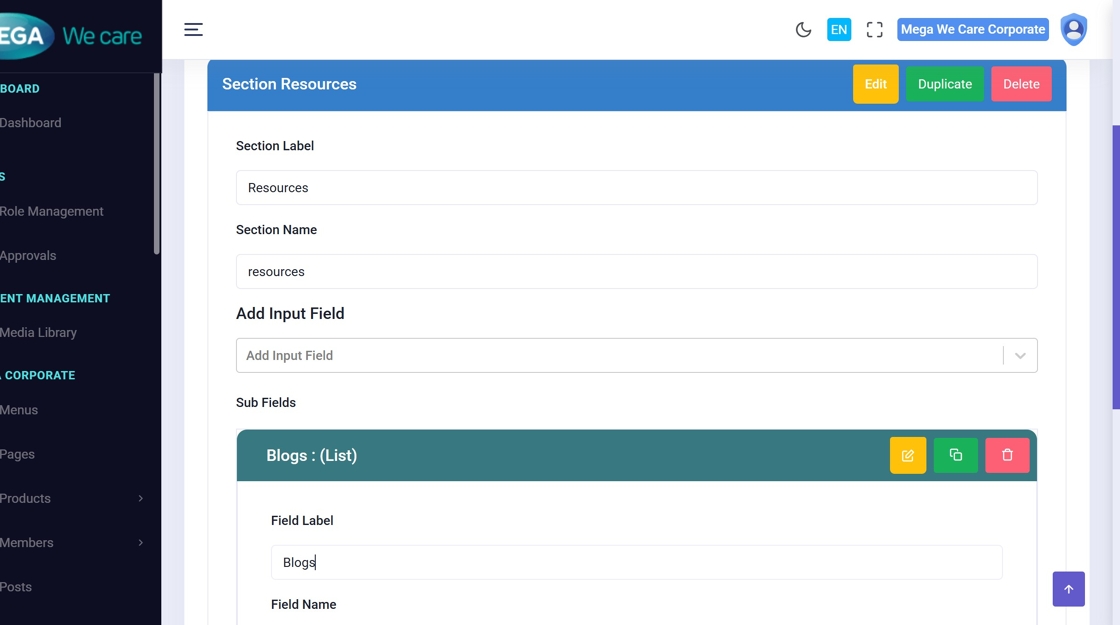
Step 30: Example Field Label
Example: Blogs.
Step 31: Choose List Type
Select the list type (for example, GHBY Blogs) to link dynamic content.
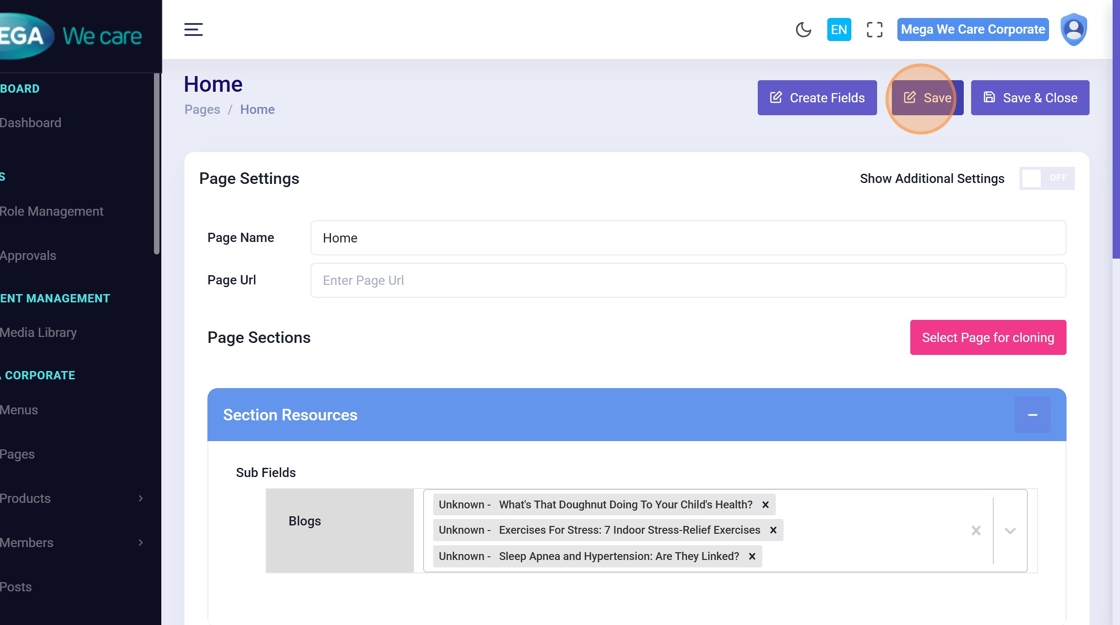
Step 32: Save Section Configuration
Save the section and input field configuration.

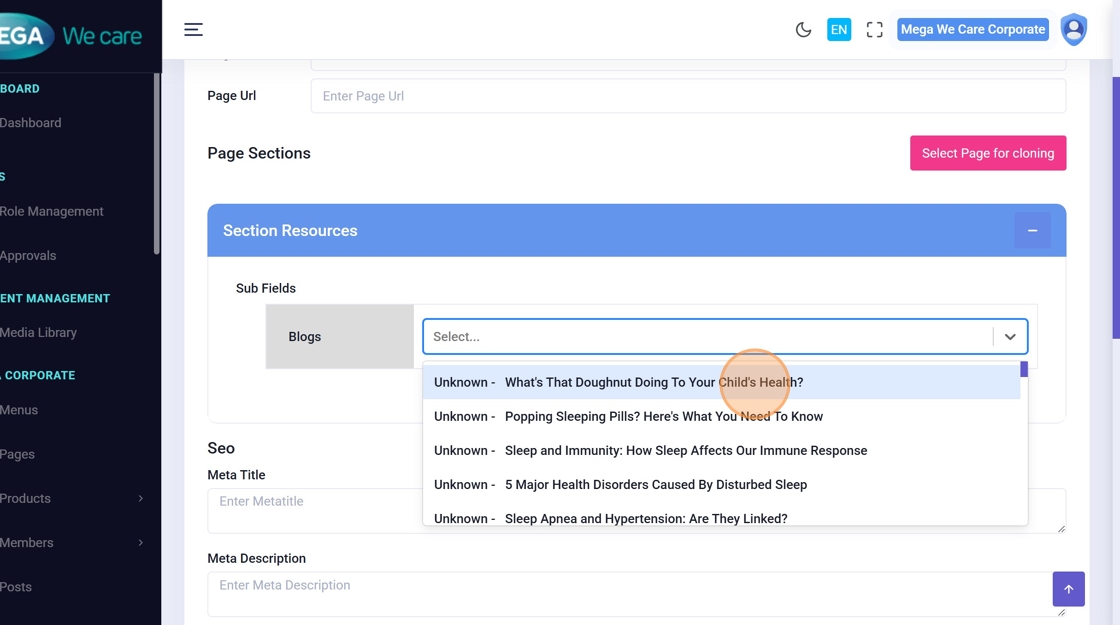
Step 33: Open Content Editor
Navigate to the front-side content editor.
Step 34: Select Content Items
Choose the content items that should appear inside this section.
Step 35: Continue Adding Content
Select additional items as required.
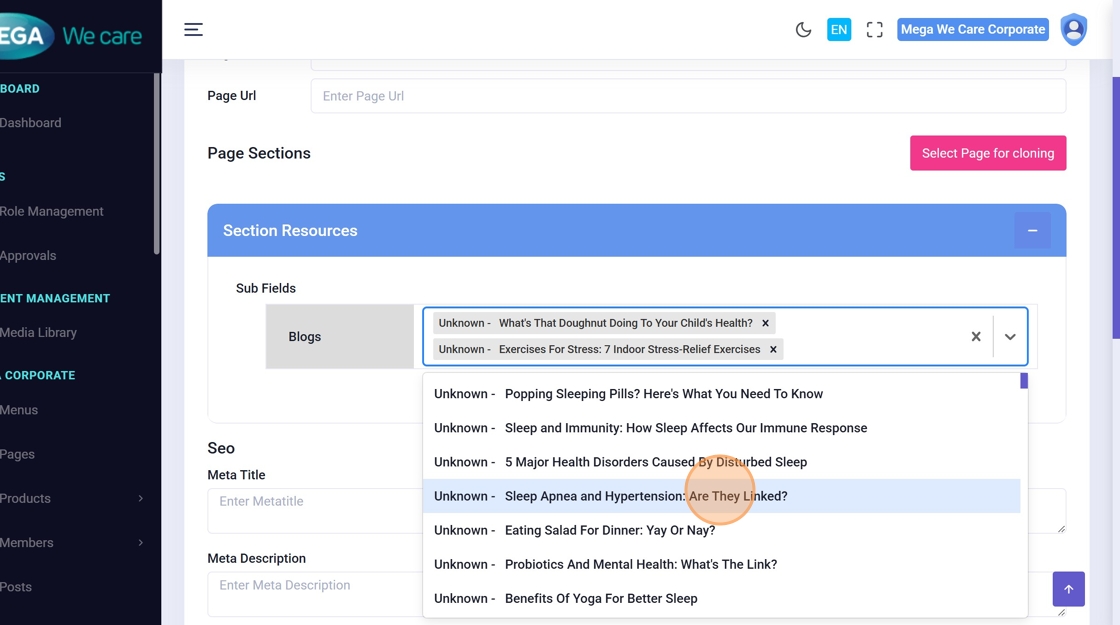
Step 36: Save Content
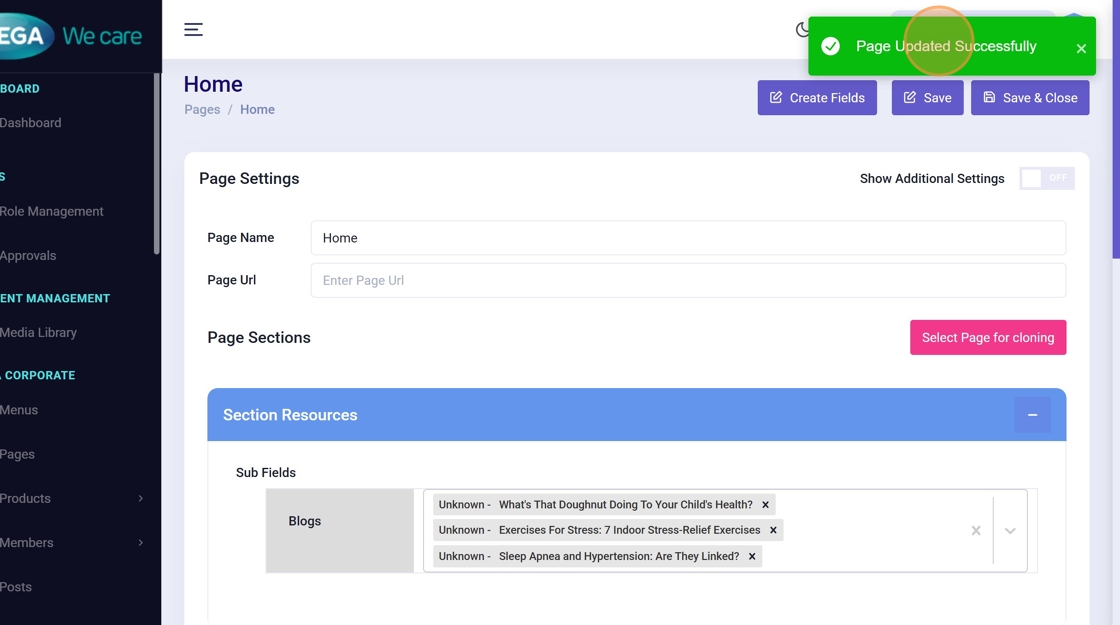
Click Save to apply the selected content.
Step 37: Confirm Successful Update
A success message confirms the section has been updated.
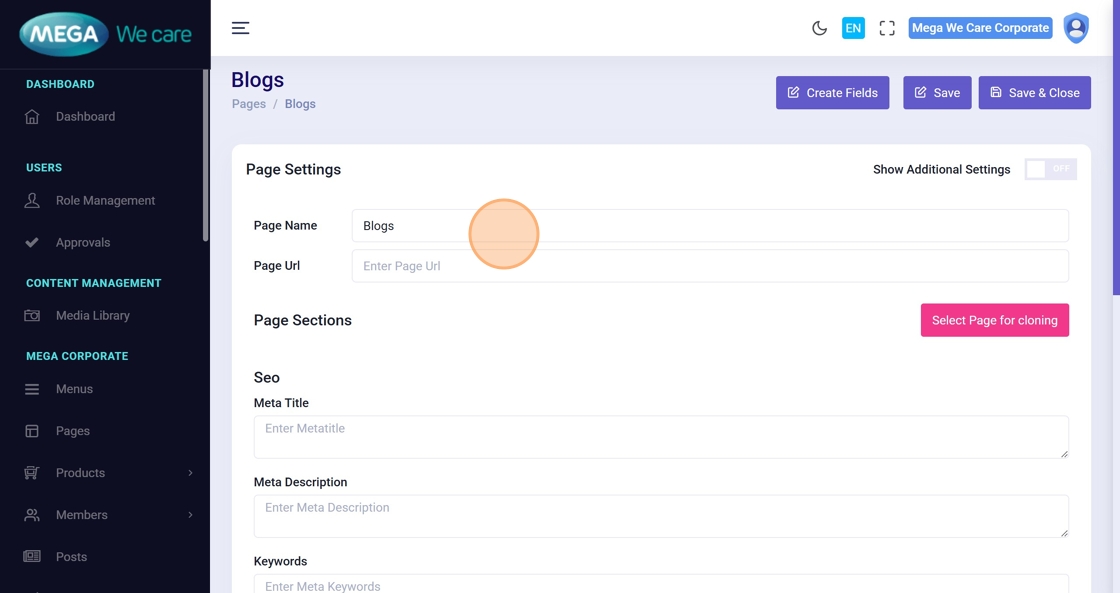
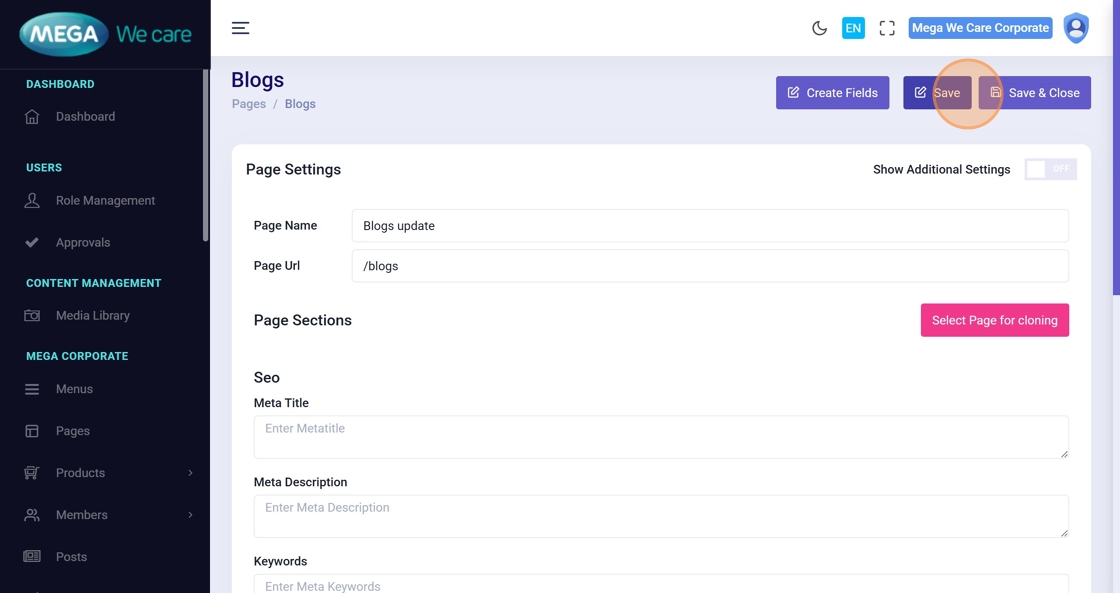
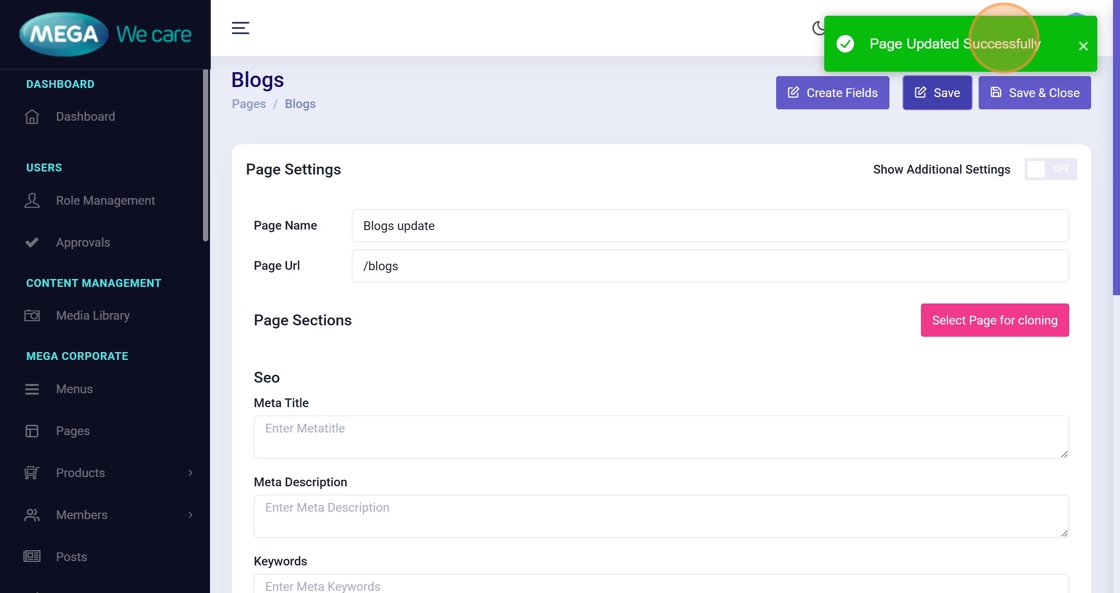
Update Page Configurations (Name, URL, Meta Fields)
Steps 85–89: Update Page Settings
Use these steps to modify:
- Page Name
- Page URL
- SEO Meta Title, Keywords, and Description
This ensures correct navigation and improved SEO.
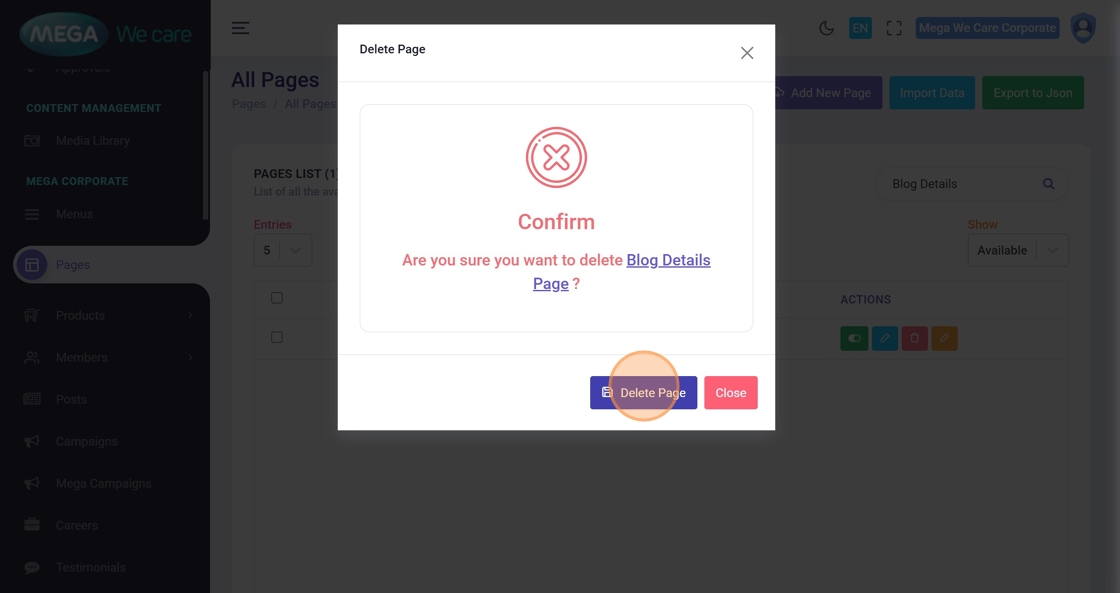
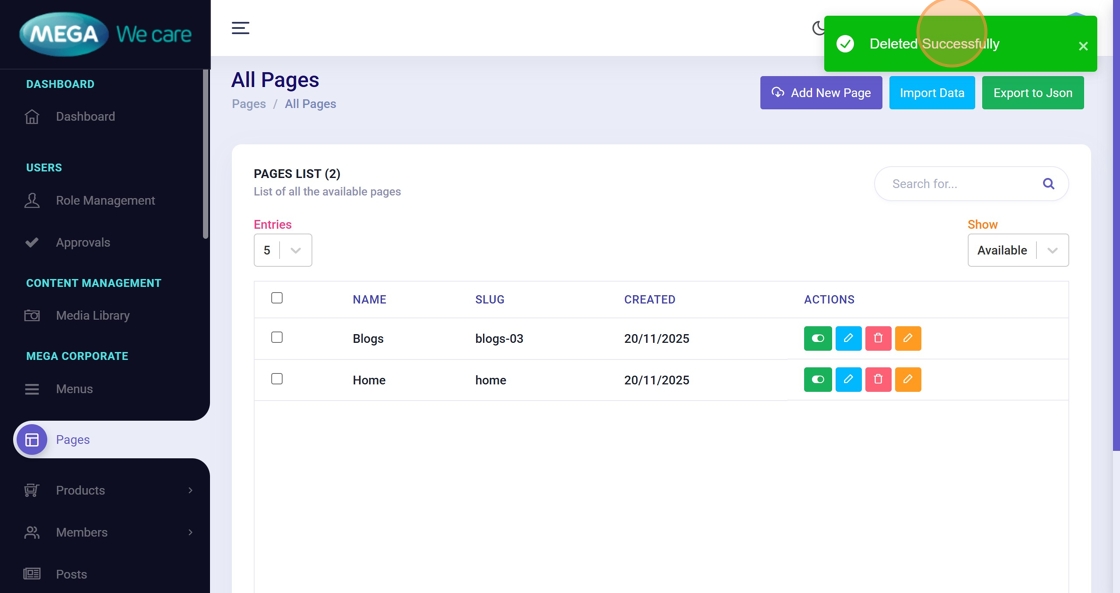
Delete a Page
Steps 90–96: Permanently Remove a Page
⚠️ Deleted pages cannot be restored.
Proceed carefully before confirming deletion.


Important Notes
- If you want to add a page URL to the sitemap, make sure to enter the Page URL while editing or updating that page.
- To change a page’s name or URL (slug), enable the Show Additional Settings toggle and then update the page name and slug as required.
Summary
By following this document, users can easily create, manage, update, and delete pages while keeping the website well-organized, SEO-friendly, and easy to maintain.