Page Navigation
How to Filter and Manage any Page / Sections
This document explains how to manage content across all backend dashboard sections such as Blogs, Videos, Infographics, Ebooks, Pages, Products, Calculators and more.
Overview
By following this guide, you will be able to:
- Publish or unpublish content
- Perform bulk actions (Publish / Unpublish)
- View engagement or reactions (where applicable)
- Filter content by category
- View unpublished content
- Search content quickly
- Filter content using predefined or custom date ranges
Publish & Unpublish Content (Single and Multiple)
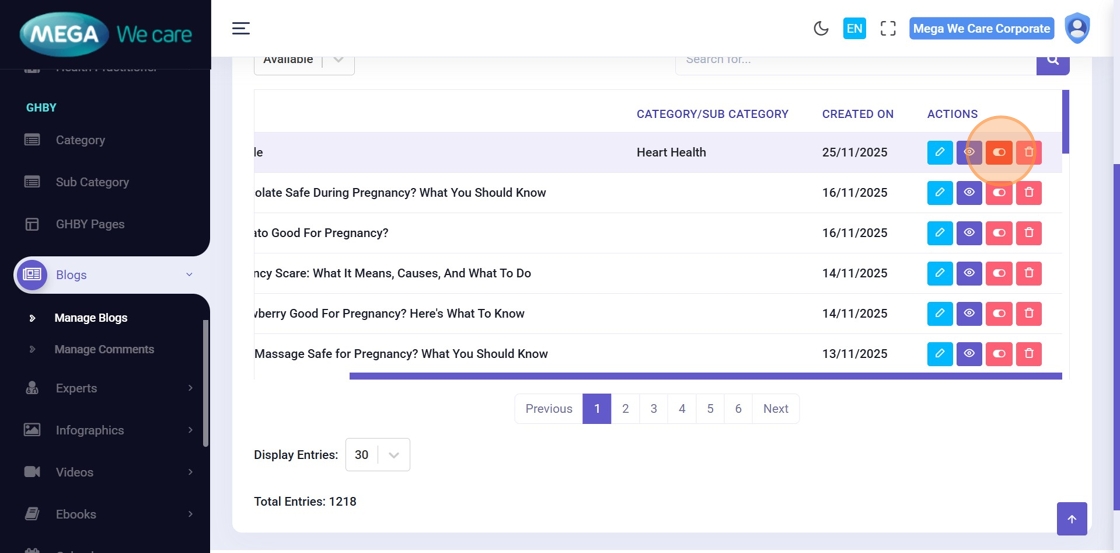
Step: 1 Publish / Unpublish a Single Item
-
After creating or updating any content item, use the
Publish toggle:
- 🔴 ON (Red) → Content is Published and visible on the frontend
- ⚪ OFF → Content is Unpublished and hidden from the frontend
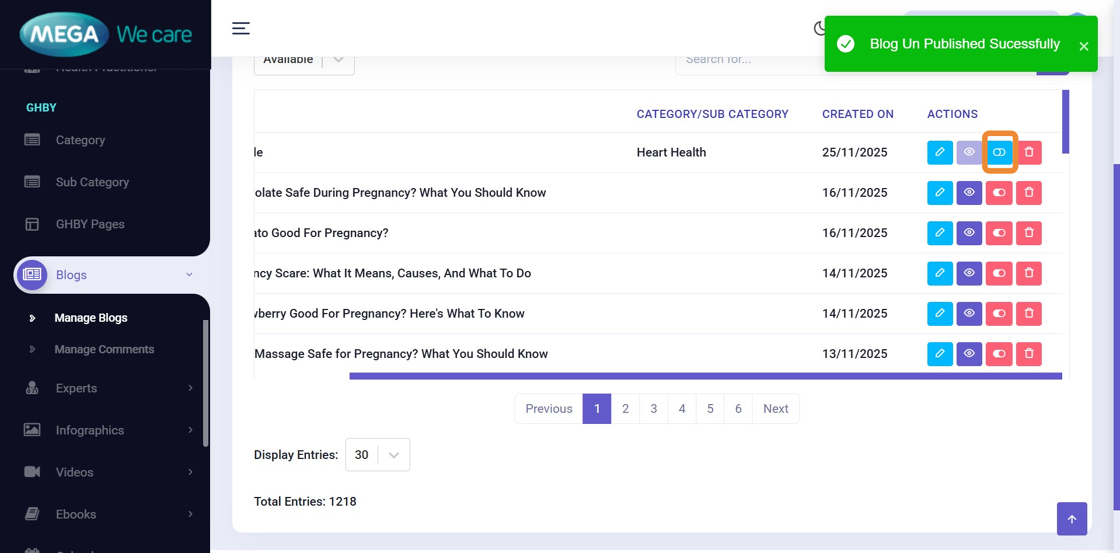
-
After unpublishing:
- A confirmation message appears
- The toggle switches to OFF
- The content is no longer visible on the frontend
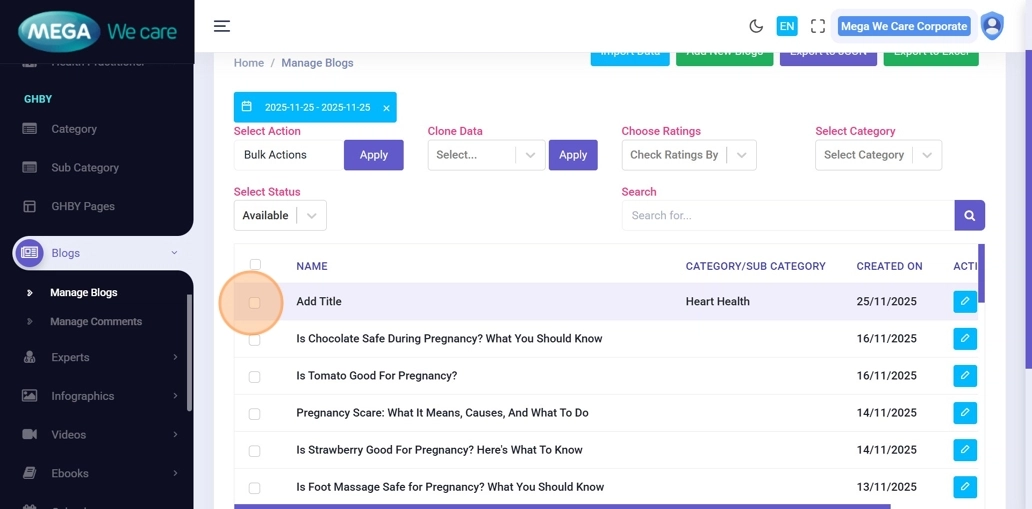
Step 2: Publish or Unpublish Multiple Items at Once
- Select one, multiple, or all items using the checkboxes
-
Choose an option from Bulk Actions:
- Publish
- Unpublish
- Click Apply
💡 To apply actions across all pages:
- Change pagination to All
- Select all items
- Apply the required bulk action
View Reactions / Engagement (Where Applicable)
Some sections support user reactions or engagement metrics such as:
- 😊 Happy
- 🤔 Not Sure
- 😄 Excited
- 🤪 Silly
These insights help analyze content performance and user interaction.
⚠️ Available only for sections that support reactions.
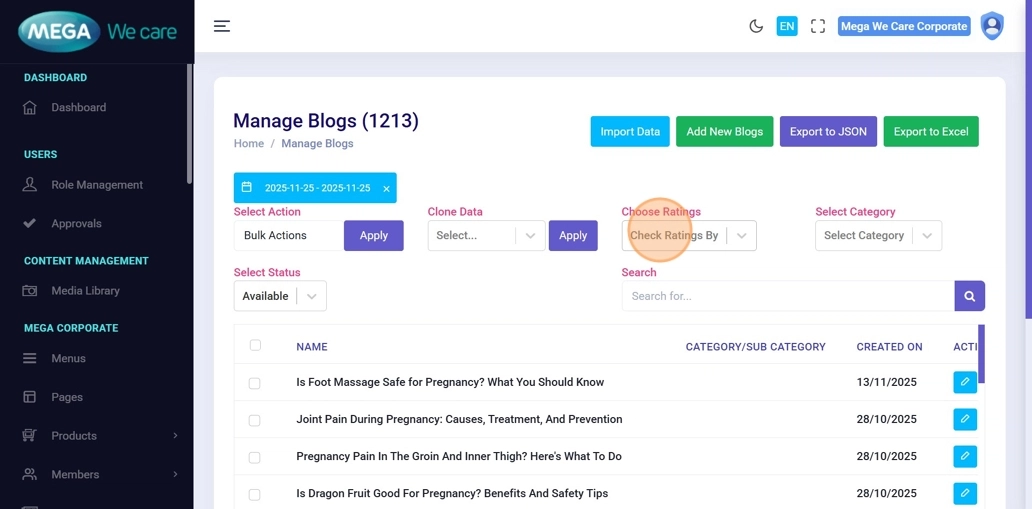
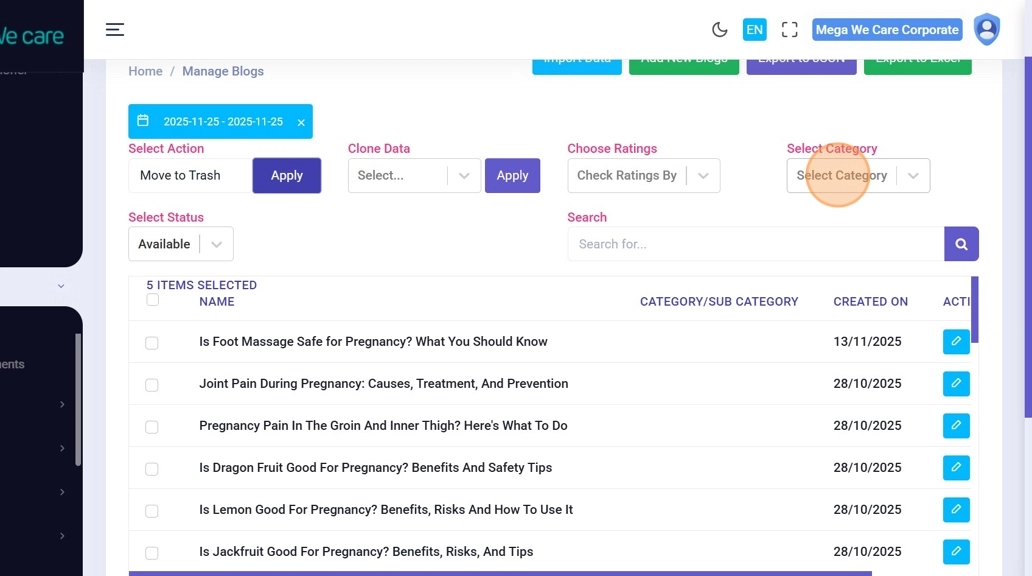
Filter Content by Category
-
Use the Category Filter to:
- View items belonging to a specific category
- See total item counts per category
After filtering, you can:
- Select filtered items
- Apply bulk actions
- Export filtered data to Excel (if needed)
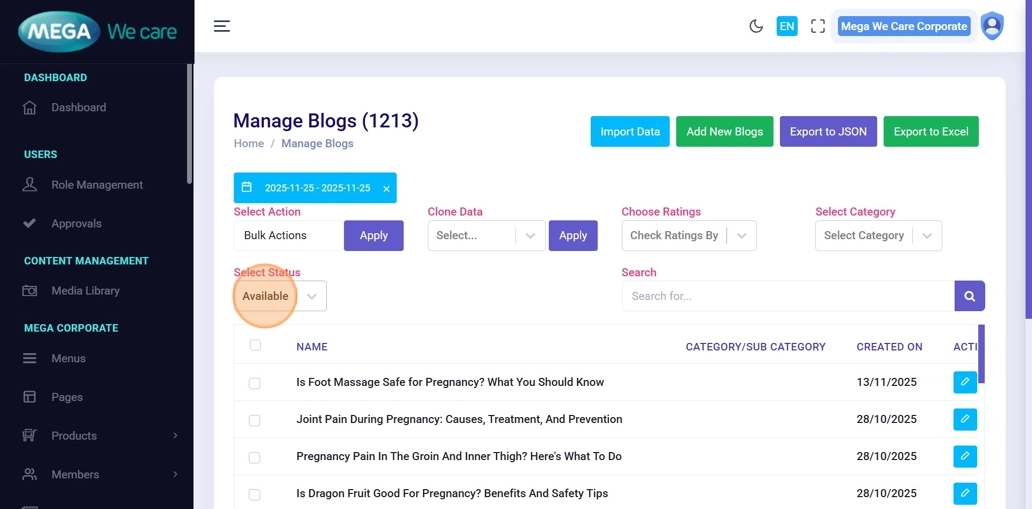
View Unpublished Content
- Open the Select Status dropdown
- Switch from Available to Unpublish
From here, you can:
- Republish individual items using the toggle
- Republish multiple items using Bulk Actions
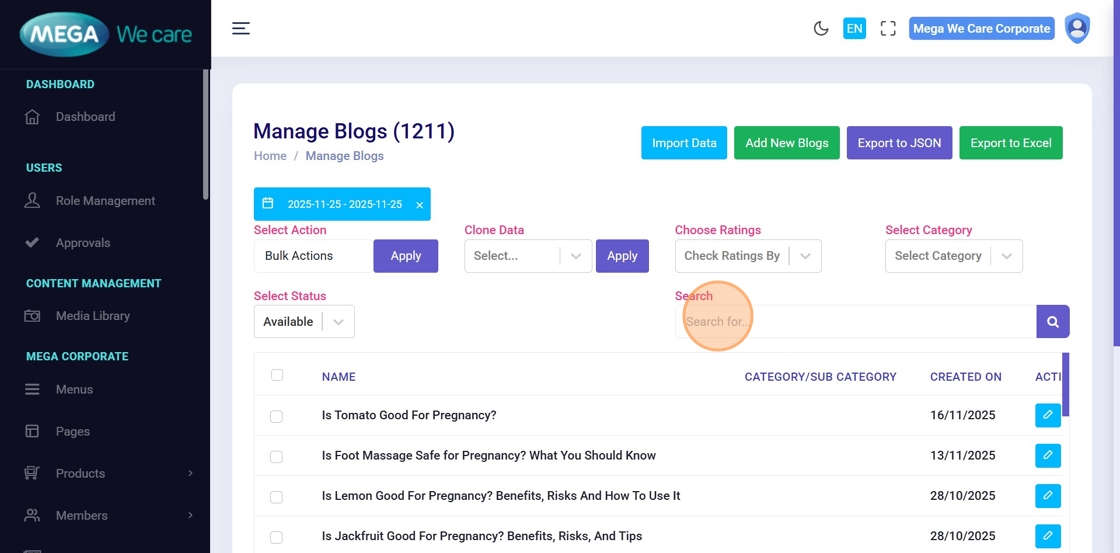
Search Content
-
Use the Search for… field to quickly locate
content by:
- Title
- Keyword
- Name
This is the fastest way to find a specific item in large datasets.
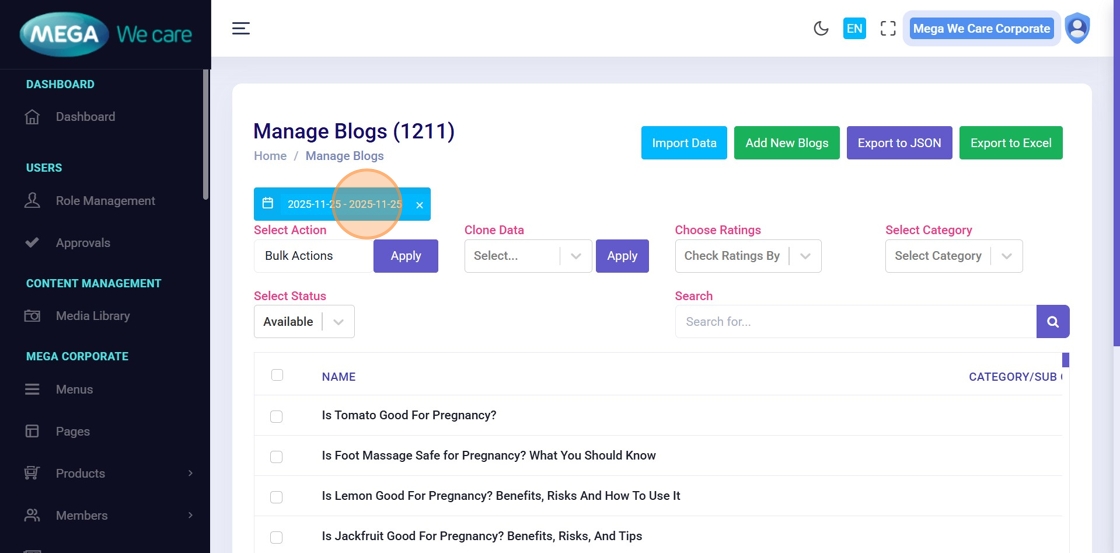
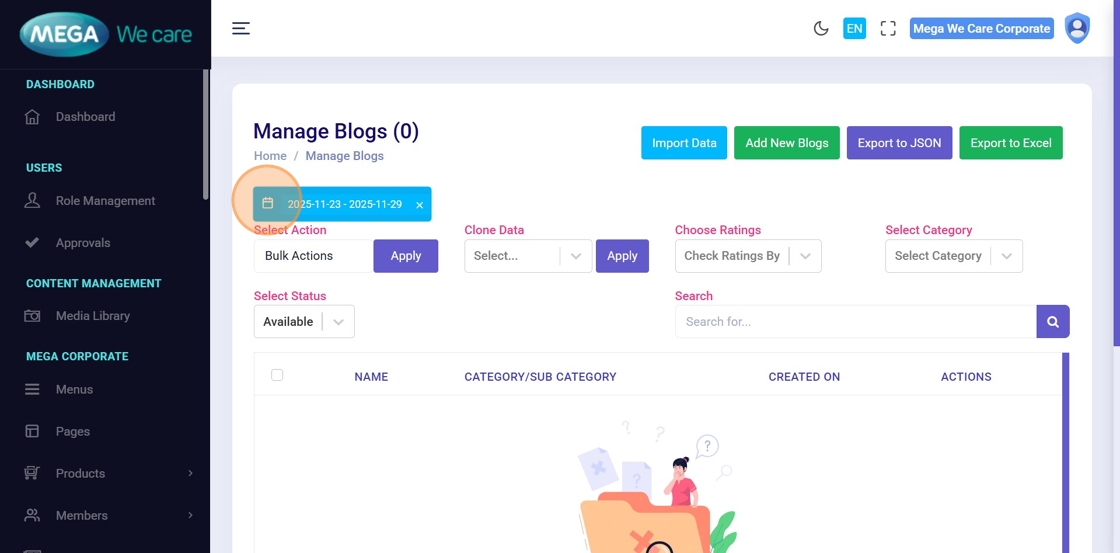
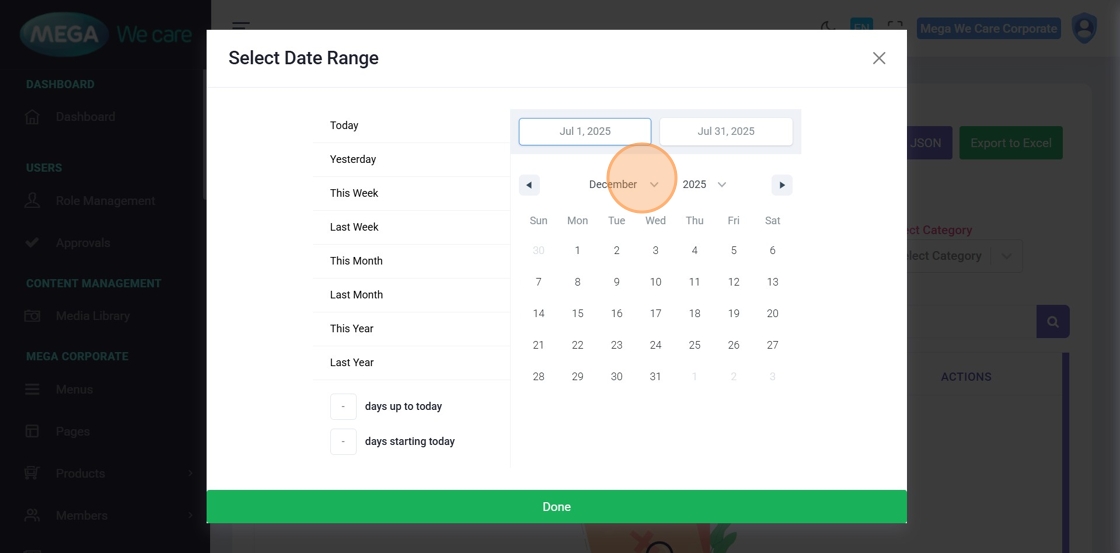
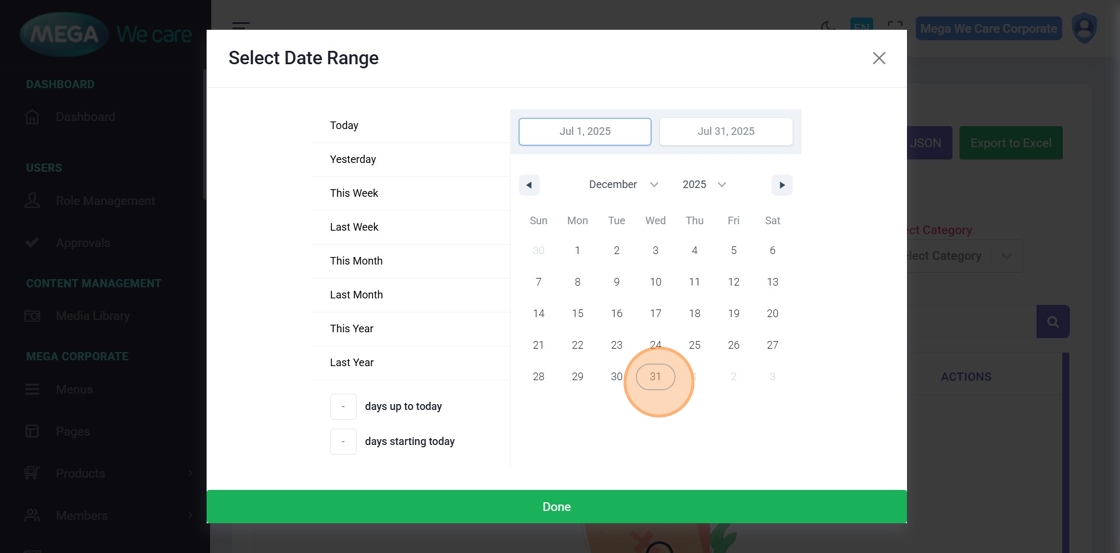
Filter Content by Date Range
Step 1: Open Date Range Selector
-
Click the Custom Date Range Selector to filter
content by:
- Creation date
- Publish date
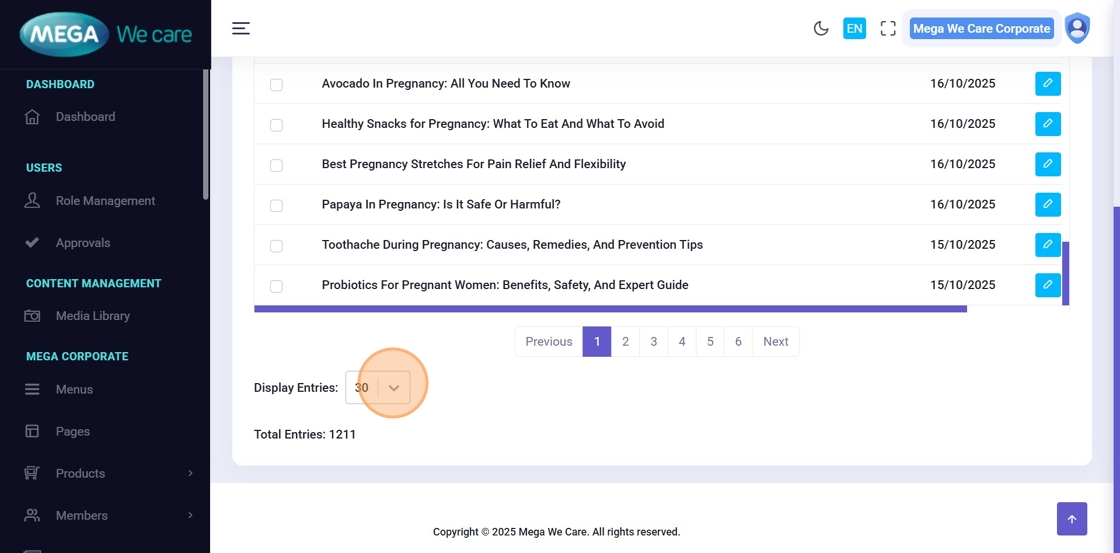
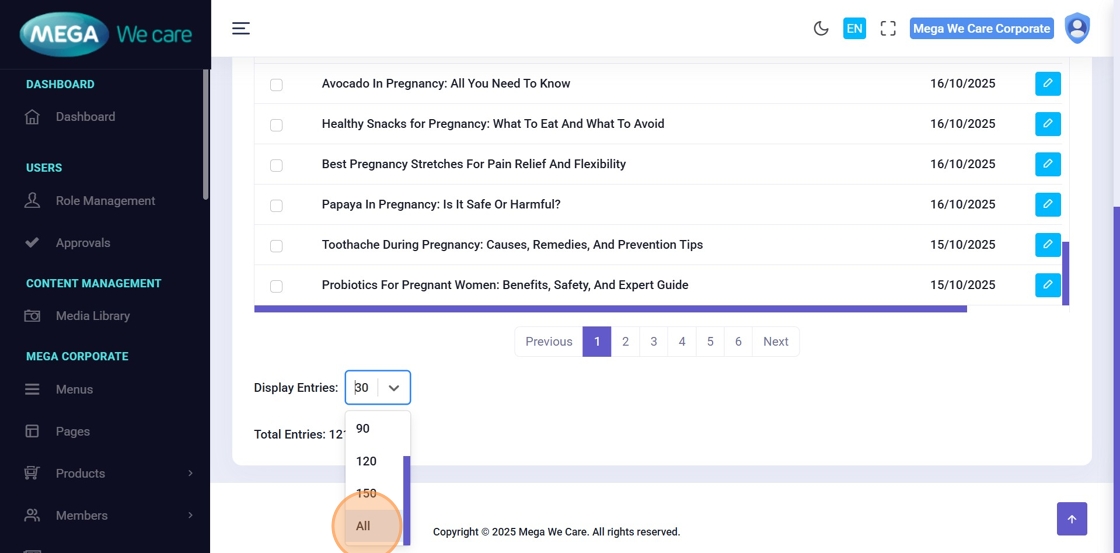
Step 2: Adjust Pagination if Needed
If items are not visible:
- Change pagination (e.g., 30 → All)
- Then apply the date filter
Step 3: Example: Filter by Full Year
In this example:
- Pagination is set to All
- Date range is January 2025 → December 2025
Step 4: Use Predefined Date Ranges
You can quickly filter using:
- Yesterday
- This Week
- This Month
- This Year
- Last Year
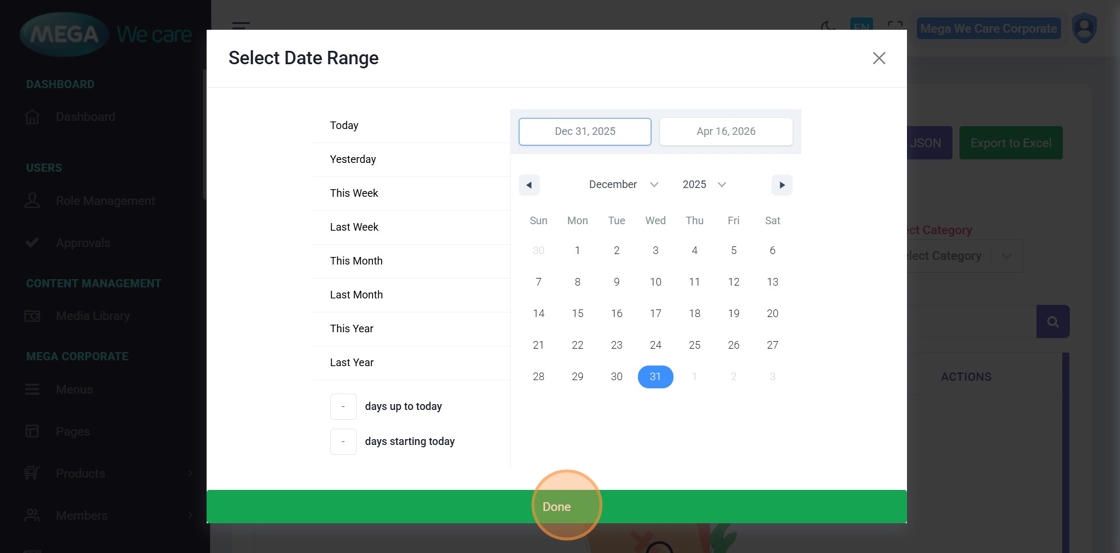
Or define a custom date range, then click Done.
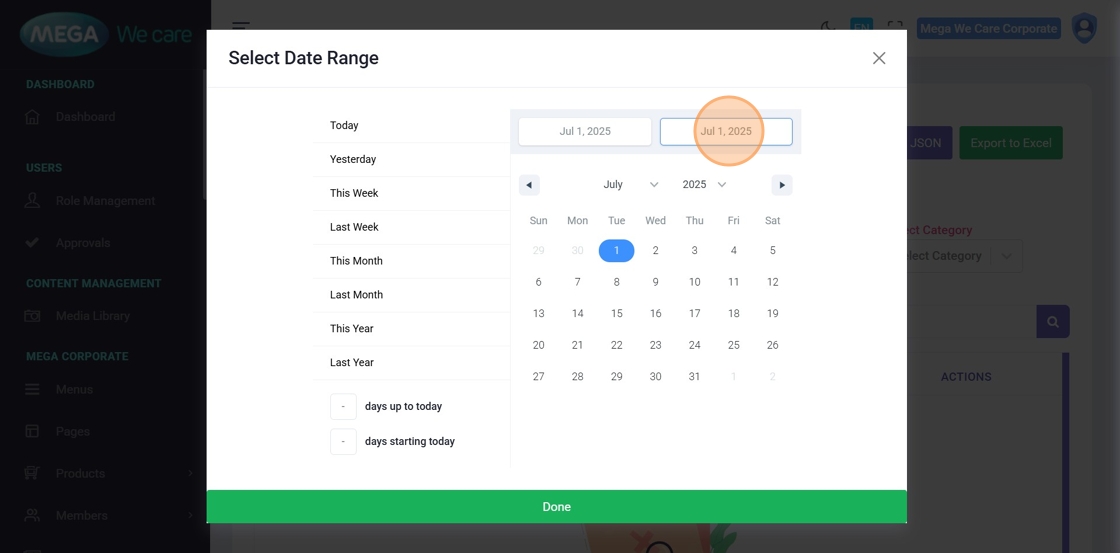
Step 5: Set Custom Date Range (Advanced)
- Reopen the Date Range Selector
- Click the Early field to set the Start Date
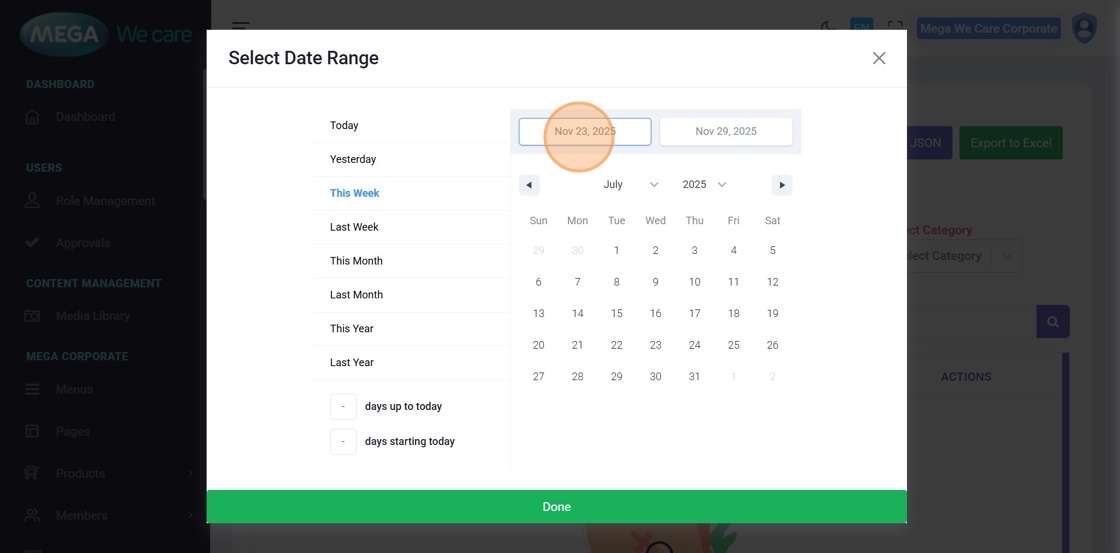
- Select:
- Start Month
- Start Year
- Start Date
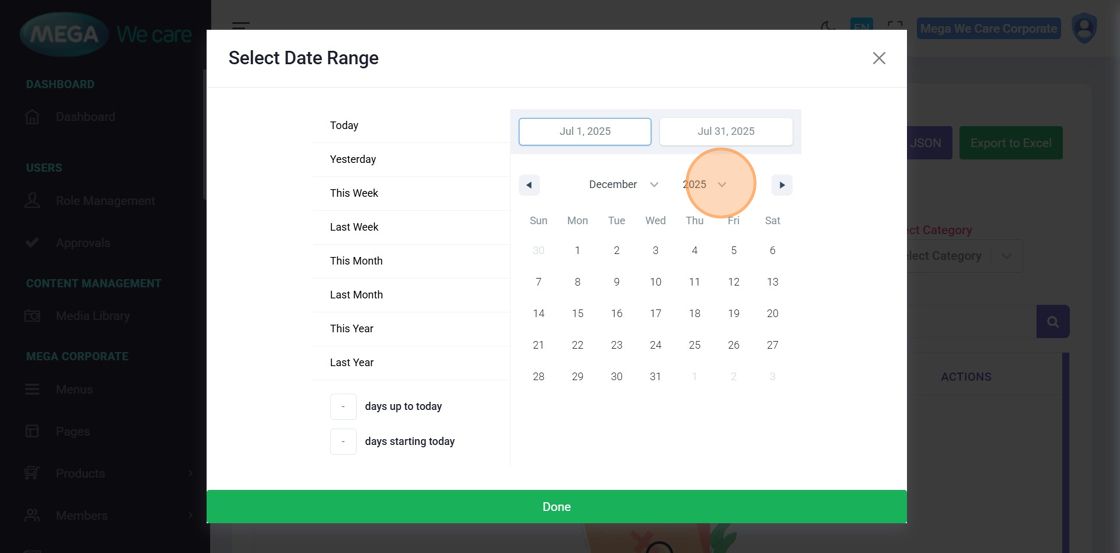
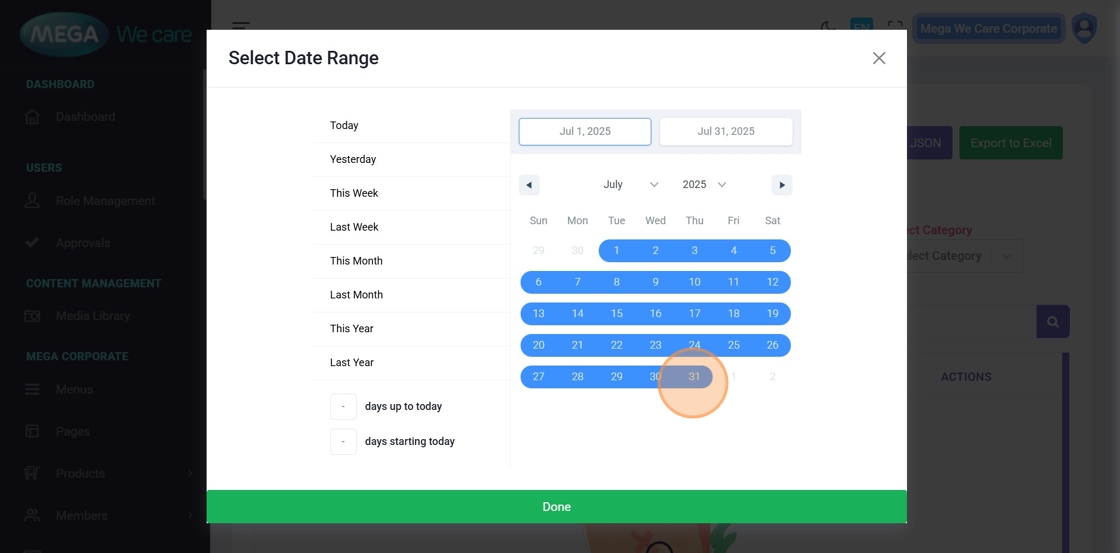
- Click the Continuous field to define the End Date
- Select the End Date
-
Click Done to apply the filter
The content list updates based on the selected date range.
Important Notes
- Always confirm Publish status before going live
- Use Bulk Actions carefully, especially when pagination is set to All
- Verify filters before exporting data
- Use date filters to audit or review historical content
- Remember: filters and actions apply only to the current section
Summary
By using this unified management workflow, users can control publish and unpublish status, apply bulk actions, filter and search content easily, analyze engagement where available, and keep all sections clean, organized, and well-managed. This ensures consistency, efficiency, and better control across the entire backend dashboard.