Page Navigation
How to Add, Update and Delete Job Posting in Careers
This document explains how the User can manage job openings published on the website. It covers the complete lifecycle of a job posting—adding, editing, deleting, and restoring positions—using clear steps and visual references to make the process easy to follow.
Overview
By following this document, you will learn how to:
- Create a new job posting with full job details and SEO information.
- Add and manage departments directly from the job form.
- Edit existing job postings to keep information updated.
- Move job postings to Trash and restore them if needed.
- Permanently delete single or multiple job postings.
Add a New Job Posting
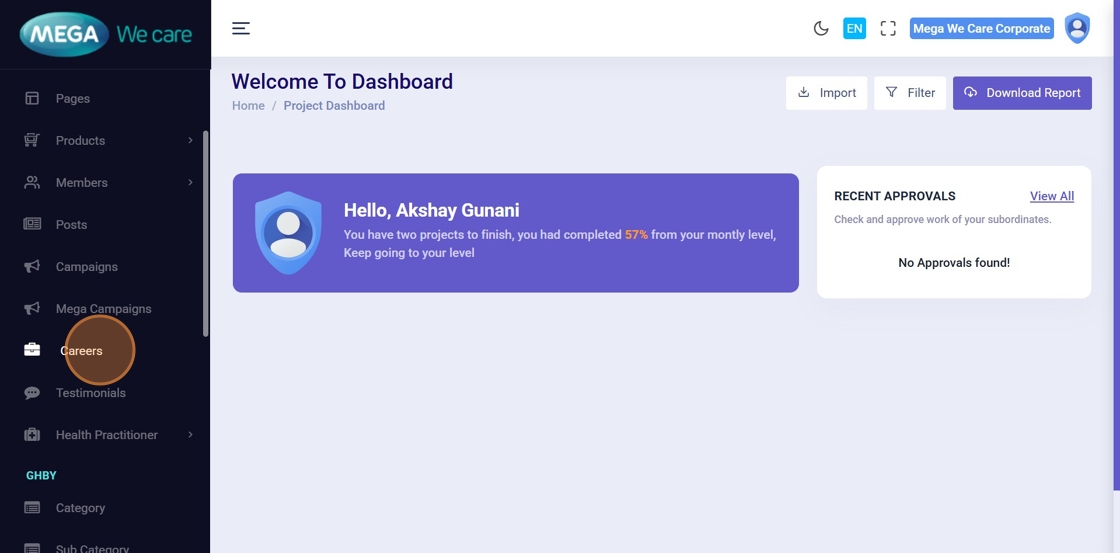
Step 1: Open Careers
From the Admin Dashboard, click Careers to manage job postings.
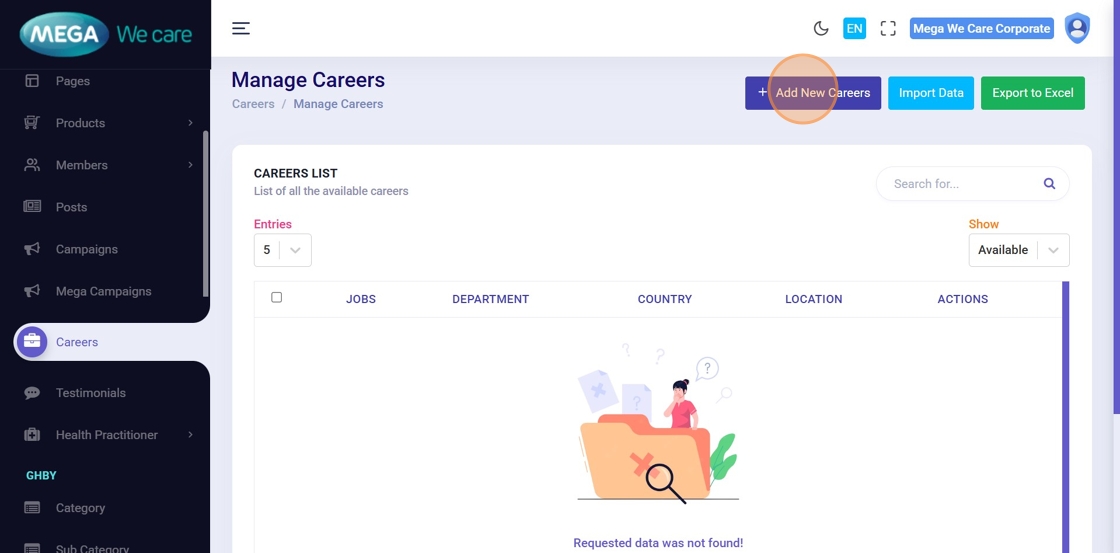
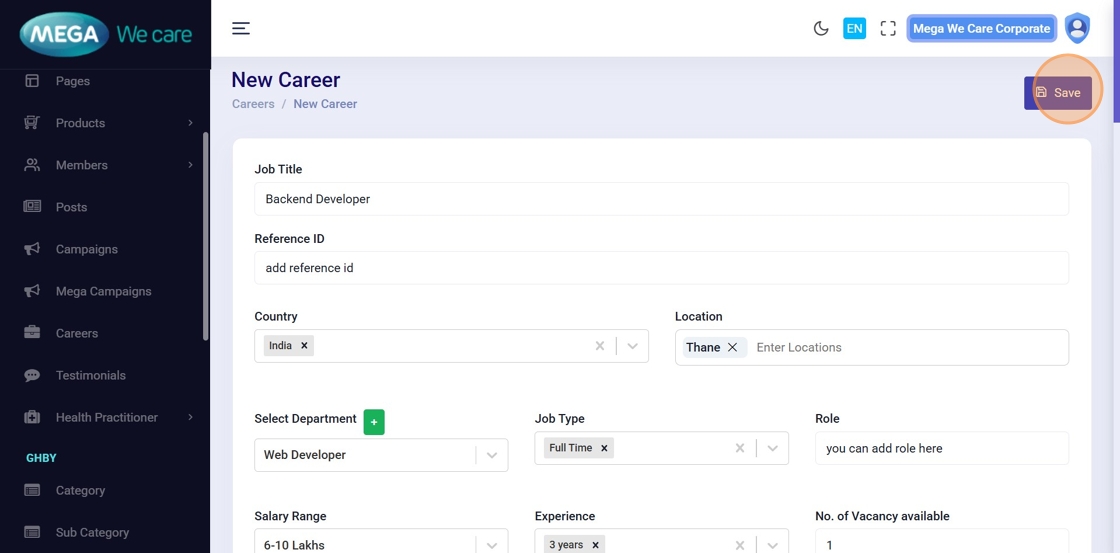
Step 2: Click “Add New Careers”
On the Manage Careers page, click Add New Careers to create a new job posting.
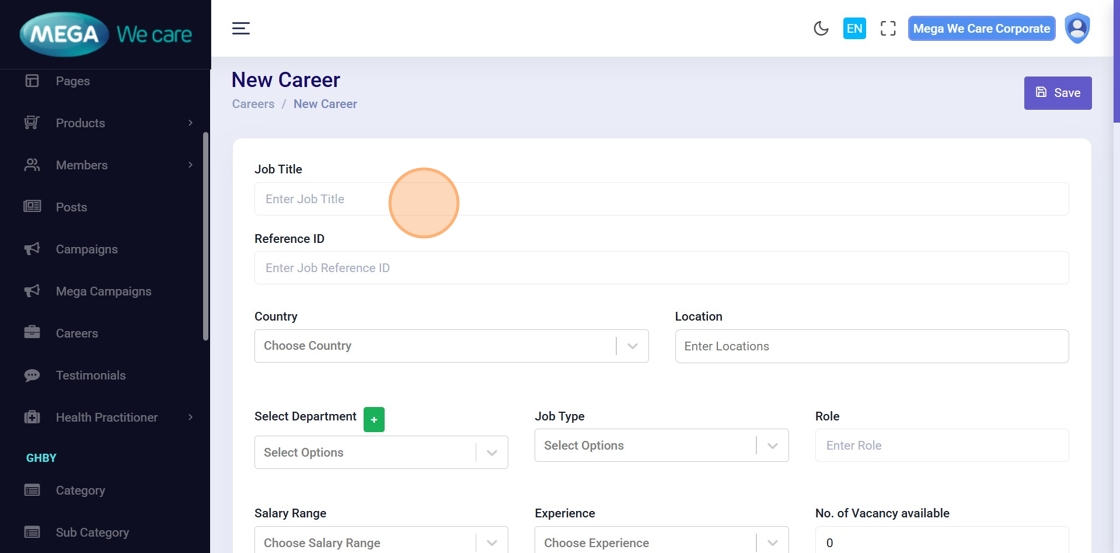
Step 3: Enter Job Title
Type the job title in the Job Title field.
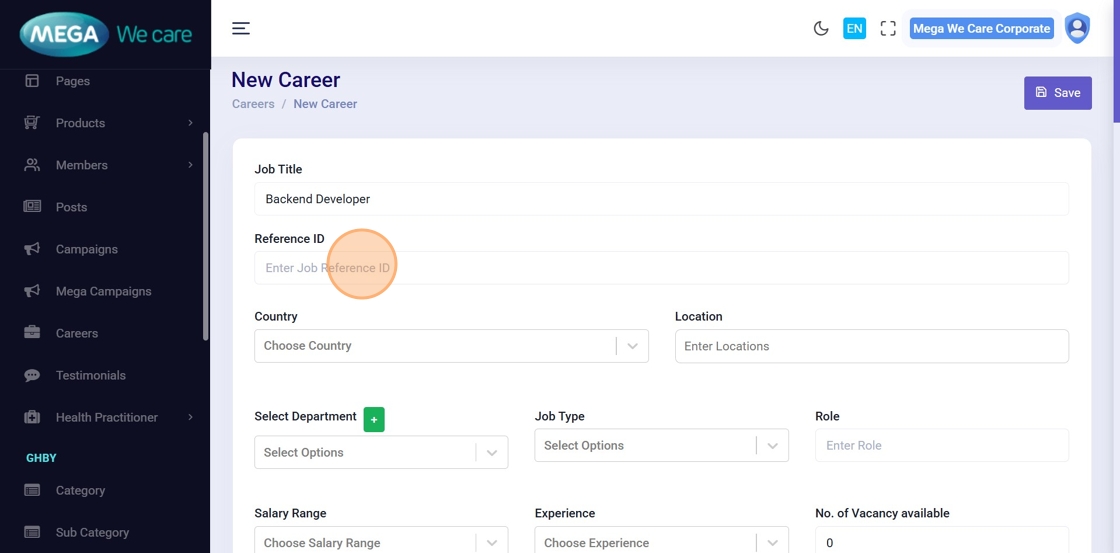
Step 4: Enter Job Reference ID
Add the unique reference ID for the job.
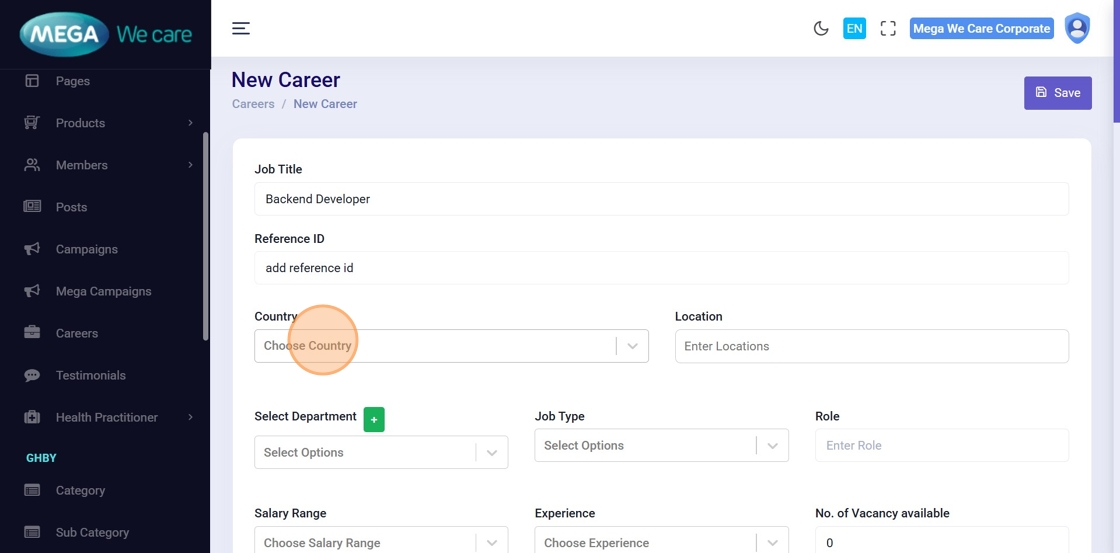
Step 5: Select Country
Choose one or multiple countries where the job is available.
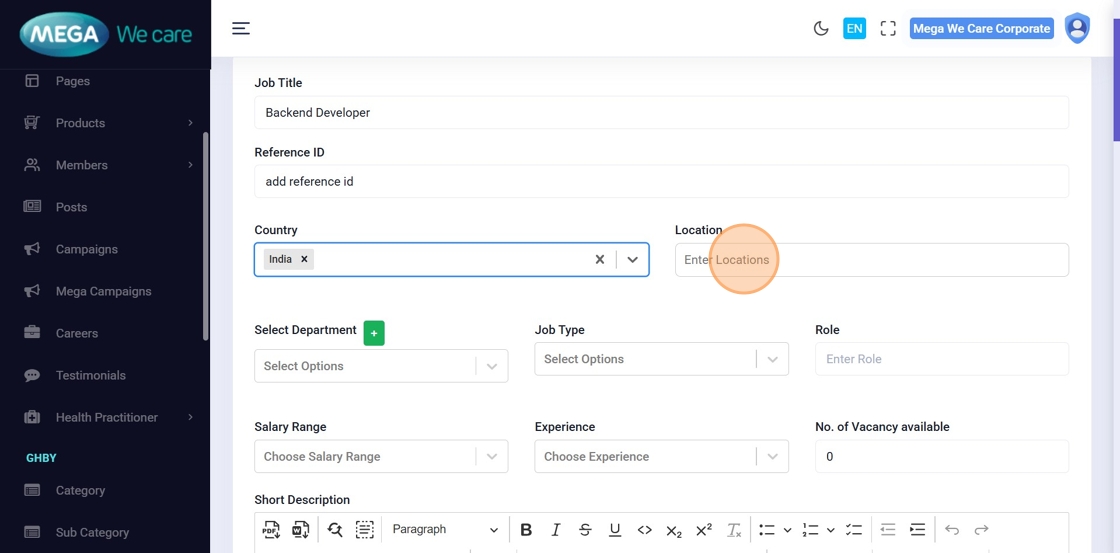
Step 6: Enter Job Location
Add one or more job locations.
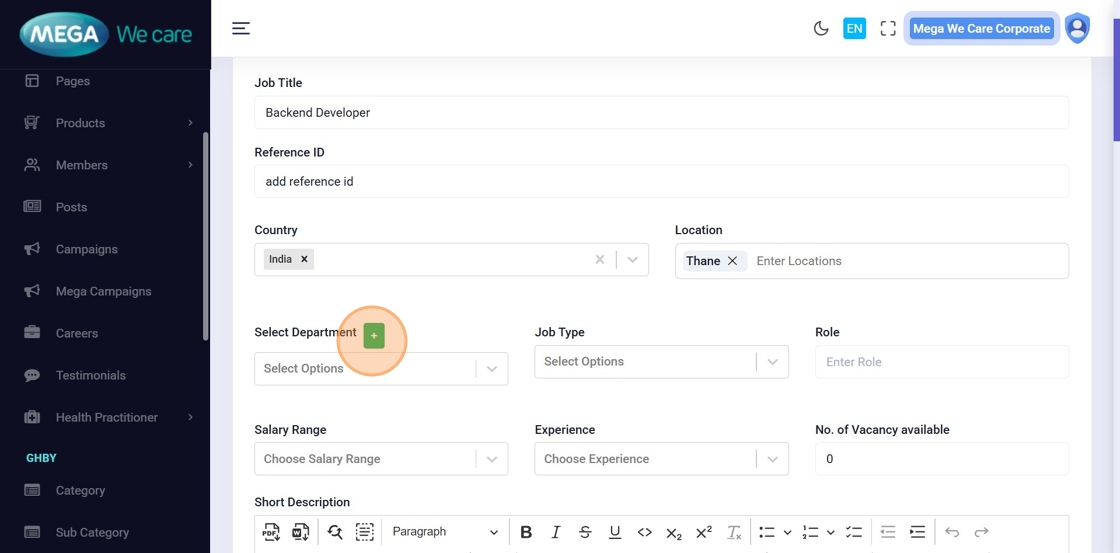
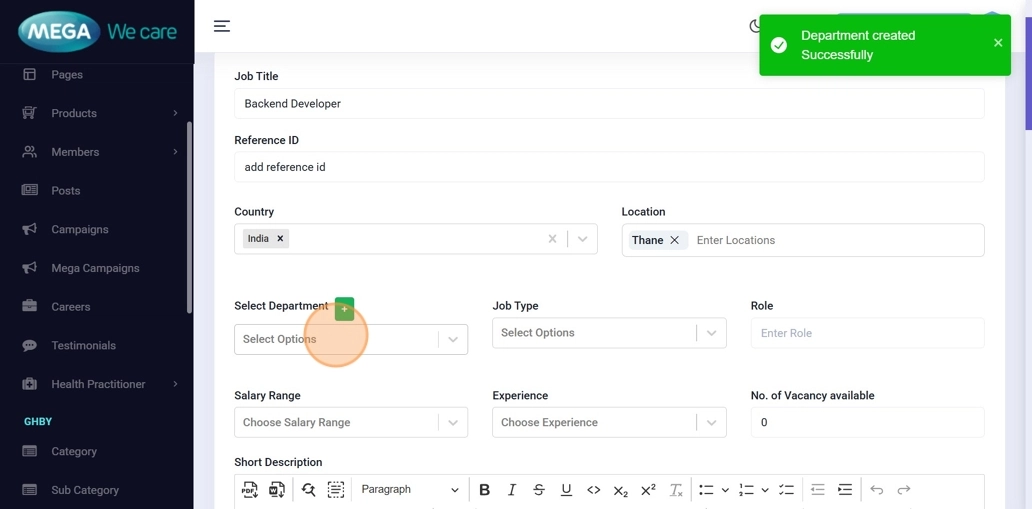
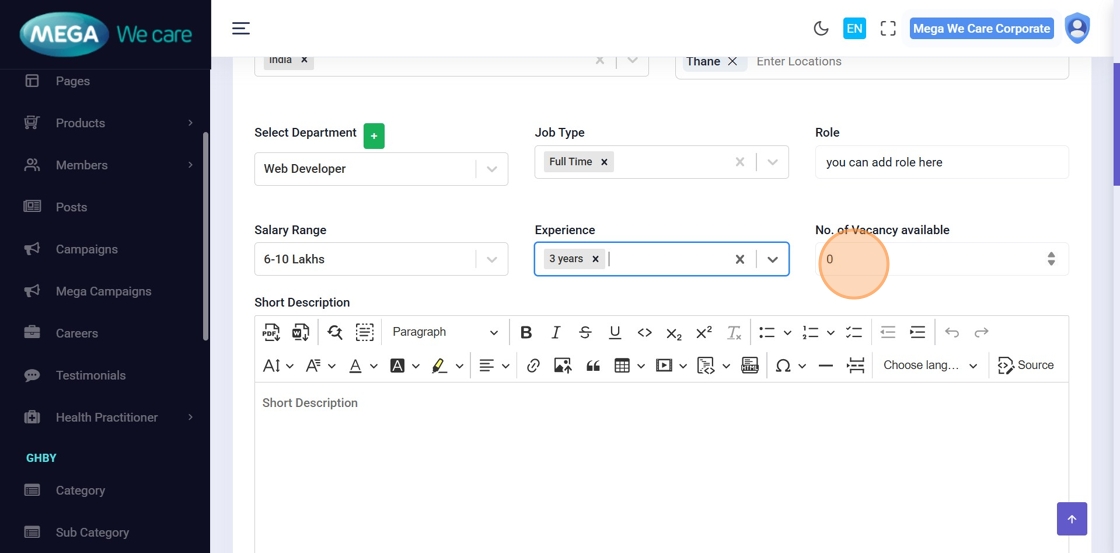
Step 7–9: Add or Select Department
If the department does not exist:
- Click Add (+)
- Enter the department name
- Select it from the list after creation

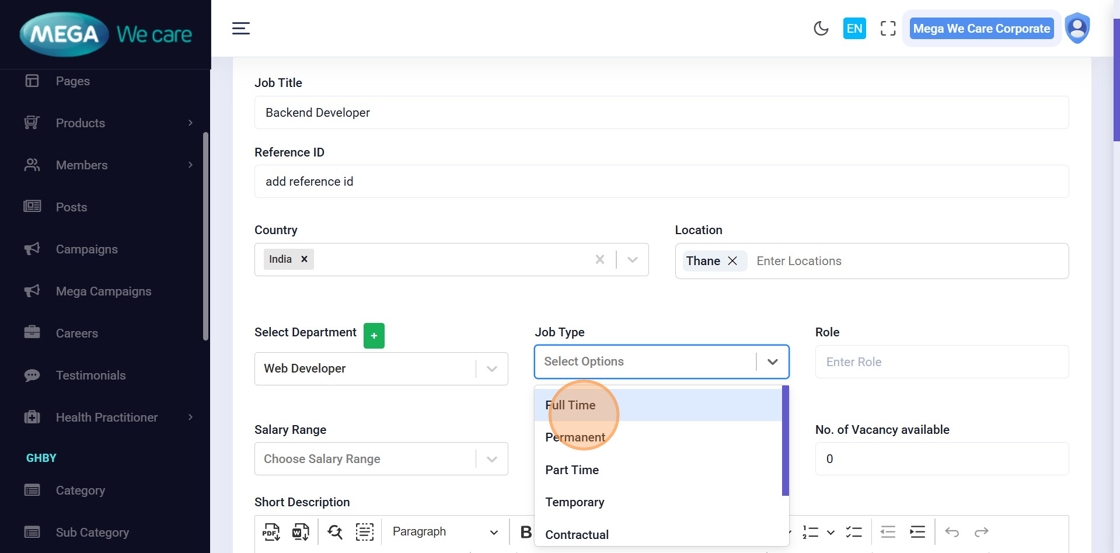
Step 10: Select Job Type
Choose the job type (Full Time, Part Time, Permanent, Contractual, Remote, etc.).
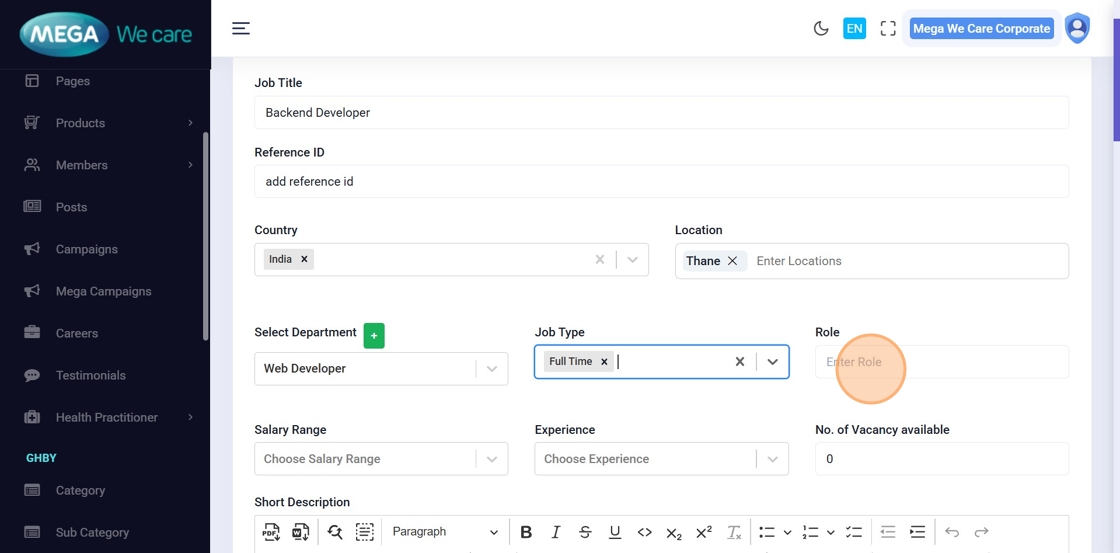
Step 11: Enter Job Role
Specify the role or designation.
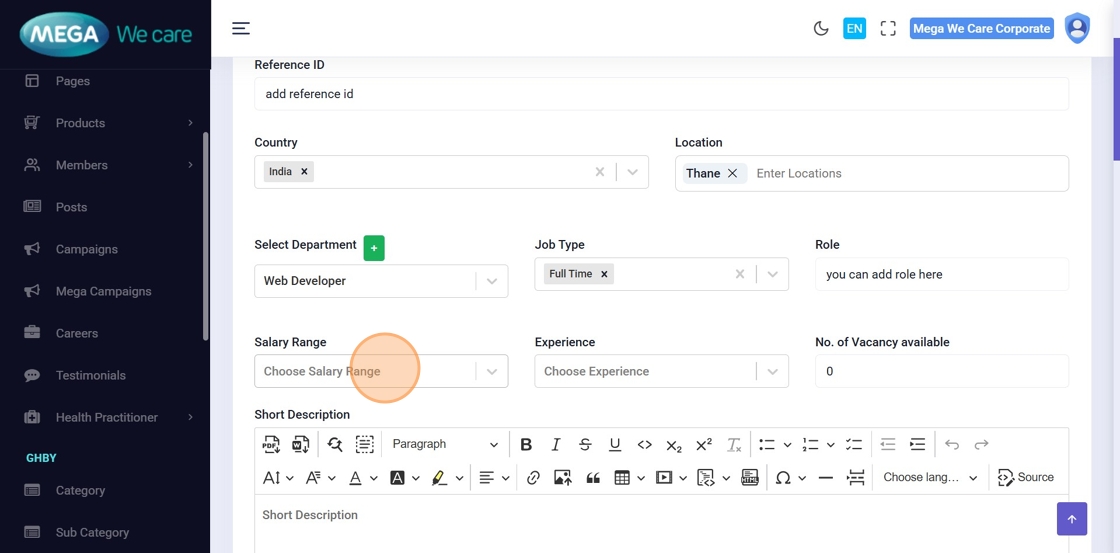
Step 12: Select Salary Range
Choose the applicable salary range.
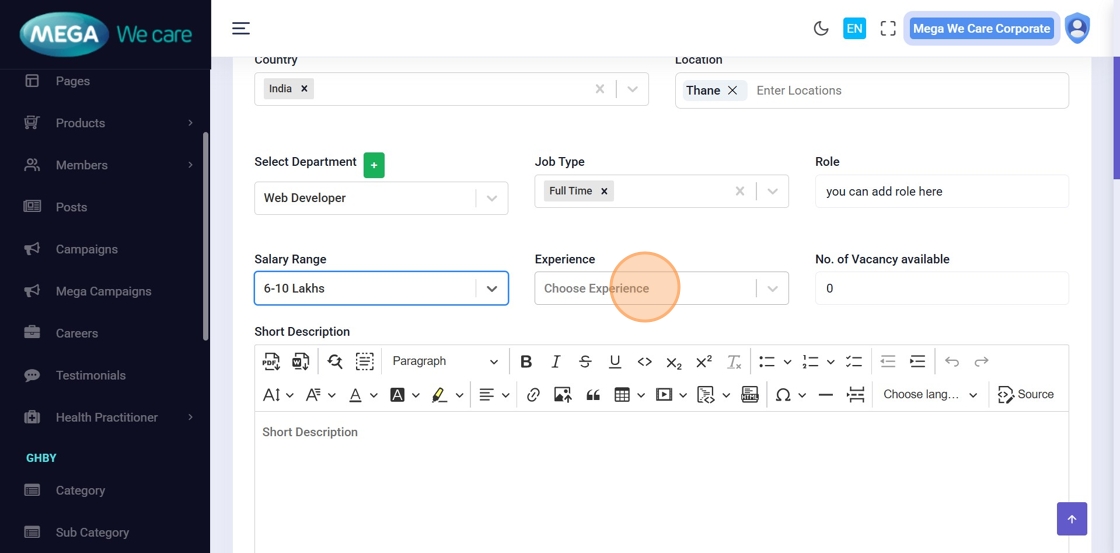
Step 13: Select Experience Level
Choose the required experience for the role.
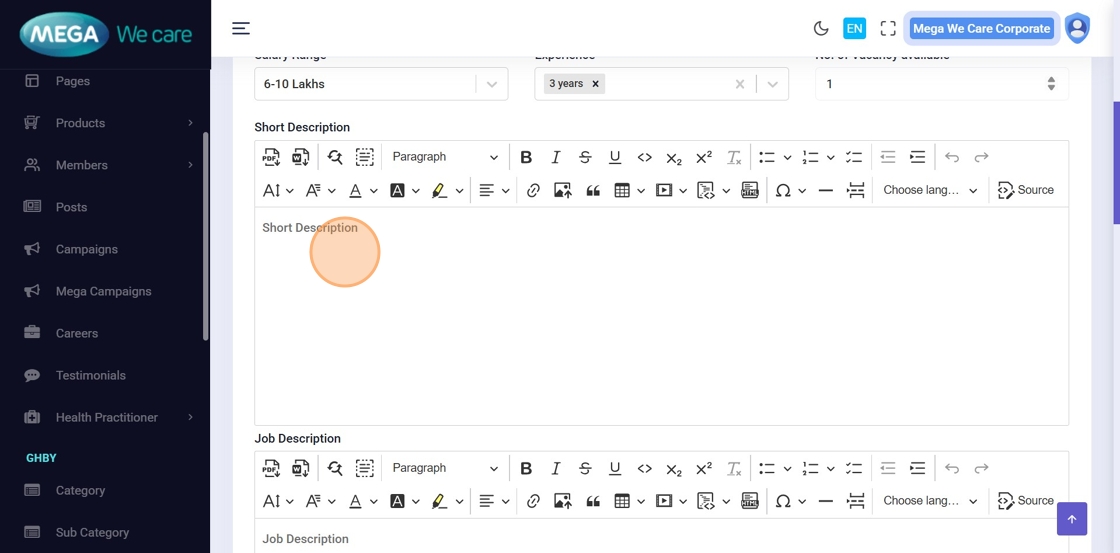
Step 14: Enter Number of Vacancies
Add how many positions are open.
Step 15–16: Add Job Descriptions
- Short Description: Brief job overview
- Description: Detailed job responsibilities
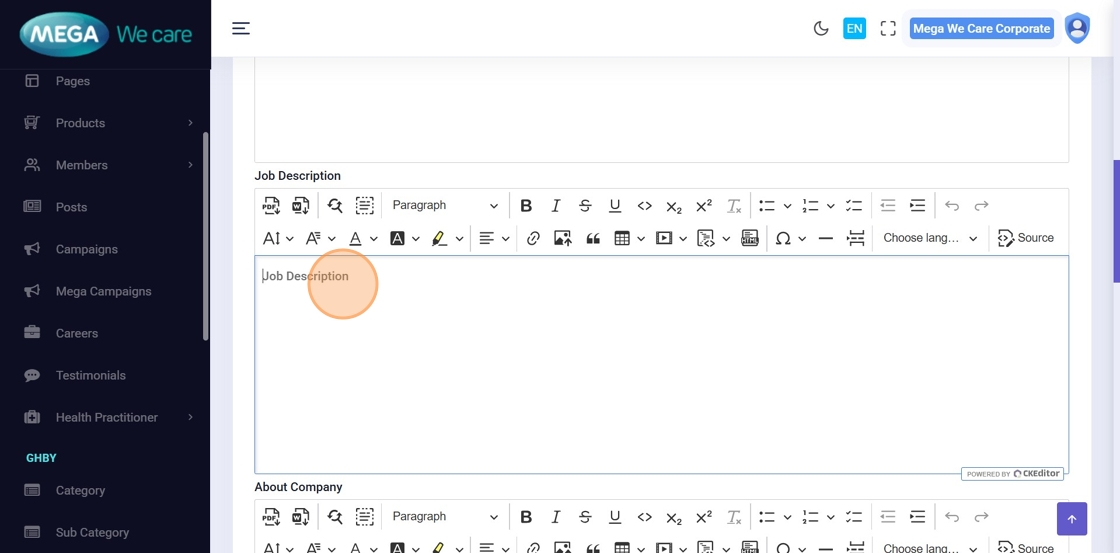
Step 17: Add About Company
Provide information about the organization.
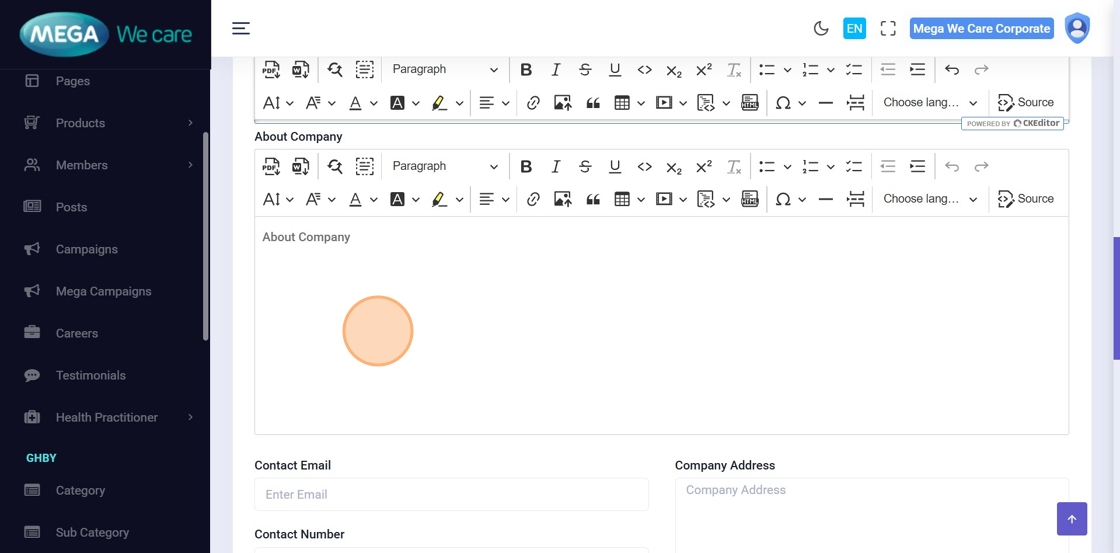
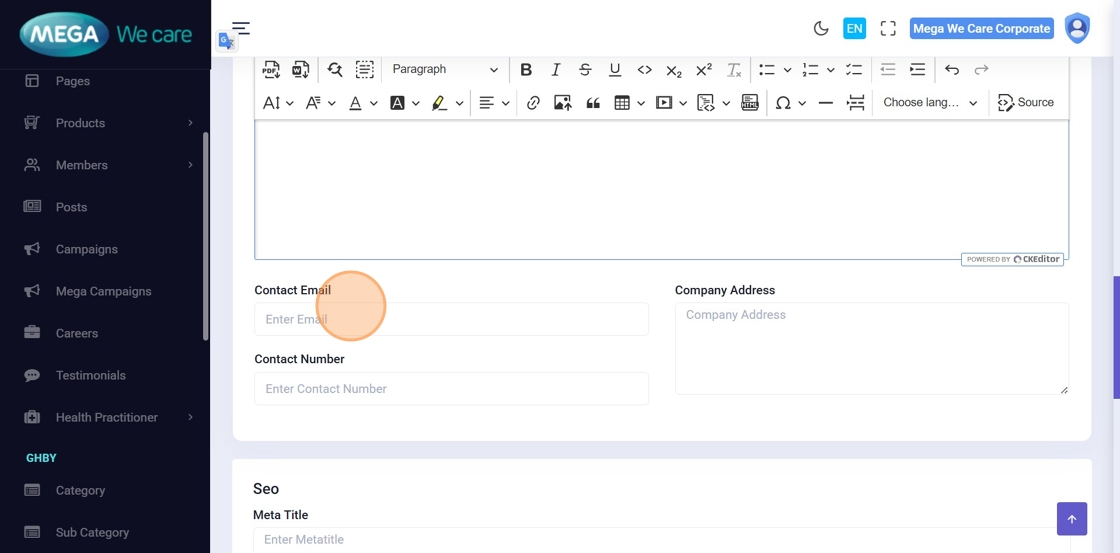
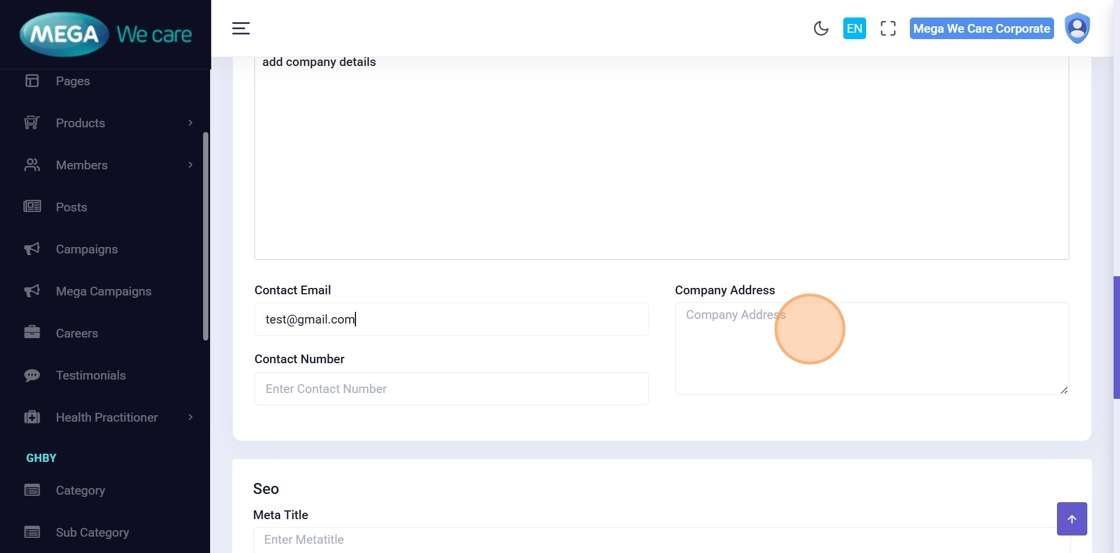
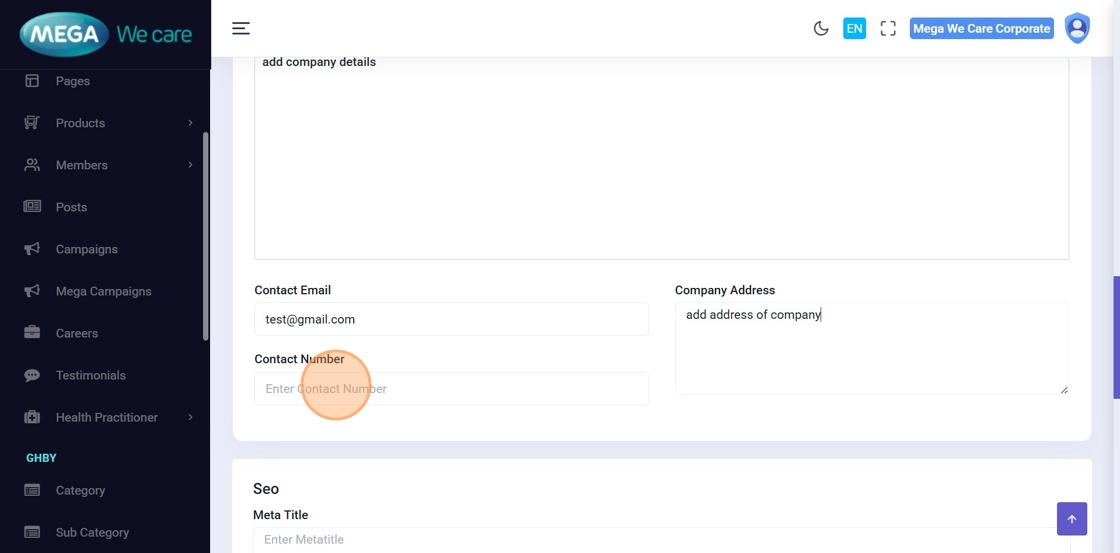
Step 18–20: Add Contact Details
Enter:
- Contact Email
- Company Address
- Contact Number
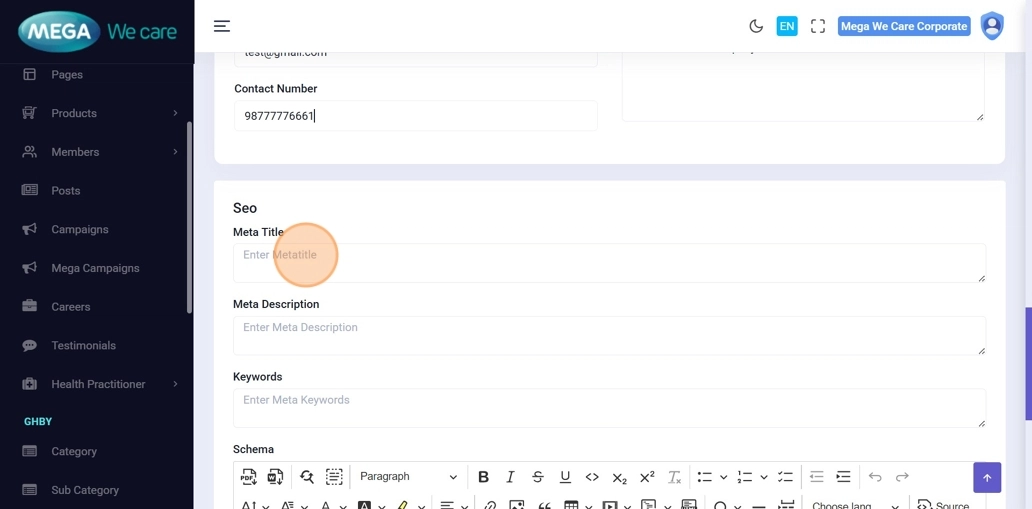
Step 21: Add SEO Details
Fill in:
- Meta Title
- Meta Description
- Meta Keywords
- Schema
- Meta Image (if required)
Step 22: Save Job Posting
Click Save to publish the job.
Edit an Existing Job Posting
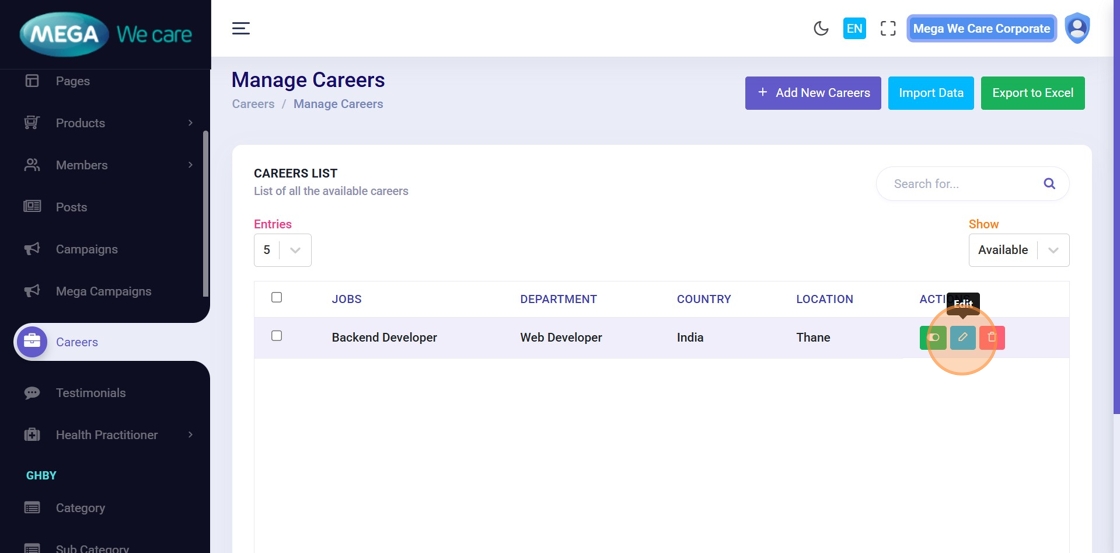
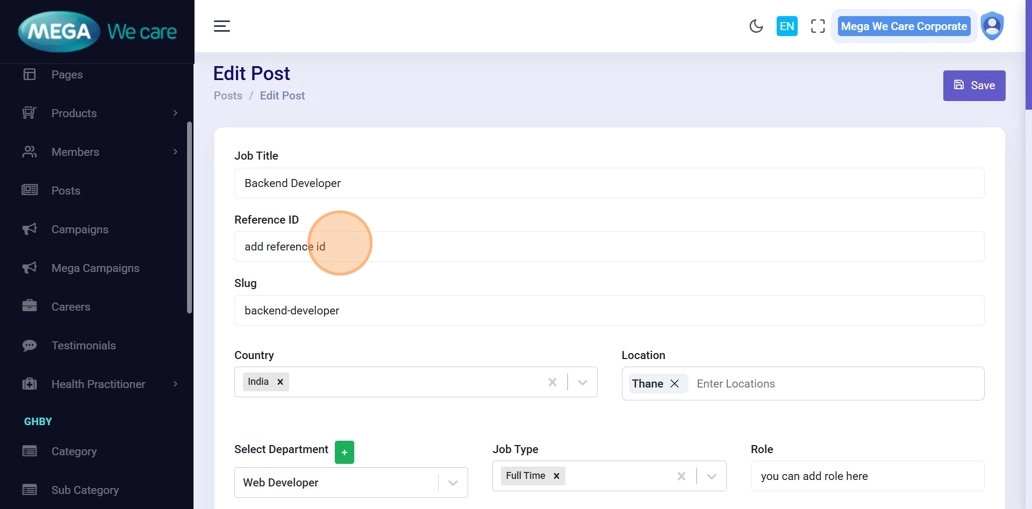
Step 23: Click Edit
Locate the job posting and click Edit.
Step 24: Update Required Fields
Modify any job details (reference ID, description, location, etc.), then click Save.
Delete, Restore, and Permanently Delete Job Postings
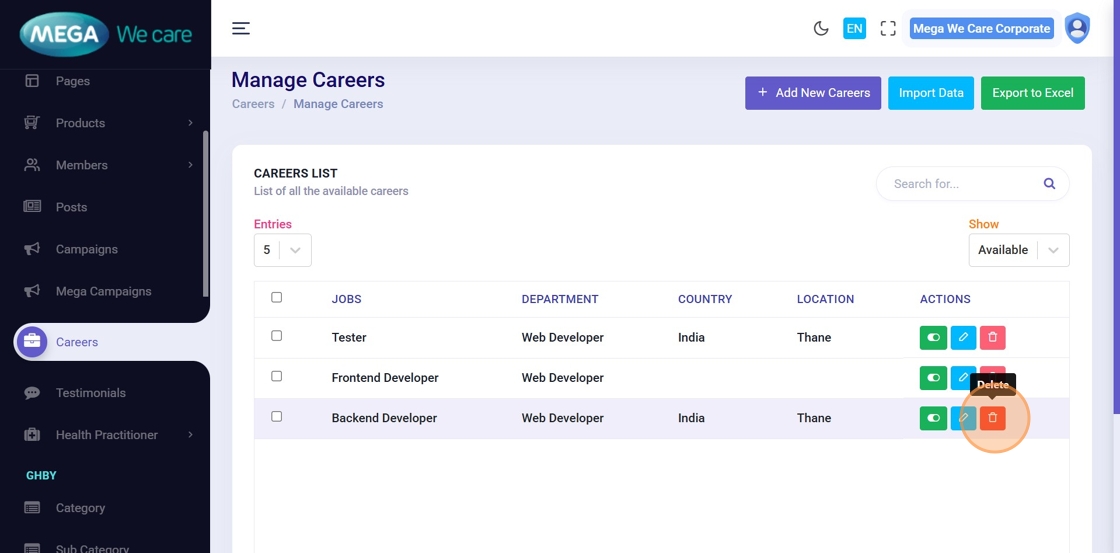
Step 25: Move Job to Trash
Click the Delete icon to move a job posting to Trash (temporary delete for 30 days).
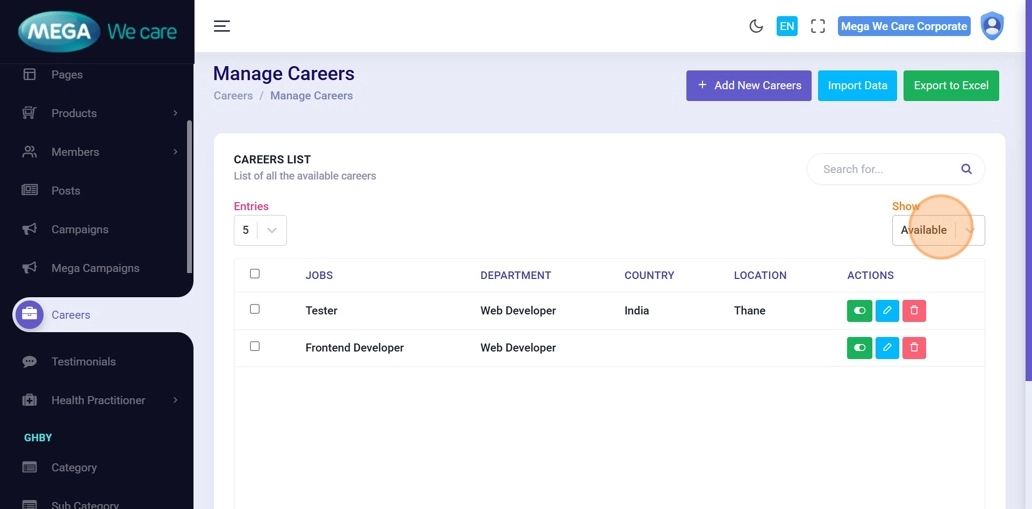
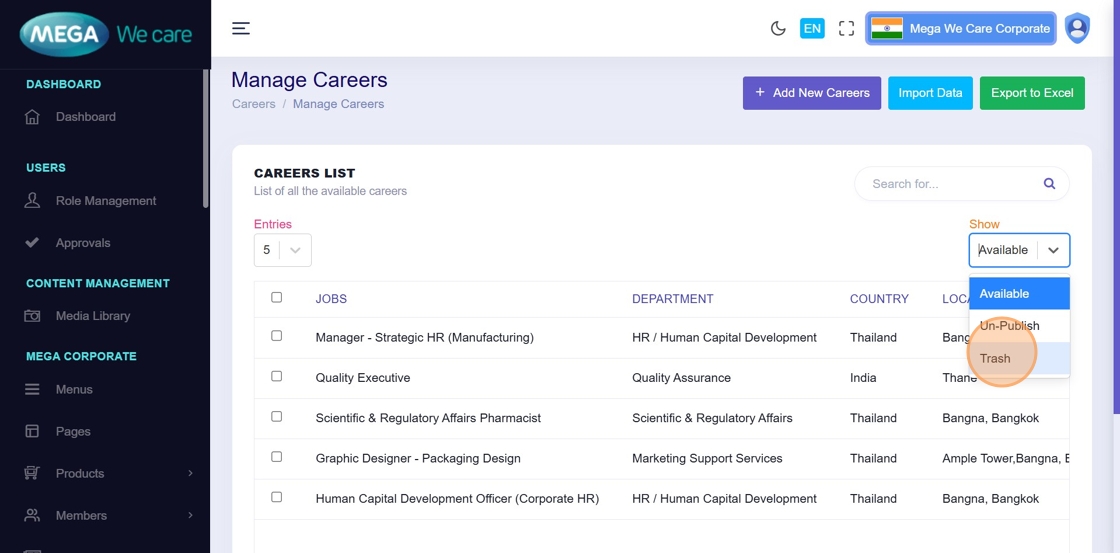
Step 26: View Trashed Jobs
Change the Show dropdown from Available to Trash.
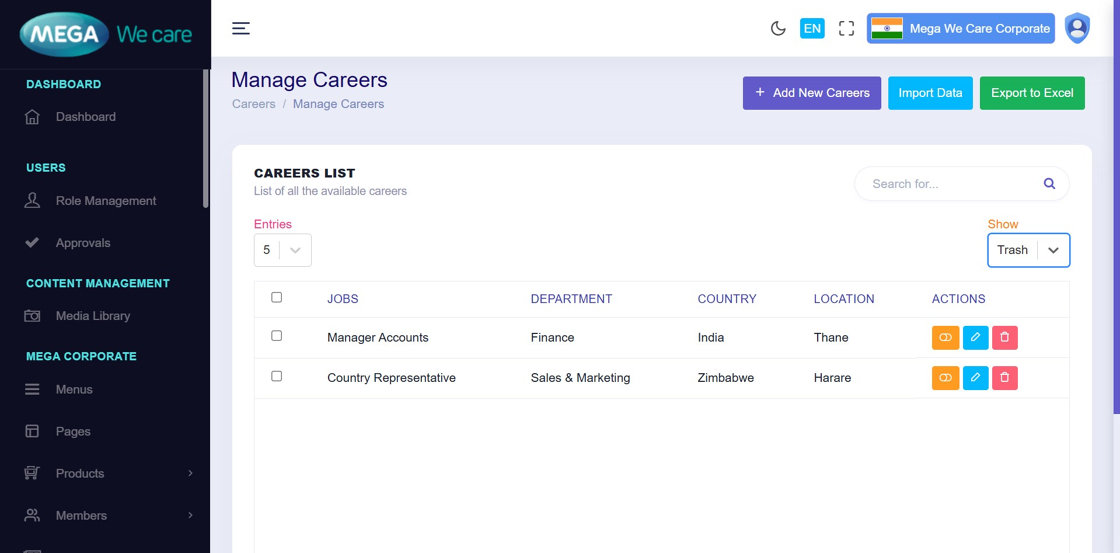
Step 27–28: Permanently Delete a Job
Click Trash, then confirm Delete.
Once deleted, the job cannot be restored.


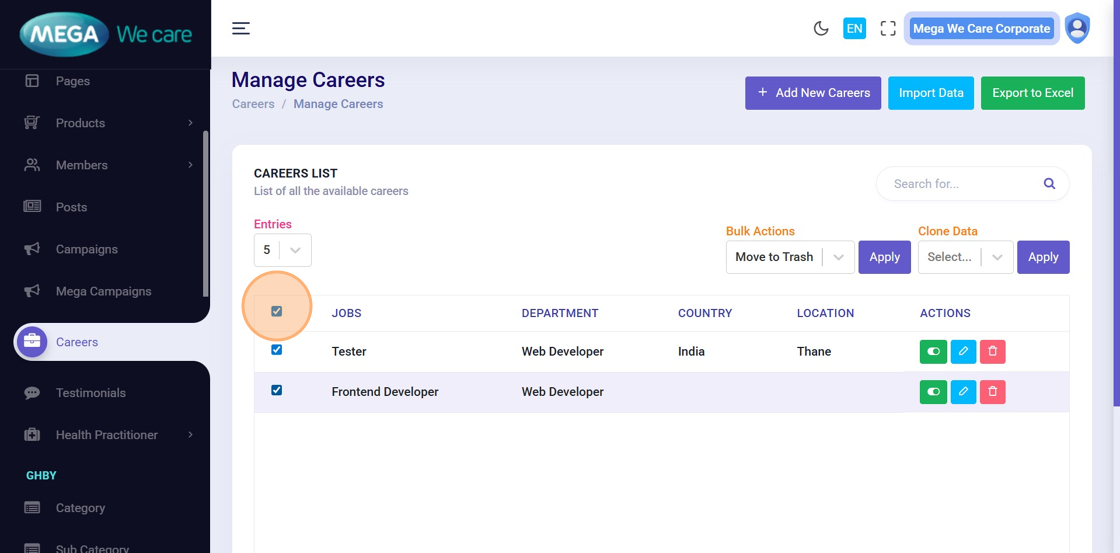
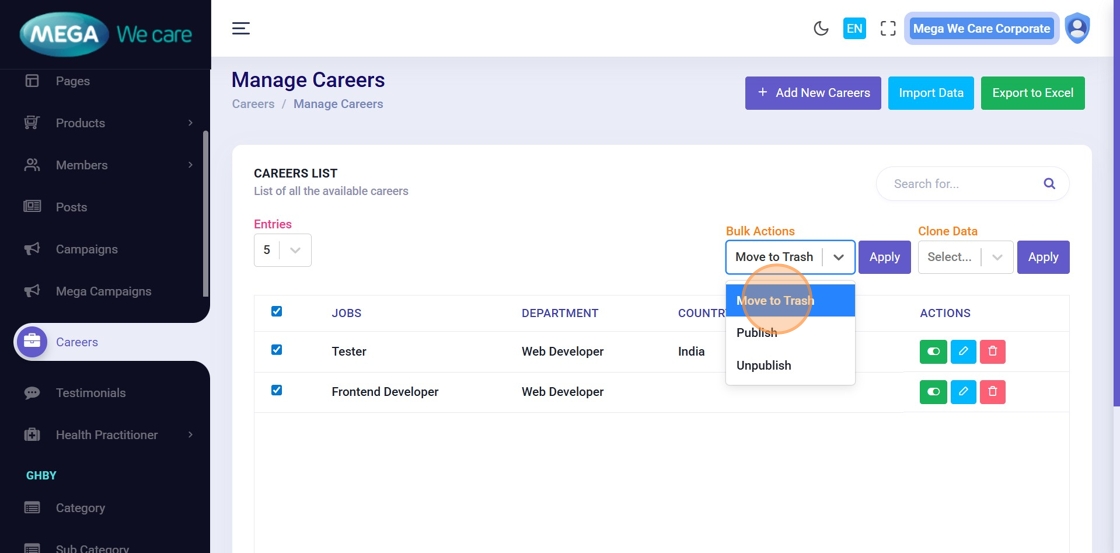
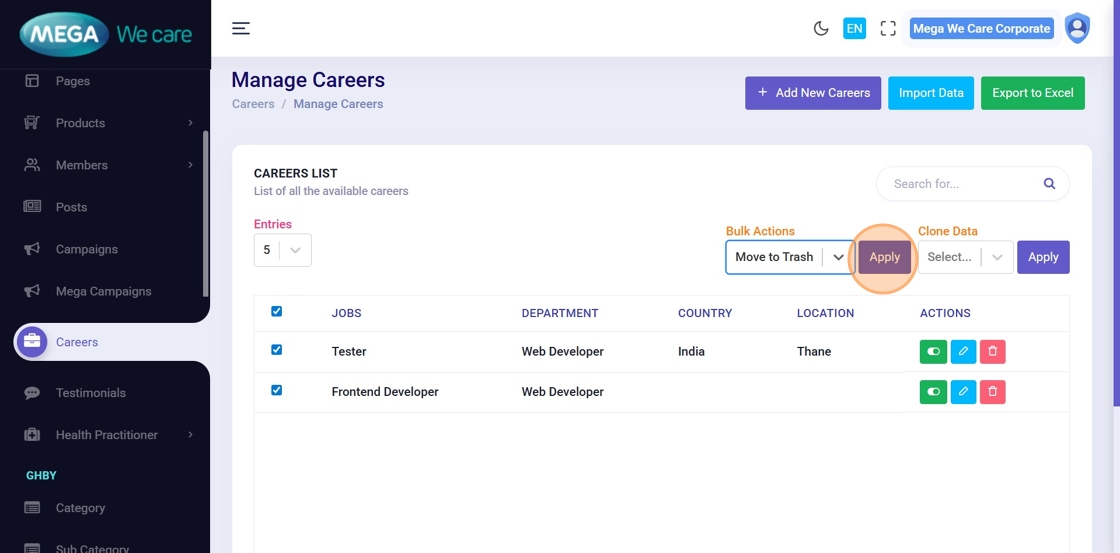
Step 29–31: Bulk Delete Job Postings
- Select all jobs using the checkbox
- Choose Move to Trash from Bulk Actions
- Click Apply
Step 32–33: Manage Trashed Jobs
From the Trash list, you can:
- Restore jobs
- Permanently delete selected or all jobs
Important Notes
- In the Location field, you can add one or multiple locations as required and this should be seperated with space
Summary
By following this document, users can add and update job postings with complete details, move jobs to Trash and restore them when needed, permanently delete outdated postings, and efficiently manage recruitment content. This helps keep the careers section up to date, organized, and easy to manage.