Page Navigation
How to Add, Update and Delete Product Category
This document provides a complete walkthrough for adding, updating, deleting, restoring, and permanently deleting product categories in the admin dashboard.
Overview
By following this document, you will learn how to:
- Create a new product category
- Upload and manage category images
- Optimize categories with SEO details
- Edit existing categories
- Delete, restore, or permanently remove categories
Add a New Product Category
Follow below given steps to create a new product category from scratch.
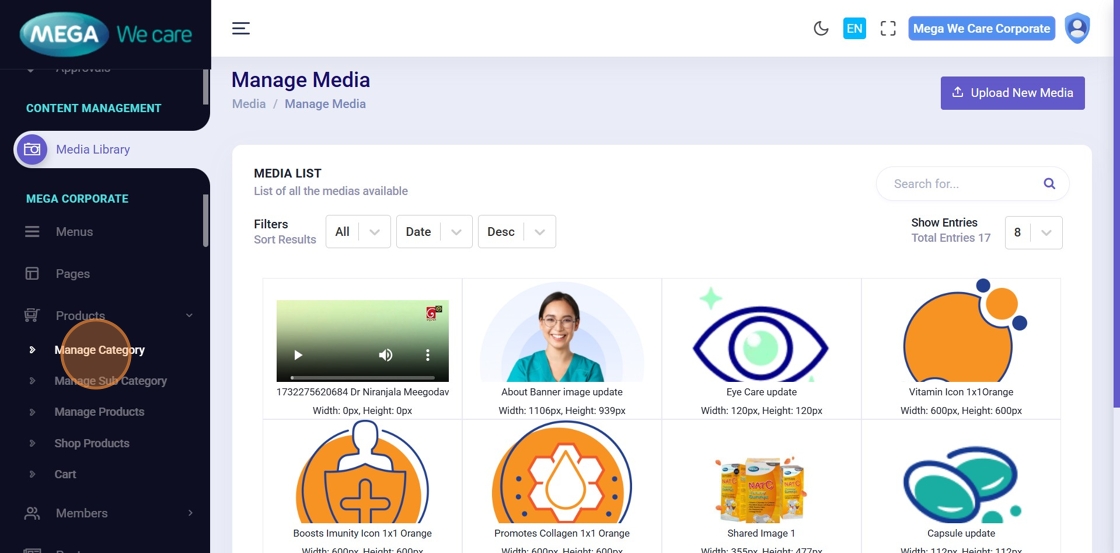
Step 1: Open Product Category Management
Navigate to Products → Manage Category from the admin dashboard menu. This opens the Product Category listing page.
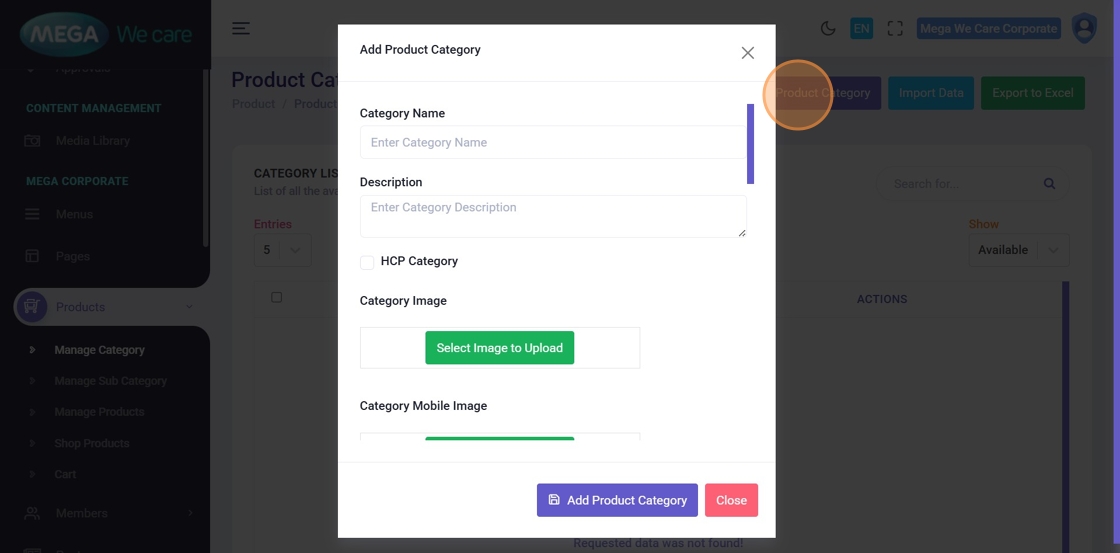
Step 2: Click “Add New Product Category”
Click the Add New Product Category button to open the category creation form.
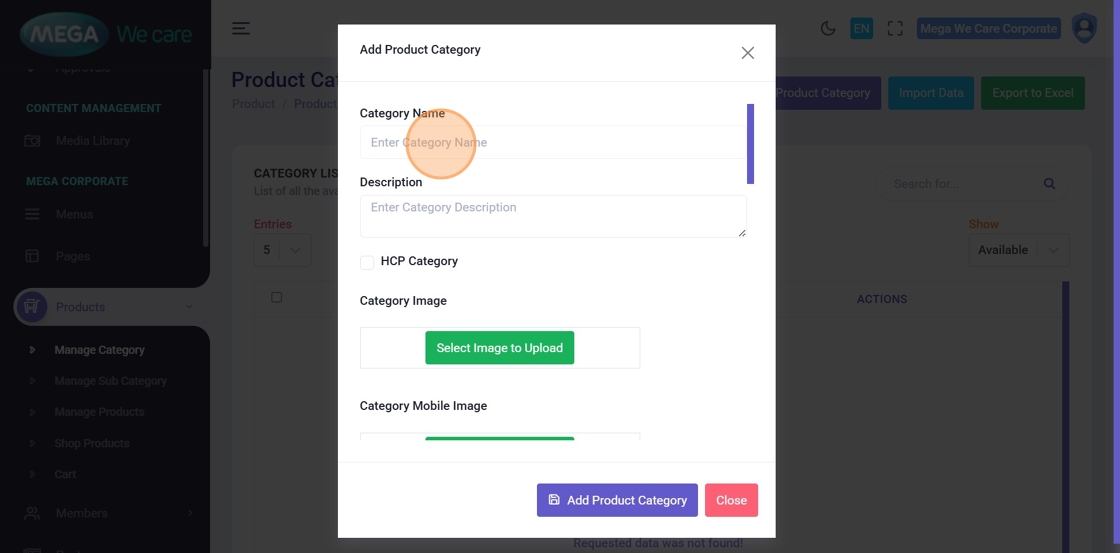
Step 3: Enter Category Name
In the Enter Category Name field, type a clear and meaningful name for the category.
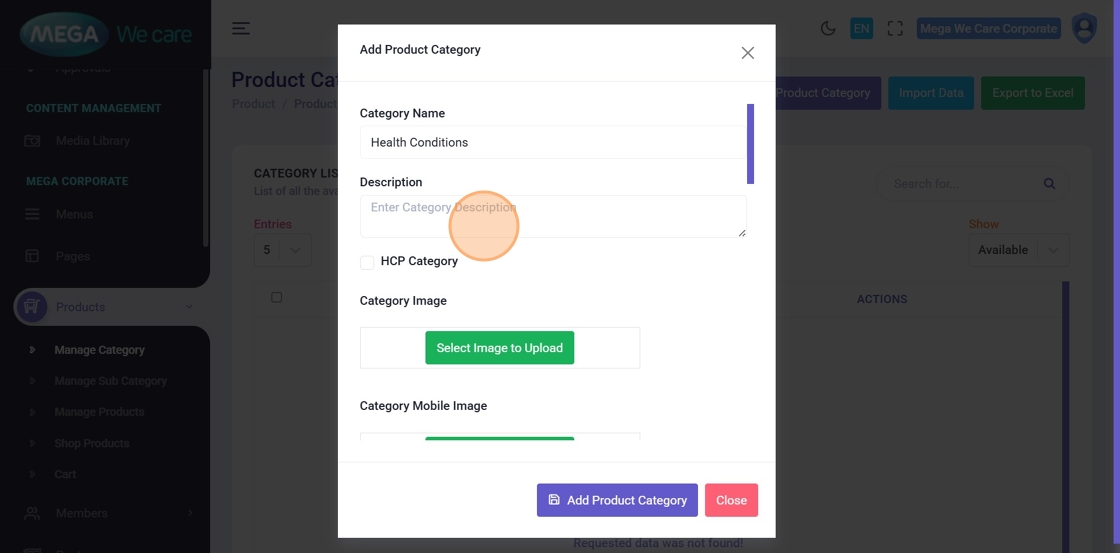
Step 4: Add Category Description
Provide a brief description explaining what this category represents.
Step 5: Select HCP Category (Optional)
Enable this option if the category should appear under HCP. If not required, leave it unchecked.
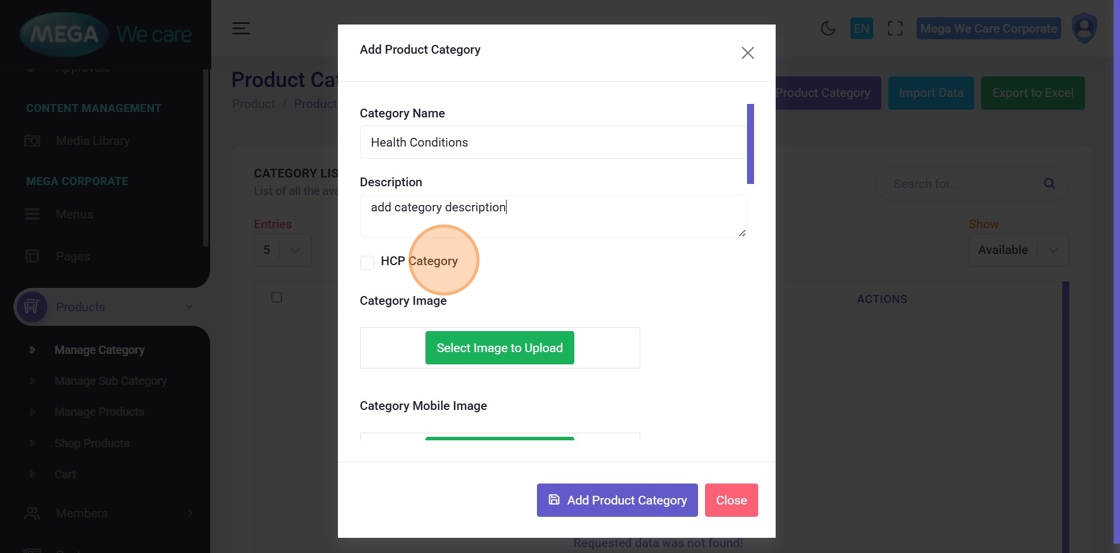
Step 6: Upload Category Image
Click Select Image to Upload, to add a category image.

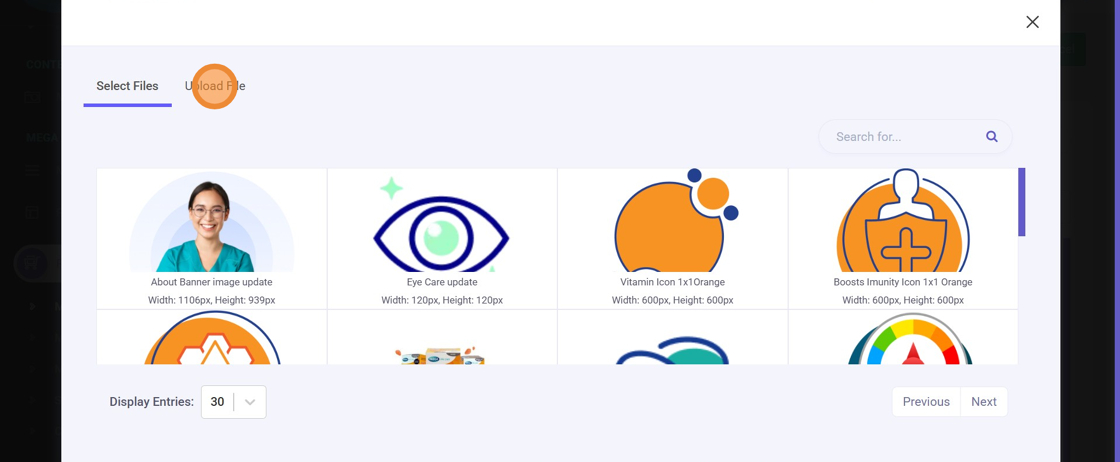
Step 7: Choose Image Source
A media popup will appear with two options:
- Select Files – choose from existing images
- Upload Files – upload a new image from your device
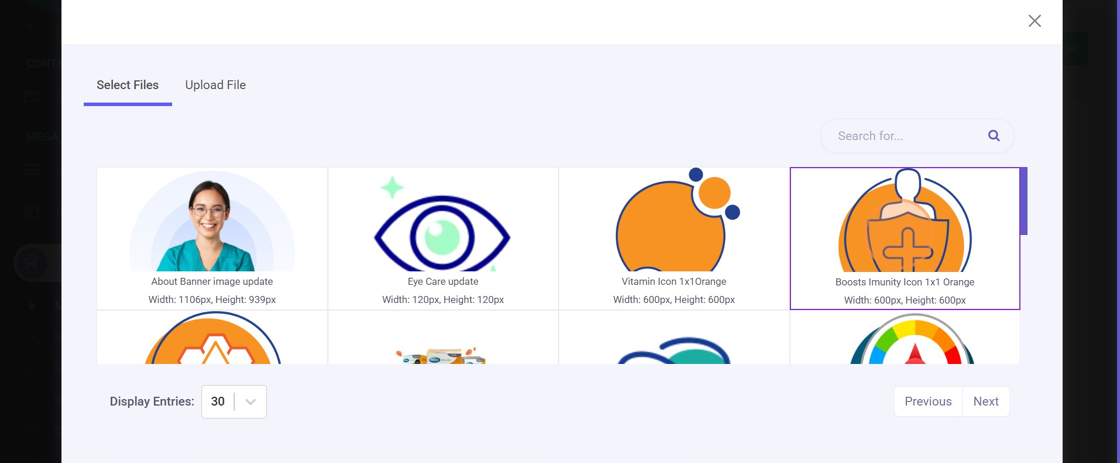
Step 8: Select the Image
Click on the image you want to assign to the category.
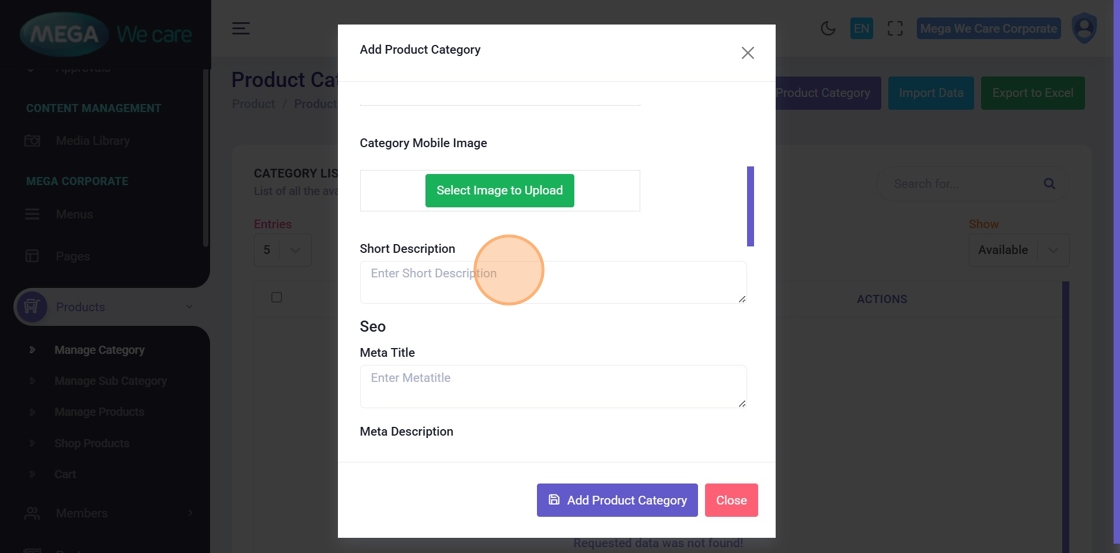
Step 9: Preview Category Image
The selected image will now appear in the Category Image section. Repeat the same steps to upload a Category Mobile Image, if required.
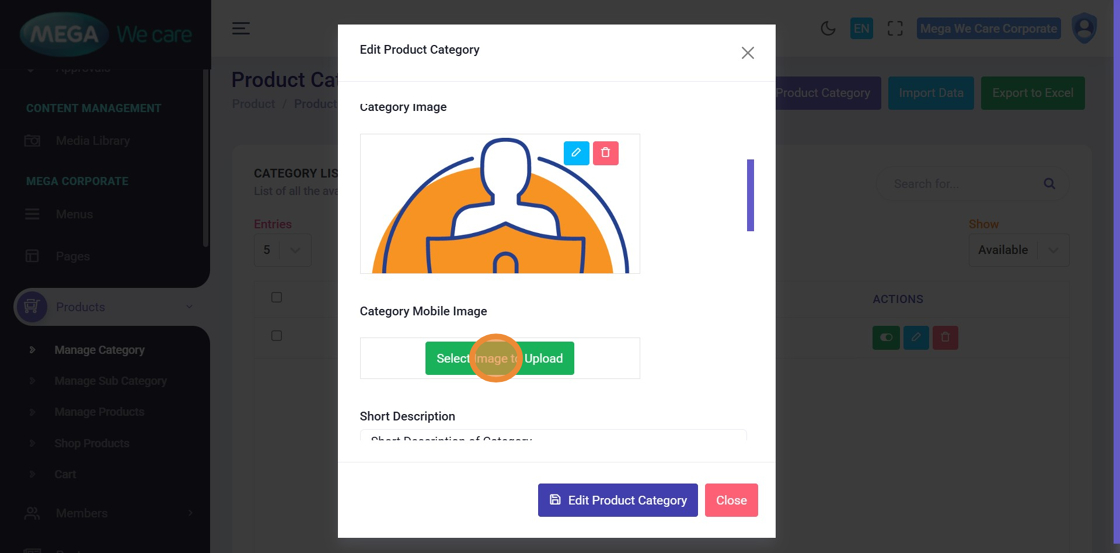
Step 10: Add Short Description
Enter a short summary of the category in the Enter Short Description field.
Step 11: Enter Meta Title
Add a meta title to help search engines identify the category.
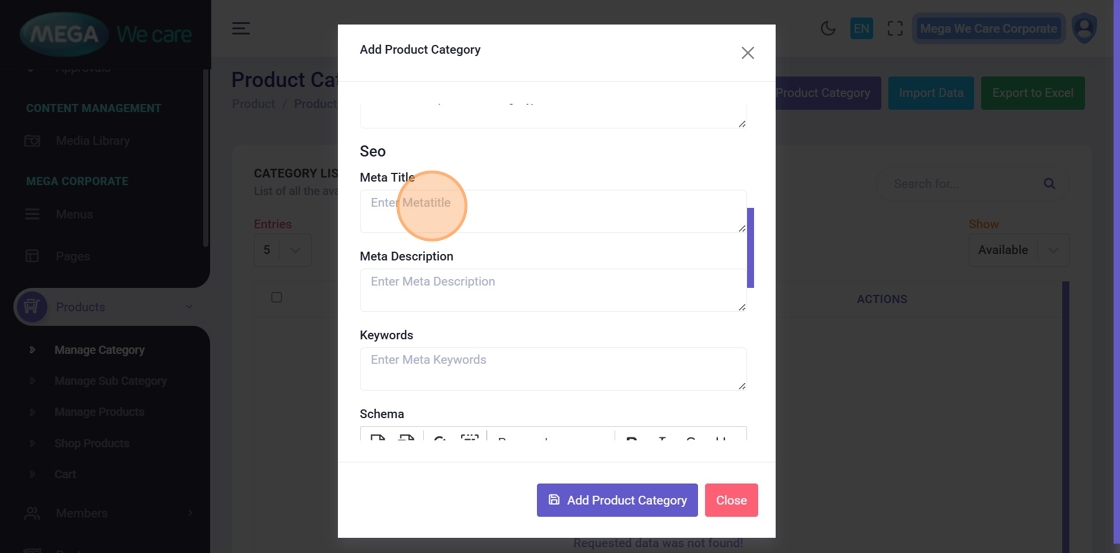
Step 12: Enter Meta Description
Write a concise description that will appear in search results.
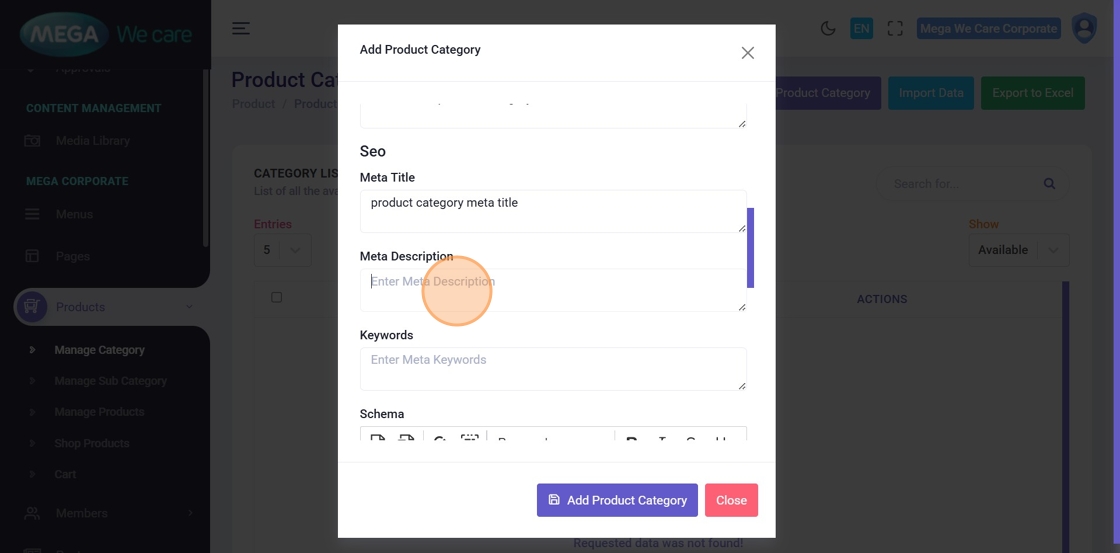
Step 13: Add Meta Keywords
Enter relevant keywords to improve search visibility.
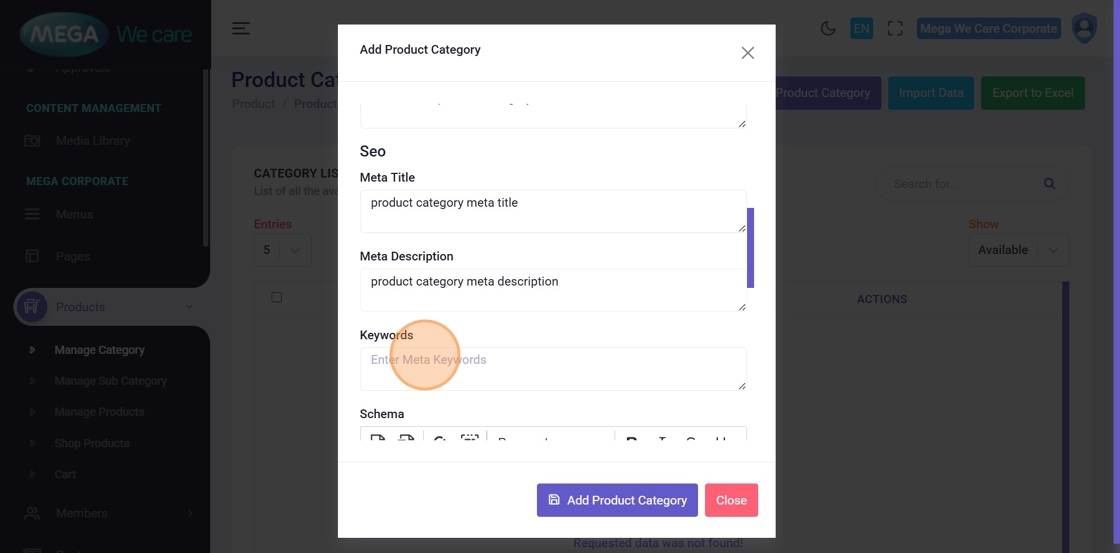
Step 14: Add Schema (Optional)
Paste schema markup in JSON-LD format to help search engines better understand category details.
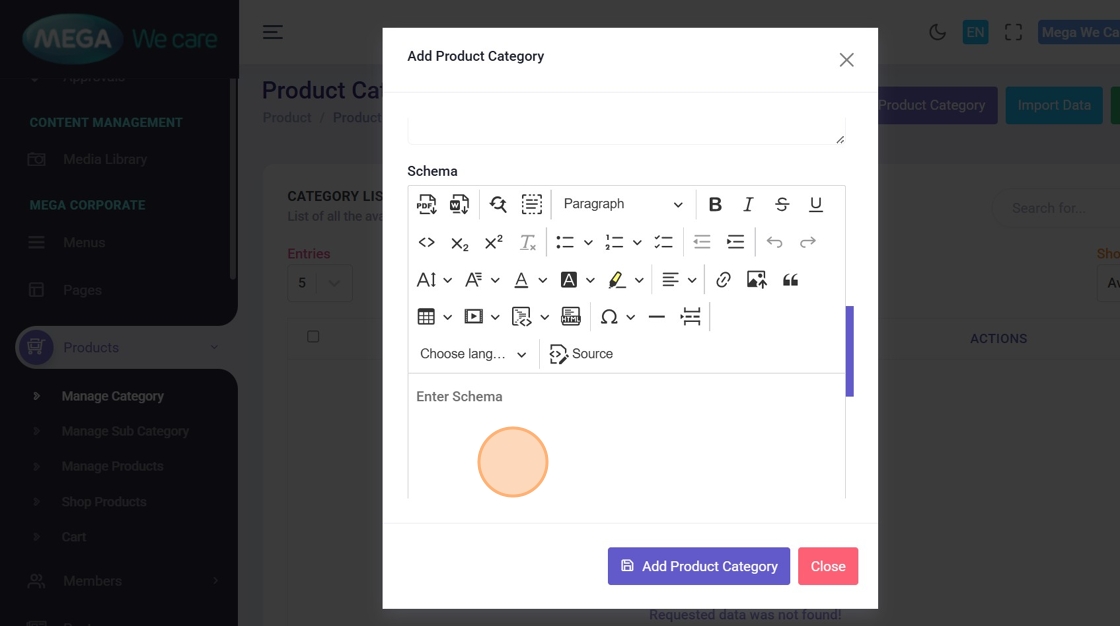
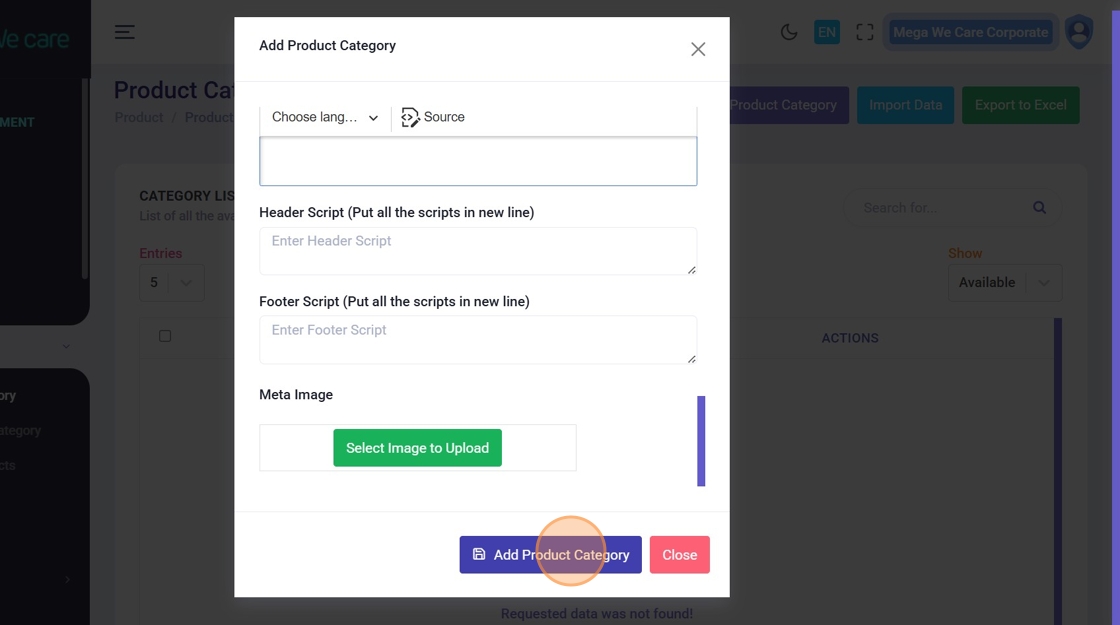
Step 15: Save the Category
Click Add Product Category to save and create the new category.
Edit an Existing Product Category
Use these steps to update category information whenever required.
Step 16: Click the Edit Icon
Locate the category in the list and click on the Edit icon.

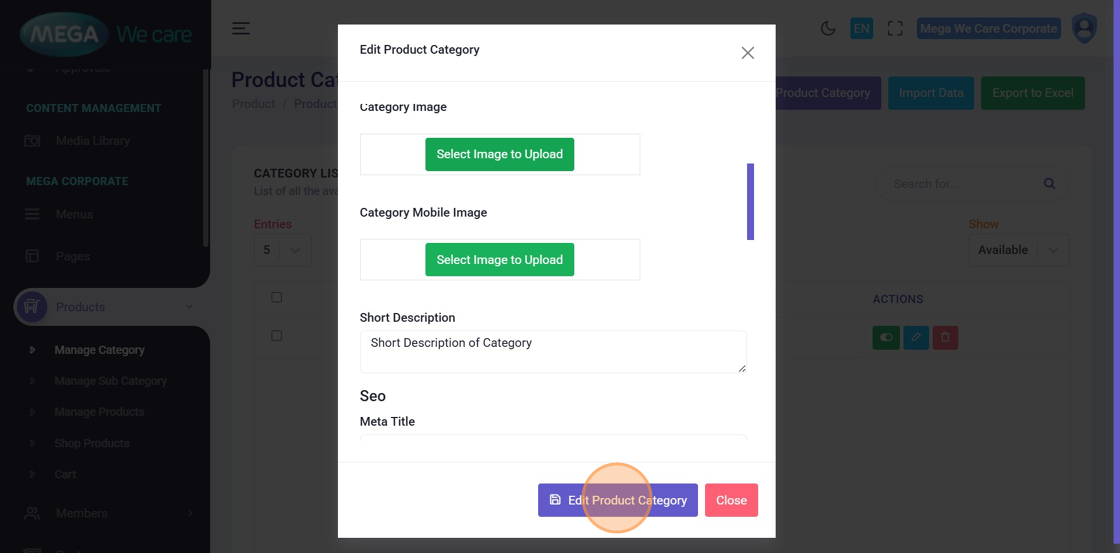
Step 17: Update Category Details
The edit popup allows you to modify:
- Category Name
- Slug
- Images
- Short & Full Descriptions
- SEO Details (Meta Title, Description, Keywords)
After making changes, click Edit Product Category to save updates.
Delete, Restore, or Permanently Remove Categories
This section explains deletion and recovery options.
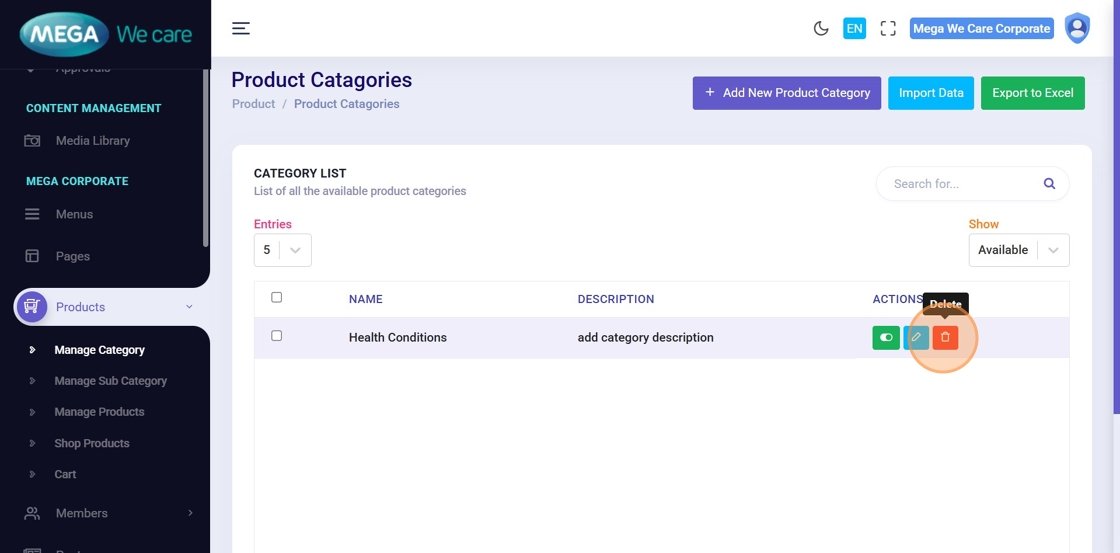
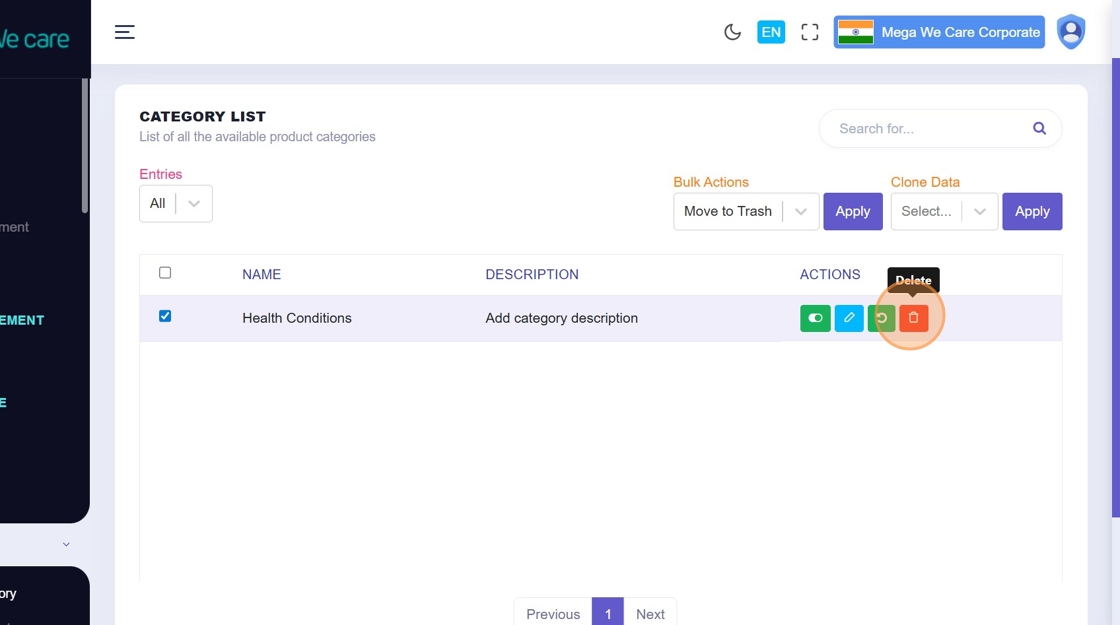
Step 18: Delete (Move to Trash)
Click on the Delete icon to move the category to Trash. The category remains recoverable for 30 days.
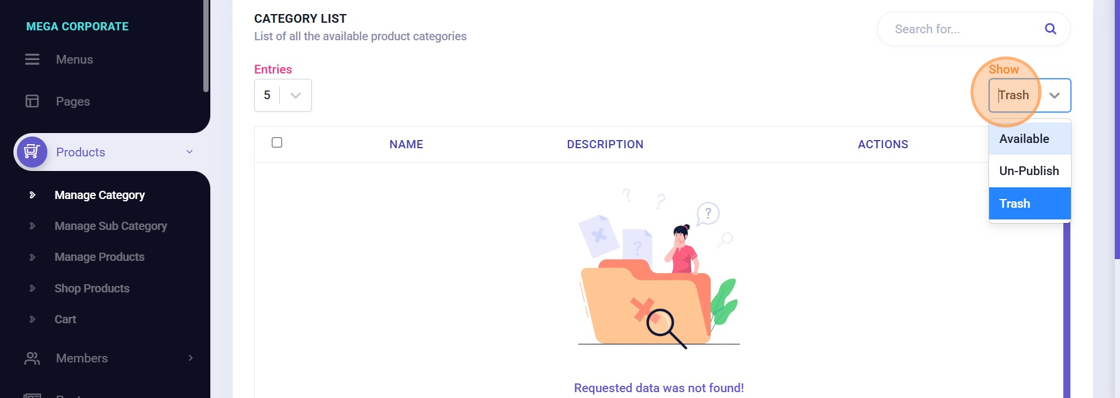
Step 19: View Trashed Categories
Use the status dropdown and switch from Available to Trash to see deleted categories.
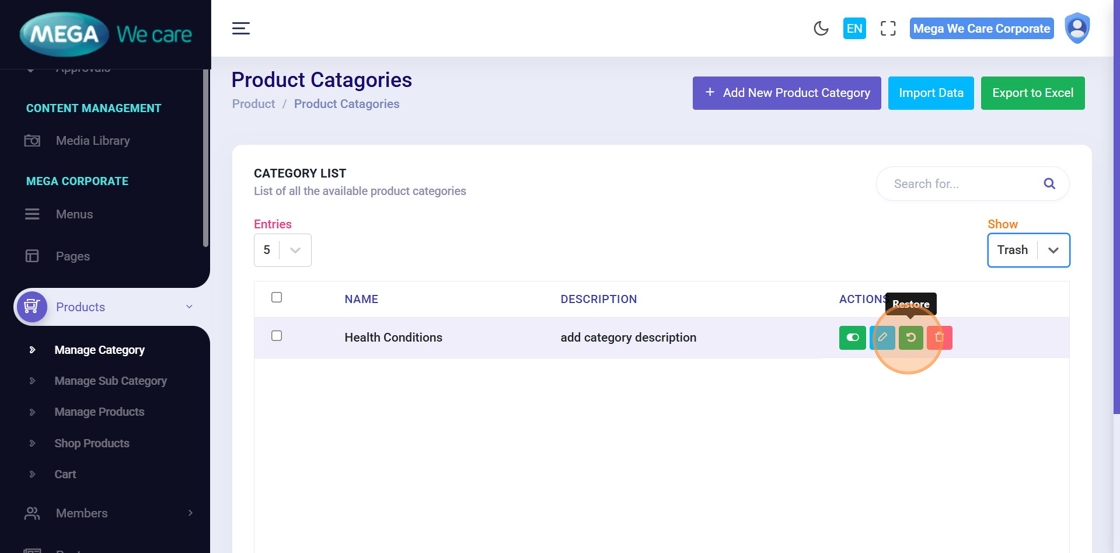
Step 20: Restore Category
Click the Restore icon to recover the category from Trash.
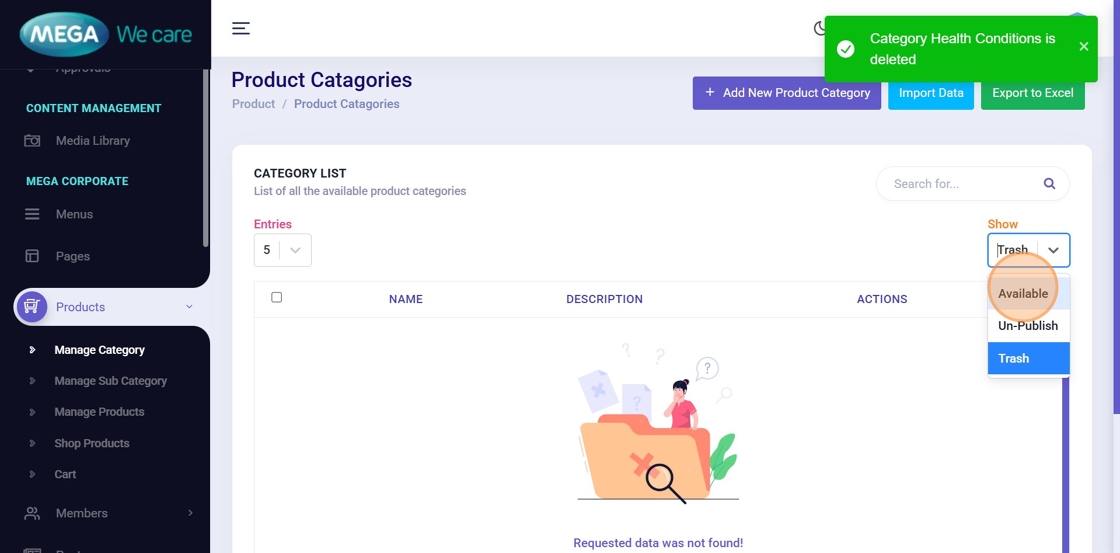
Step 21: Switch Back to Available View
Change the dropdown from Trash back to Available to view active categories.
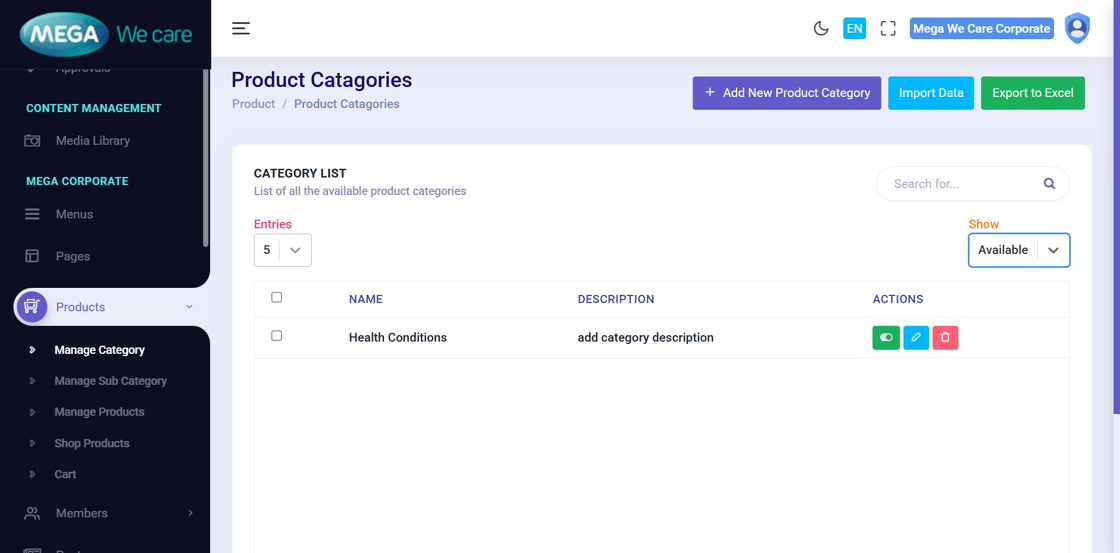
Step 22: Confirm Restoration
The restored category will now appear as active.
Step 23: Permanently Delete Category
From the Trash view, click Delete to remove the category permanently. If no action is taken, it will auto-deleted after 30 days.
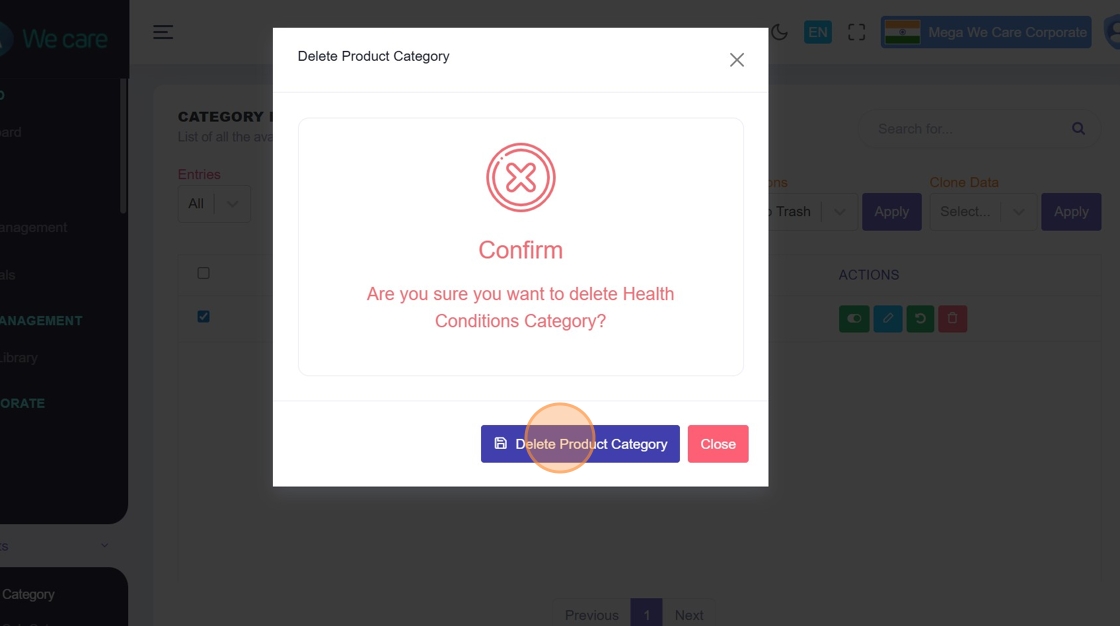
Step 24: Confirm Permanent Deletion
A confirmation popup appears. Click Delete Product Category to permanently remove it. This action cannot be undone.
Important Notes
- If you want to include this category in the HCP section, select the HCP Category checkbox. Otherwise, keep this option unchecked.
Summary
By following all the steps, you can add new categories with images and SEO details, edit categories at any time, delete categories, restore them within 30 days, and permanently delete them when required.