Page Navigation
How to Add Menus, Edit Menus and Add Sub Menus in Menu List
This document explains how to add, edit, and manage menus and sub menus in the backend dashboard. It helps to control the website’s navigation structure and help organize pages, links, and content in a clear and user-friendly way.
Overview
By following this document, user can:
- Create new menus
- Add pages and custom links
- Create, manage submenus and drag and drop them as needed
- Add icons, images, columns, and custom classes
- Copy (clone) menu items
- Update menu name and slug
- Search and save menu configurations
Add a New Menu
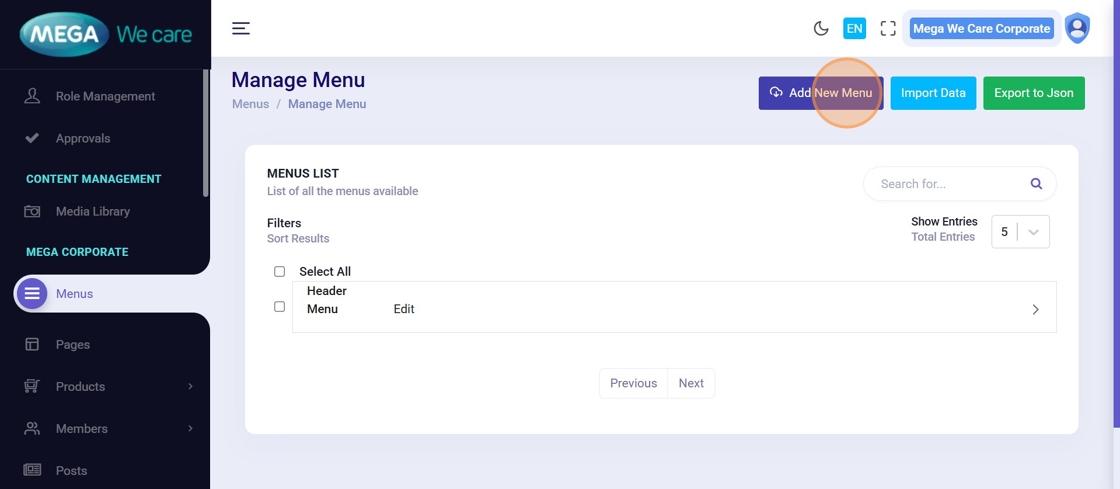
Step 1: Open the Menus Section
From the left sidebar of the dashboard, click Menus.
This opens the menu management area.
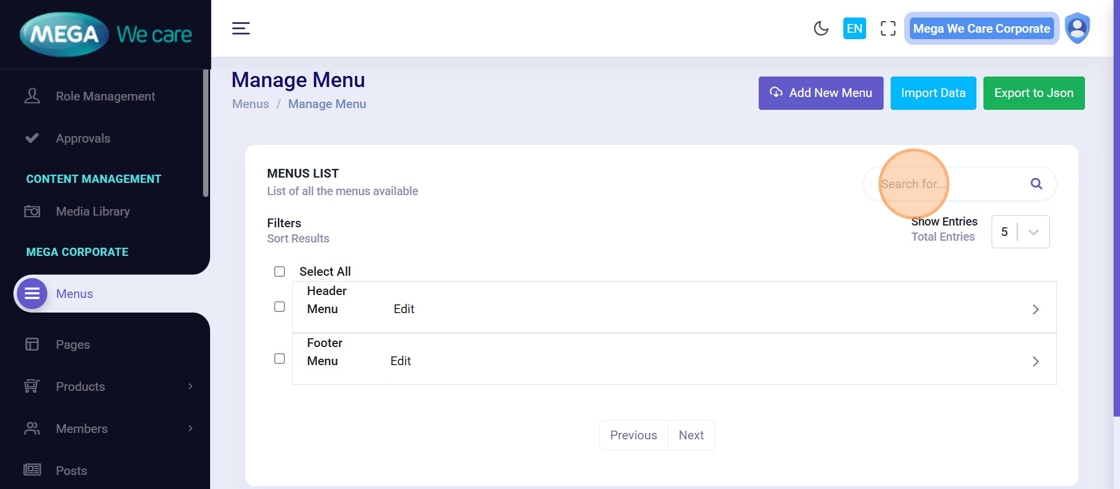
Step 2: Go to Manage Menus
You will be redirected to the Manage Menus page.
Click Add New Menu to create a new menu.
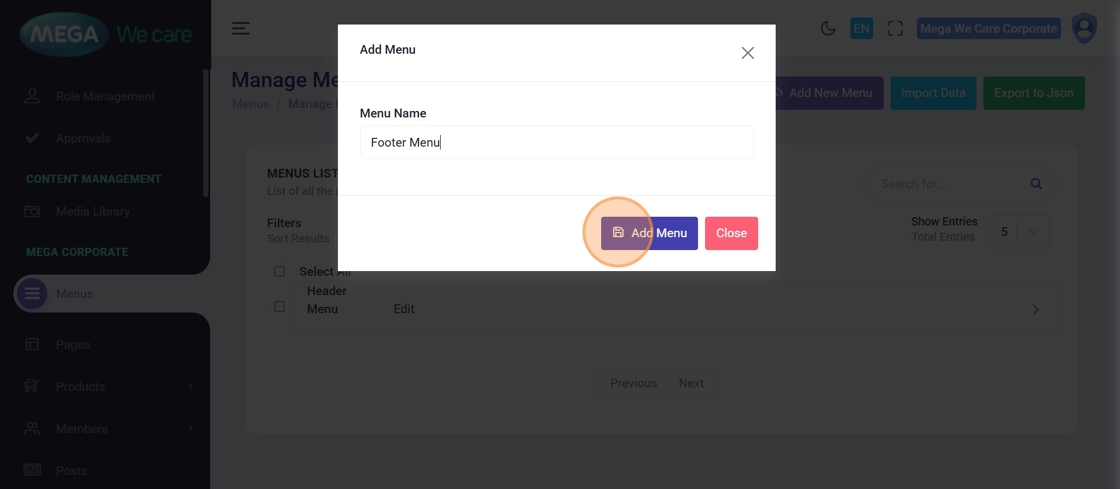
Step 3: Enter Menu Name and Save
- Click the Enter Menu Name field
- Type the menu name
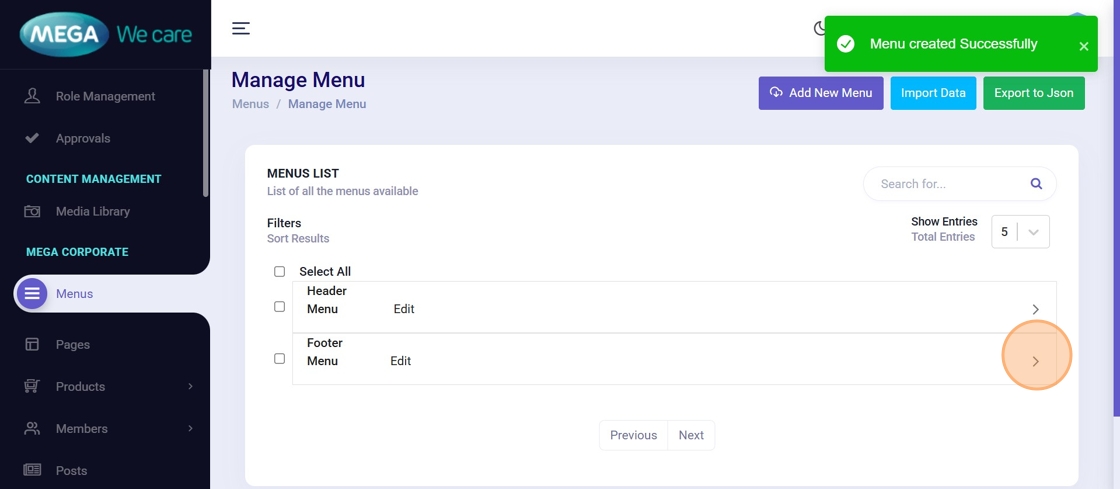
- Click Add Menu
The menu will now appear in the menu list.
Edit Menu & Add Submenus
Step 4: Edit an Existing Menu
Click Edit next to the menu you want to modify.
This opens the Menu Editor.
Step 5: Select Pages to Add
From the page list, select one or more pages you want to include in the menu.
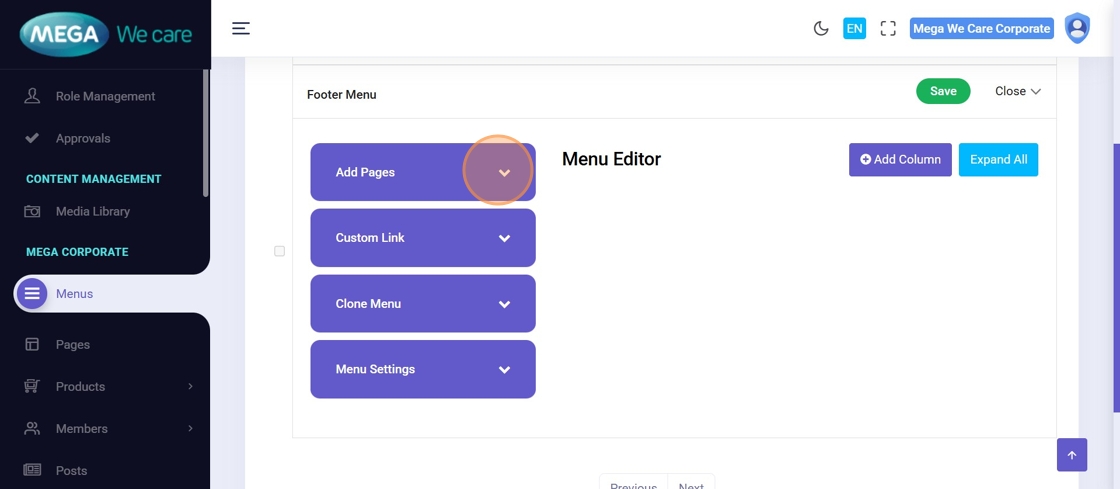
Step 6: Add Selected Pages
Click Add Pages to insert the selected pages into the menu structure.

Step 7: View Menu Structure
The added pages now appear in the menu list.
You can:
- Reorder items
- Convert items into submenus
- Add custom links
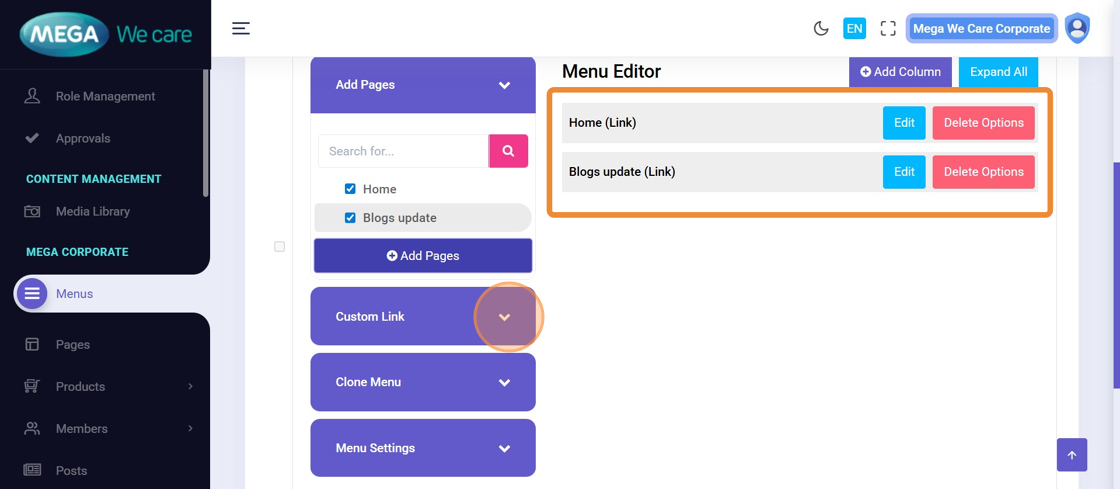
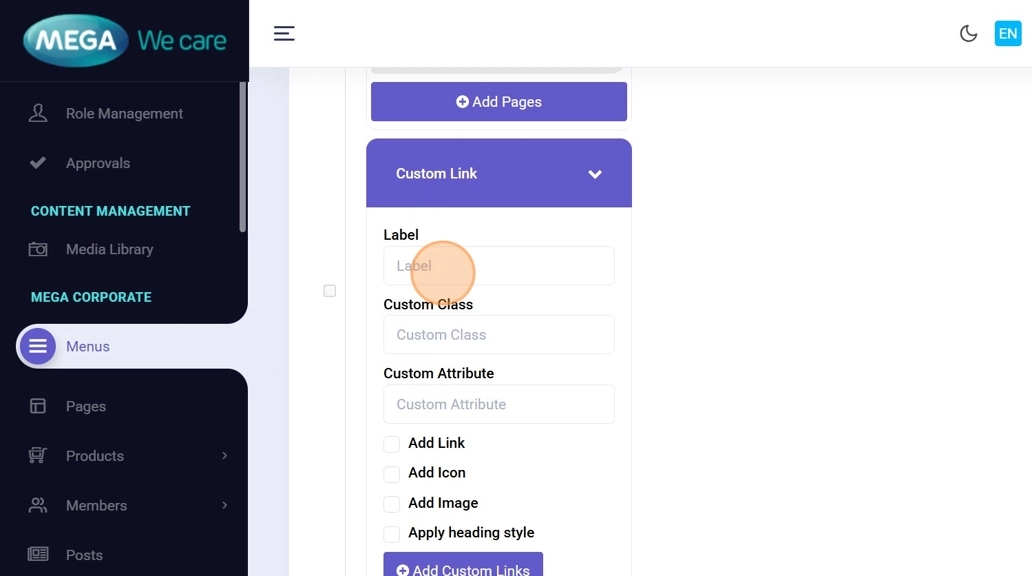
Step 8: Add a Custom Link
To add an external or manual link:
- Enter the Label
- Click Add Link
- Enter the Slug / URL
- Click Add Custom Links
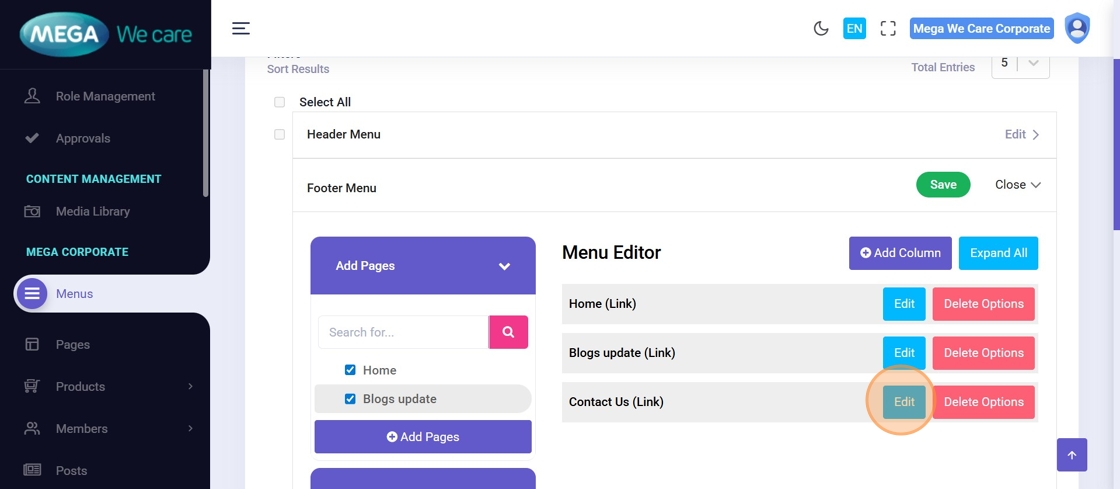
Step 9: Edit a Menu or Submenu Item
Click Edit on any menu or submenu item to modify its details.
Advanced Menu Options
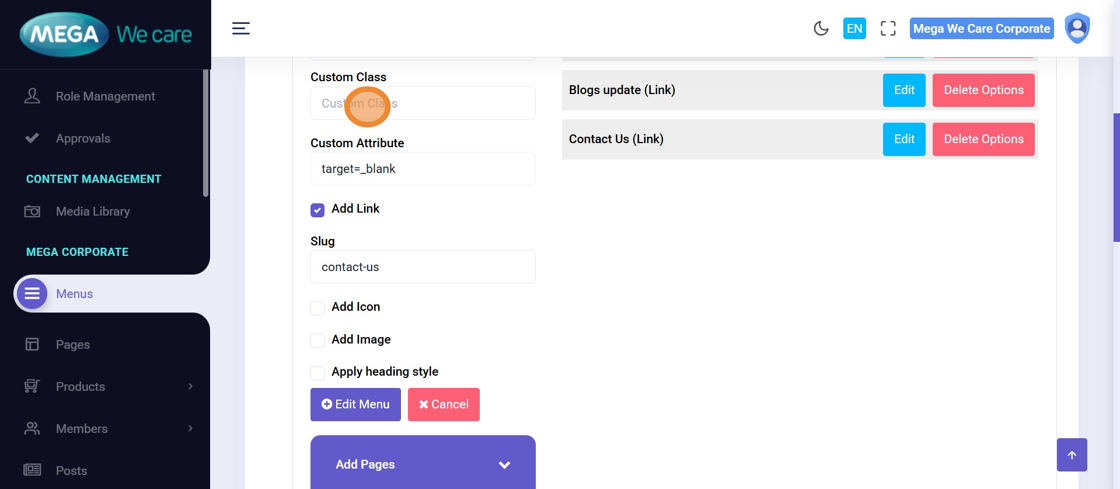
Step 10: Add Custom Classes and Attributes
You can add:
- Custom CSS classes (Tailwind, Bootstrap, etc.)
-
Attributes like
target="_blank"
This controls styling and link behavior.
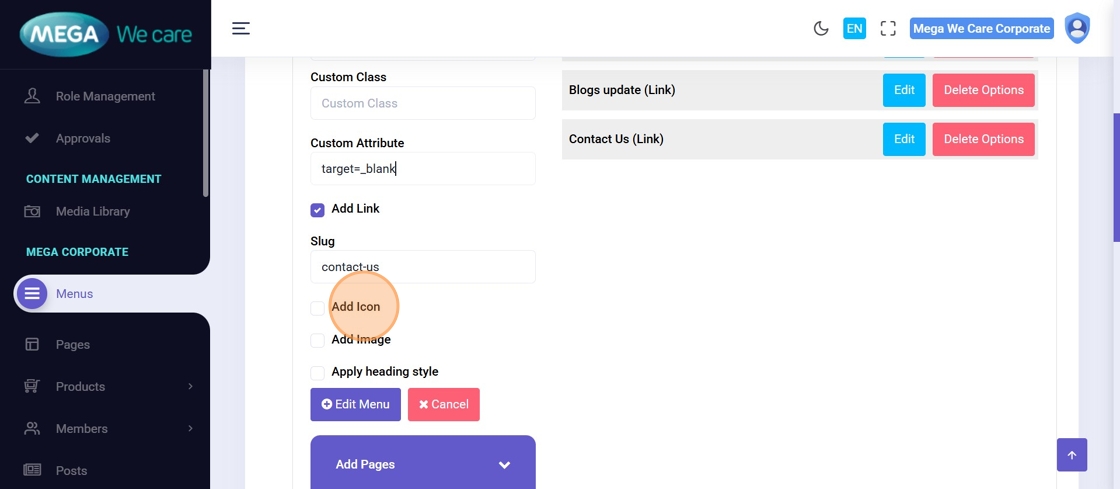
Step 11: Add an Icon
Click Add Icon to attach an icon to the menu item
(e.g., fa-home, fa-phone,
fa-envelope).
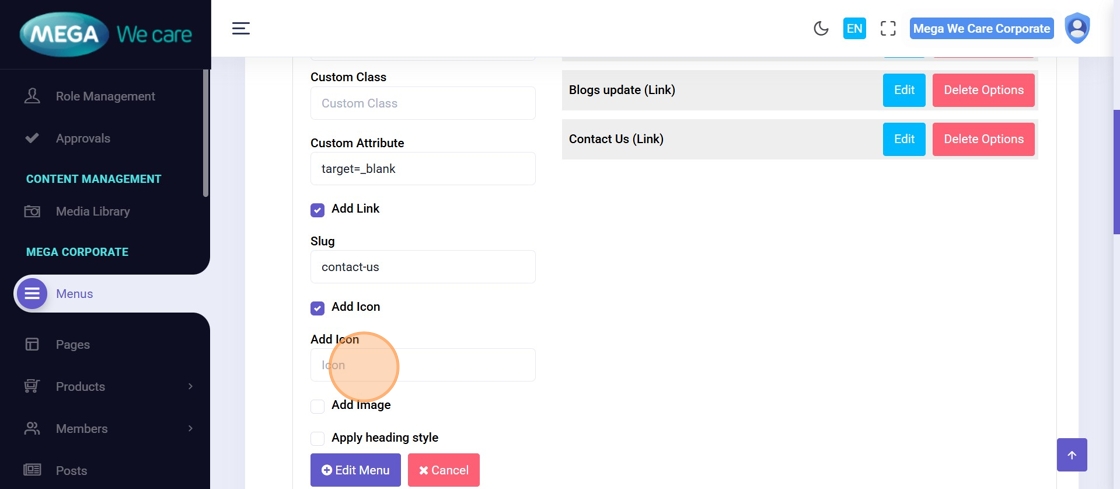
Step 12: Select Icon
Enter the icon name in the Icon field.
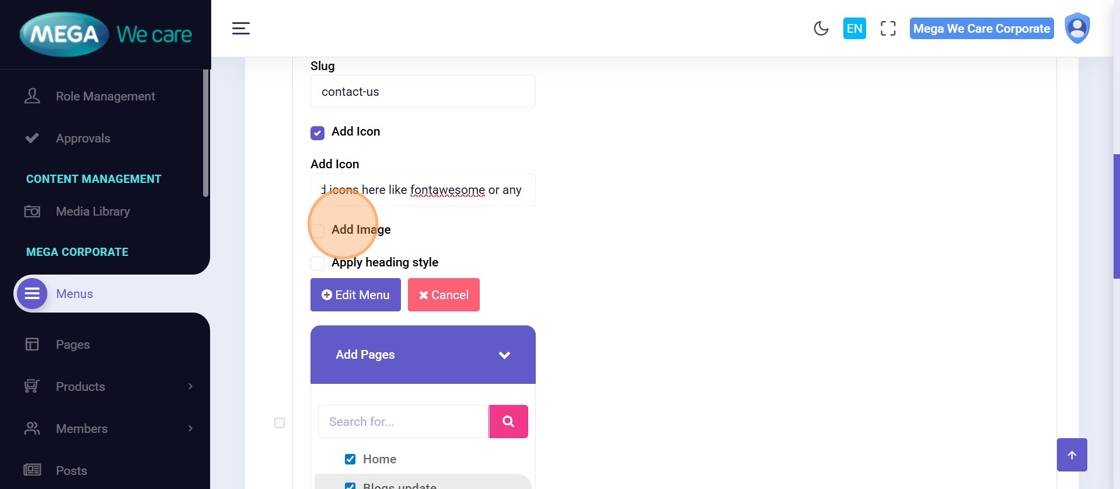
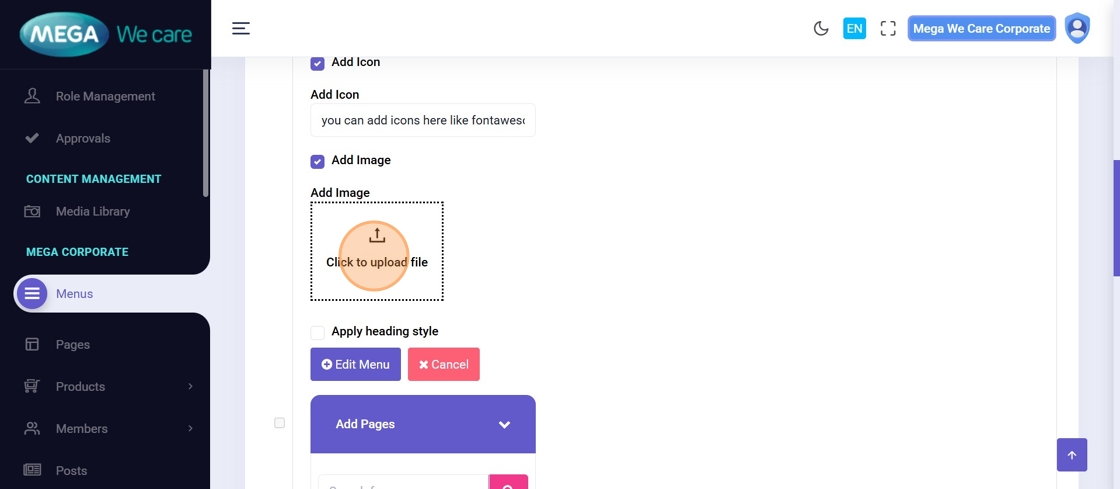
Step 13: Add an Image to a Menu Item
Click Add Image if the menu item requires an image
(commonly used in mega menus).
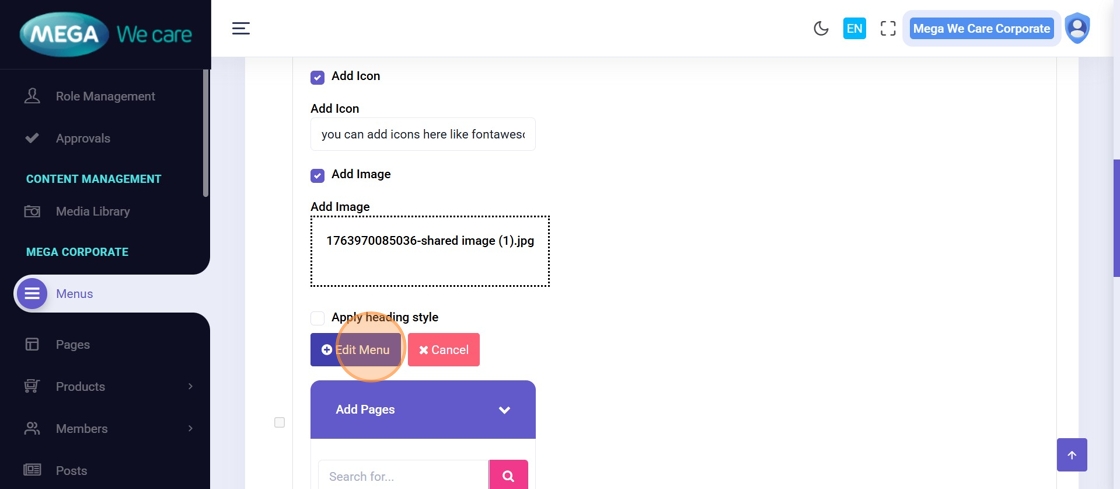
Step 14: Upload the Image
Click Click to upload file and select the image from your device.
Step 15: Save Submenu Updates
After editing submenu details, click Edit Menu to save changes.
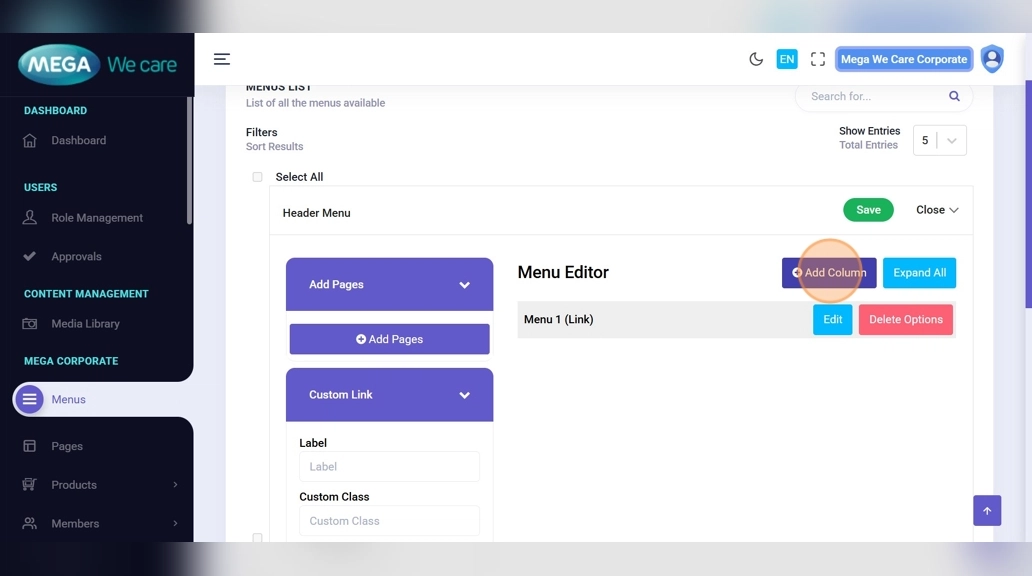
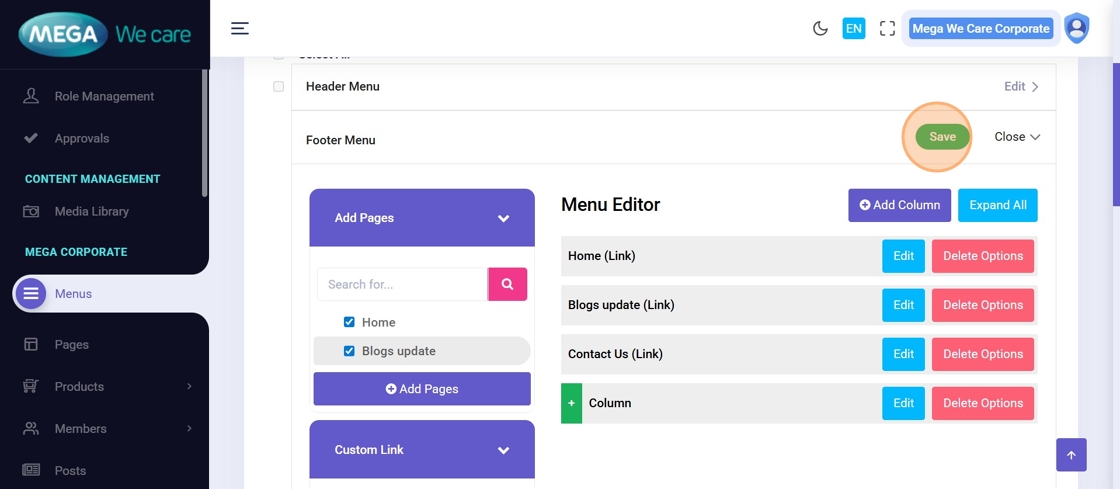
Step 16: Add Columns and Layout Classes
To organize menu layout:
- Click Add Column
- Drag menu items into columns
- Add layout classes in Custom Class
- Click Edit Menu
This is useful for mega-menu layouts.
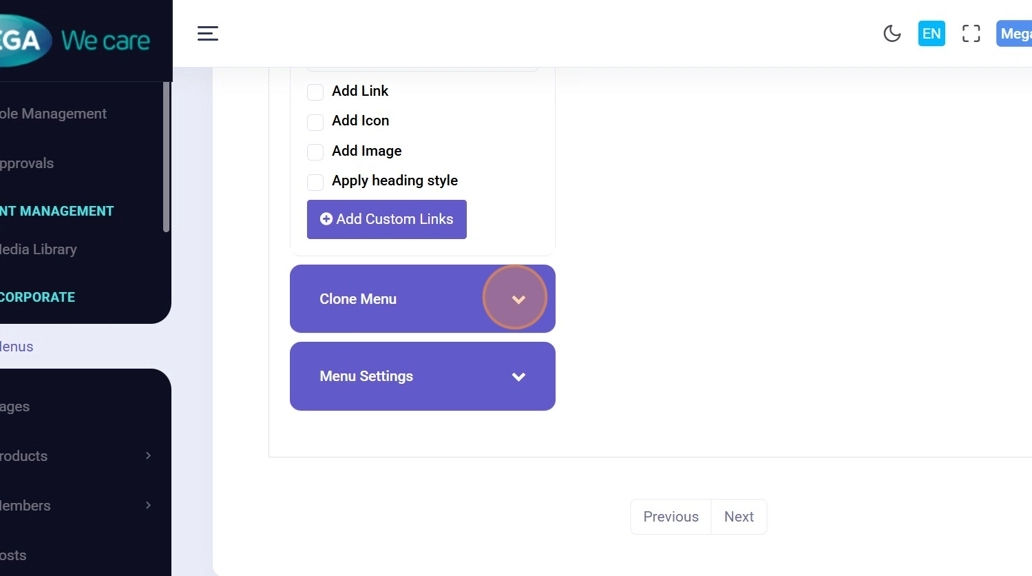
Step 17: Clone Submenu Items
To duplicate submenu items:
- Select the submenu
- Enable the checkbox
- Choose cloning options
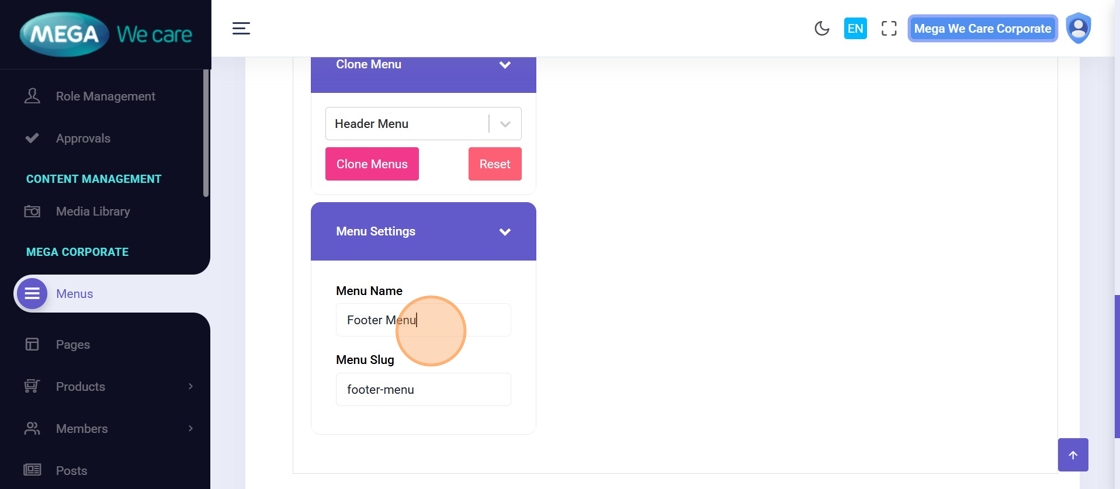
Step 18: Change Menu Name or Slug
Open the Menu Settings Dropdown to update:
- Menu Name
- Menu Slug
Step 19: Save the Menu
Click Save to apply all menu and submenu changes.
Step 20: Search Menu Items
Use the Search bar to quickly find any menu or submenu item.
Important Notes
- For custom links, page slug should be directly use for eg for page Contact Us, the link should be pass like this /contact-us
- For custom attributes, enter them directly for the link. For example, to open the link in a new tab, use target=_blank. If you need to add more attributes, separate them with a space and add the next attribute.
- If you clone an existing menu (for example, a Header menu) to use it for another section, make sure to update the new menu’s name and slug. If this is not done, it may cause errors on the website.
- Upload images in WEBP format, ensure the image size is not too large, and do not use PNG, JPG, or JPEG files. If the image is in any of these formats, convert it to WEBP before uploading.
Summary
By following this process, users can confidently create and manage menus, add pages and custom links, build submenu structures, include icons, images, and custom classes, organize menus into columns, clone items, update menu names and slugs, and save or search menu configurations. This helps maintain a clean, scalable, and user-friendly website navigation structure.