Page Navigation
How to Add, Update and Delete GHBY Experts
This document provides a comprehensive overview of the end-to-end management of GHBY Experts in the It helps users to easily create and manage expert profiles by adding the correct details and linking experts to the right blogs. Users can update expert information whenever needed and remove expert profiles that are no longer in use, ensuring all expert details remain accurate and up to date. backend dashboard.
Overview
Using this document, you will be able to:
- Add a new GHBY expert
- Edit and update expert details and its image
- Add social media profiles
- Optimize expert pages for SEO
- Delete expert profiles safely
Create a New Expert
Step 1: Open Admin Dashboard
Navigate to the Admin Dashboard to access GHBY expert management.
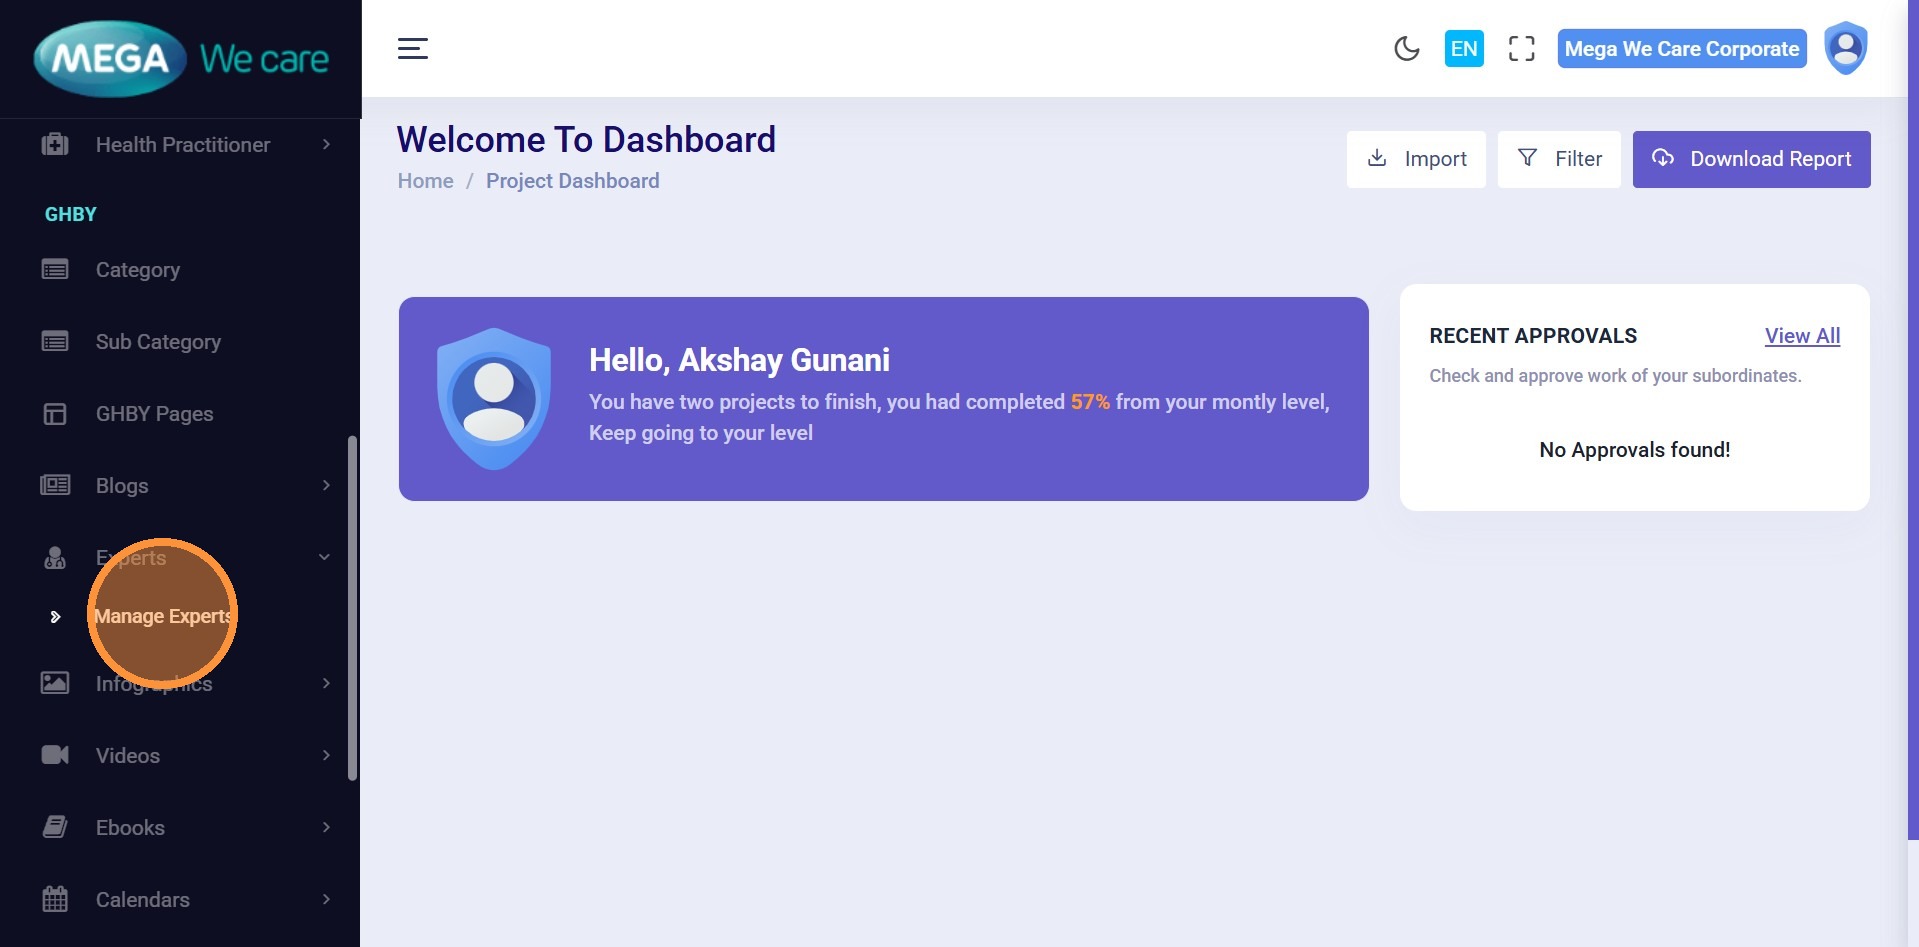
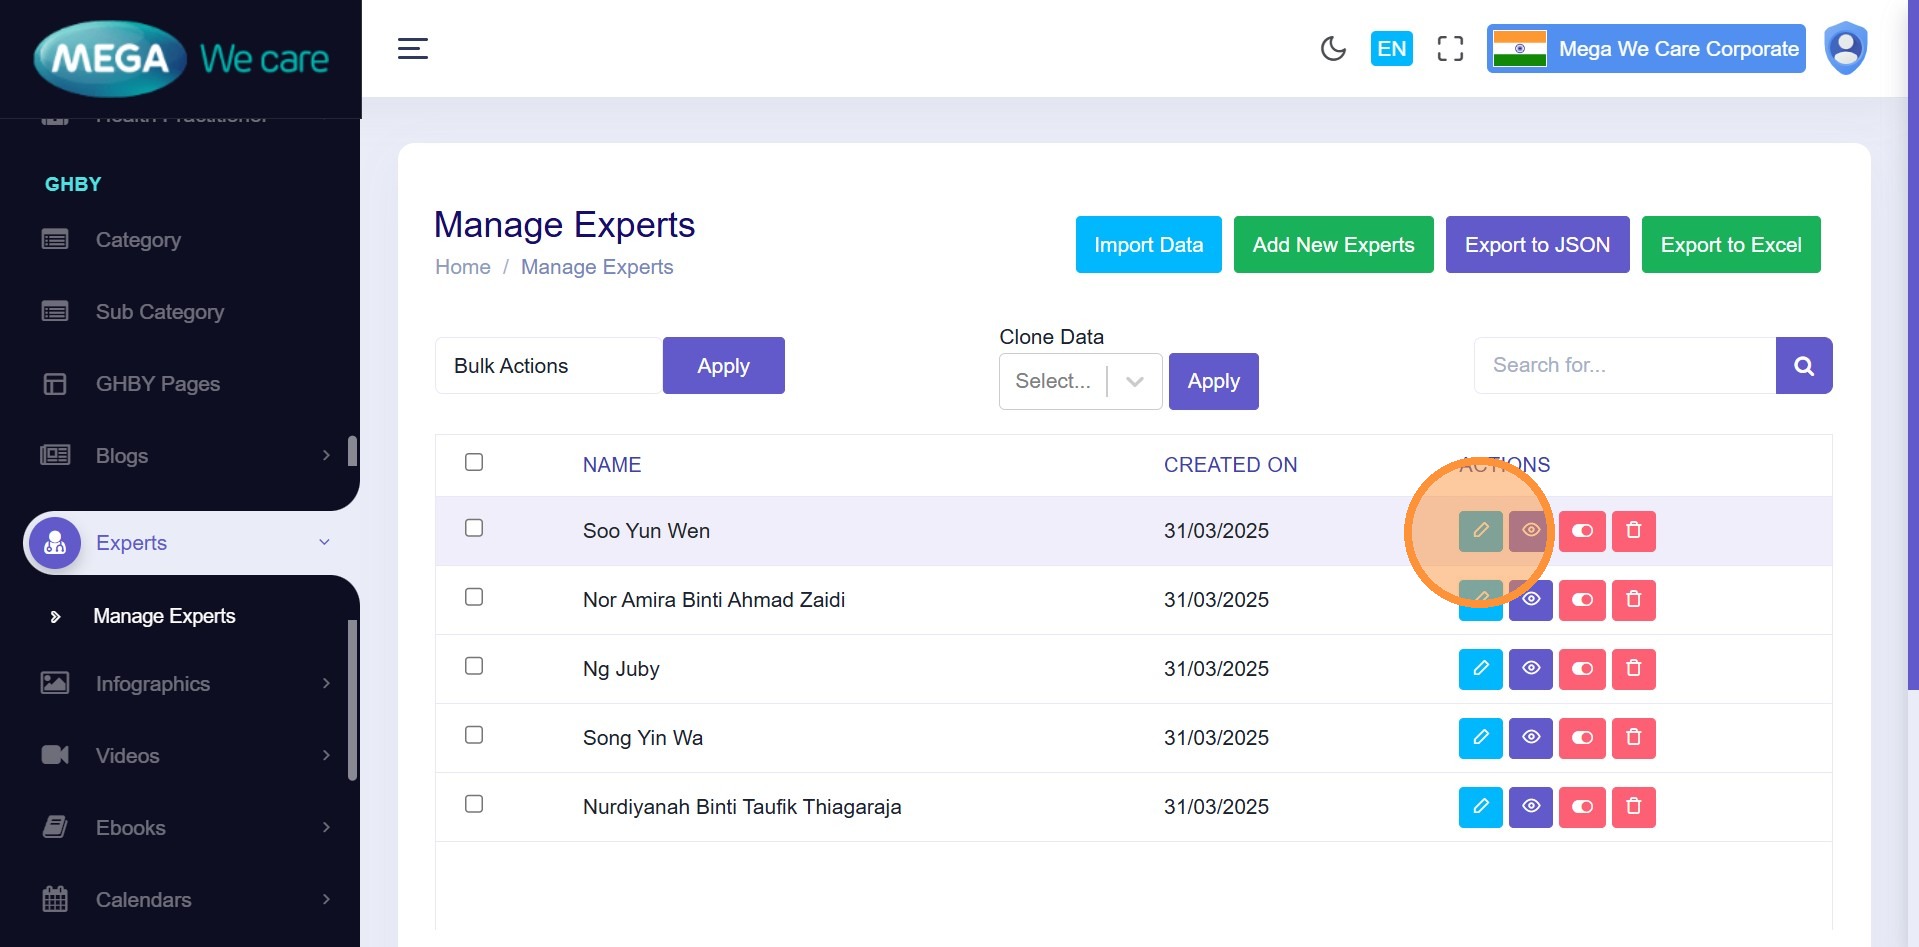
Step 3: Click Manage Experts
Under the GHBY section, open the Experts section and click Manage Experts.
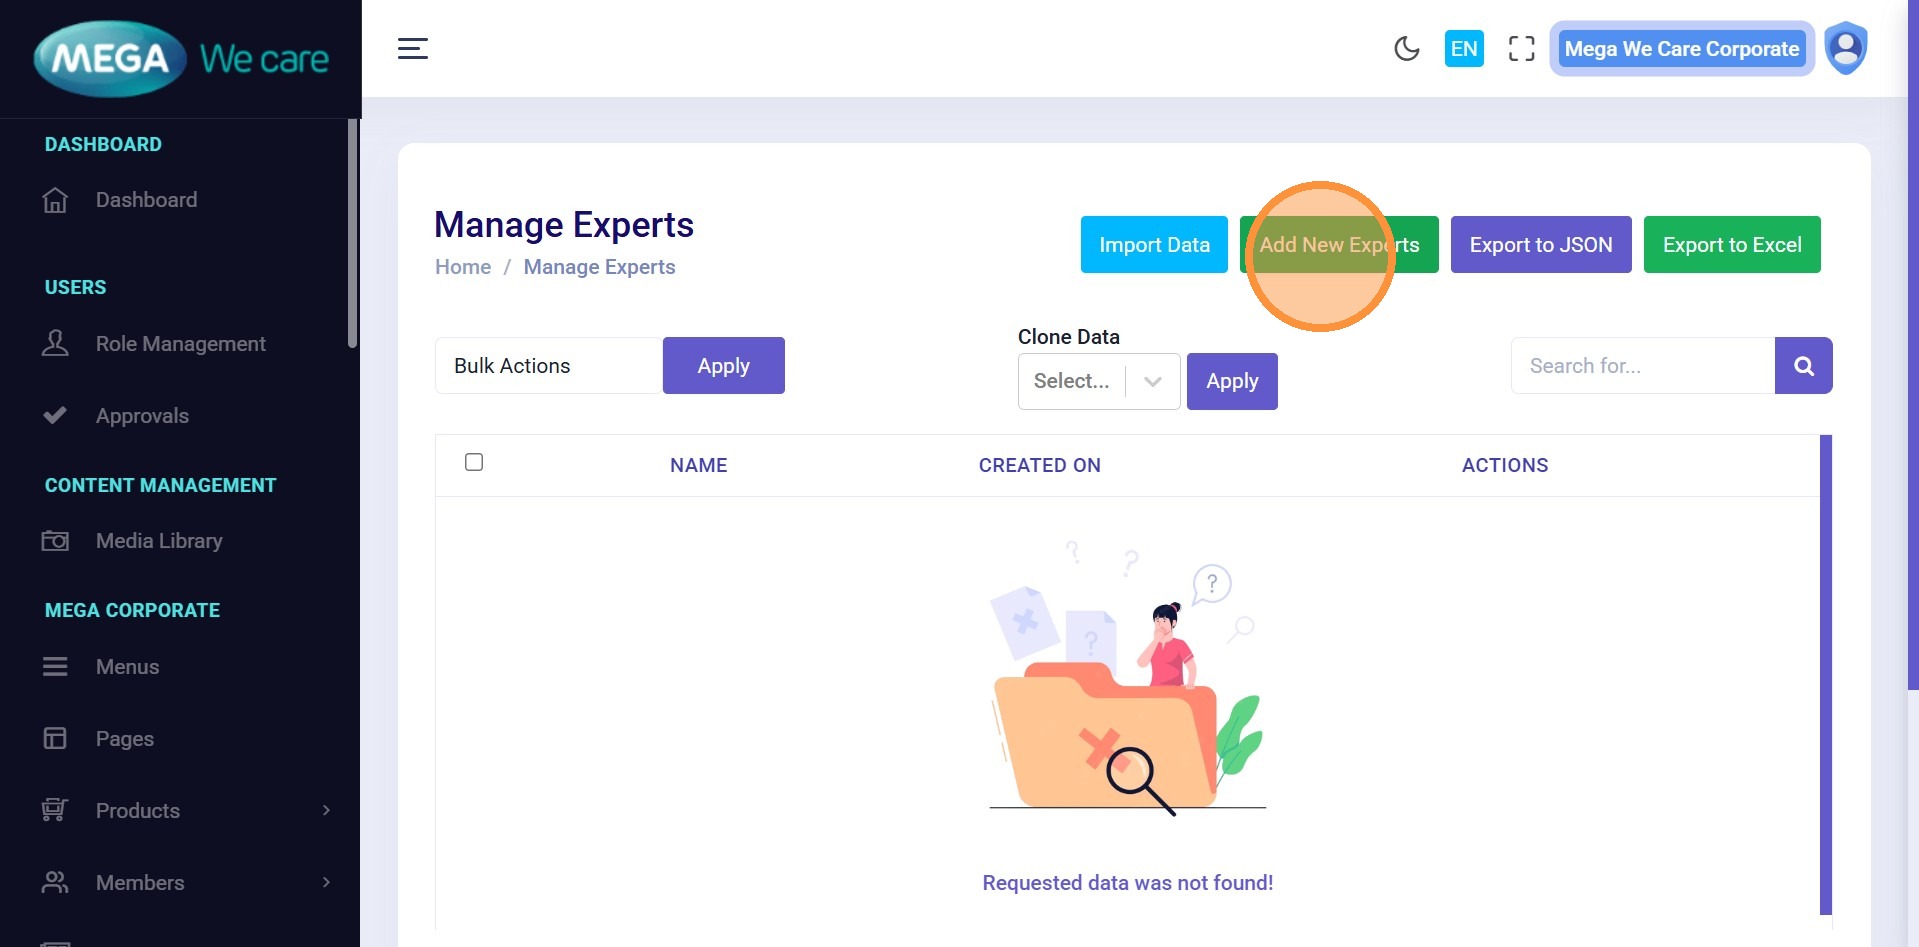
Step 4: Add New Expert
Click Add New Experts.
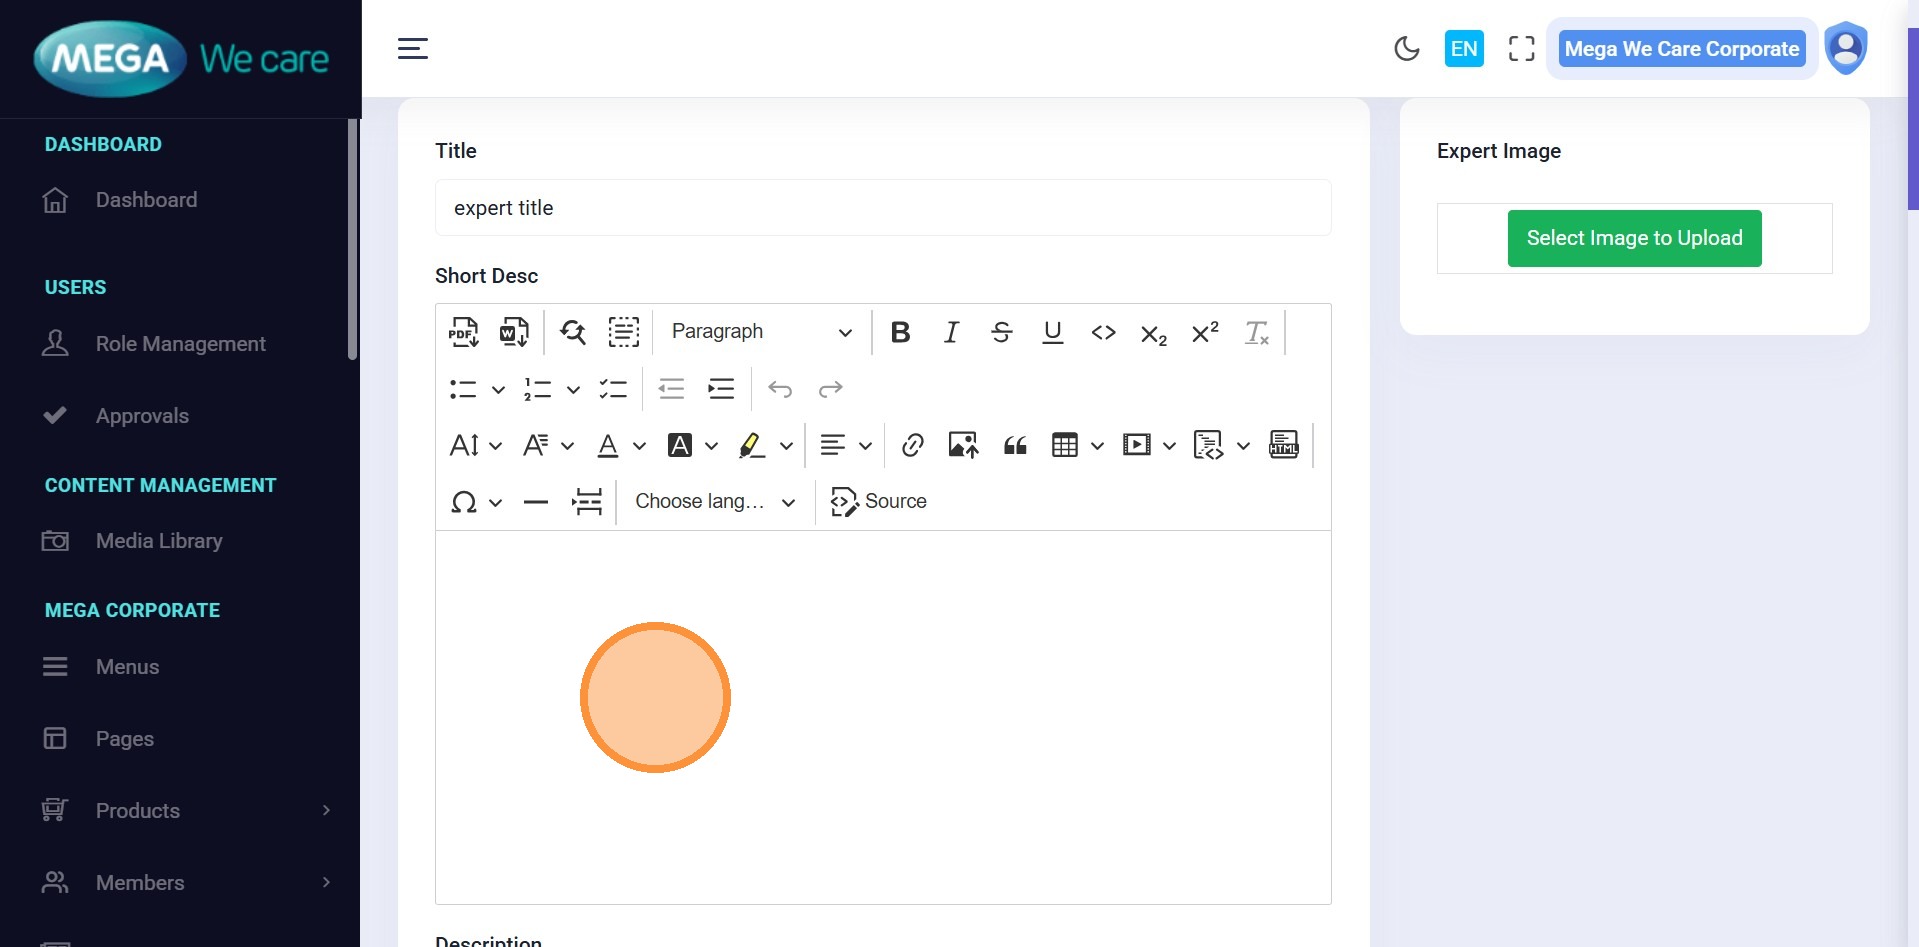
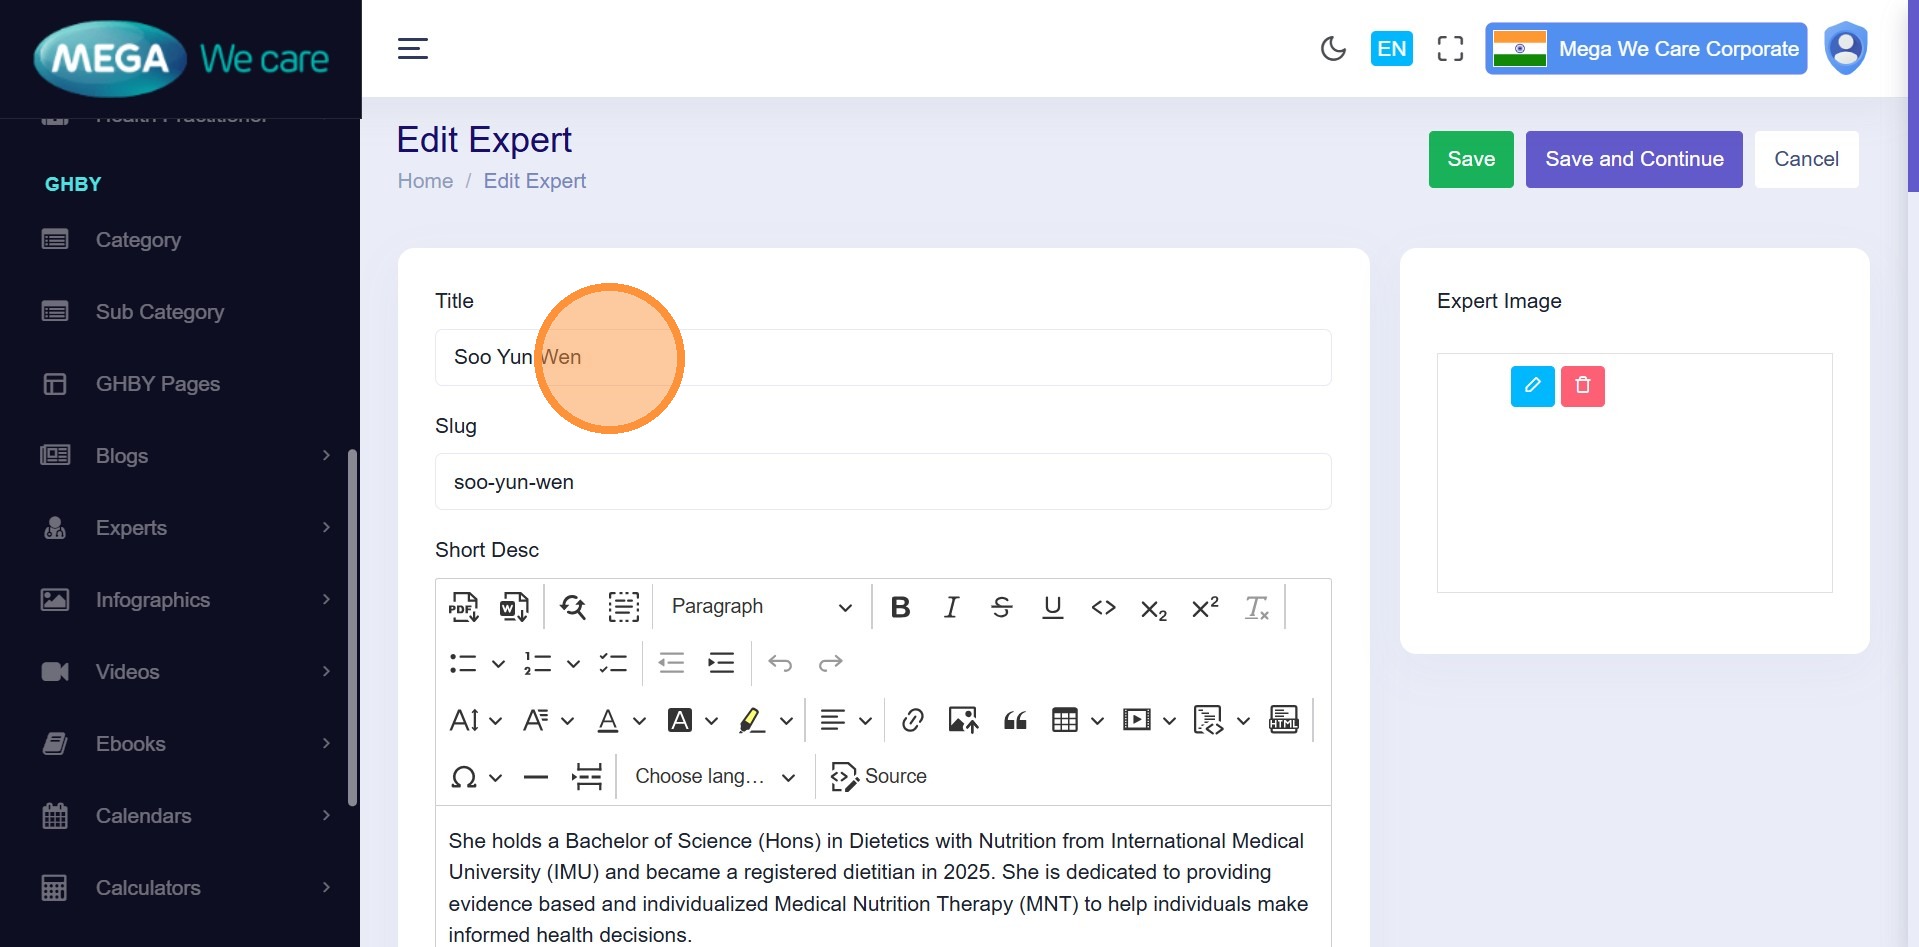
Step 5: Enter Expert Name
Enter the expert’s Title / Name.
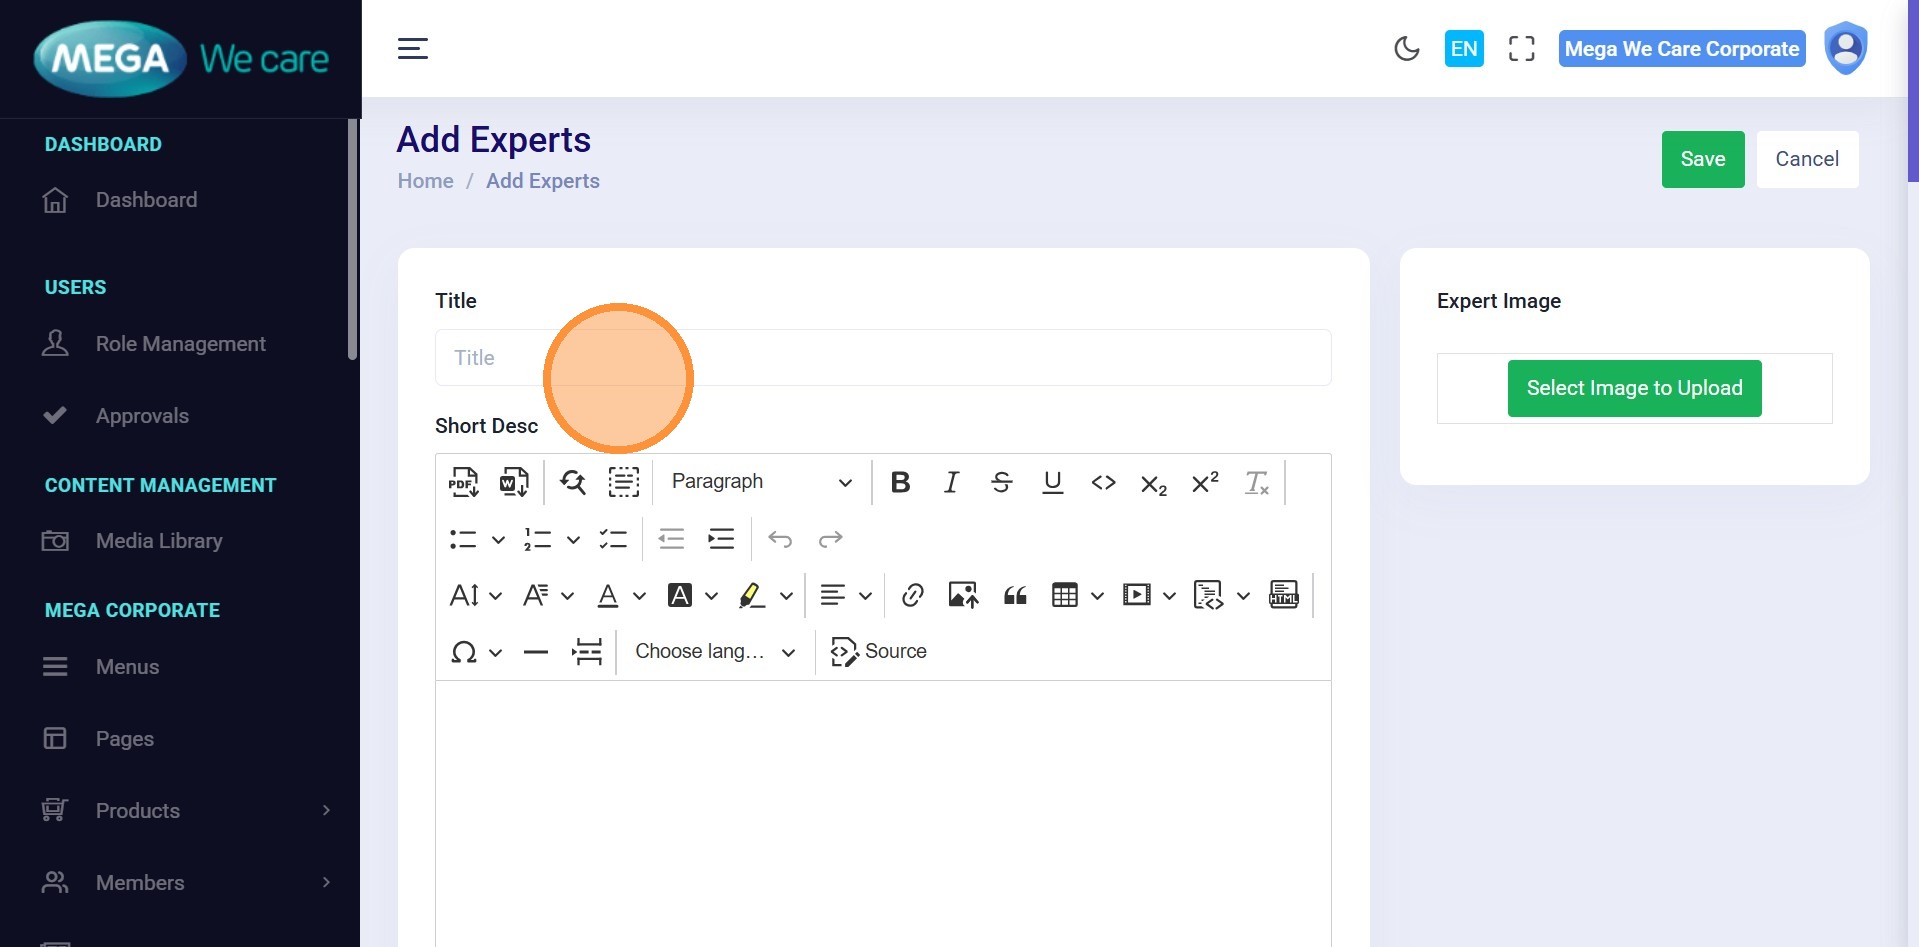
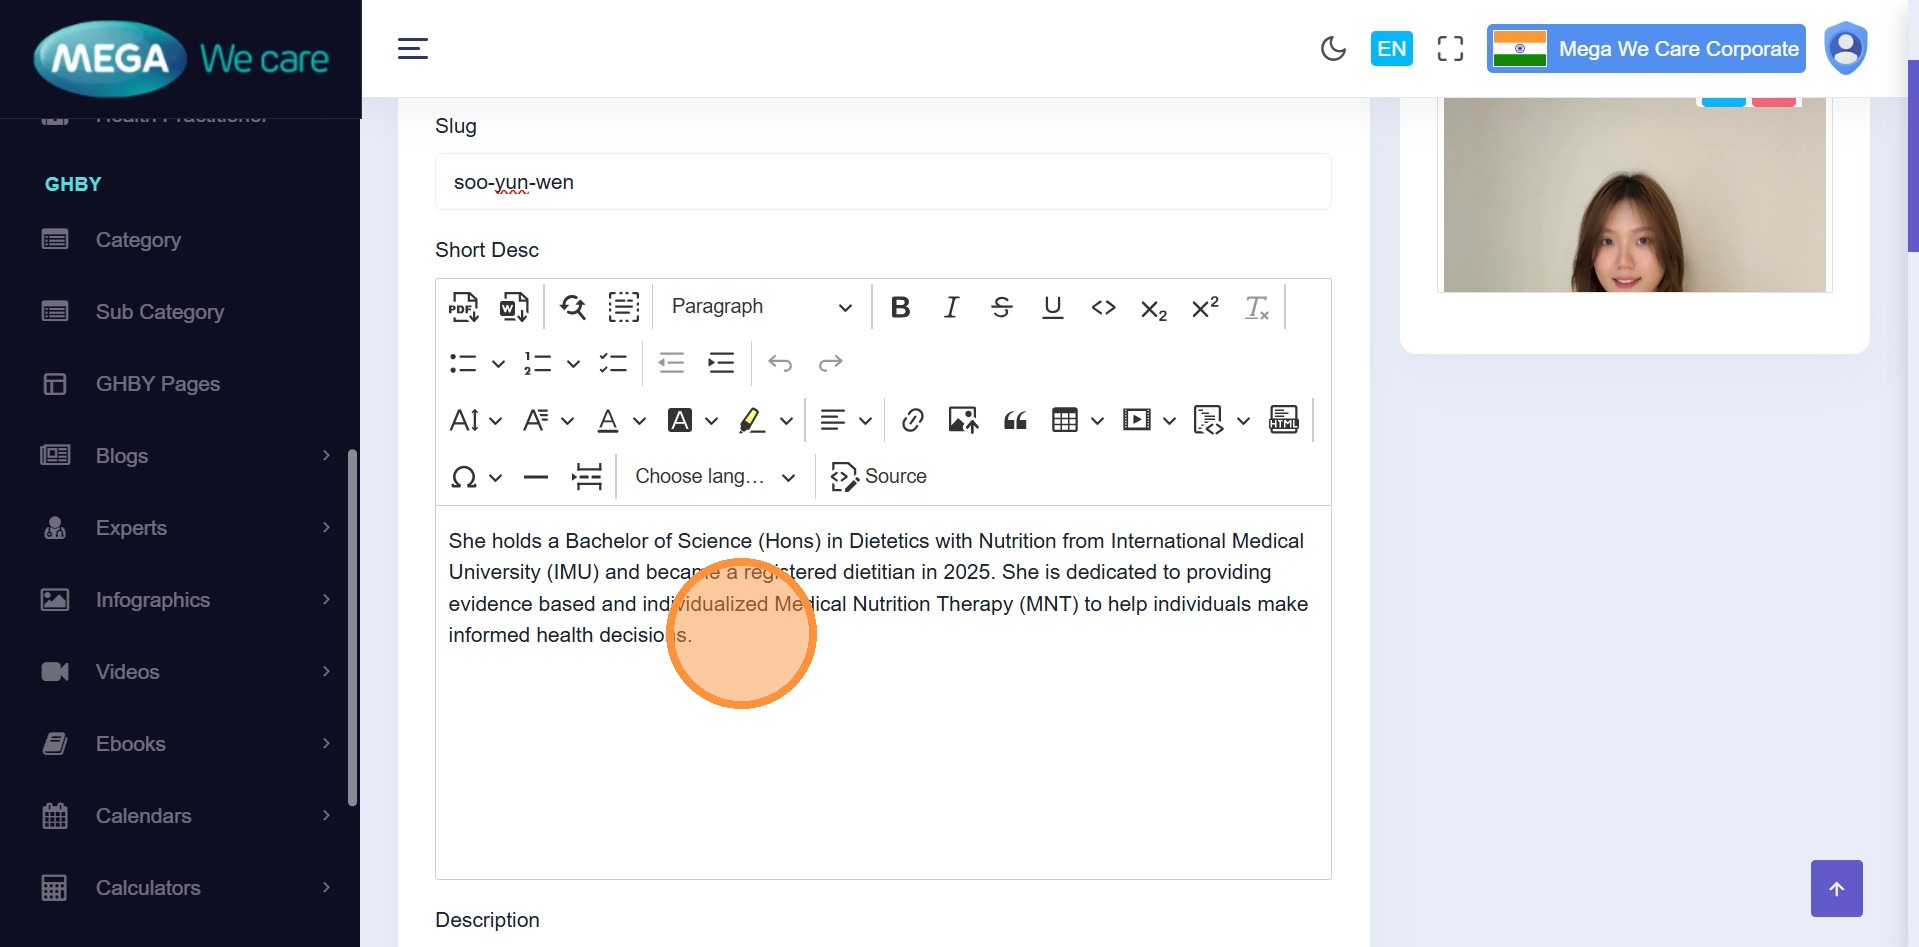
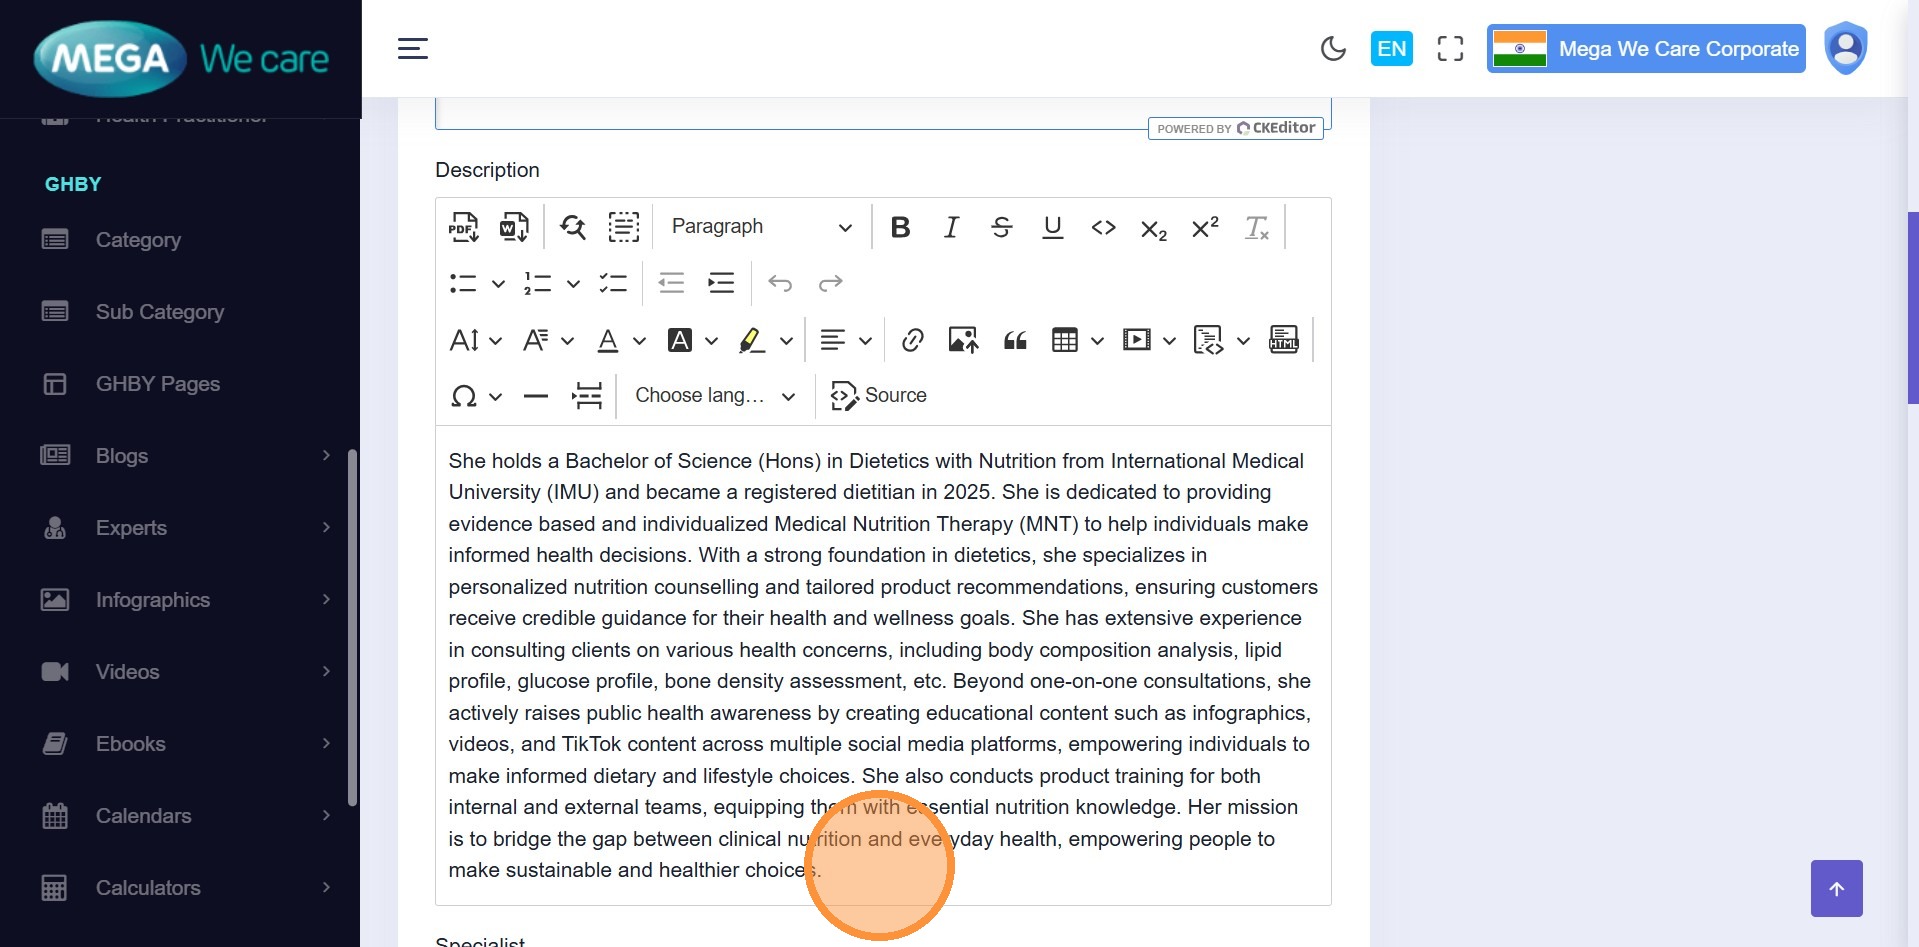
Step 6–7: Add Descriptions
Enter:
- Short Description
- Full Description
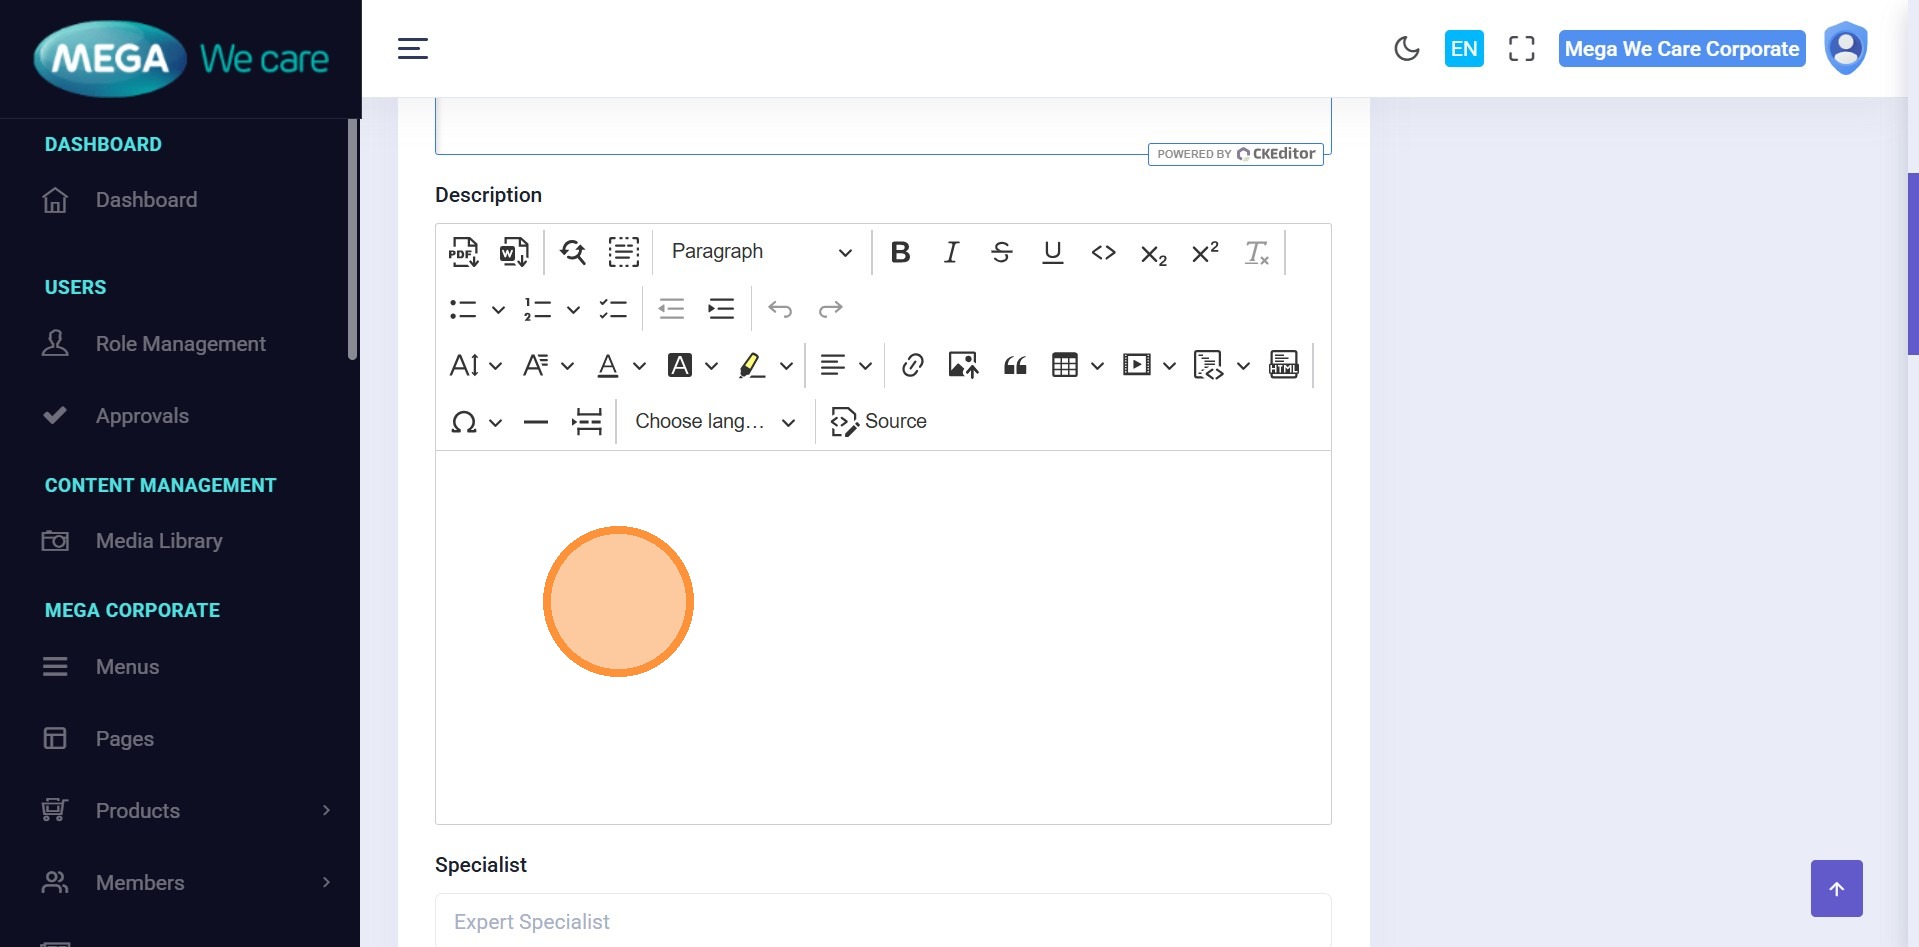
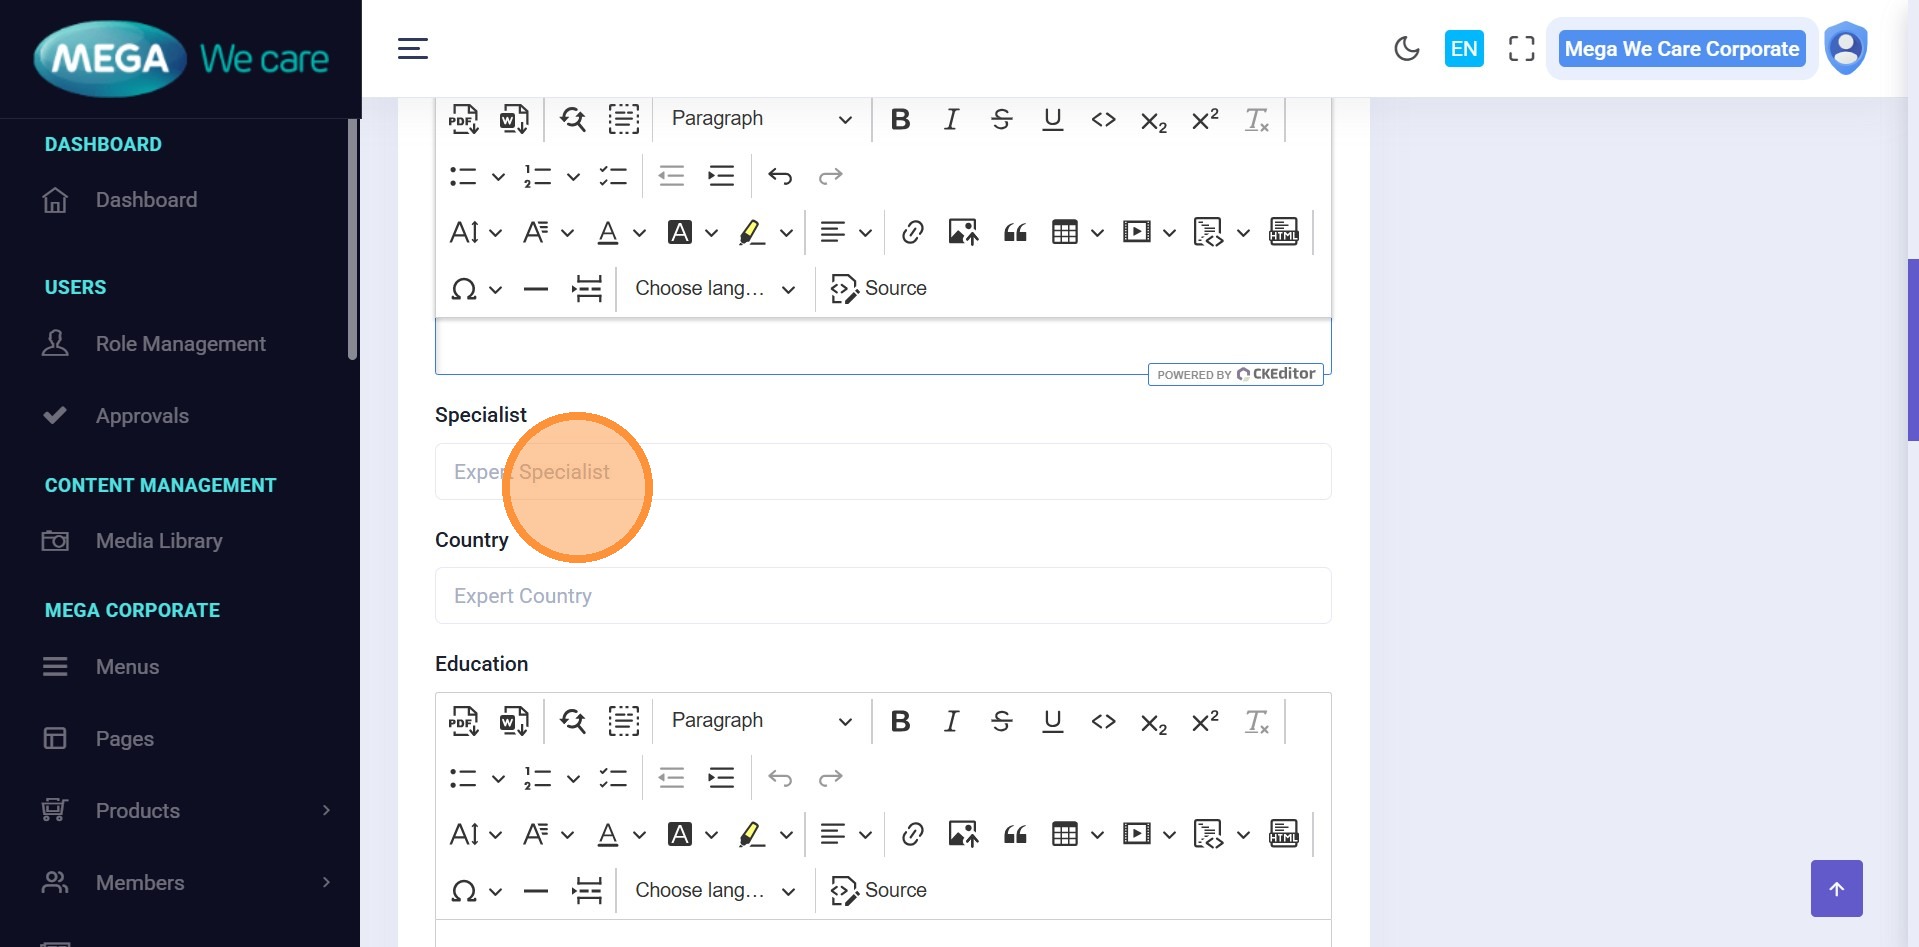
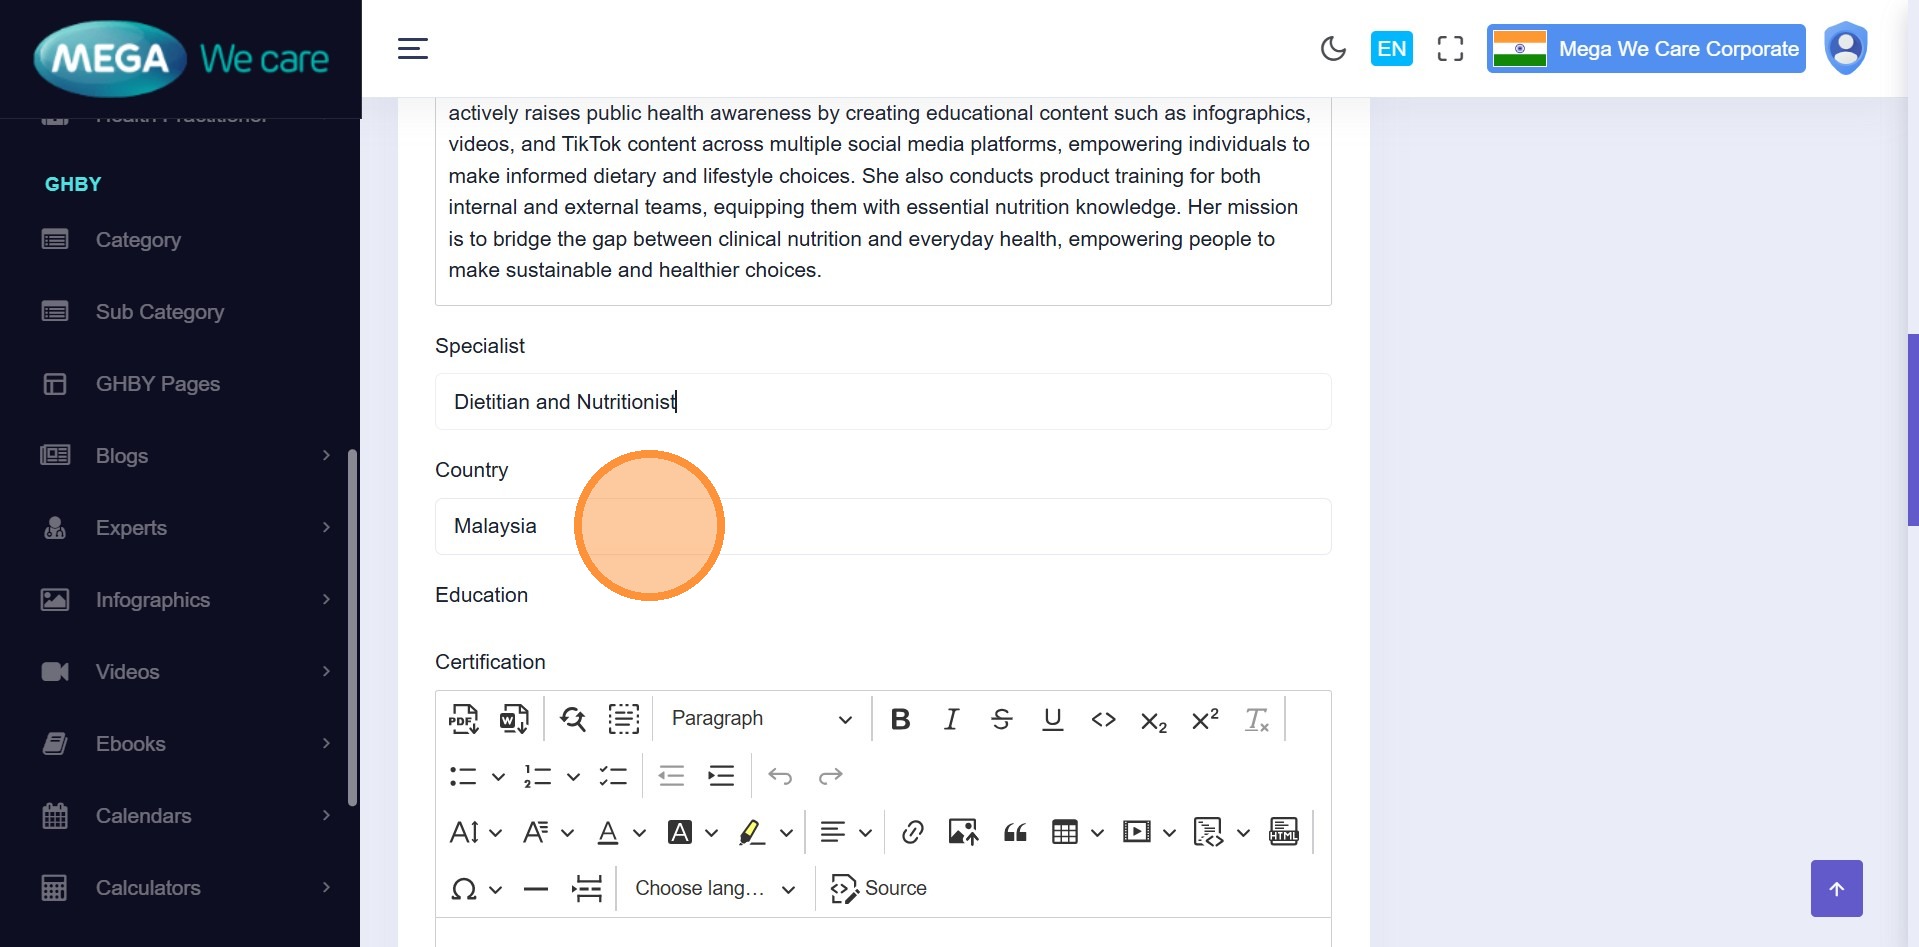
Step 8–11: Add Professional Details
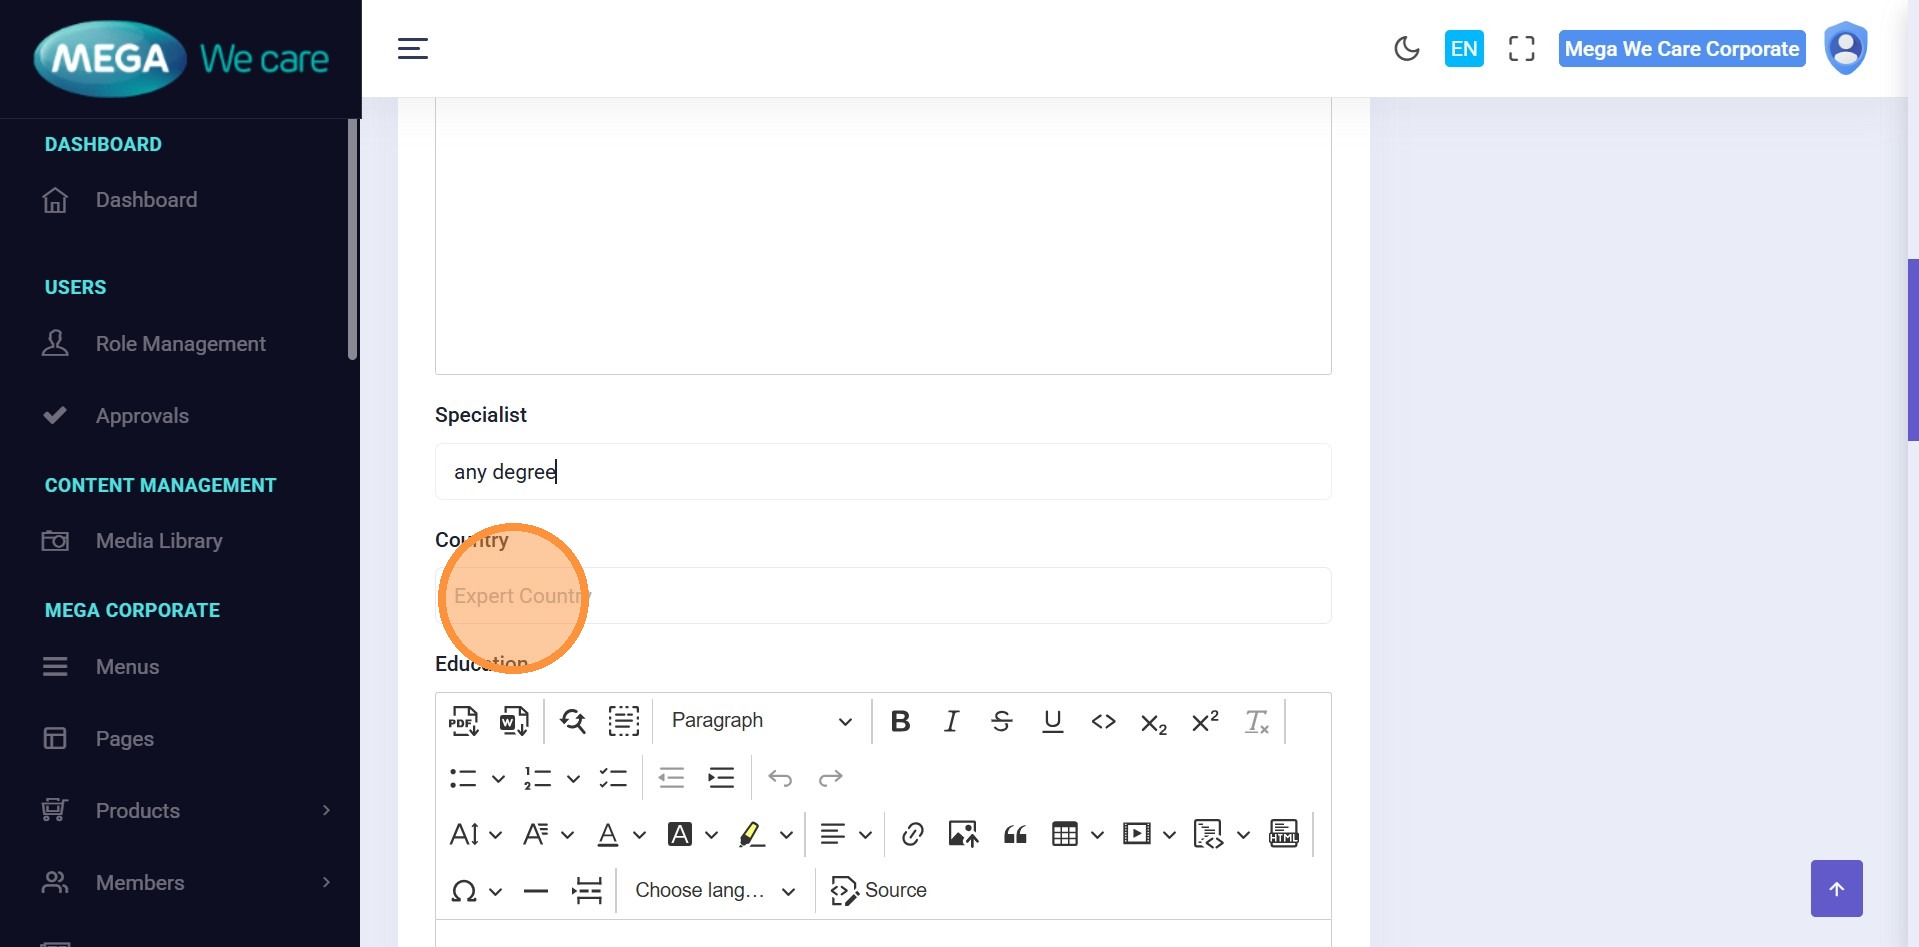
Fill in:
- Specialist / Degree
- Country
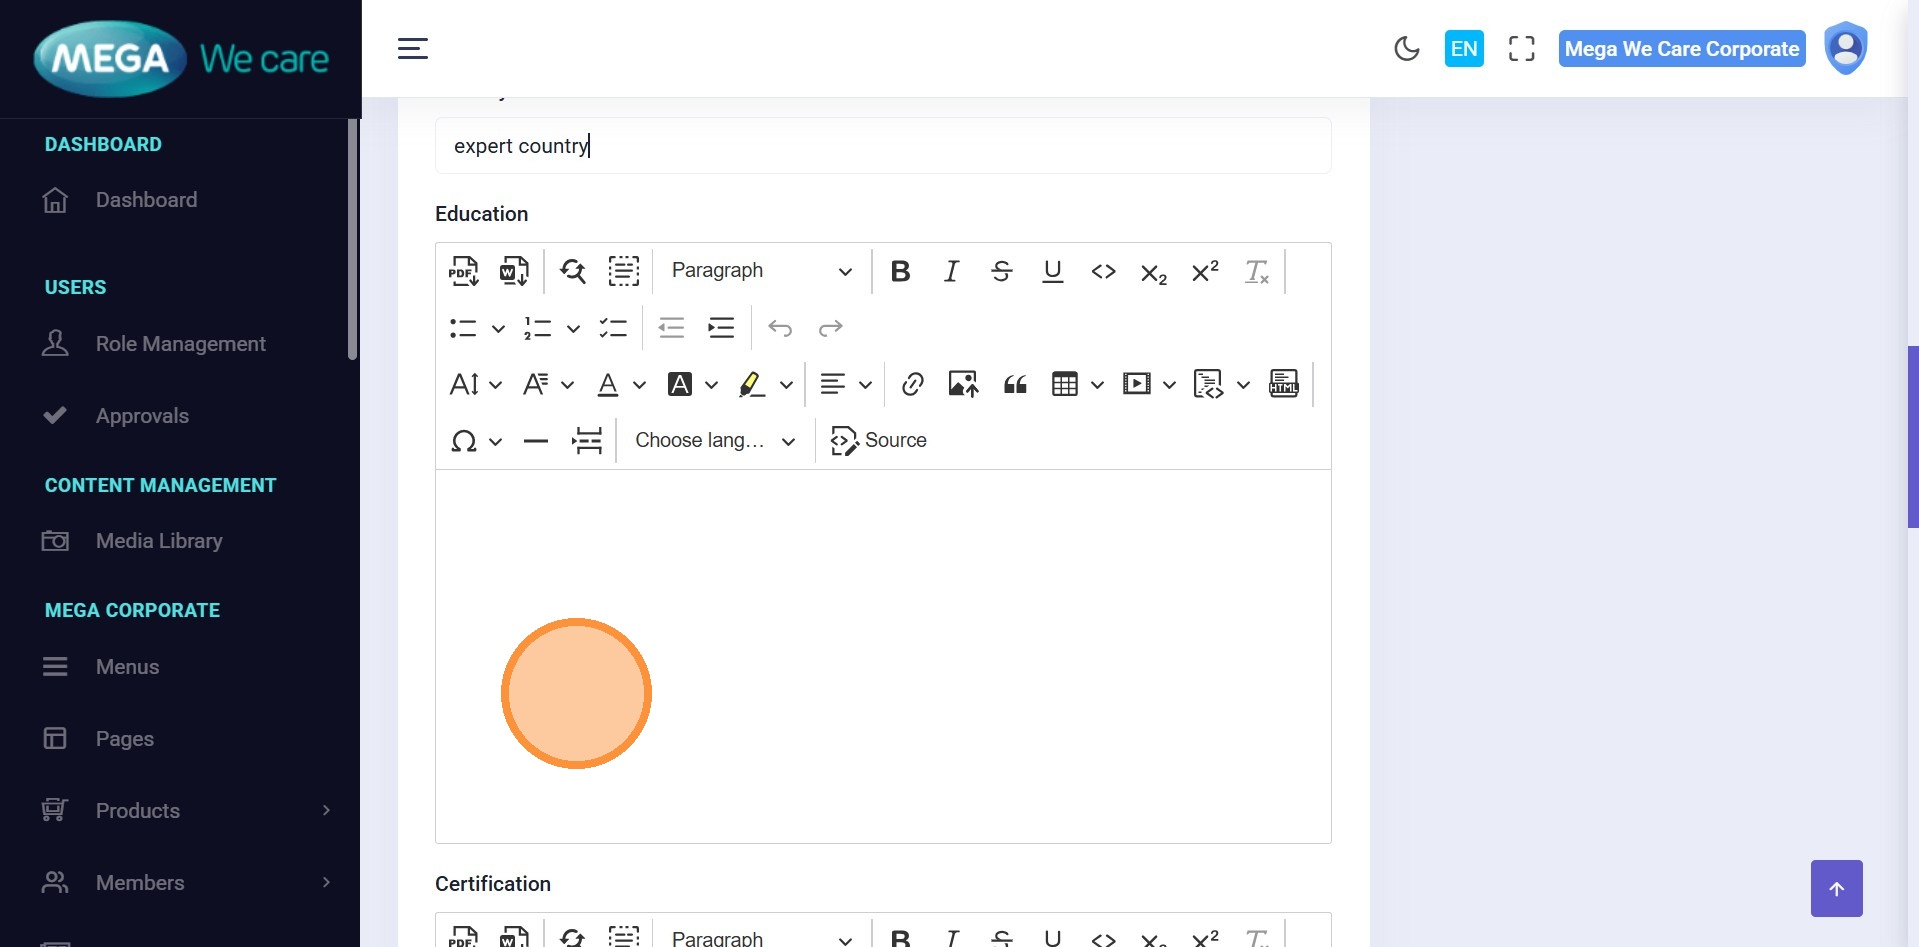
- Education
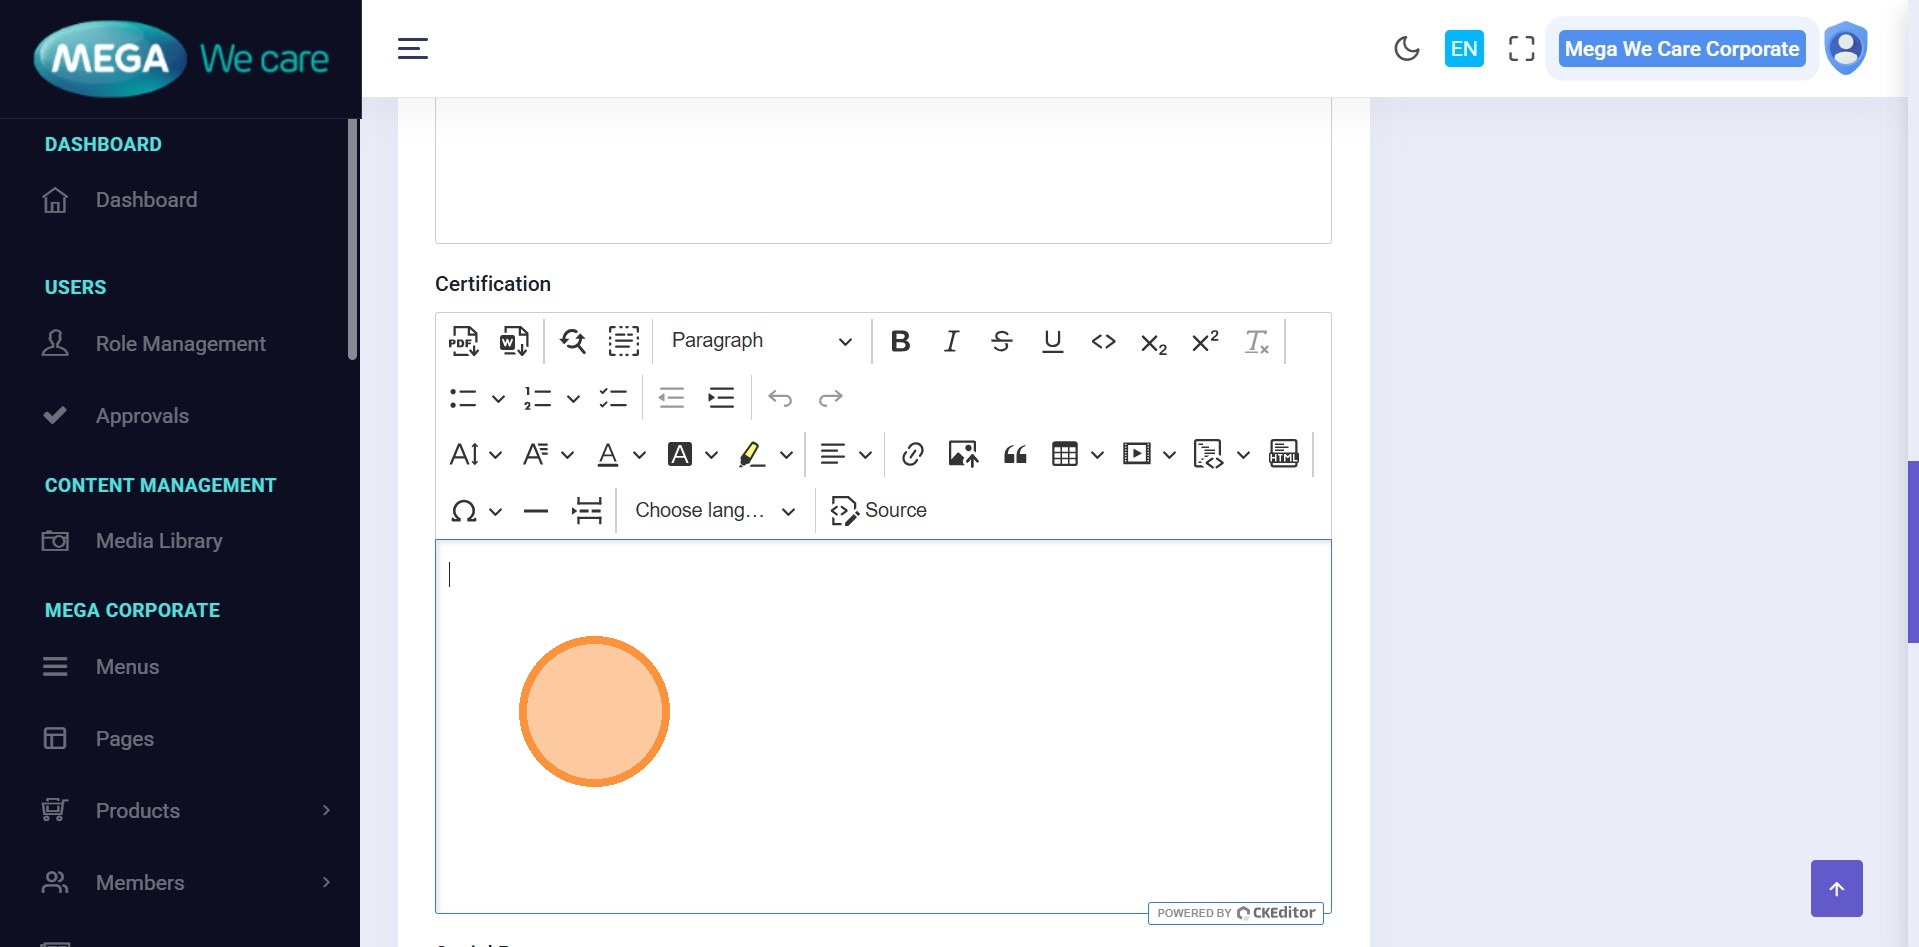
- Certifications
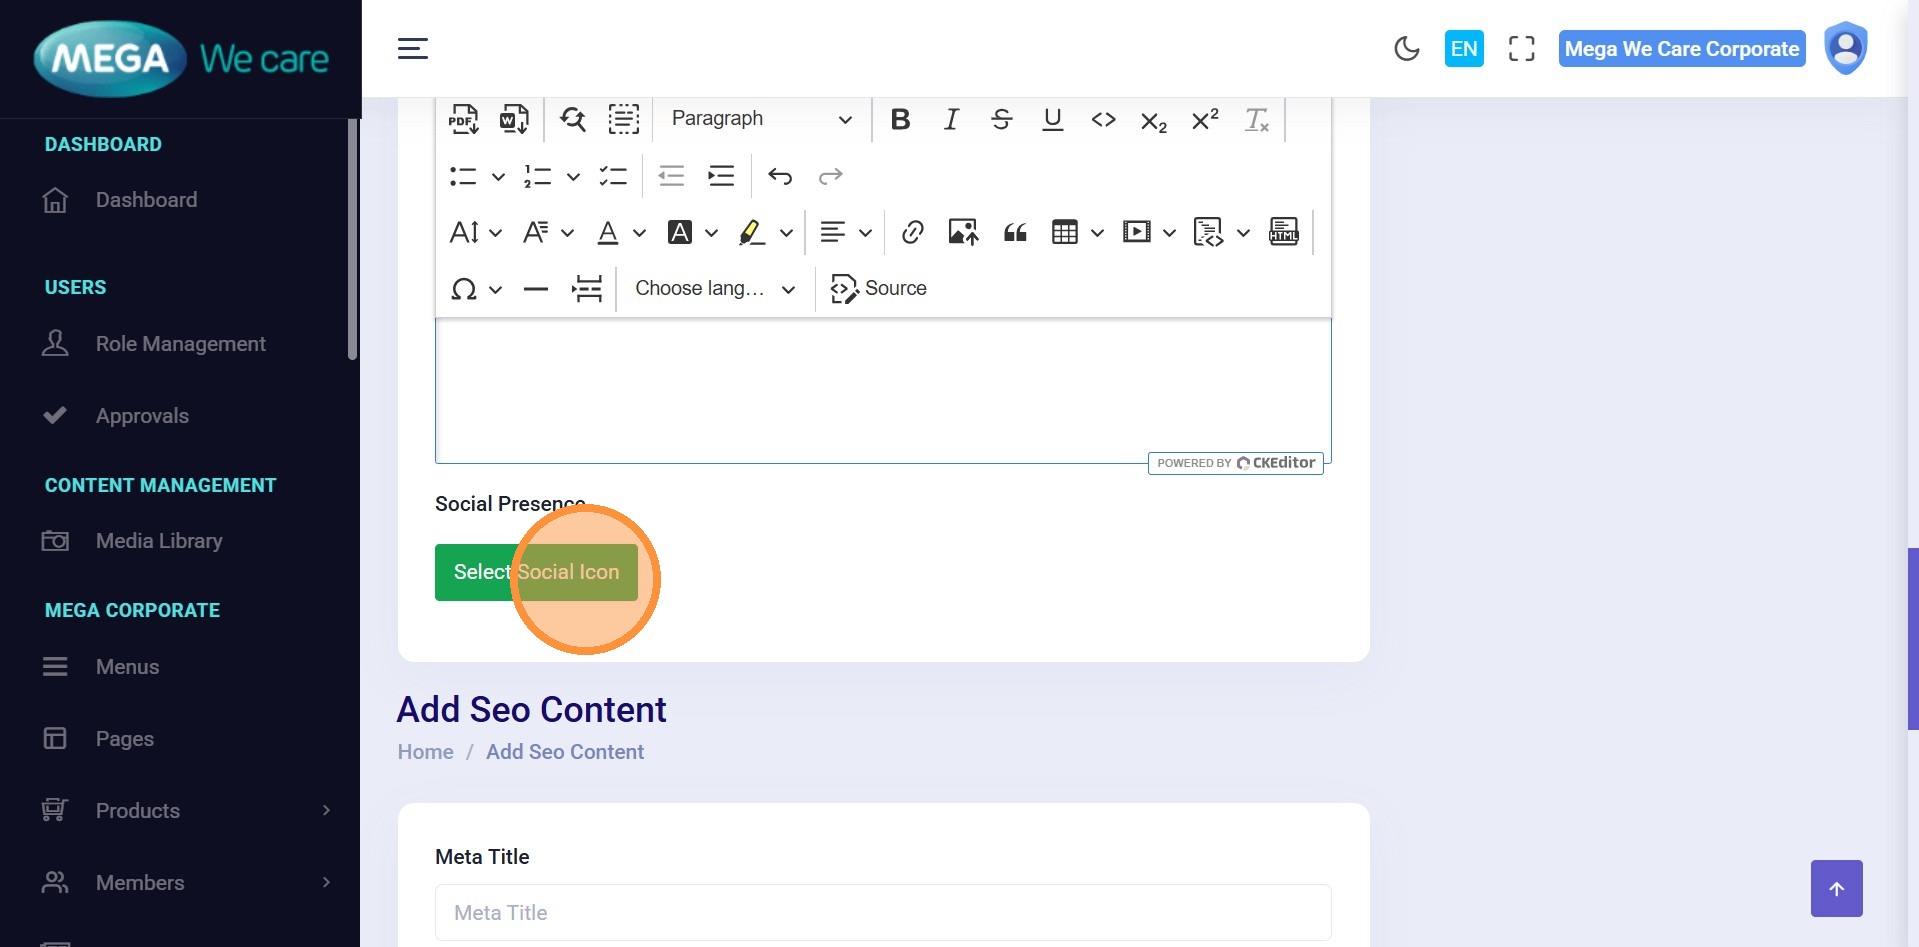
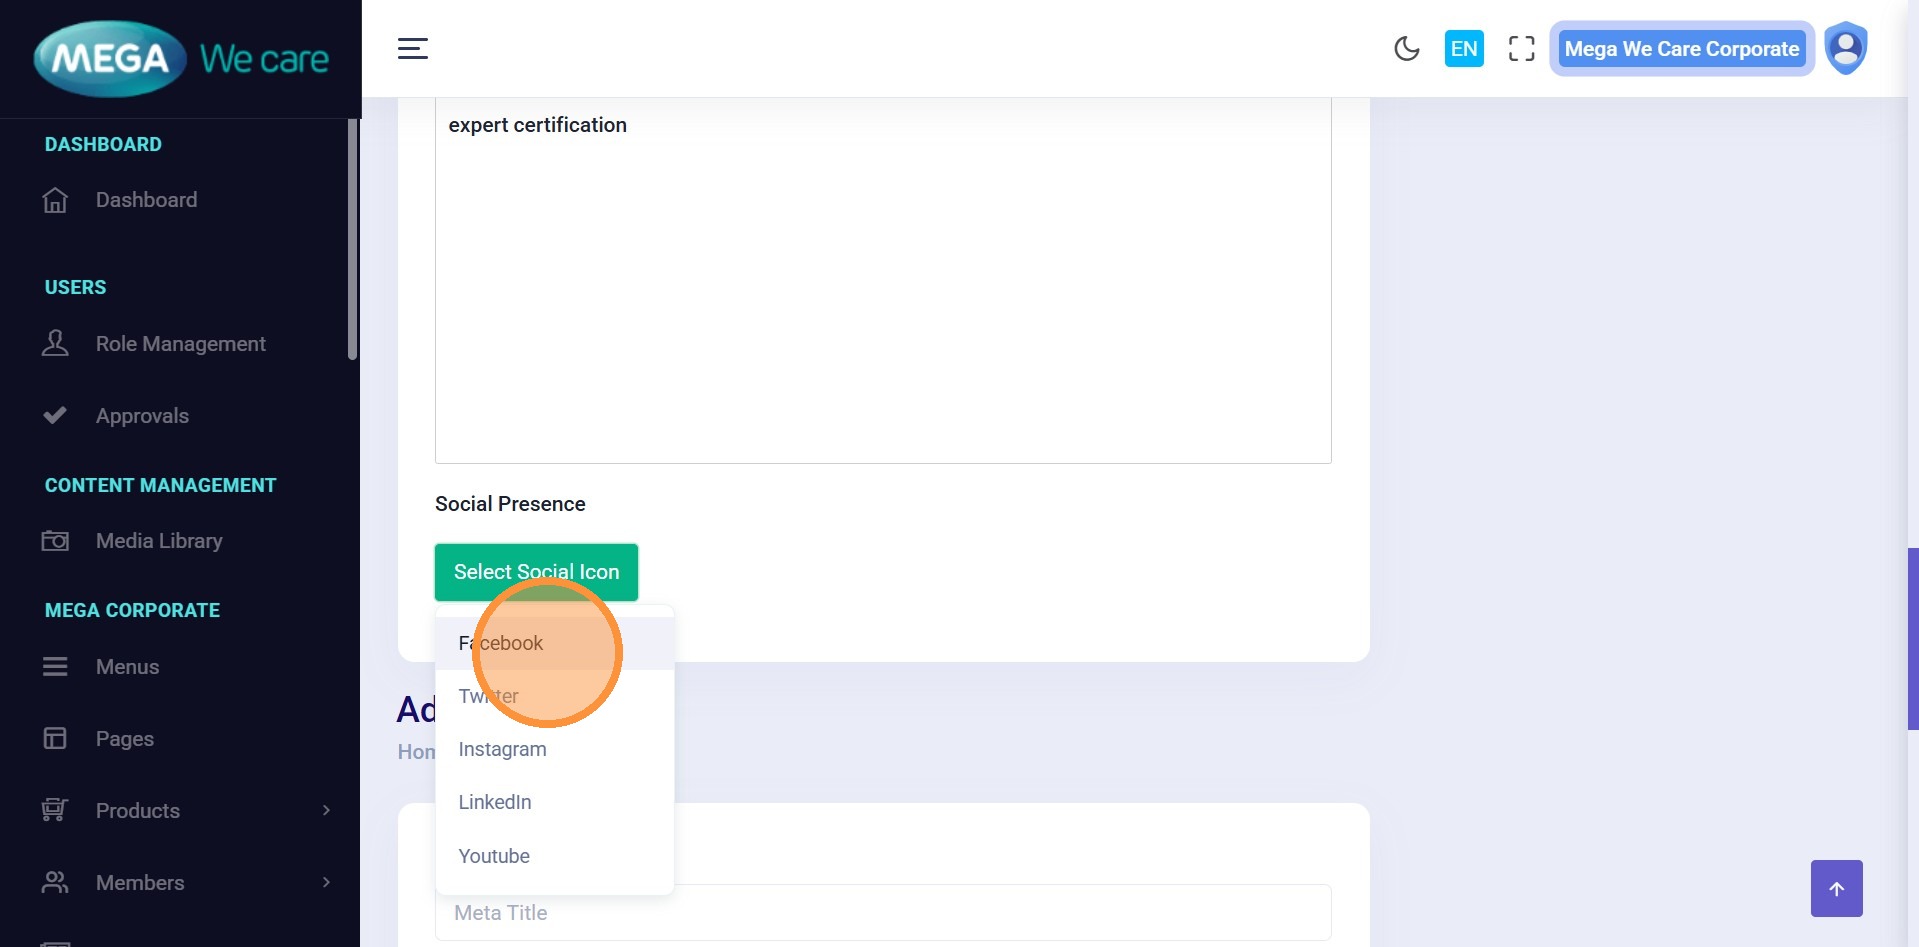
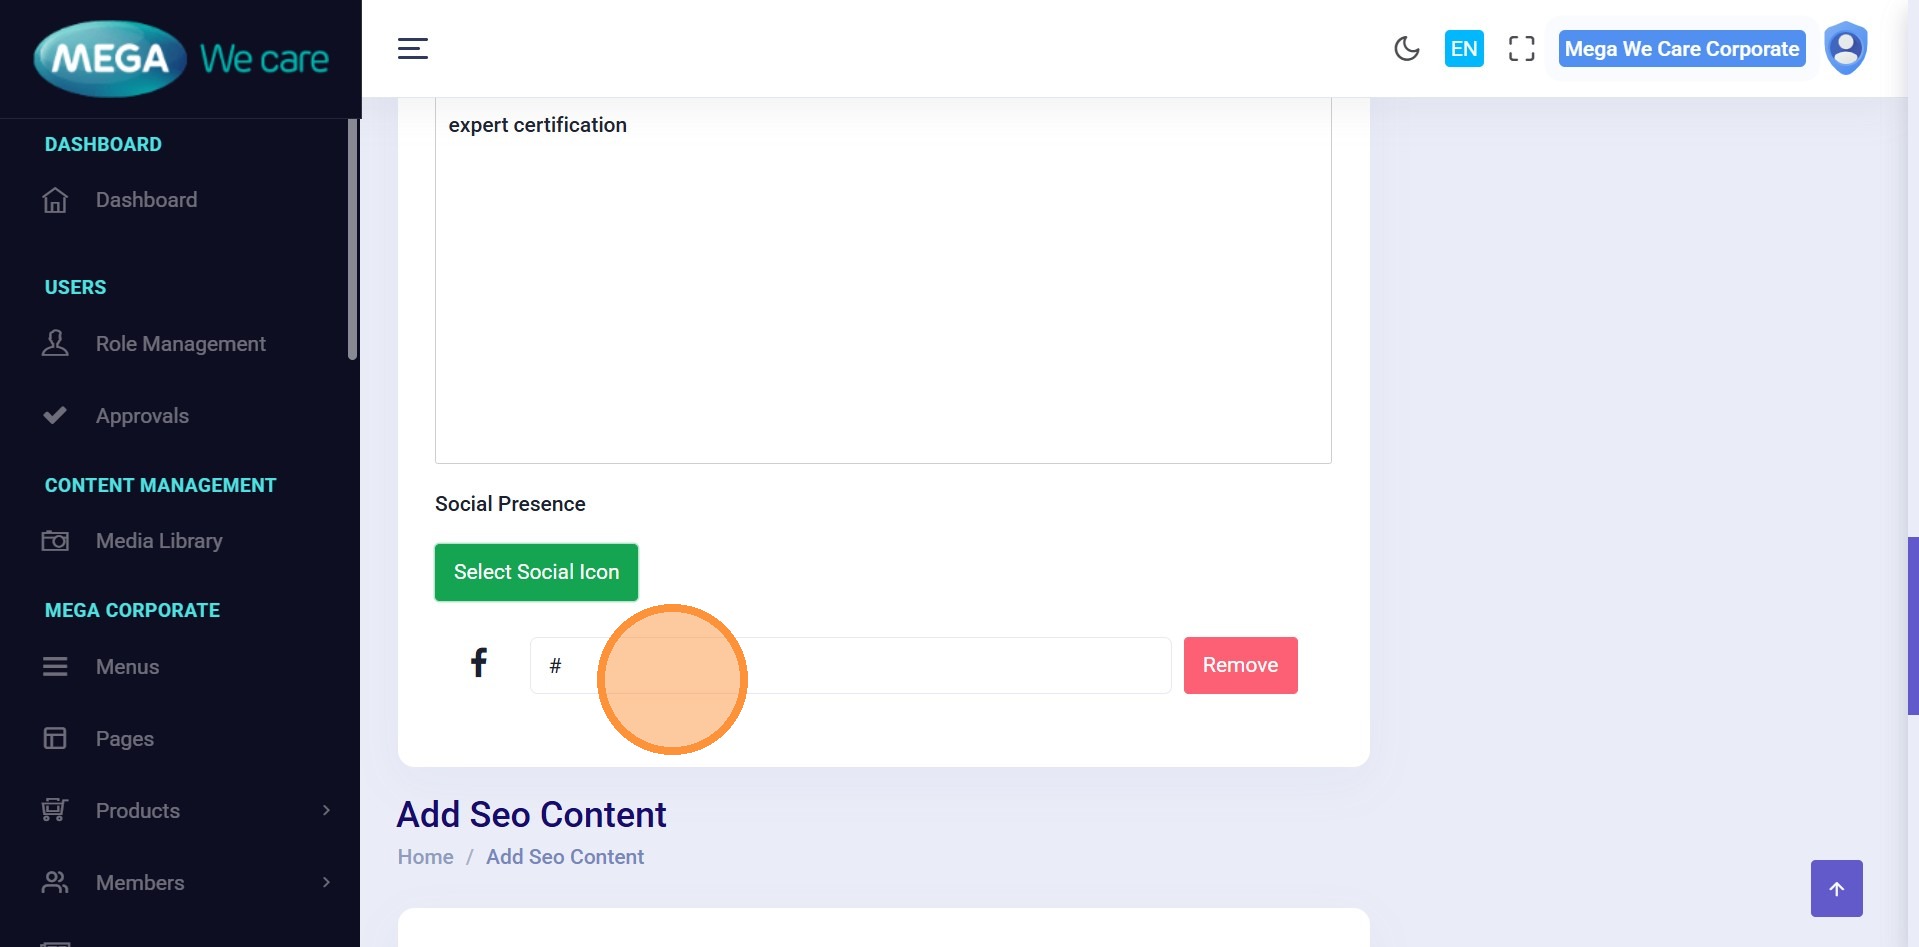
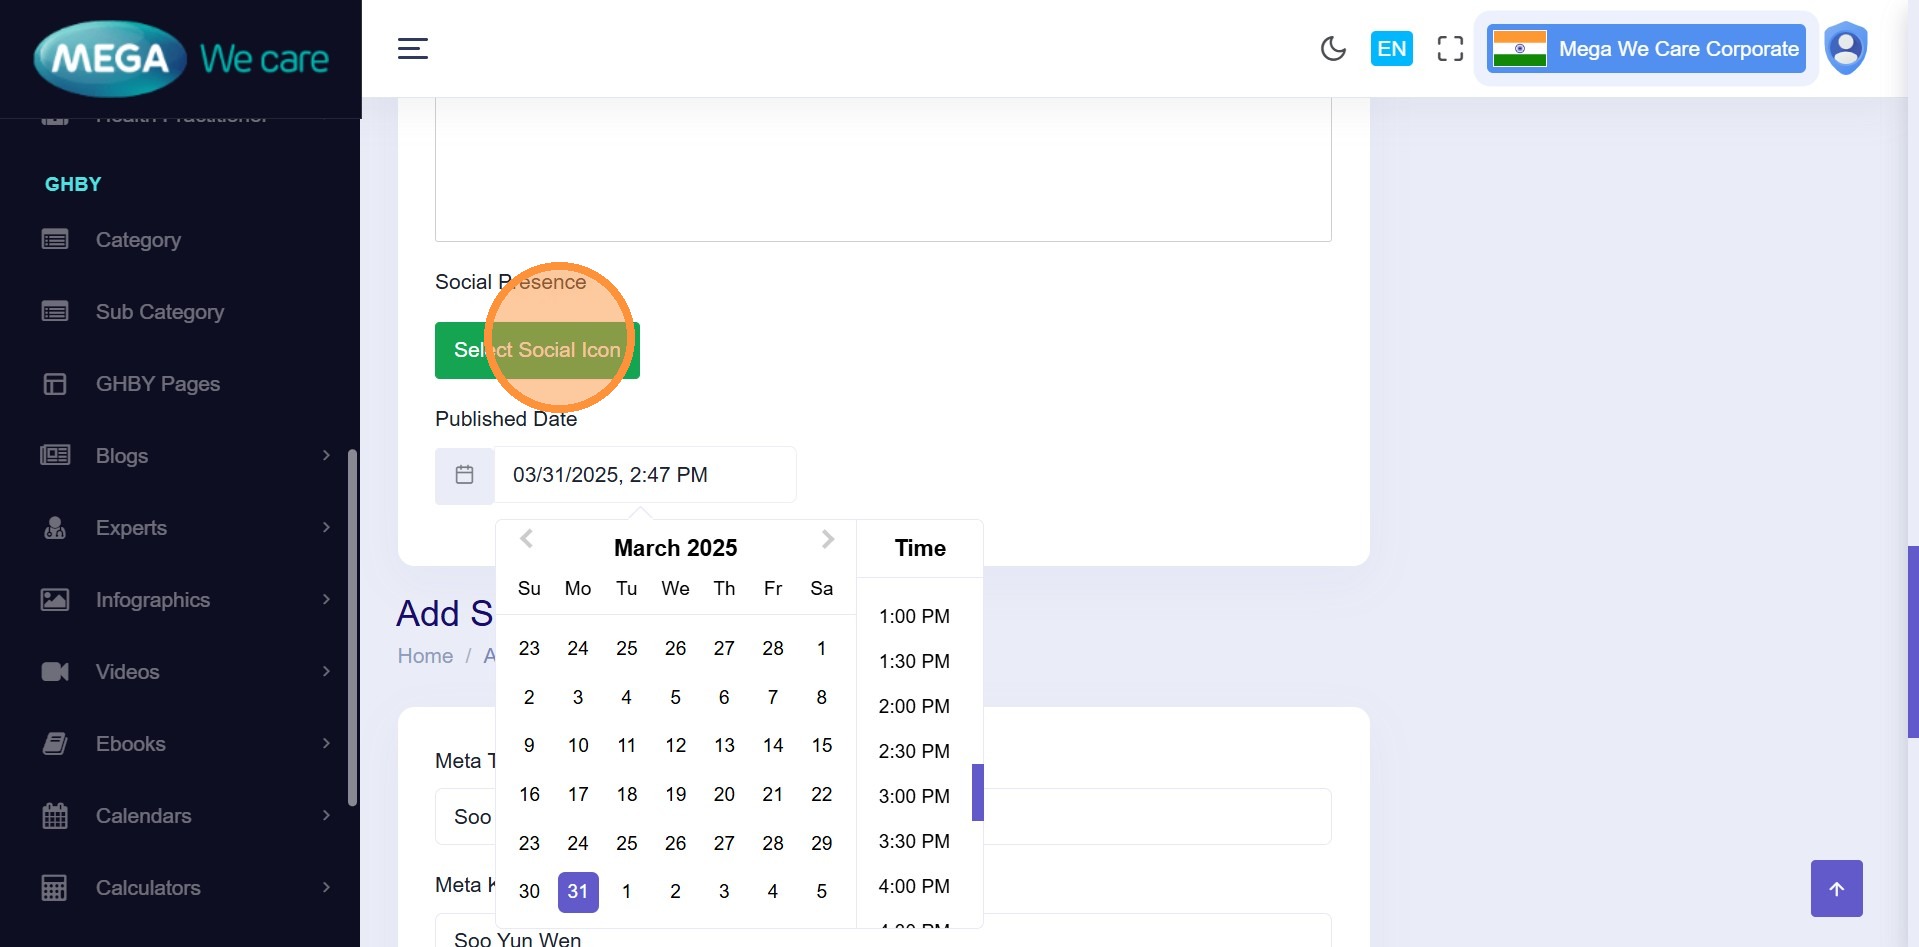
Step 12–14: Add Social Profiles
Add social links:
- Select a Social Icon (Facebook, LinkedIn, etc.)
- Paste the profile URL
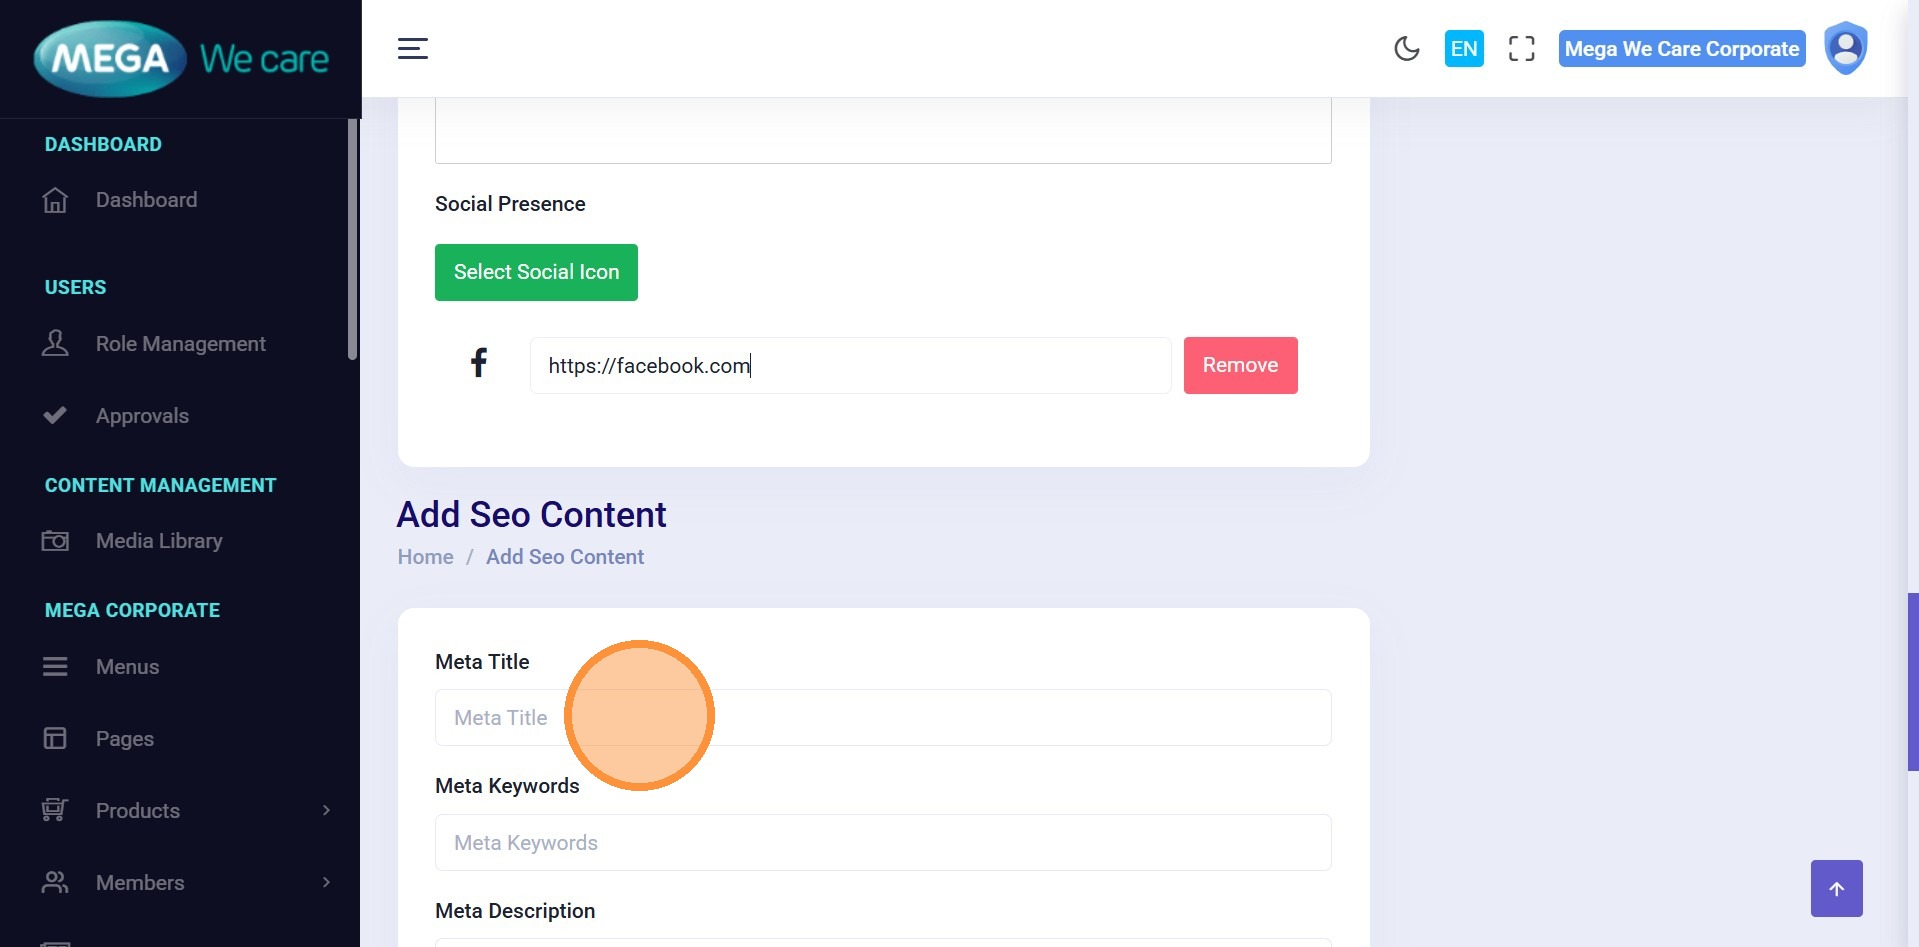
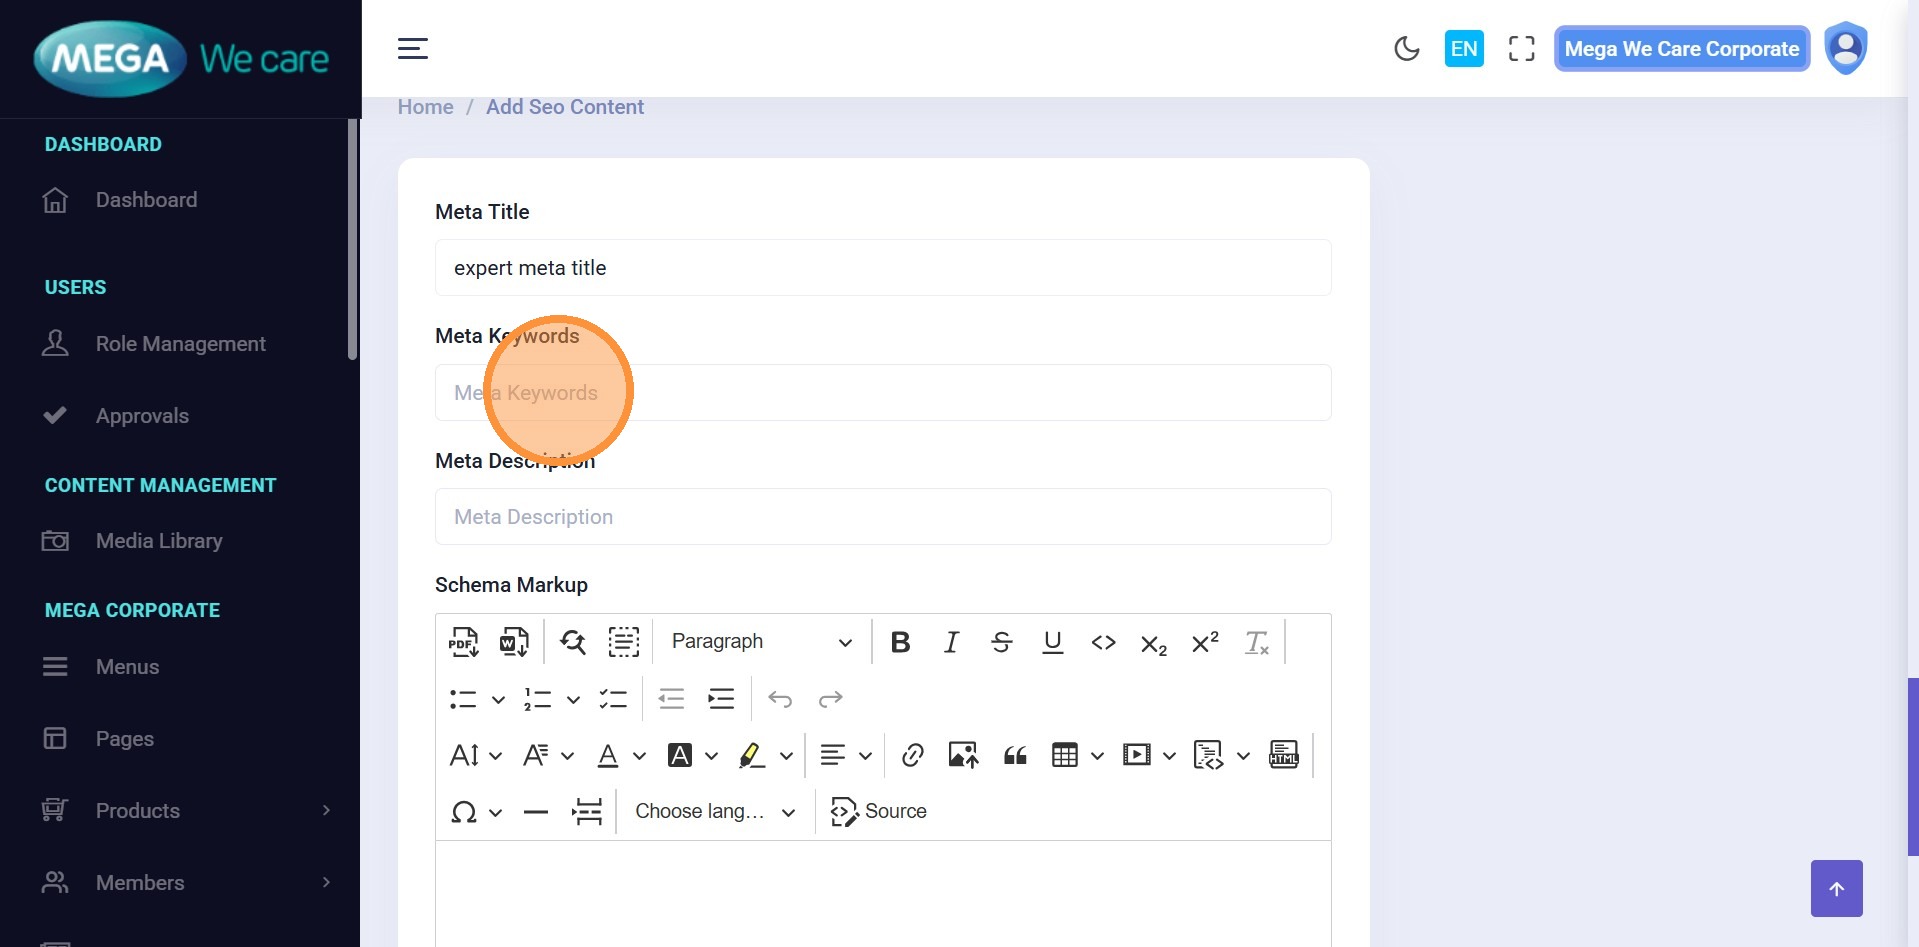
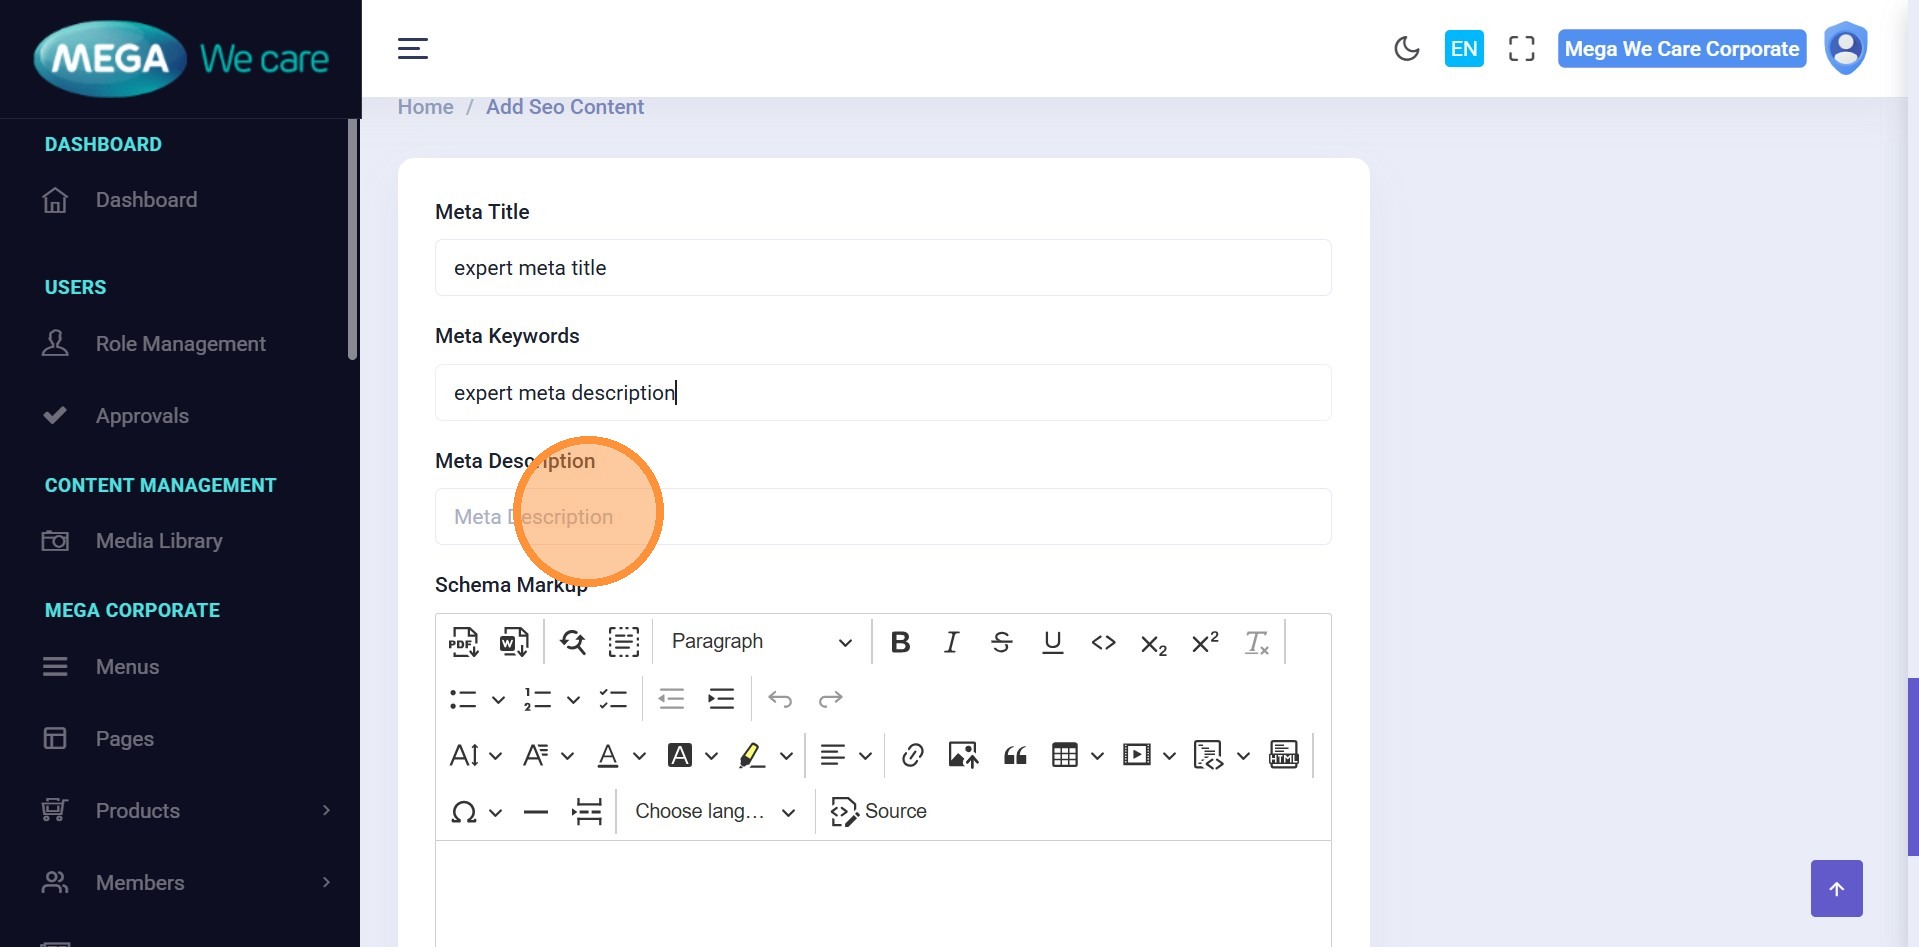
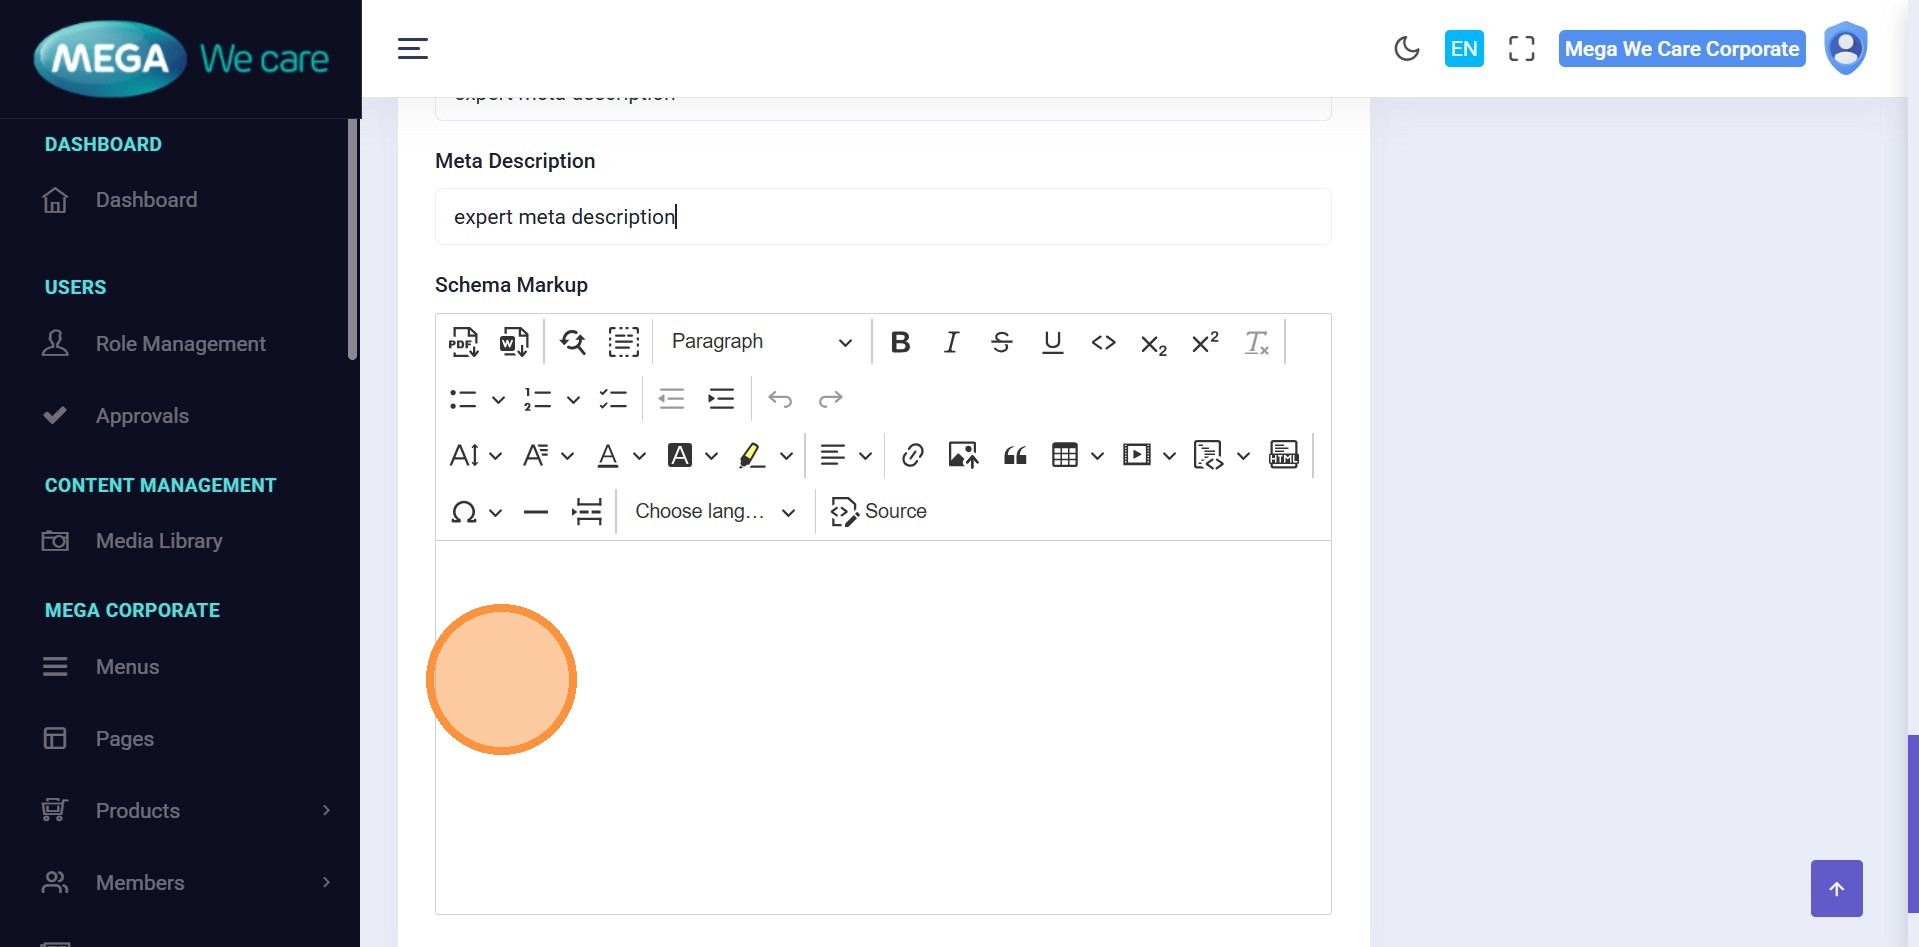
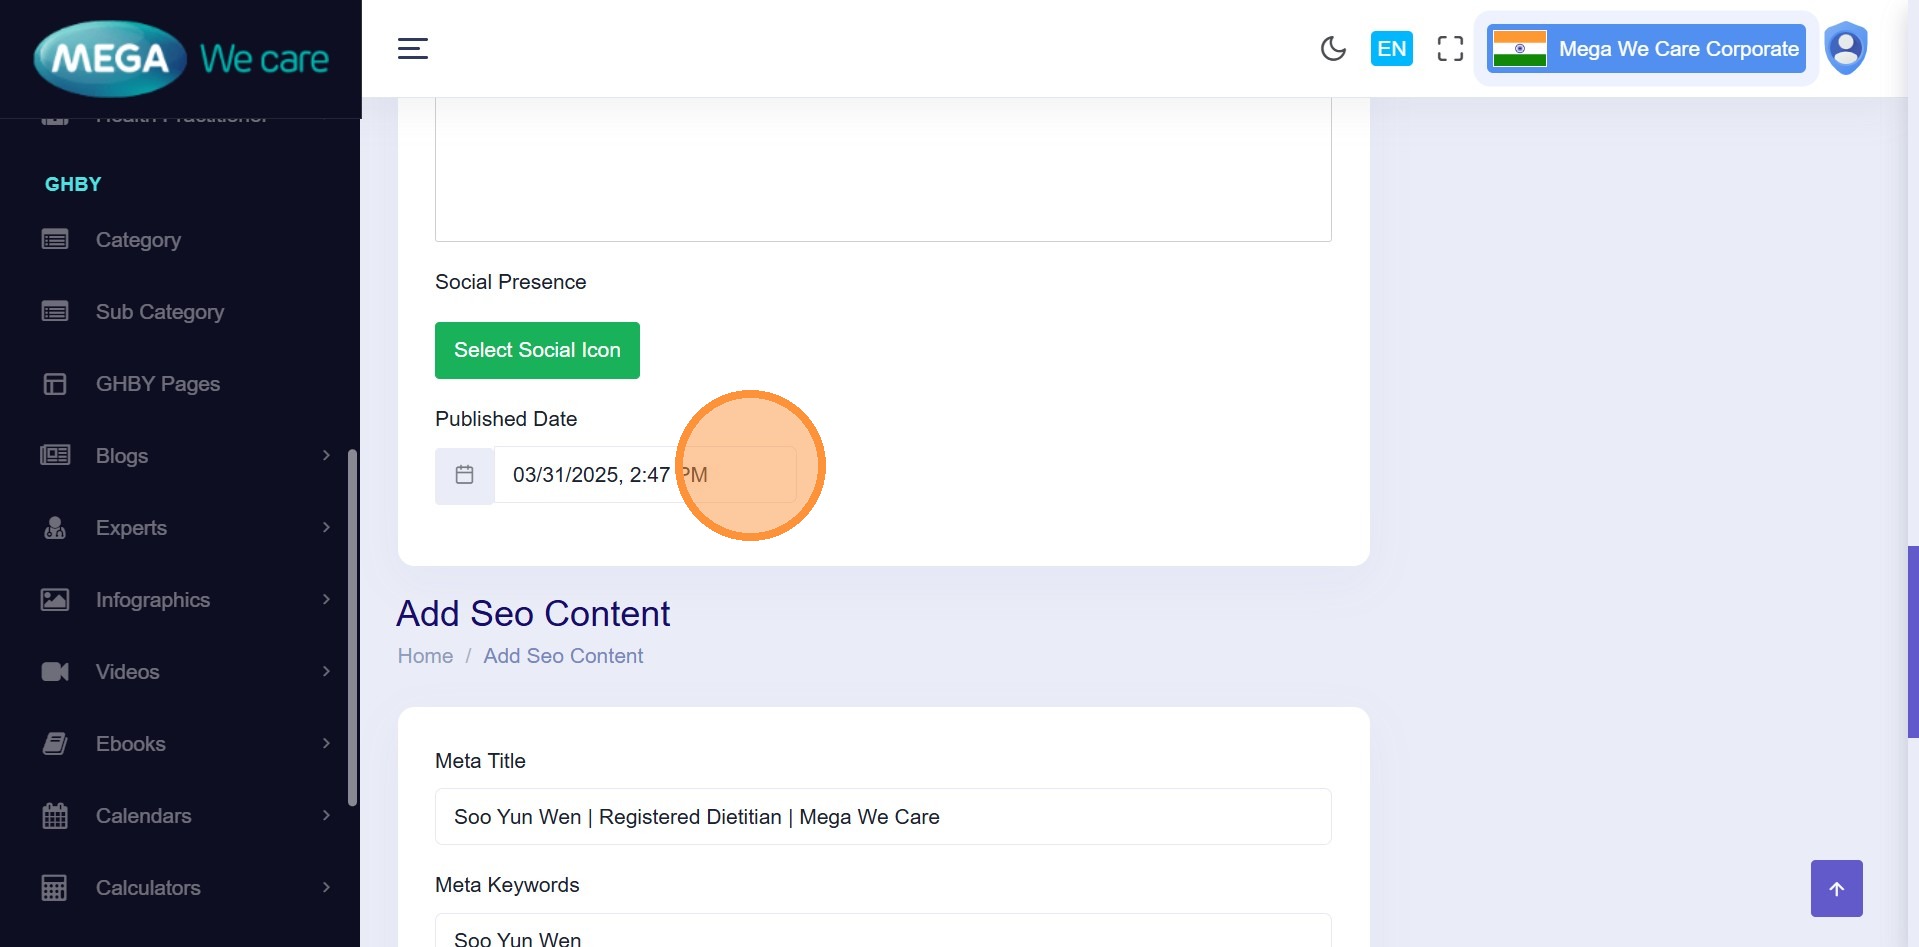
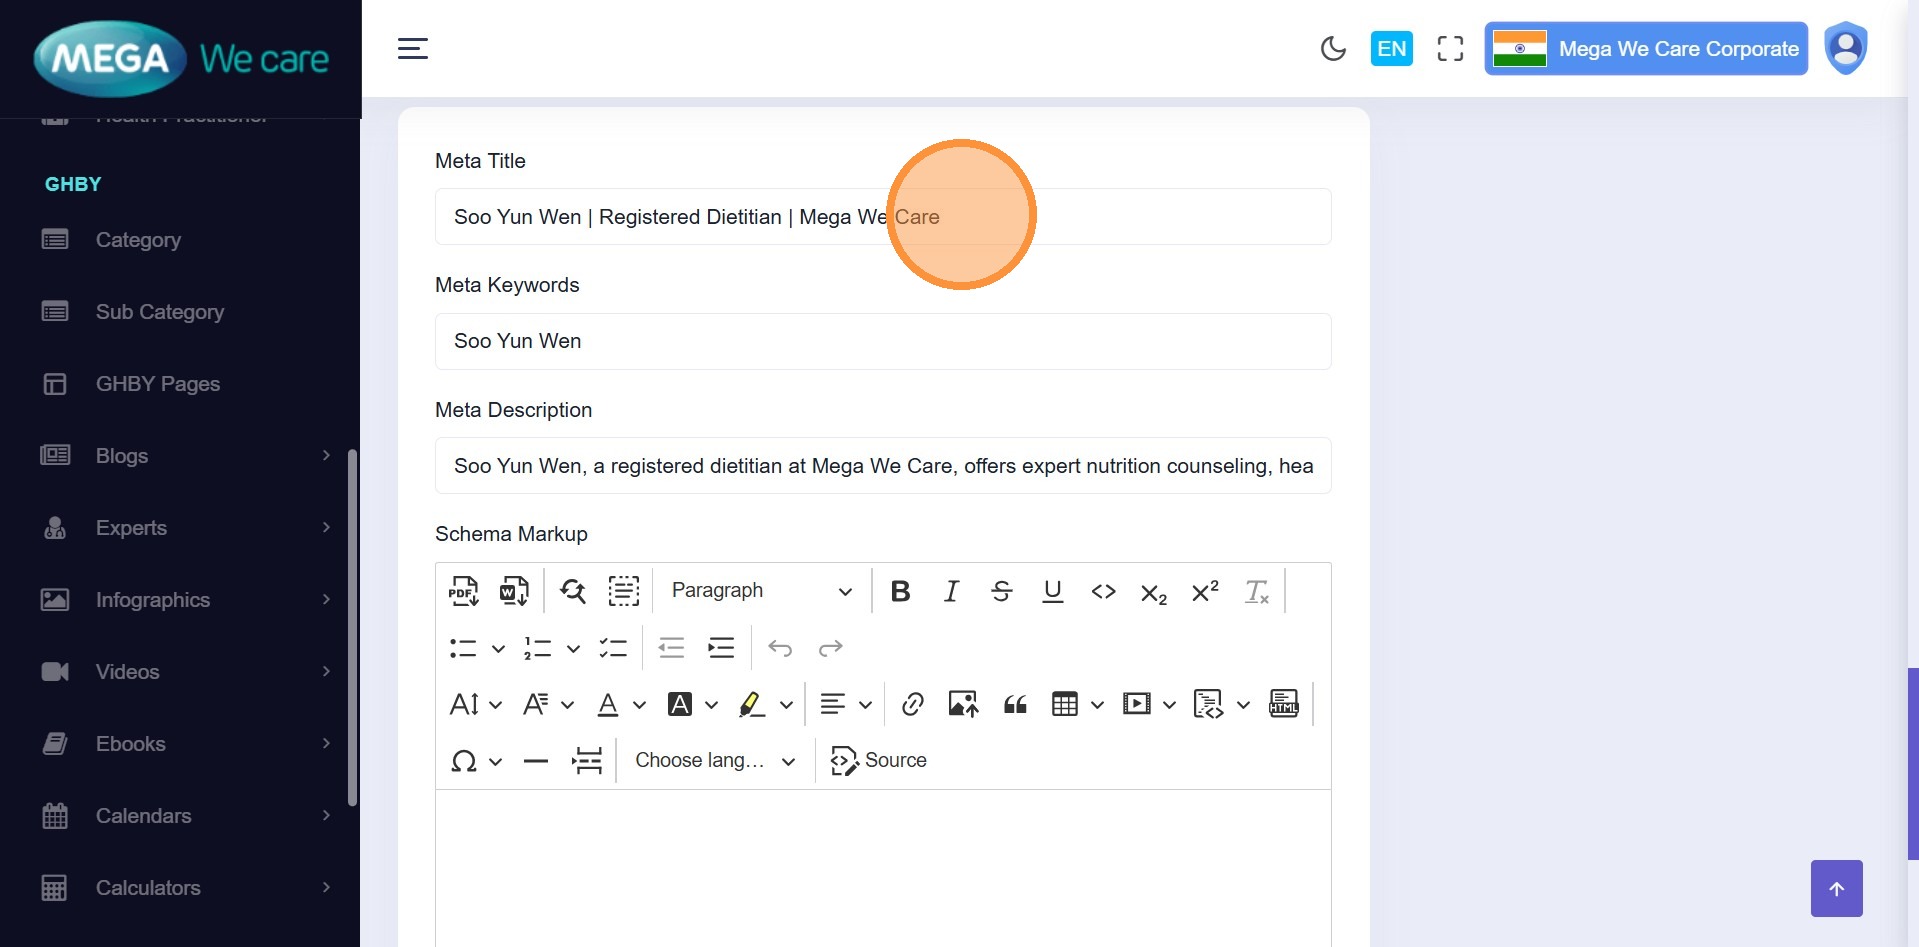
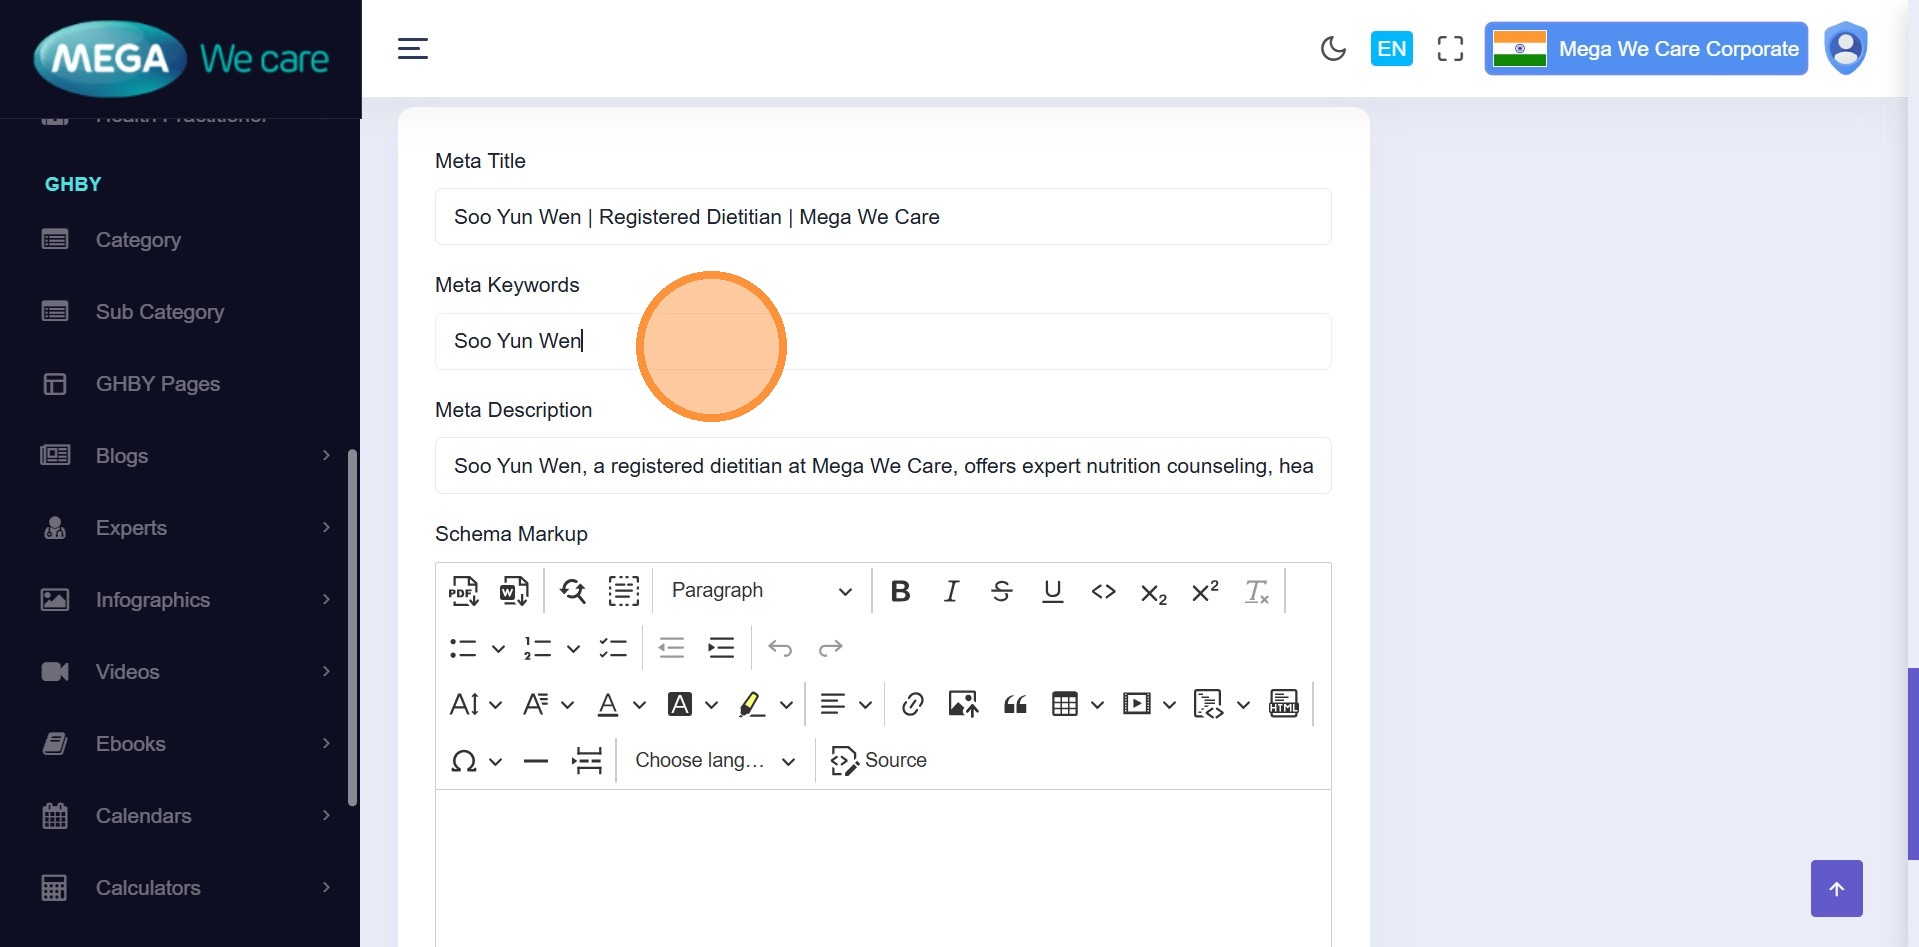
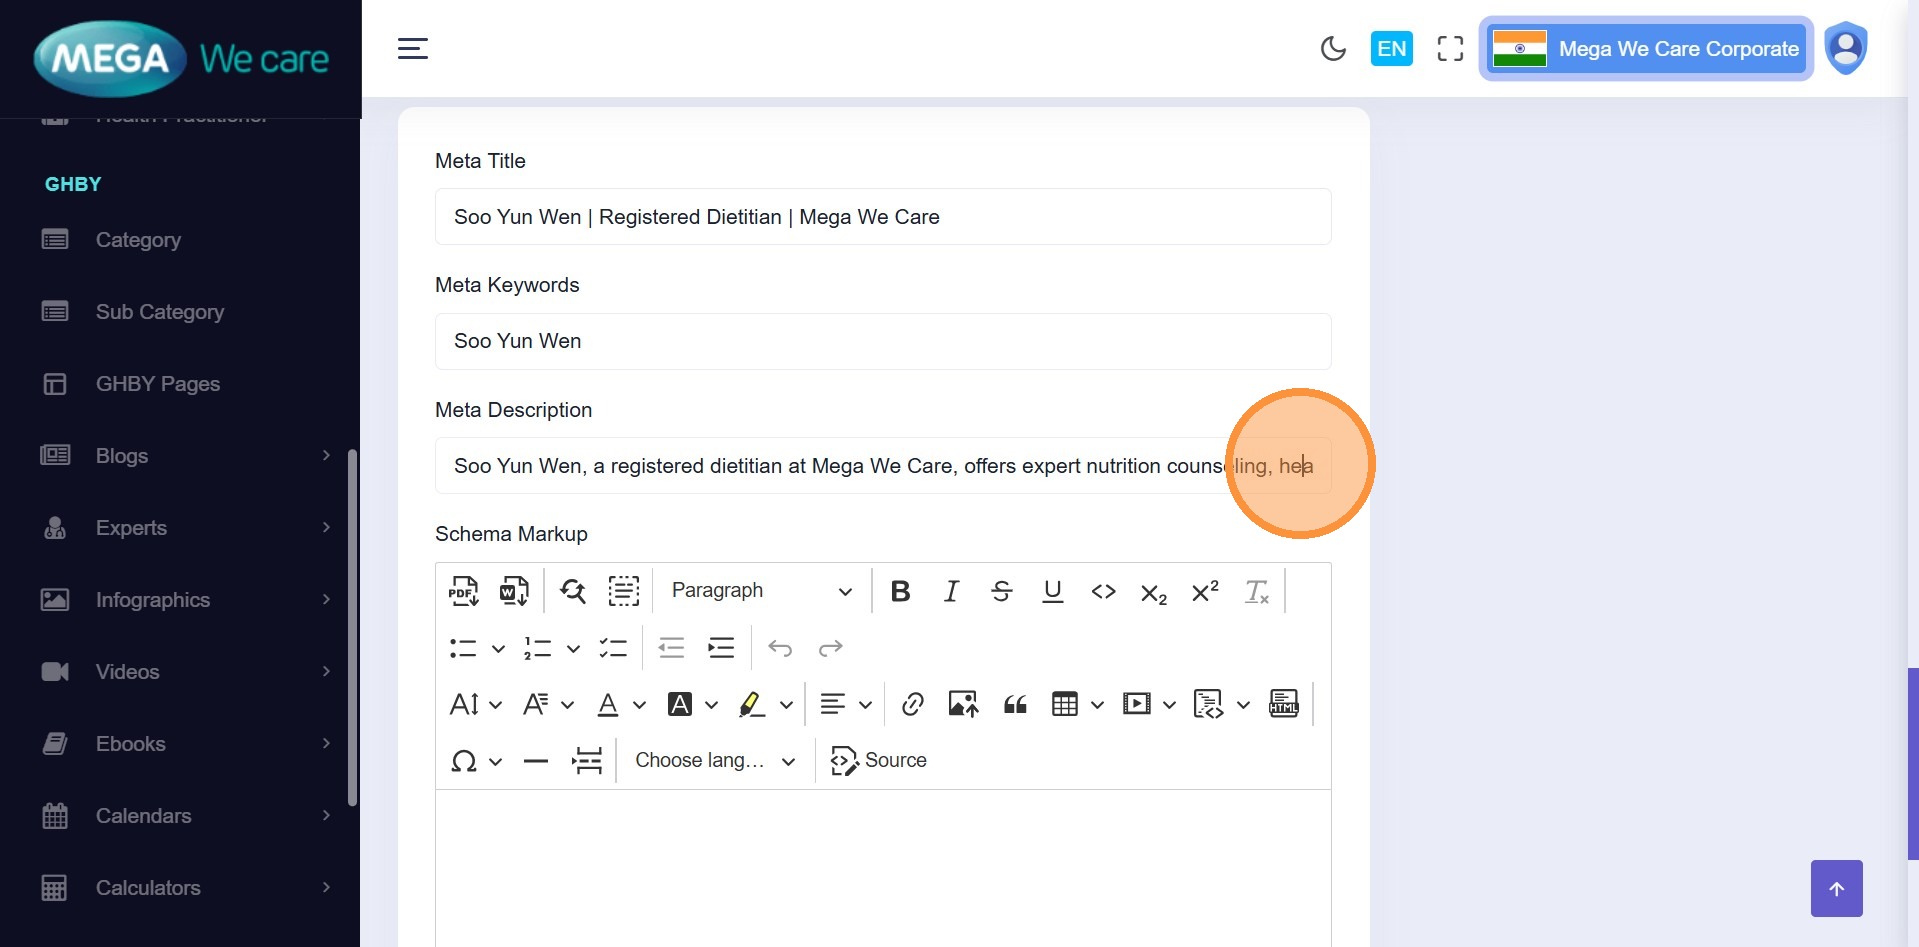
Step 15–18: Add SEO & Schema
Enter:
- Meta Title
- Meta Keywords
- Meta Description
- Schema / Structured Data (optional)
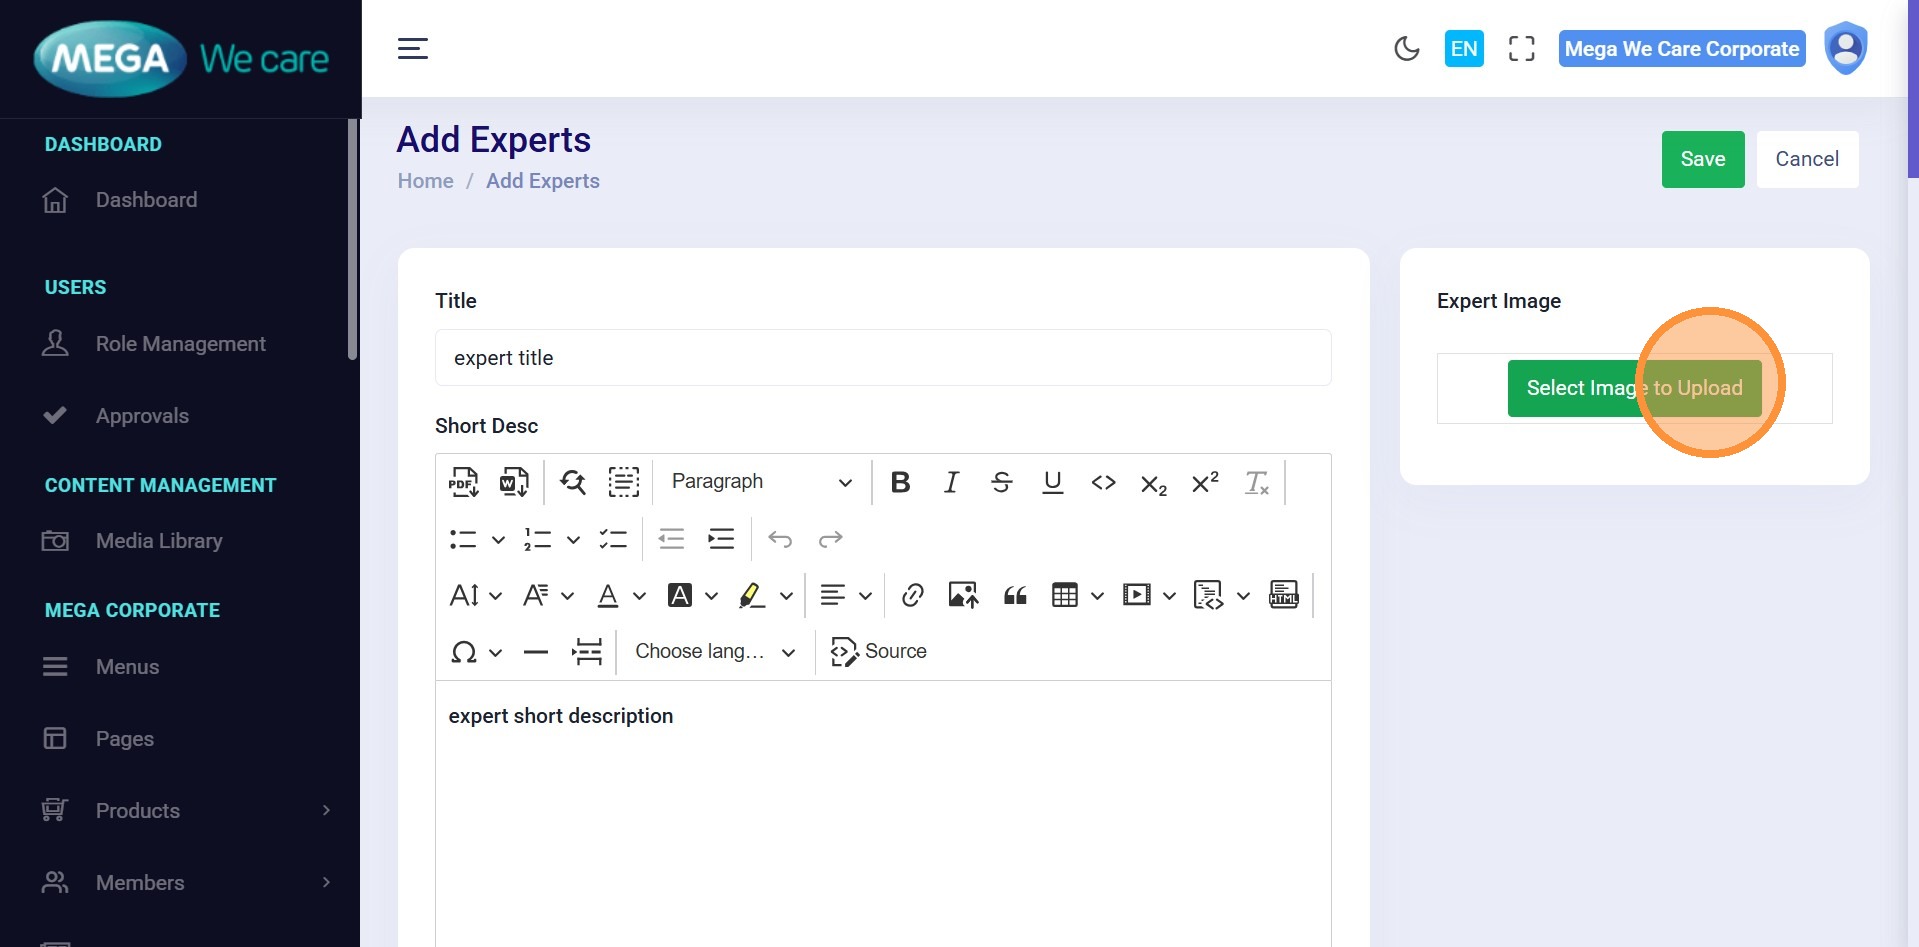
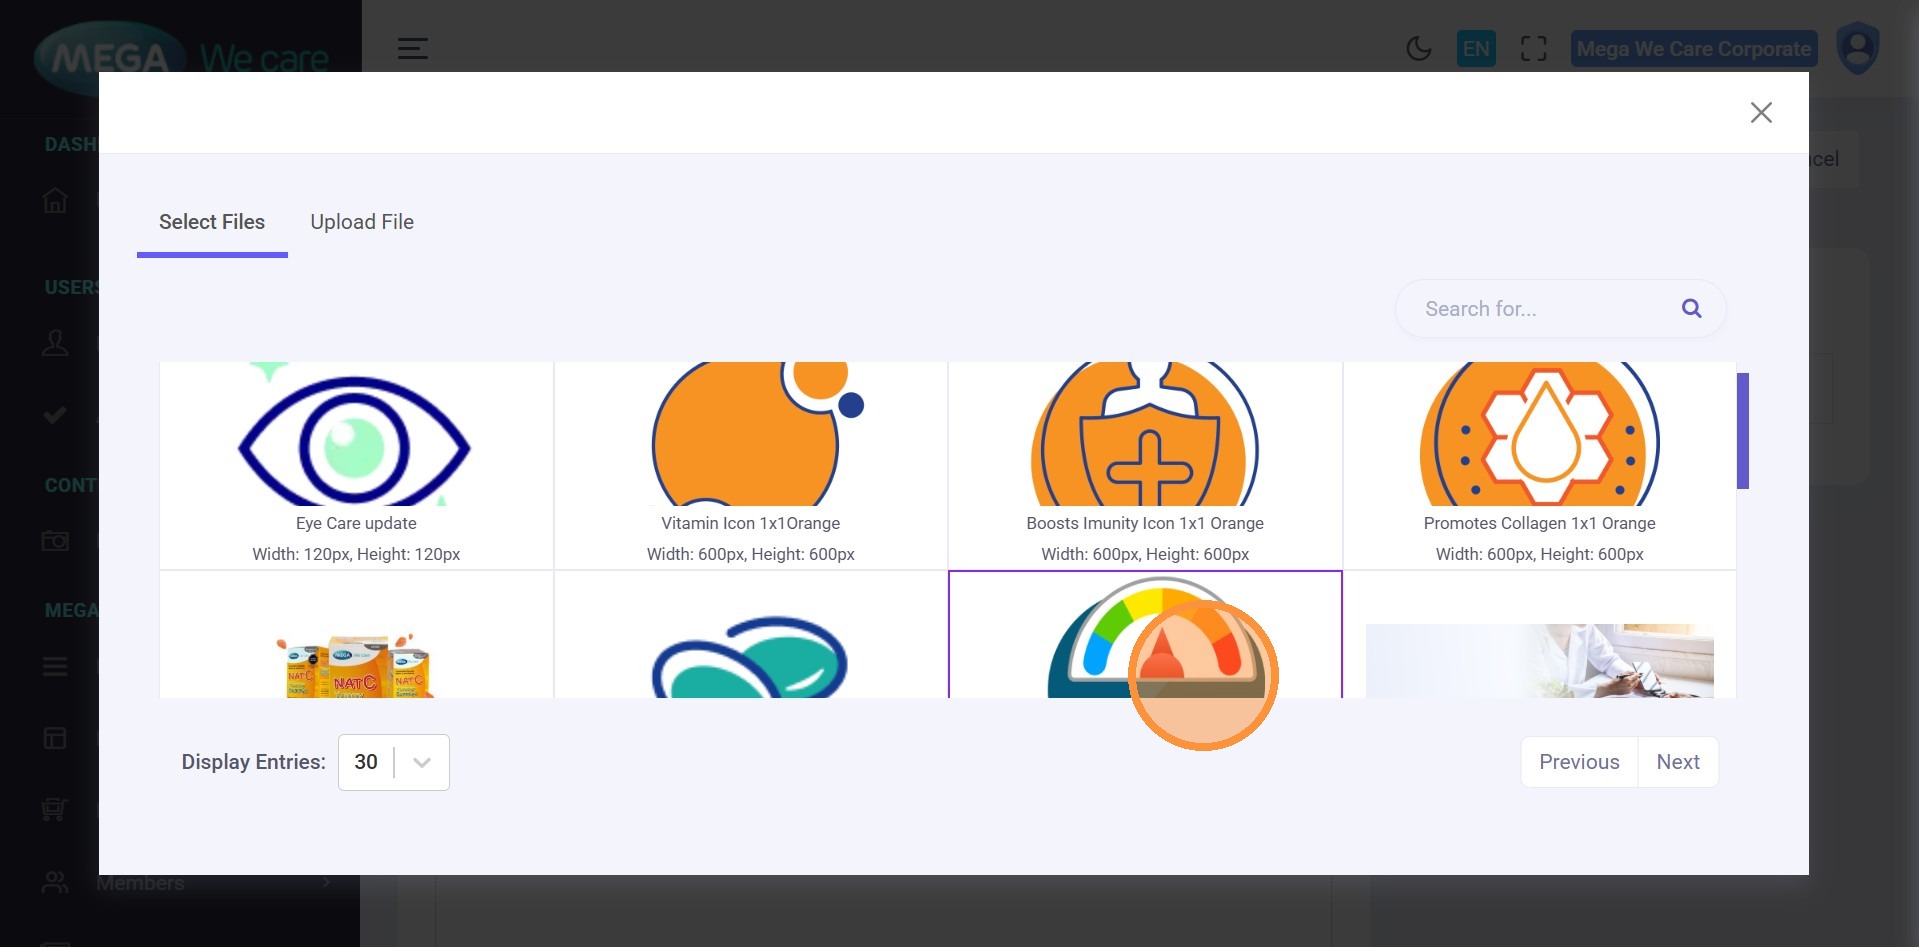
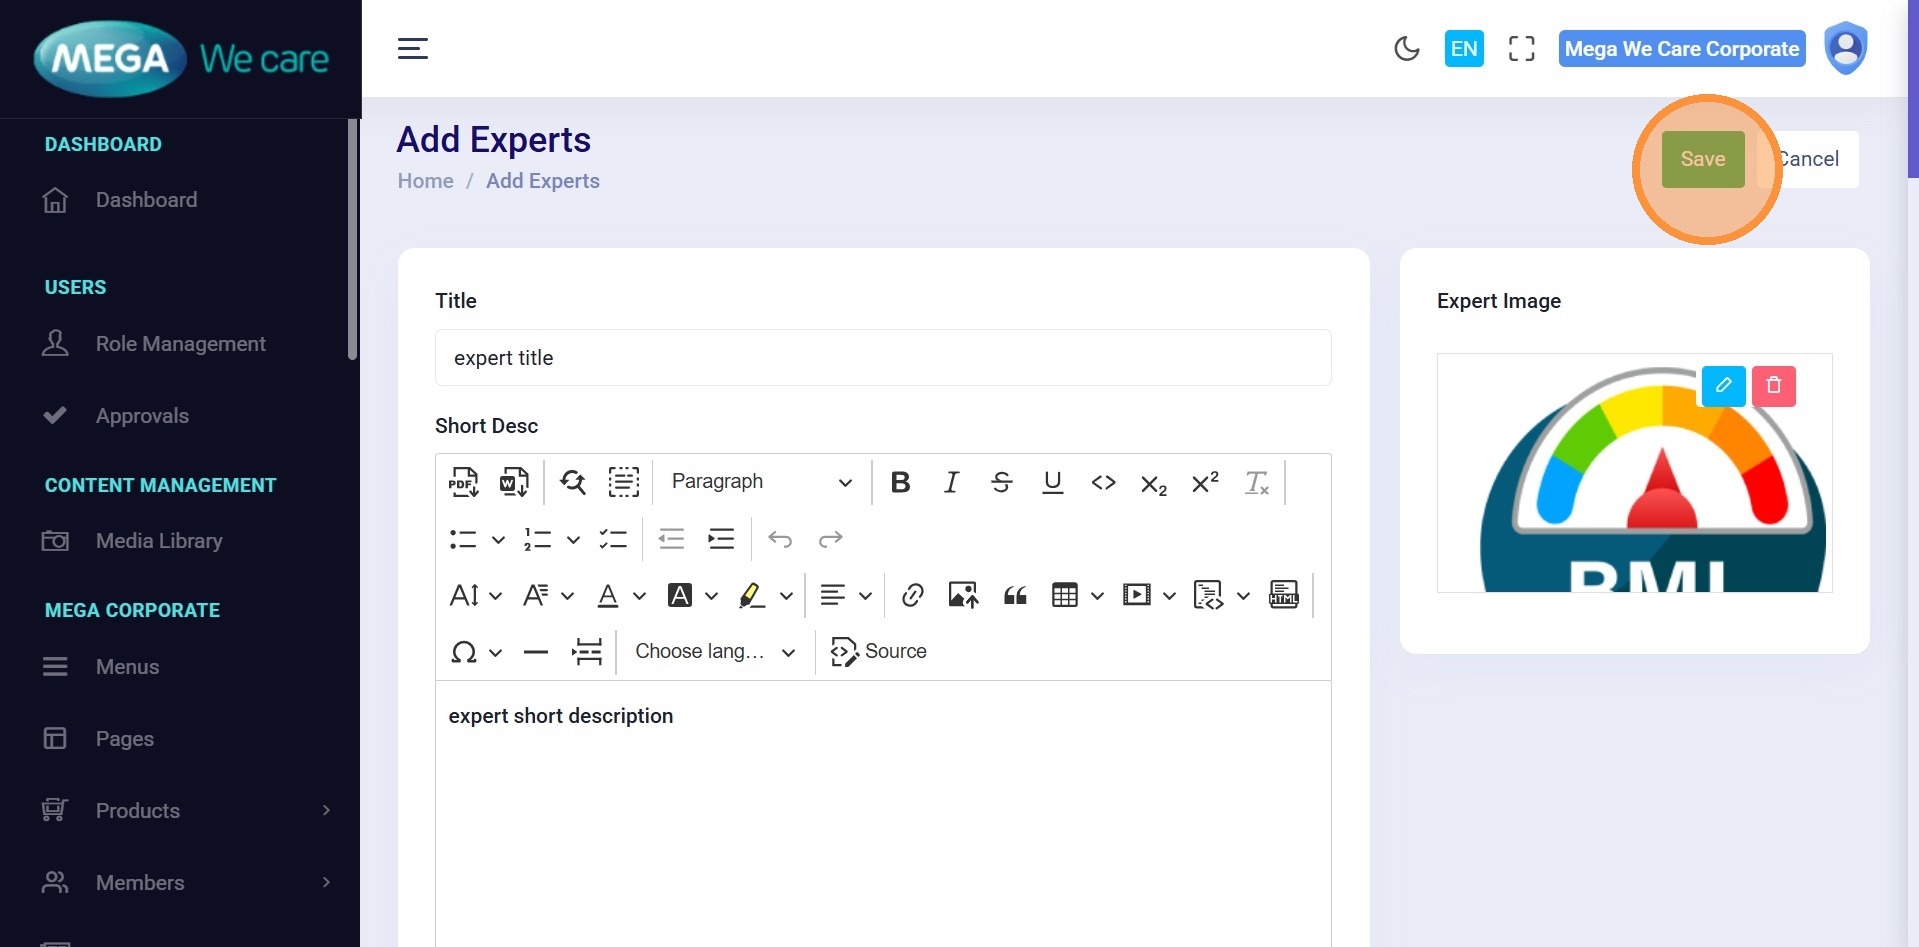
Step 19–21: Upload Expert Image
Upload or select an expert profile image and click Save.
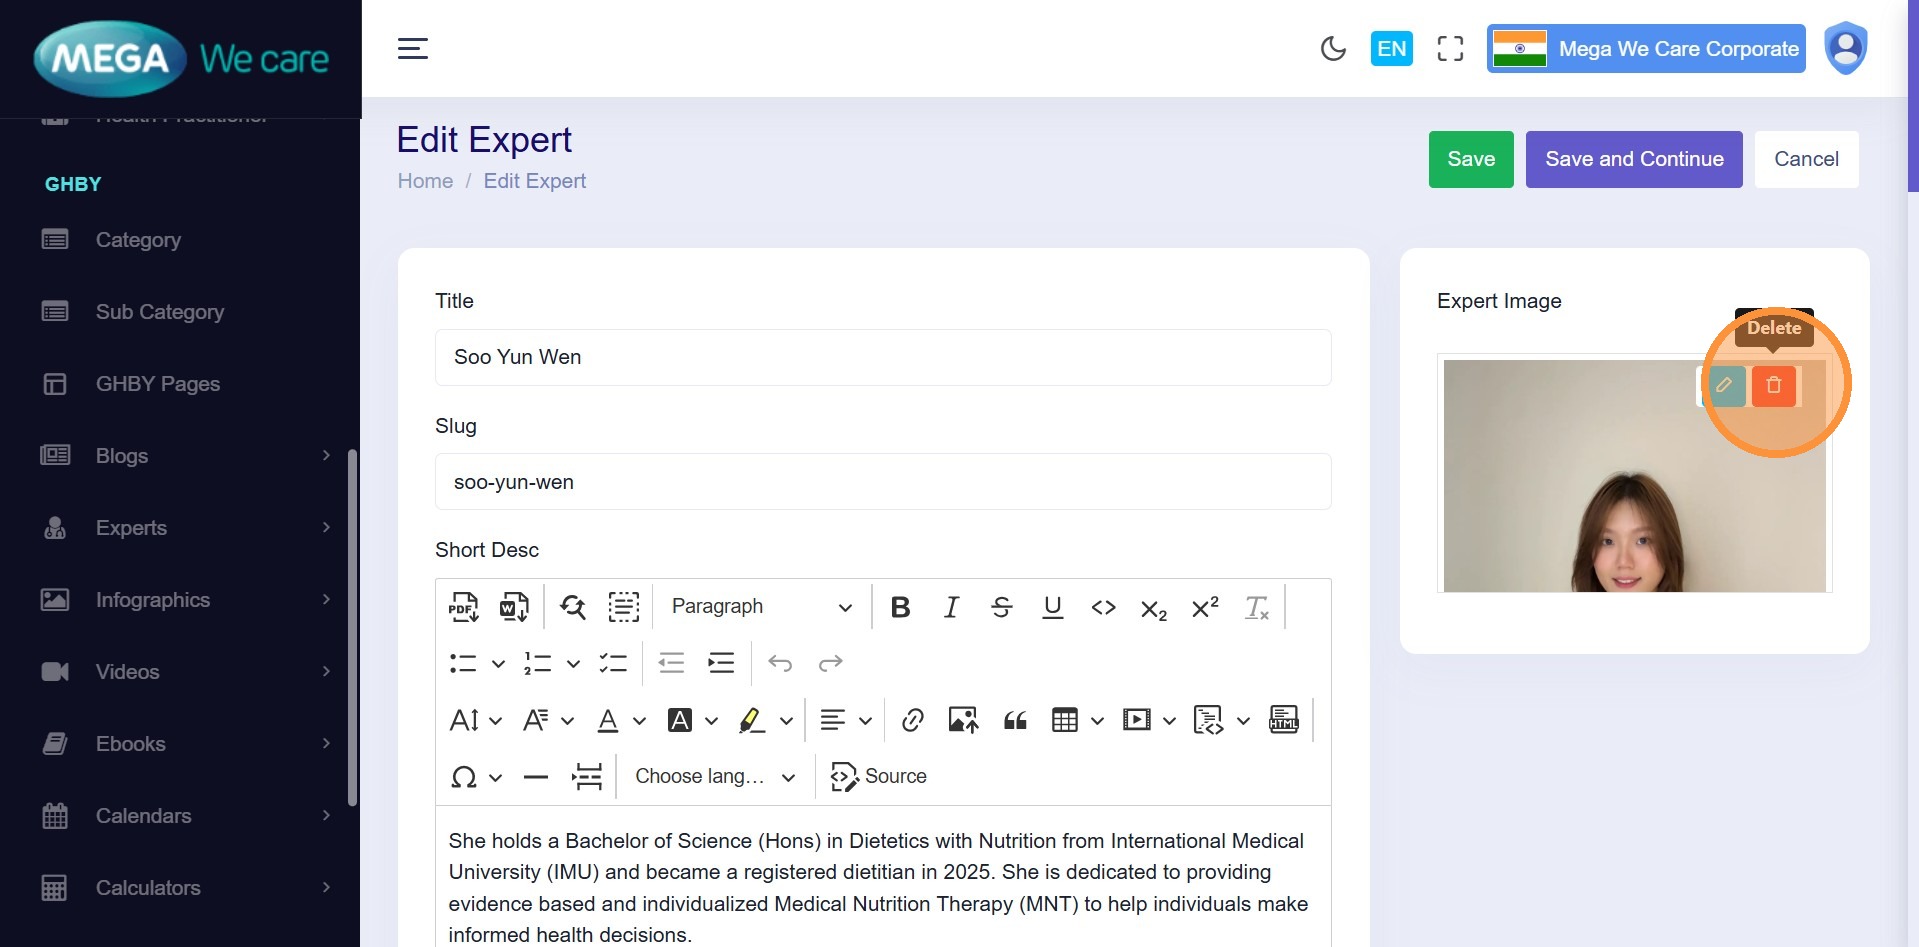
Edit & Update an Expert
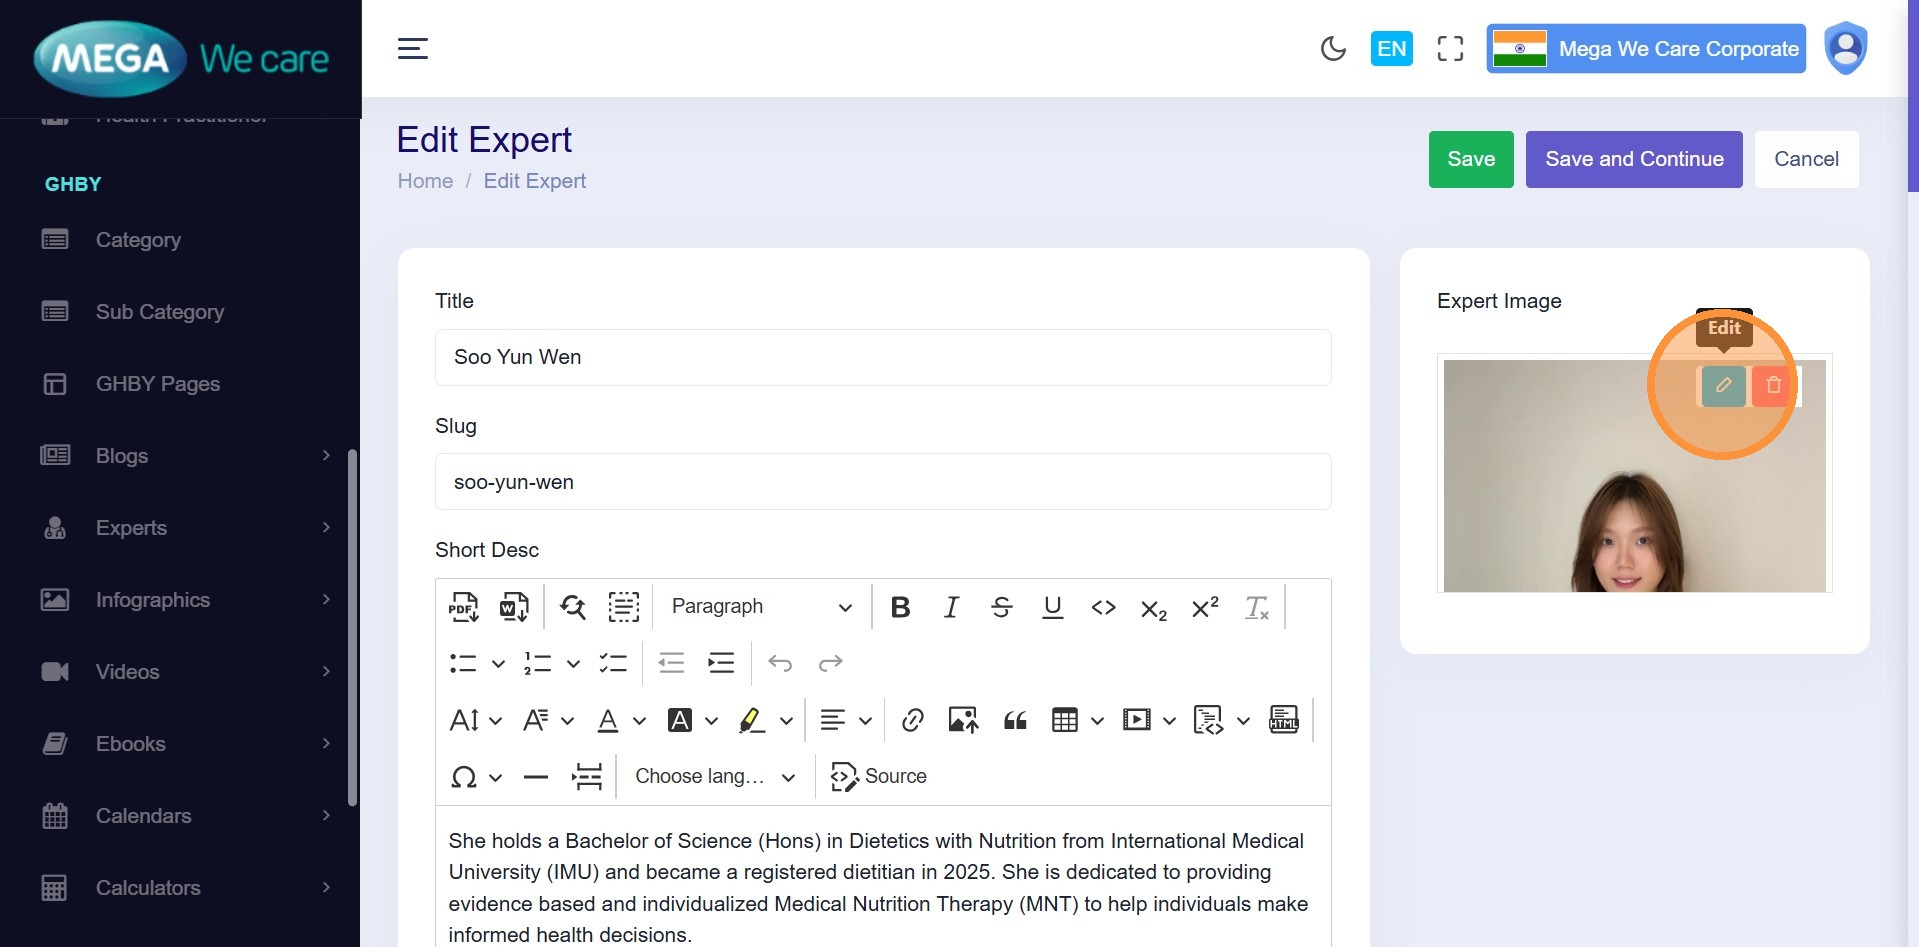
Step 22–36: Update Expert Details
Click Edit and update:
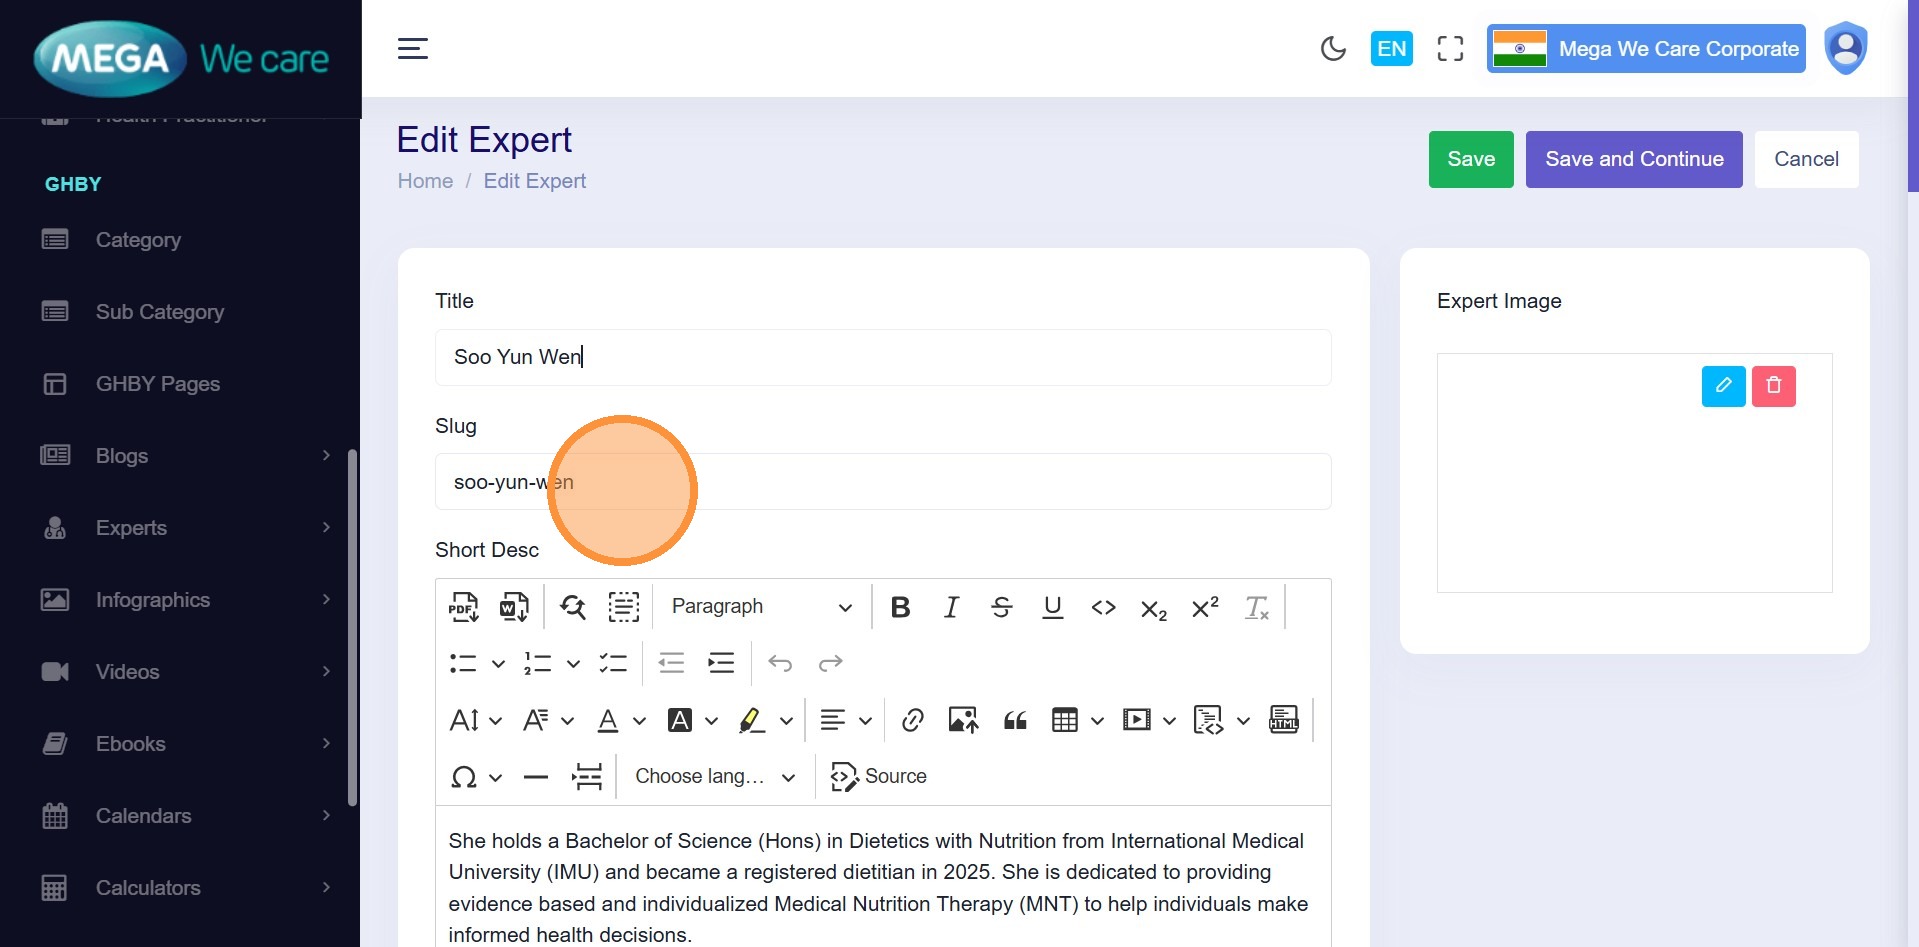
- Title & Slug
- Short & Full Description
- Specialist & Country
- Social Links
- Published Date
- SEO Details
- Image (title, alt, or remove)
Click Save and Continue to apply changes.


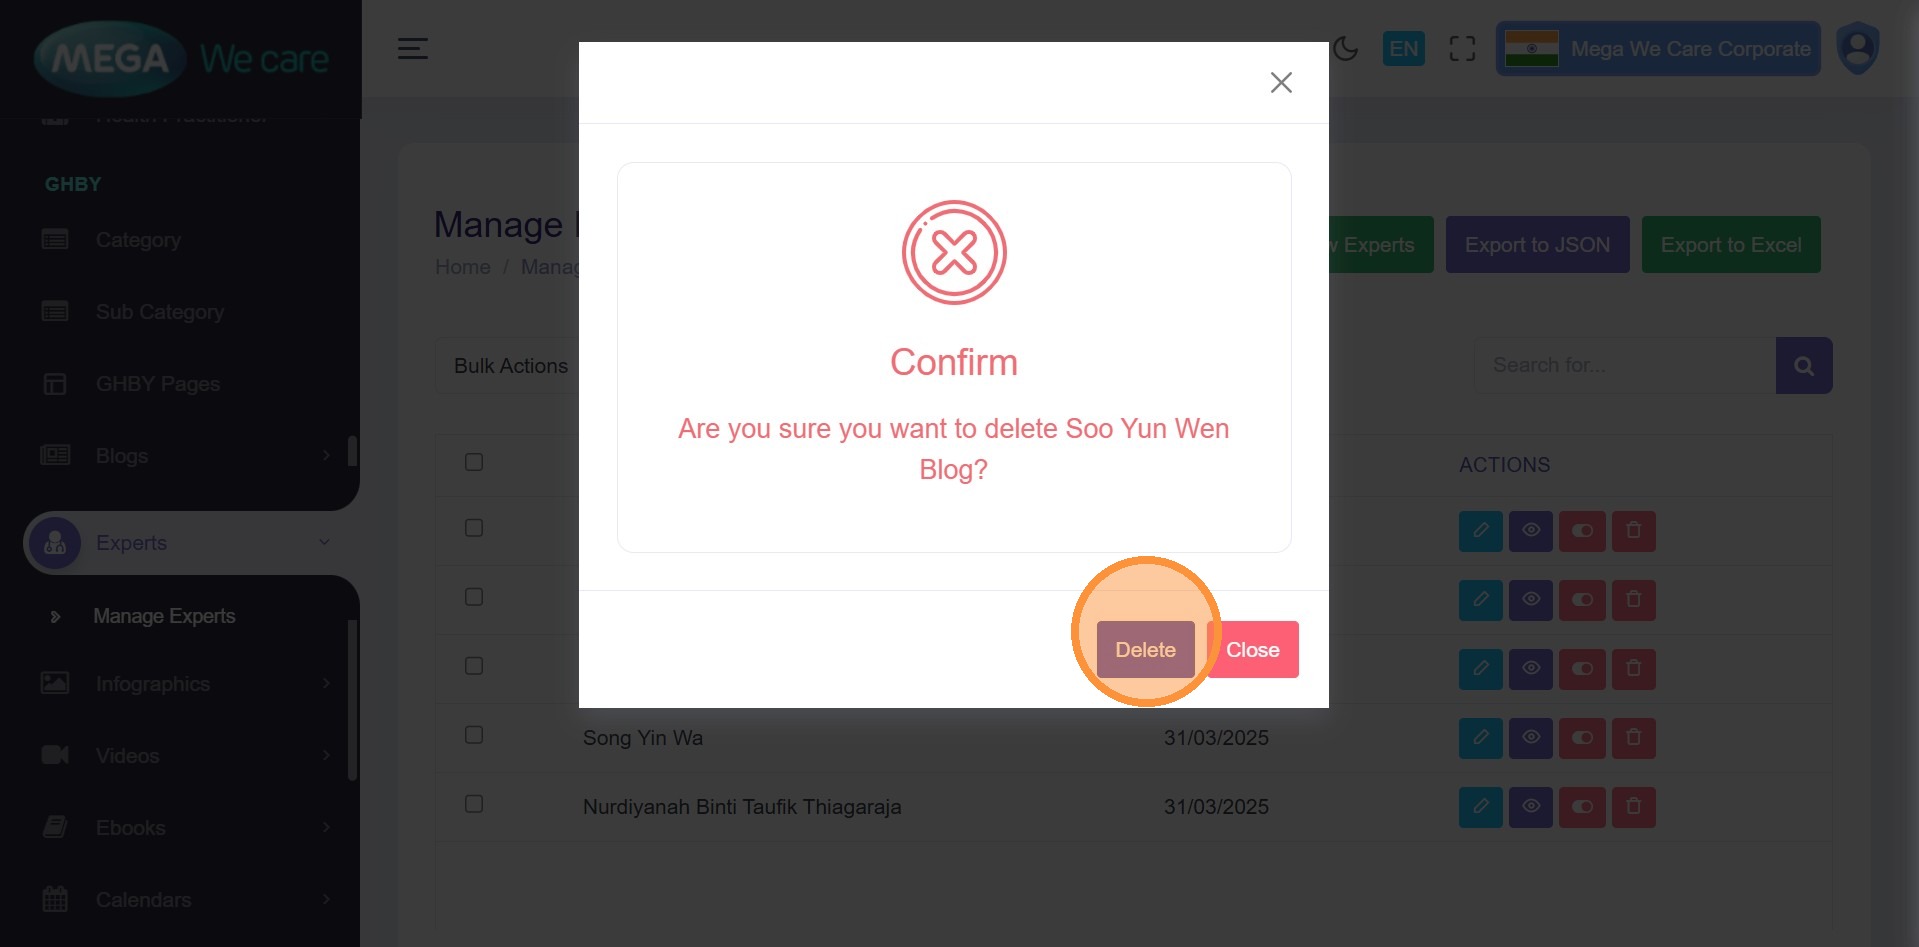
Delete an Expert
Step 37–38: Delete Expert
Click the Delete icon and confirm deletion.

Important Notes
- Always keep SEO metadata updated to improve content visibility
- Upload expert images in WEBP format, ensure the image size is not too large, and do not use PNG, JPG, or JPEG files. If the image is in any of these formats, convert it to WEBP before uploading.
- Carefully review schema markup to avoid errors on the main website
- Delete expert profiles only after proper confirmation
Summary
By following the above steps, you can easily add, edit, update, and delete expert profiles from the backend dashboard. Make sure to follow the Important Notess when creating or updating expert content.