Page Navigation
How to Add, Update and Delete Leadership Teams
This document explains how the Teams module enables users to create, manage, and maintain teams within the backend dashboard. Using this module, users can add new teams, upload team images, update team details, delete teams when required, and perform bulk actions to manage multiple teams efficiently.
Overview
By following this document, you will be able to:
- Navigate to the Teams module
- Create new teams with names, descriptions, and images
- Edit and update existing team information
- Permanently delete teams
- Use bulk actions to manage multiple teams quickly
Create a New Team
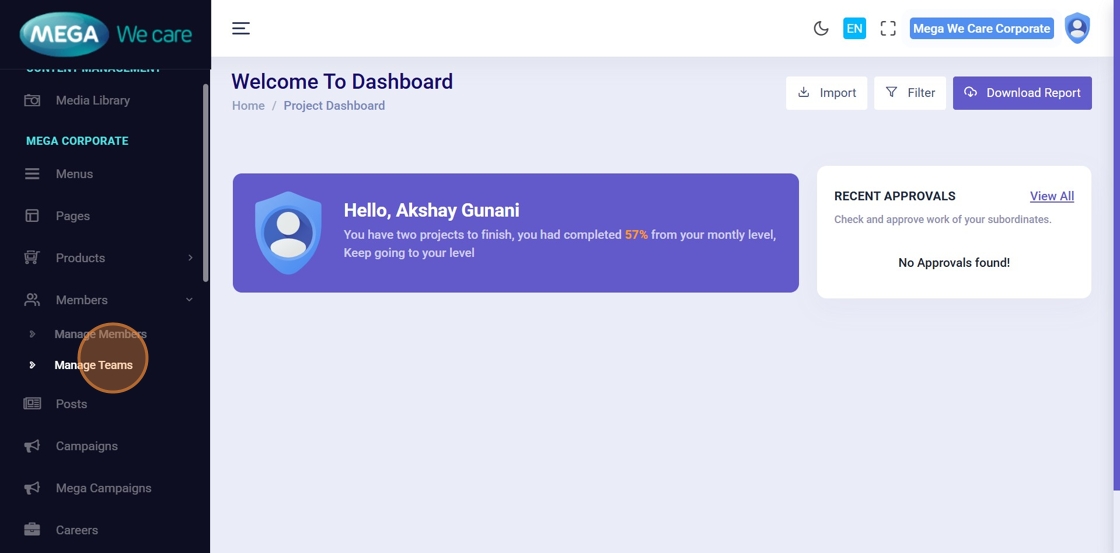
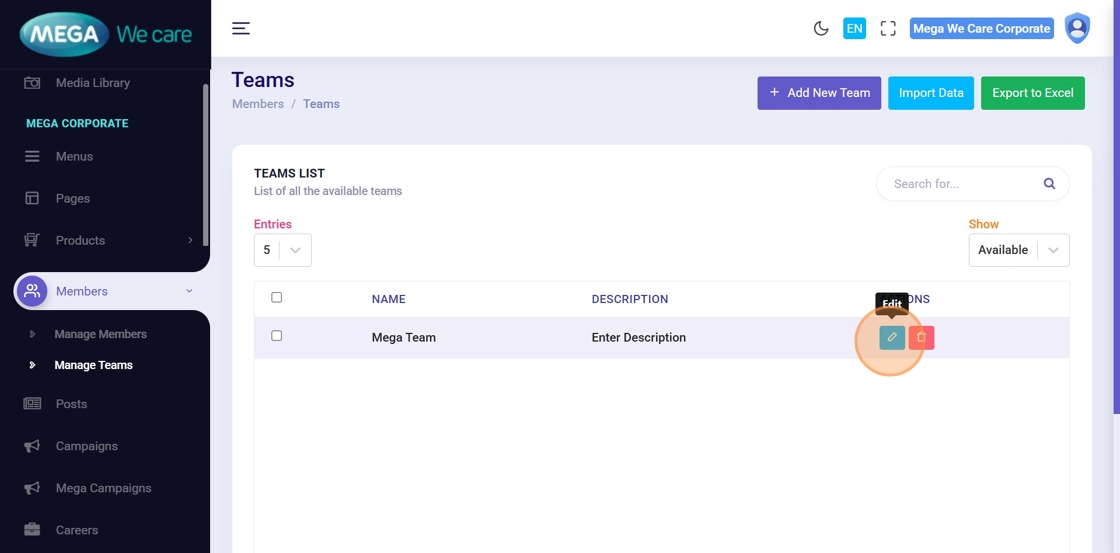
Step 1: Open Manage Teams
📂 Log in to the Admin Dashboard, open the sidebar, and click Manage Teams.
This displays the list of all existing teams.
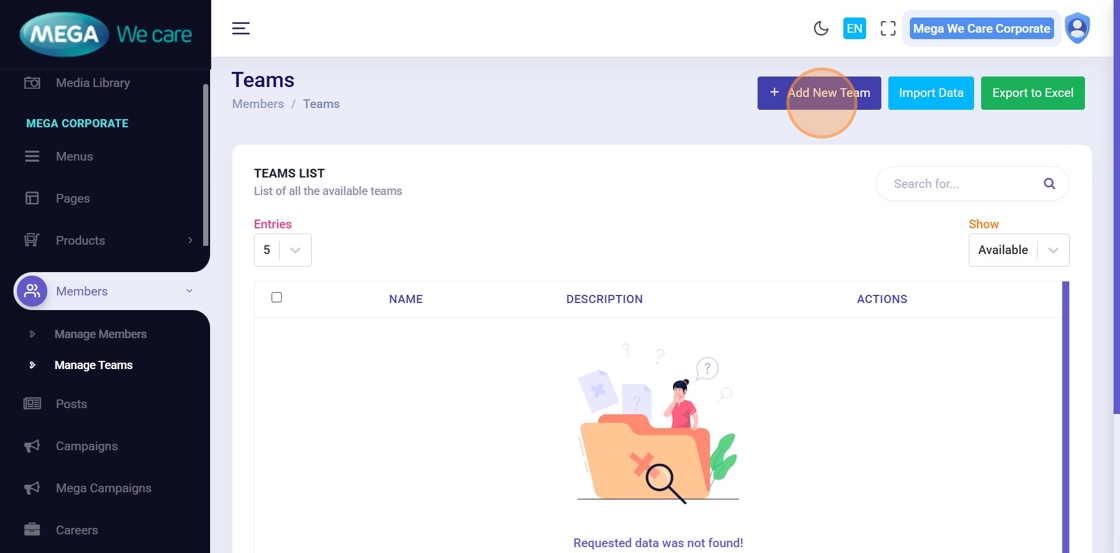
Step 2: Click “Add New Team”
➕ Click Add New Team to open the team creation popup.
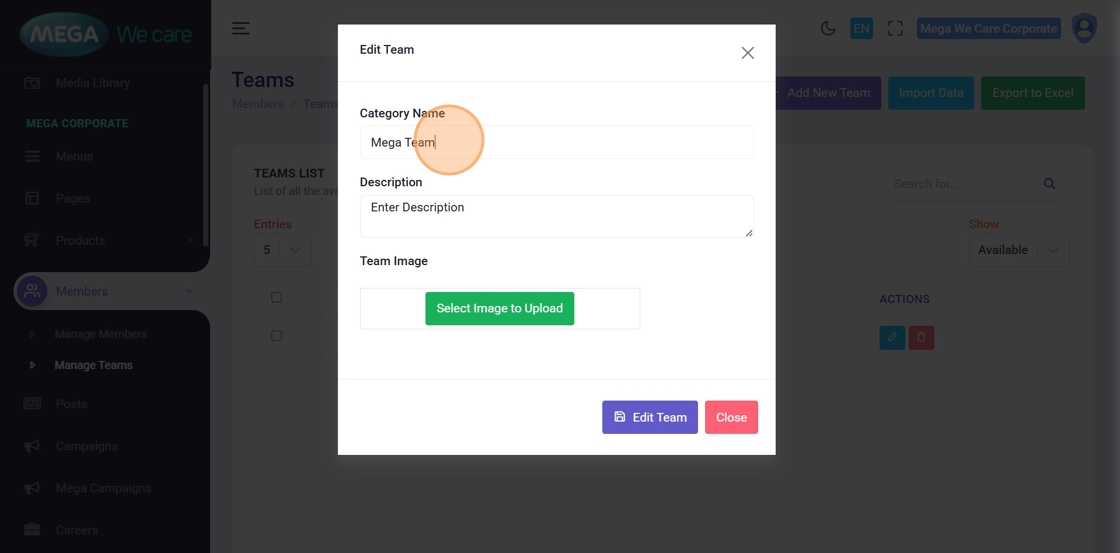
Step 3: Enter Team Name
📝 Type a clear and recognizable name for the team
(e.g., Mega Team).
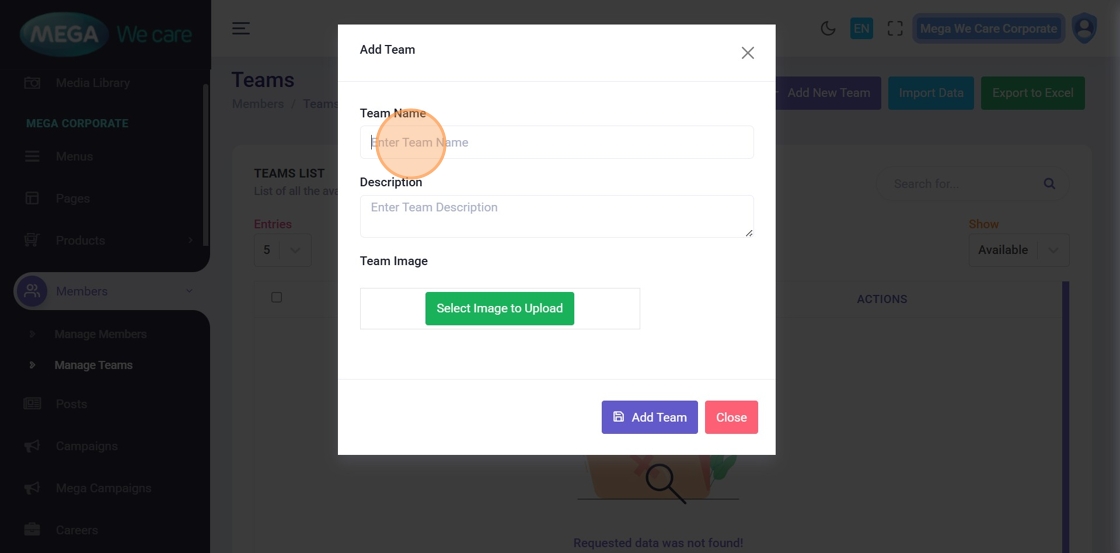
Step 4: Enter Team Description
📄 Add a short and meaningful description explaining the purpose or role of the team.

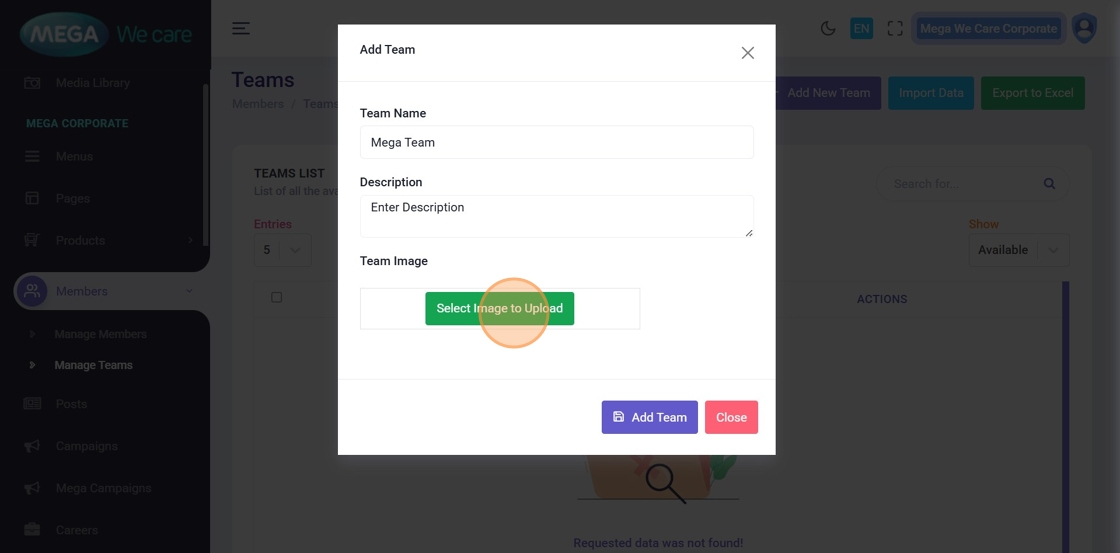
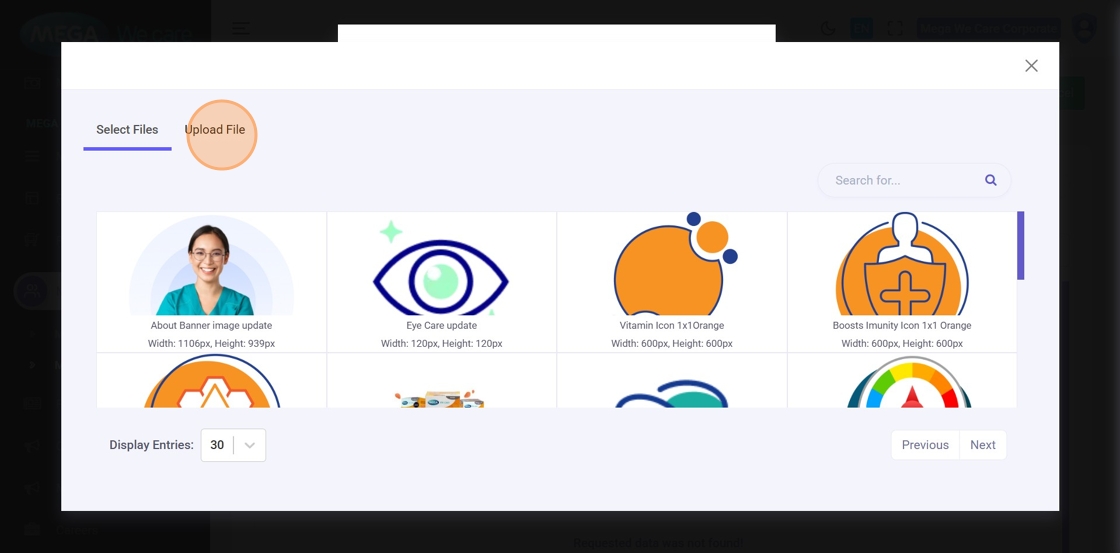
Step 5: Upload Team Image
🖼️ Click Select Image to Upload to add a team image.
Step 6: Select Image Source
📸 Choose an image either from:
- Your local device
- The media library
Step 7: Save the Team
💾 After completing all details, click Add Team to create the team.

Edit an Existing Team
Step 8: Click the Edit Icon
✏️ Locate the team in the list and click Edit to modify its details.
Step 9: Update Team Name
📝 Edit the Team Name field as required.
Step 10: Update Team Description
📄 Modify the description to reflect updated responsibilities or purpose.
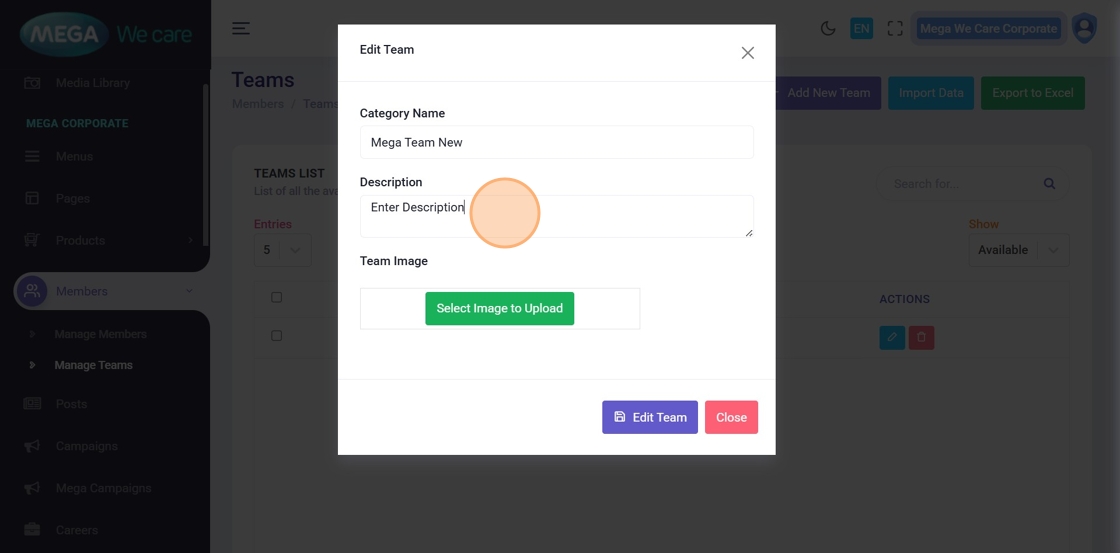
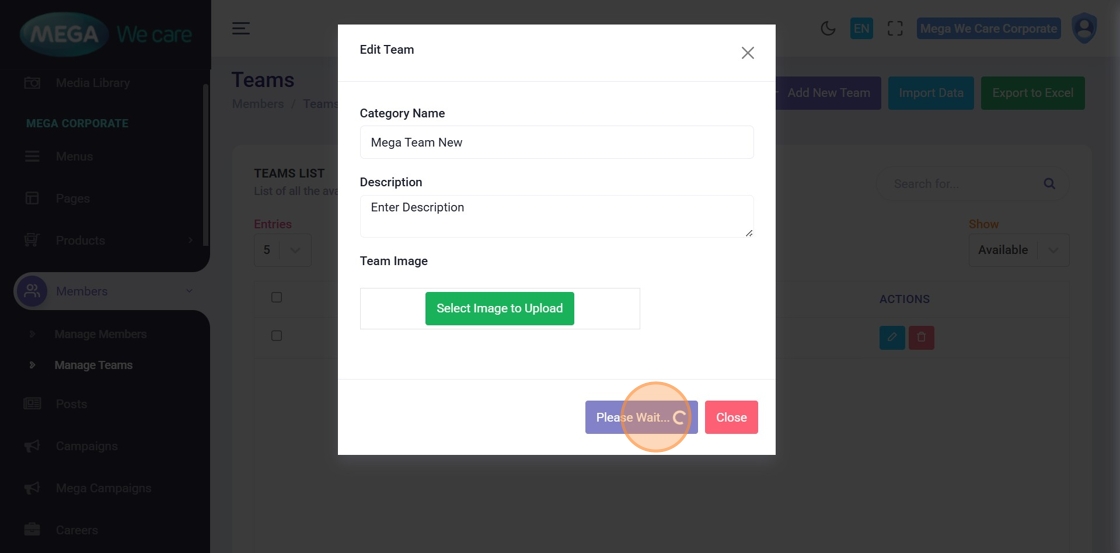
Step 11: Save Changes
✅ Click Edit Team to apply and save all updates.
Delete a Team
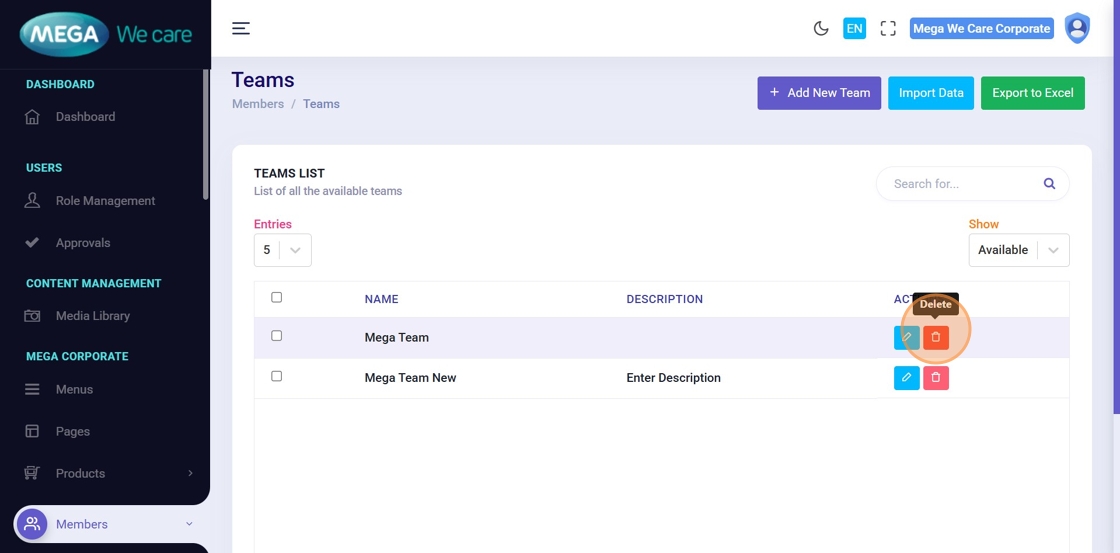
Step 12: Click the Delete Icon
🗑️ Locate the team you want to remove and click the Delete icon.
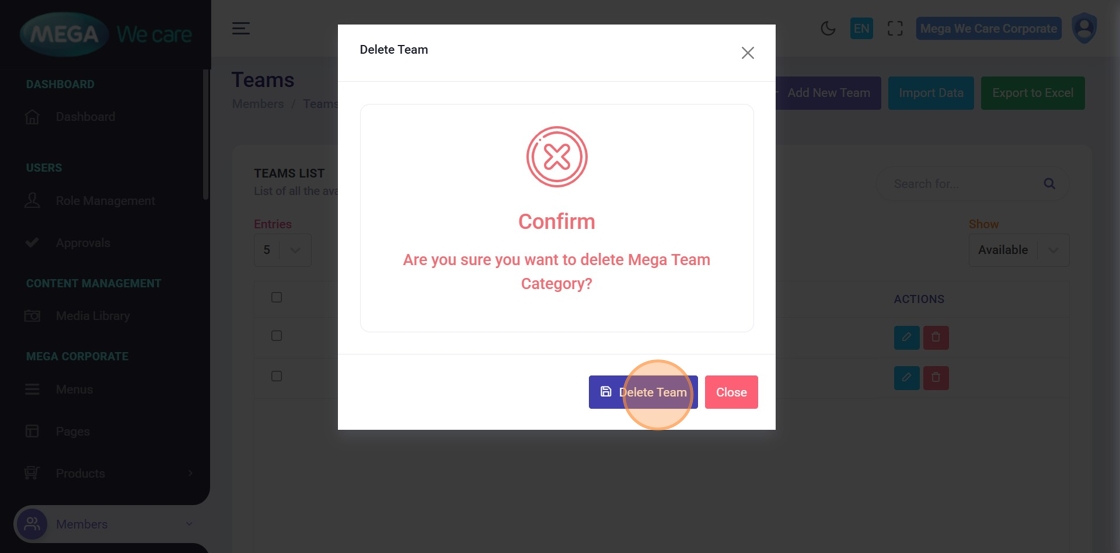
Step 13: Confirm Deletion
⚠️ In the confirmation popup, click Delete Team.
This action permanently removes the team and cannot be undone.
Manage Multiple Teams Using Bulk Actions
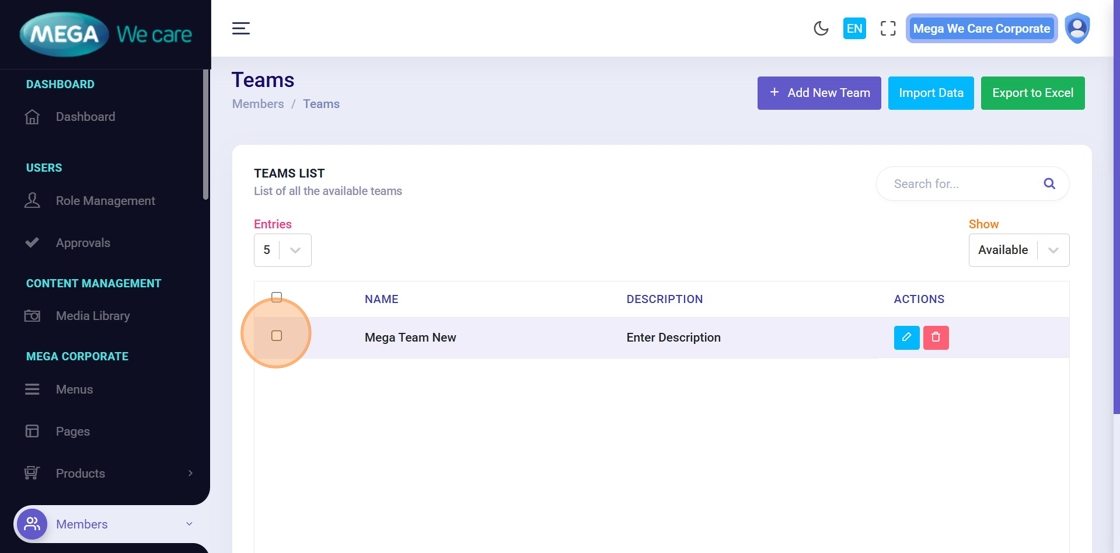
Step 14: Select Multiple Teams
☑️ Use the checkboxes to select one or more teams, or select all using the header checkbox.
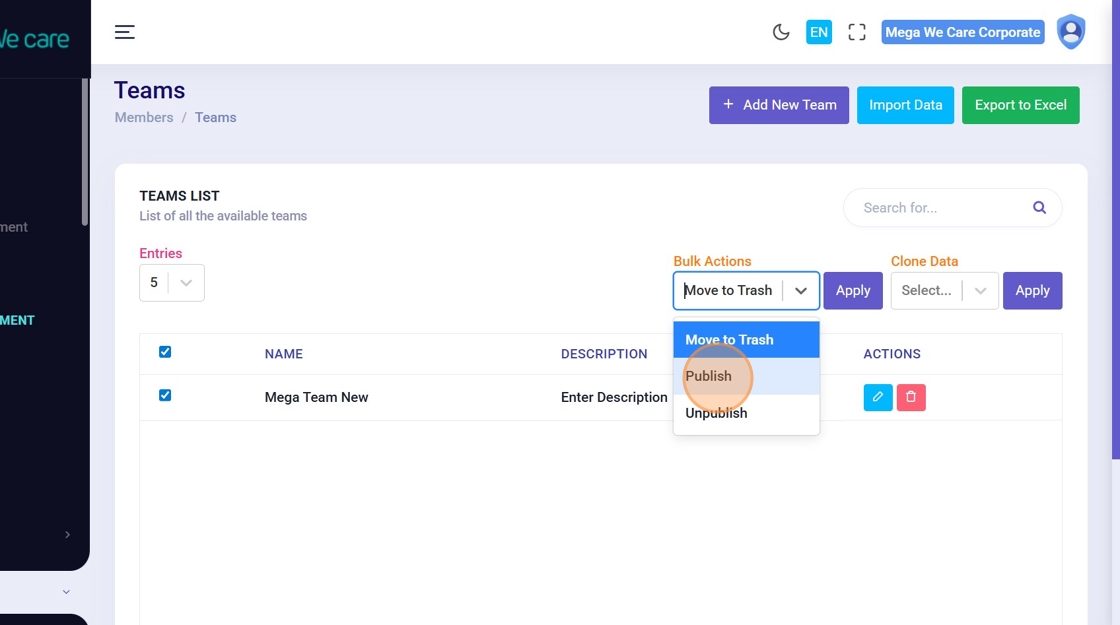
Step 15: Choose a Bulk Action
⚙️ From the bulk actions dropdown, choose an action such as:
- Publish
- Unpublish
- Move to Trash
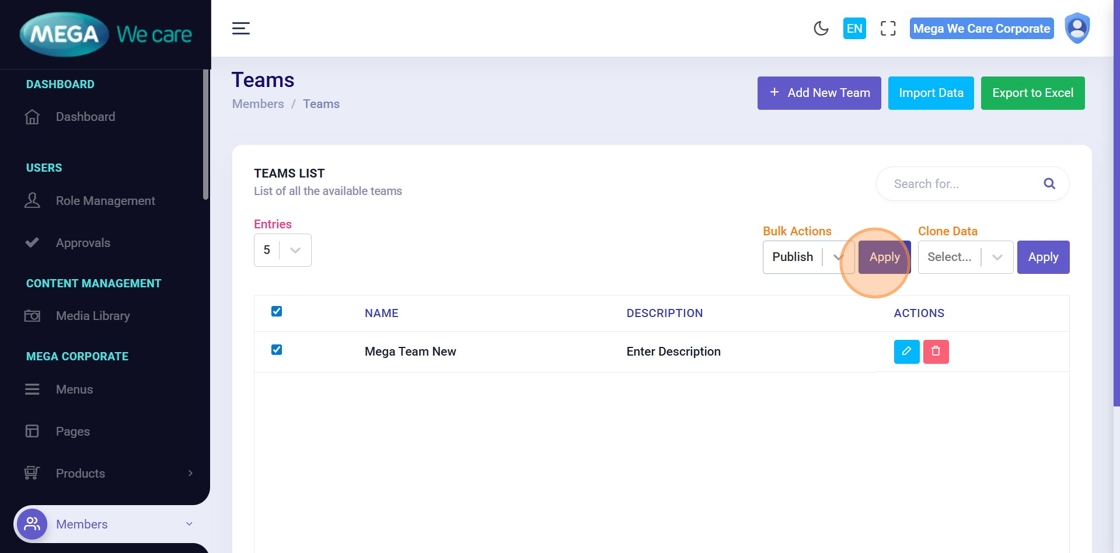
Step 16: Apply the Bulk Action
▶️ Click Apply to execute the selected action.
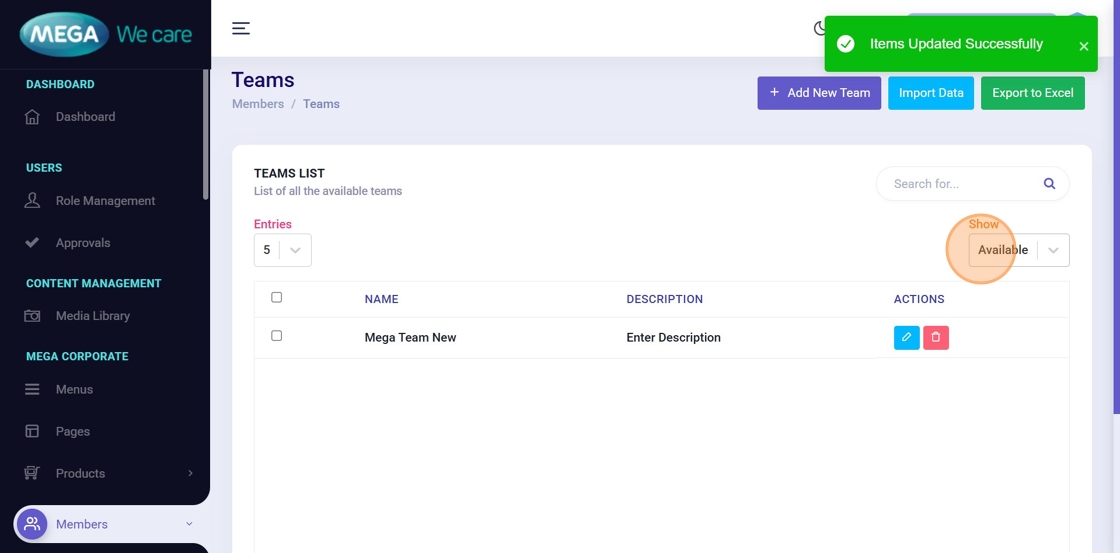
Step 17: View Confirmation Message
✅ A confirmation message (e.g., “Items Updated Successfully”) will appear once the action is completed.
Summary
By following this document, users can create teams with names, descriptions, and images, easily edit and update team details, permanently delete teams when no longer needed, use bulk actions to manage multiple teams efficiently, and maintain a clean, organized, and professional team directory.