Page Navigation
How to Import and Export any Page / Section Data
This document explains how the Import & Export module enables administrators to efficiently manage large volumes of data across all sections of the backend dashboard. Using this feature, users can bulk upload data, update existing records, export selected or complete datasets, and download structured data in CSV, JSON, or Excel formats. This helps reduce manual effort and maintain data consistency across modules such as Pages, Blogs, Products, Infographics, Videos, Members, Experts, and Calculators.
Overview
By following this document, you will be able to:
- Navigate to the correct module for importing or exporting data
- Import data using CSV or JSON files
- Upload and process files through the import popup
- Control how many entries are displayed before export
- Export selected or all records
- Choose specific fields when exporting data
Import Data
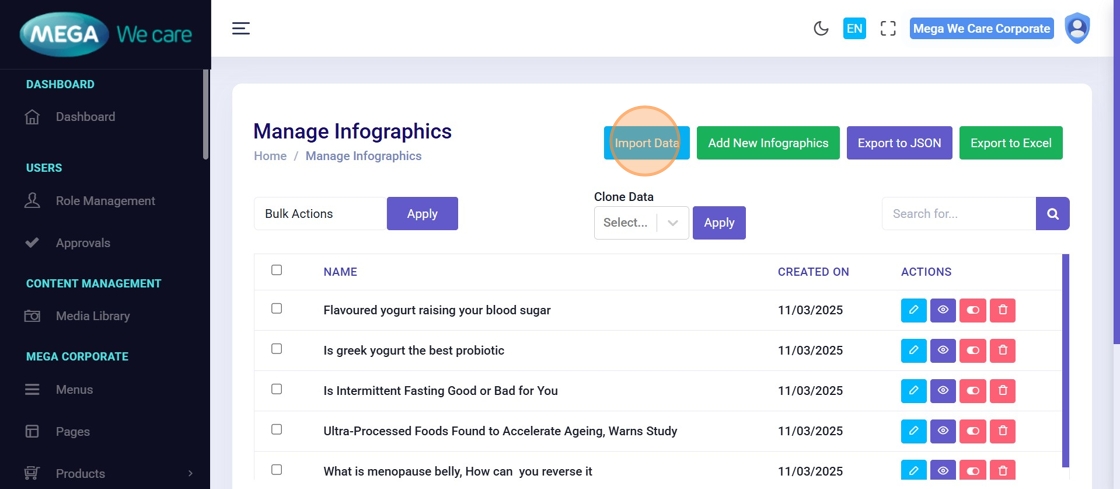
Step 1: Open the Required Module
From the Admin Dashboard, navigate to the module where you want to import data
(e.g., Blogs, Products, Infographics, Members, Videos, Experts, Calculators).
Click Import Data in the top-right corner.
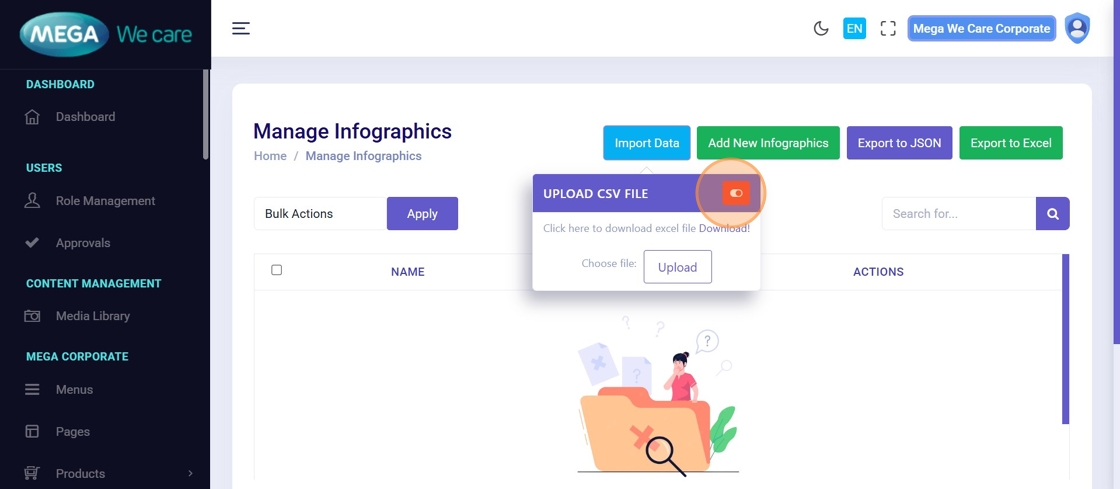
Step 2: Review Import Popup
An import popup will appear showing:
- Upload area
- Toggle to switch between CSV and JSON import modes
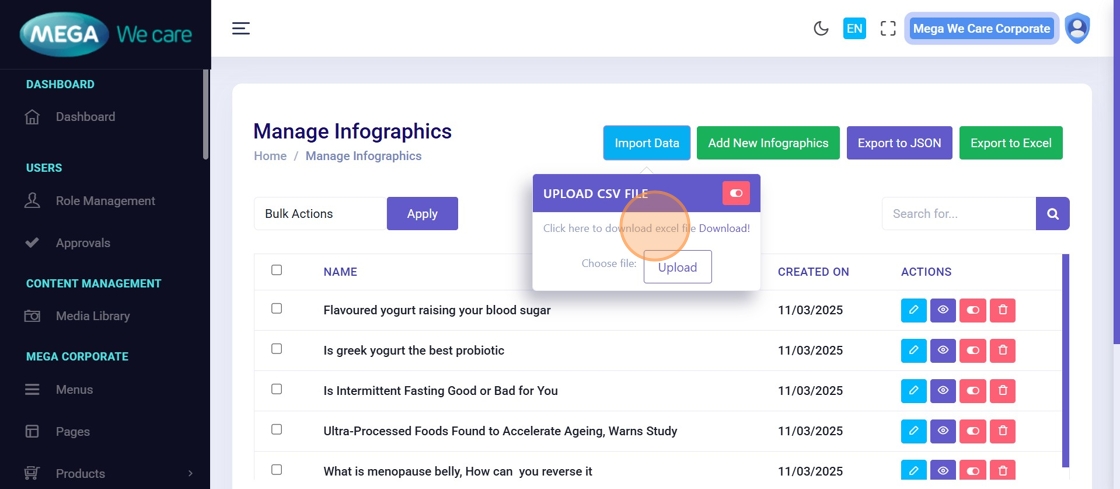
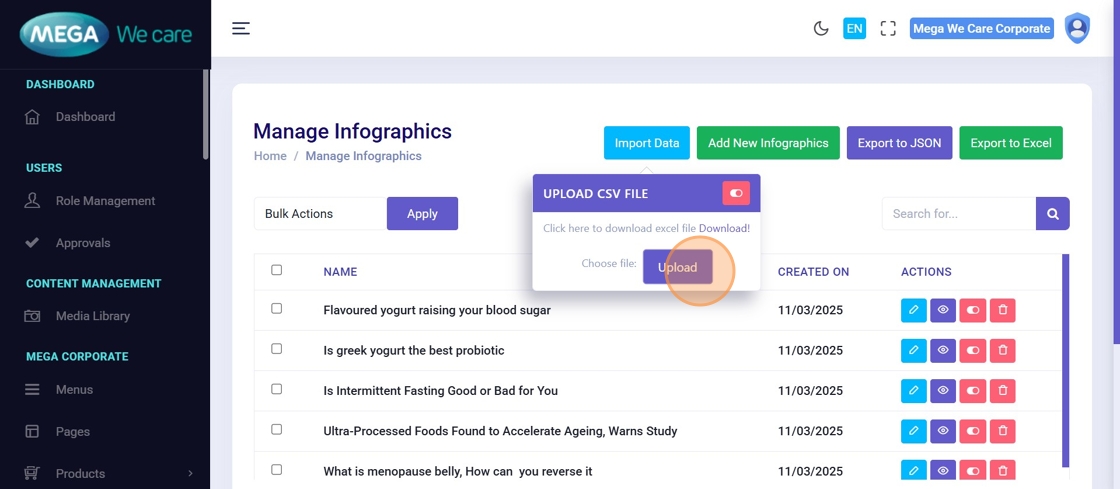
Step 3: Select File to Import
Click Upload to open your device’s file picker and choose the file.
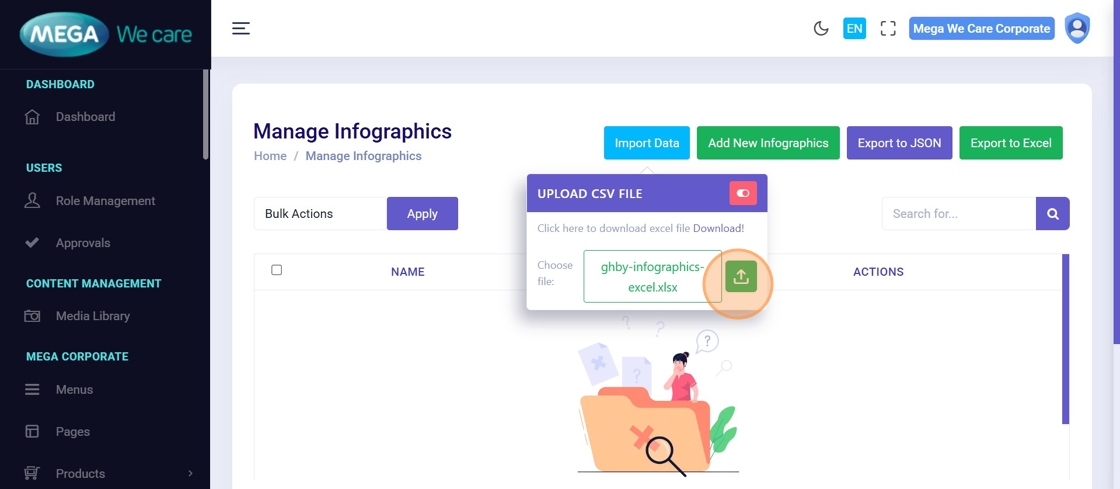
Step 4: Confirm File Selection
Verify the file name and click the Upload icon to start processing.
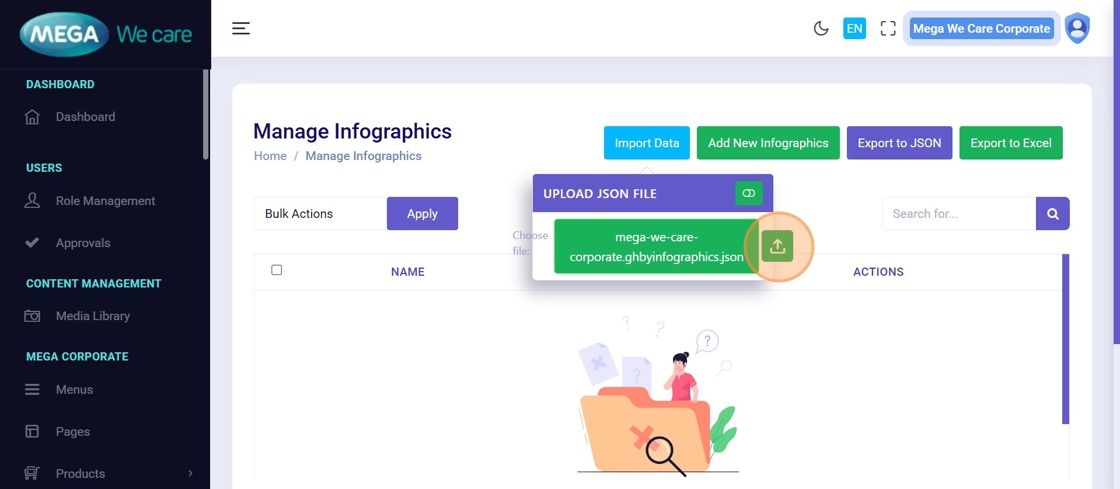
Step 5: Switch to JSON Mode (Optional)
If importing JSON data, toggle the file type to JSON.
Step 6: Upload JSON File
Select the JSON file and click Upload to begin importing.

Step 7: Wait for Processing
The system processes the file and refreshes automatically once completed.
Step 8: Verify Imported Data
Newly imported records appear instantly in the module list.

Export Data
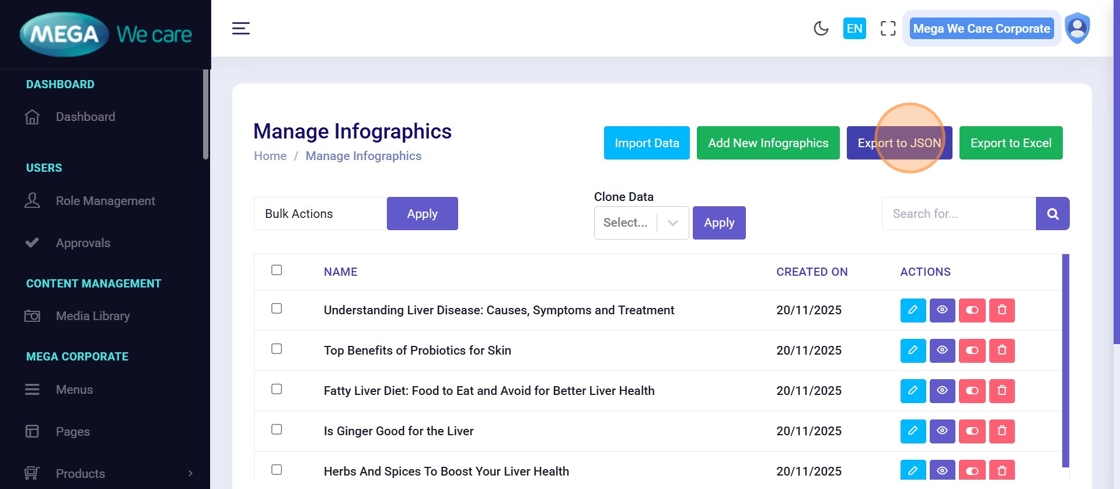
Step 9: Export Records to JSON
Open the desired module and click Export to JSON.
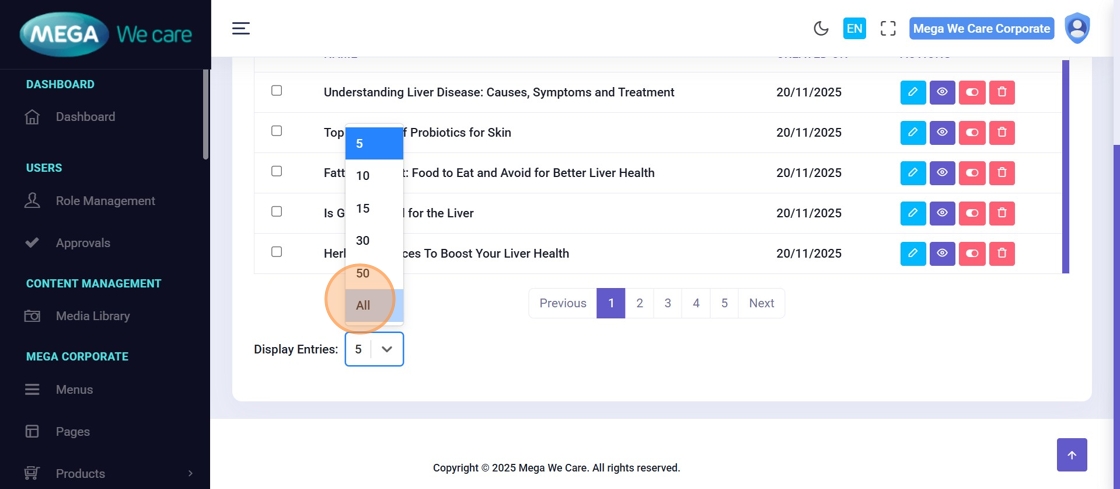
Step 10: Increase Visible Records
To export more data, change the Show Entries dropdown
(e.g., 50, 100).
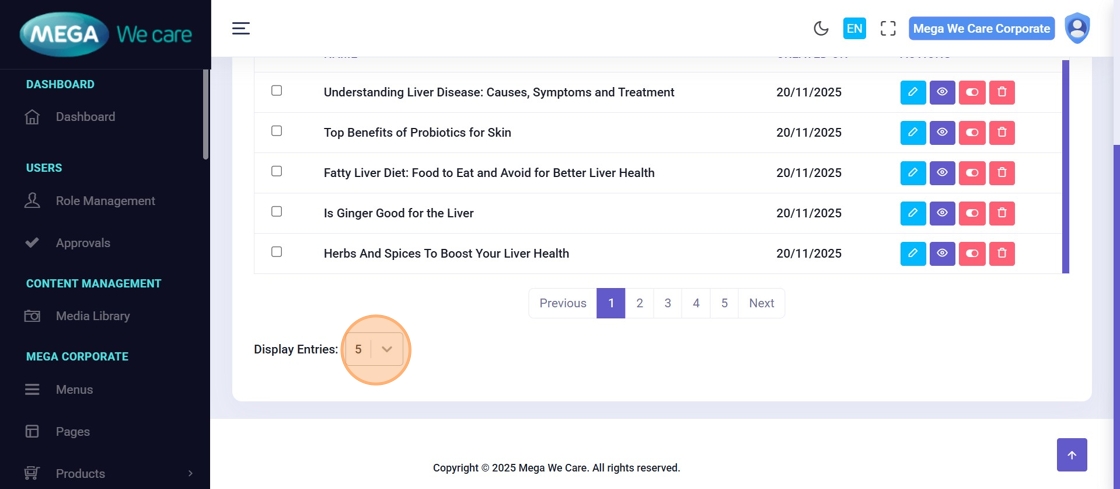
Step 11: Display All Records
Select All to include every record in the list.
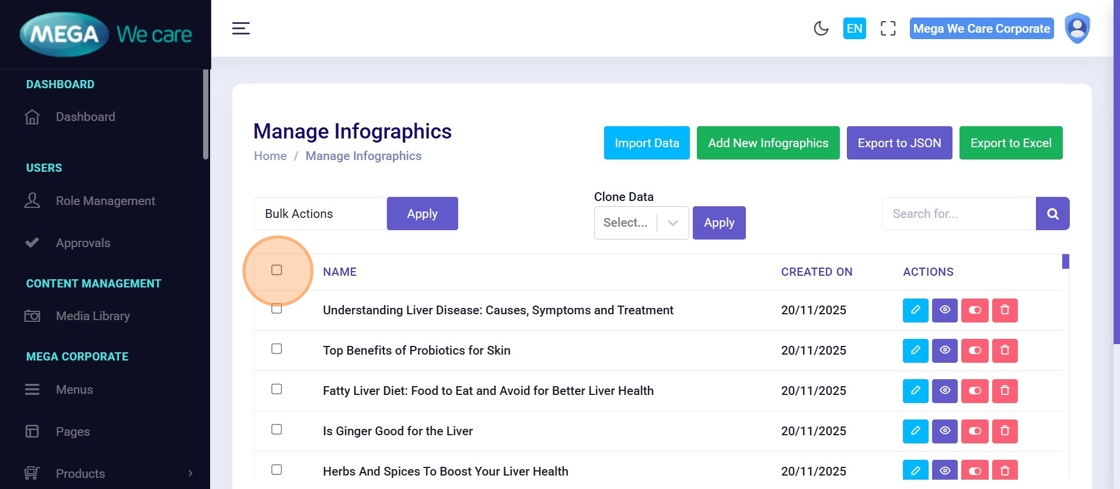
Step 12: Select Records
☑️ Use checkboxes to:
- Select individual records
- Or select all records at once
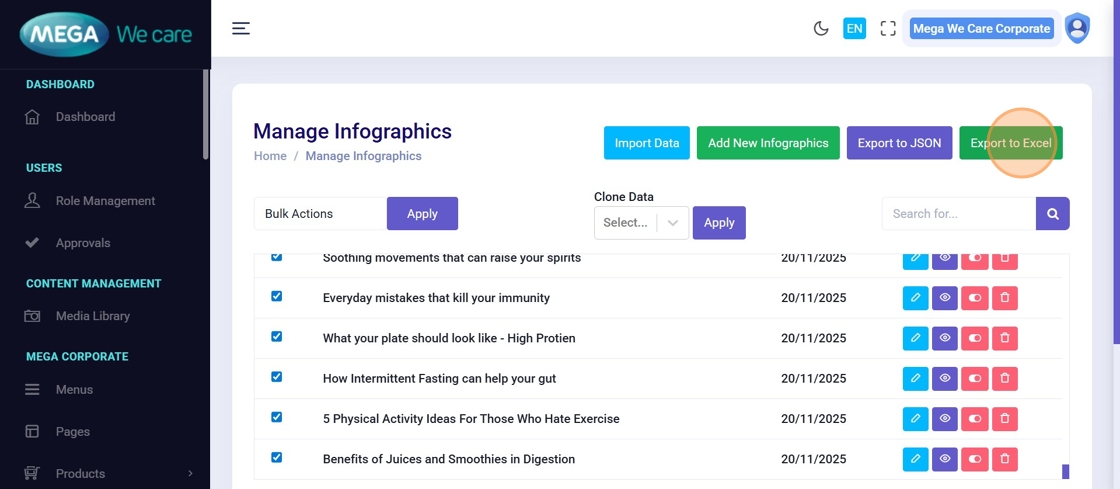
Step 13: Export to Excel (Optional)
Click Export to Excel to download data in Excel format.
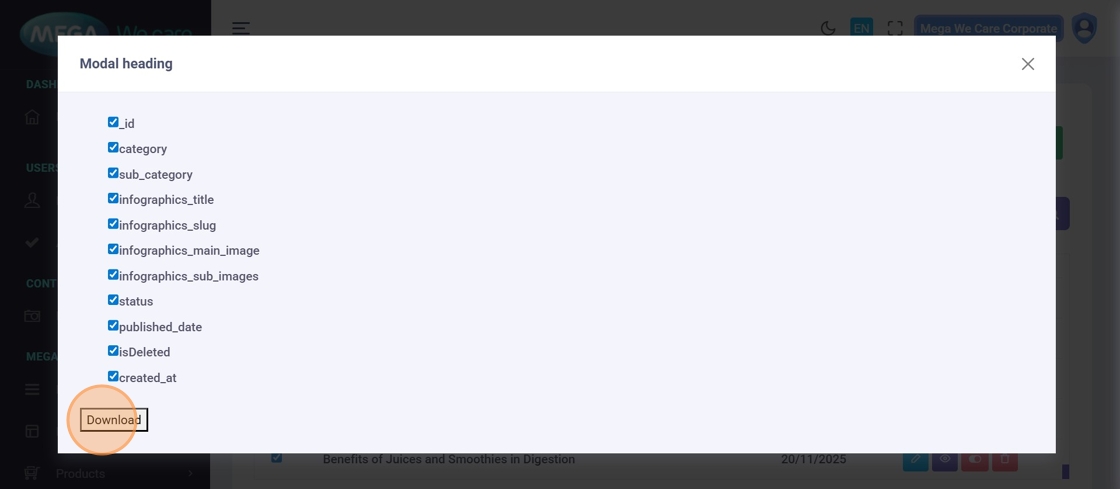
Step 14: Choose Export Fields
In the export popup, select fields to include, such as:
_id
title
slug
image
date
Click Download to export the file immediately.
Summary
By using the Import & Export module, users can easily import bulk data, update existing records, export selected or complete datasets, download data in different formats, and customize export fields as needed. This helps reduce manual work and ensures flexible, scalable, and reliable data management across the backend dashboard.