Page Navigation
Login to Access Dashboard for Creating and Managing Users, Roles and Countries
This document explains the basic setup needed to start the project. Firstly, you log in and set up countries and the languages you want on the website (for websites that support more than one language). After this, you can add, edit, and manage users roles and permissions from the dashboard. This setup must be completed before adding any pages or content.
Overview
- Set Up and Manage Countries and Website Languages
- Create Different User Roles (Admin, Publisher, Editor)
- Give page access to different users
- Manage create, view, edit, and delete permissions
- Edit and update existing roles
- Log in to dashboard using different user roles
Super Admin – Initial Setup
Step 1: Sign in as Super Admin
Log in to the Admin Console using the Super Admin Email and Password provided by your system administrator.

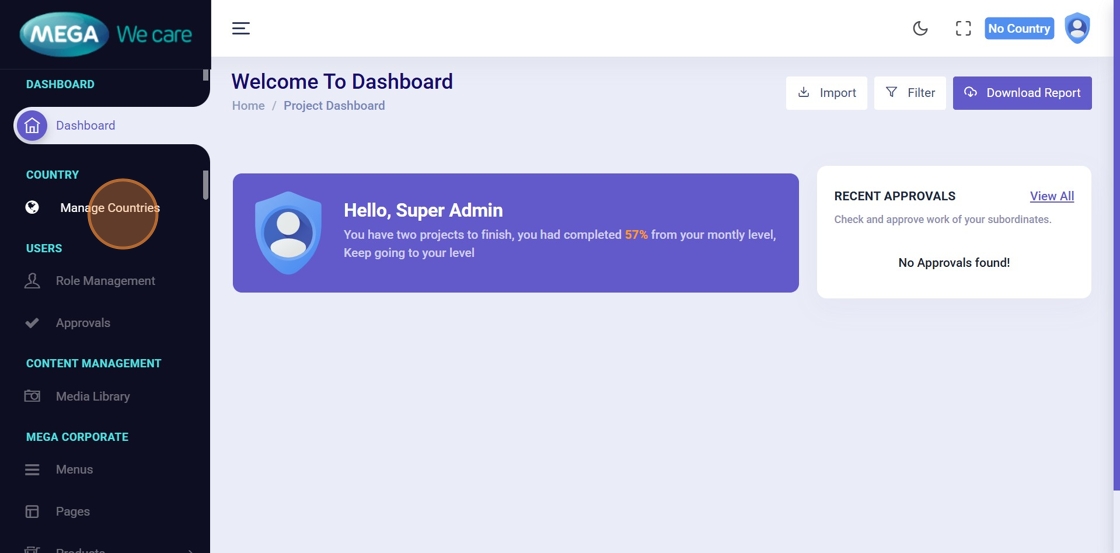
Step 2: Open Manage Countries
After successful login, navigate to Manage Countries from the dashboard sidebar.
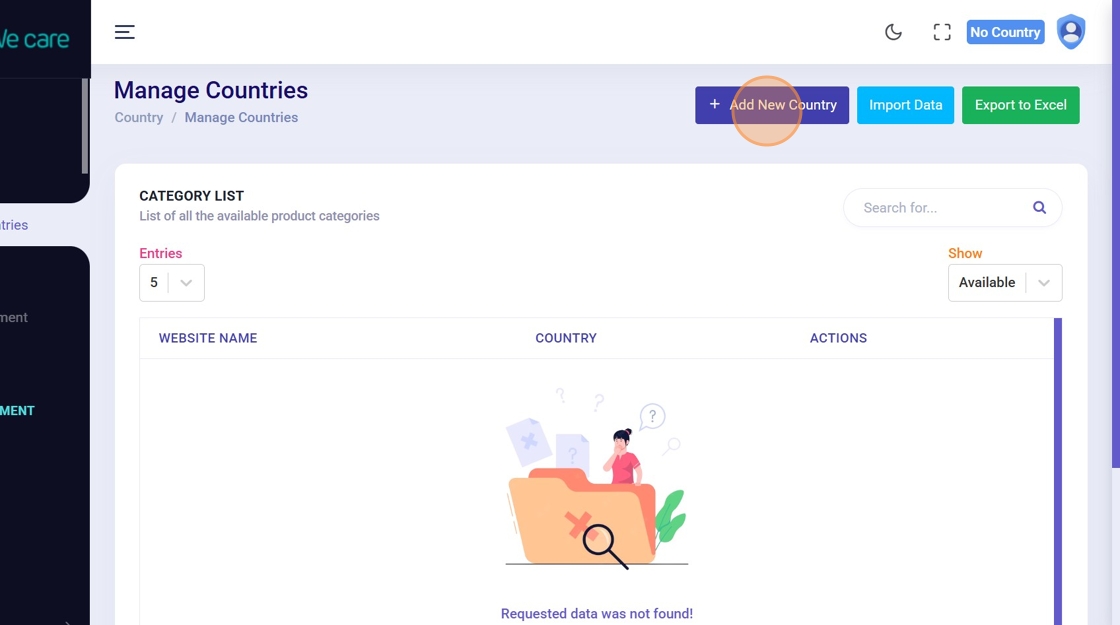
Step 3: Add a New Country
Click Add New Country to begin creating a country entry.
Step 4: Enter Country Details
Enter the Website Name, select the Country, and click Add Country.
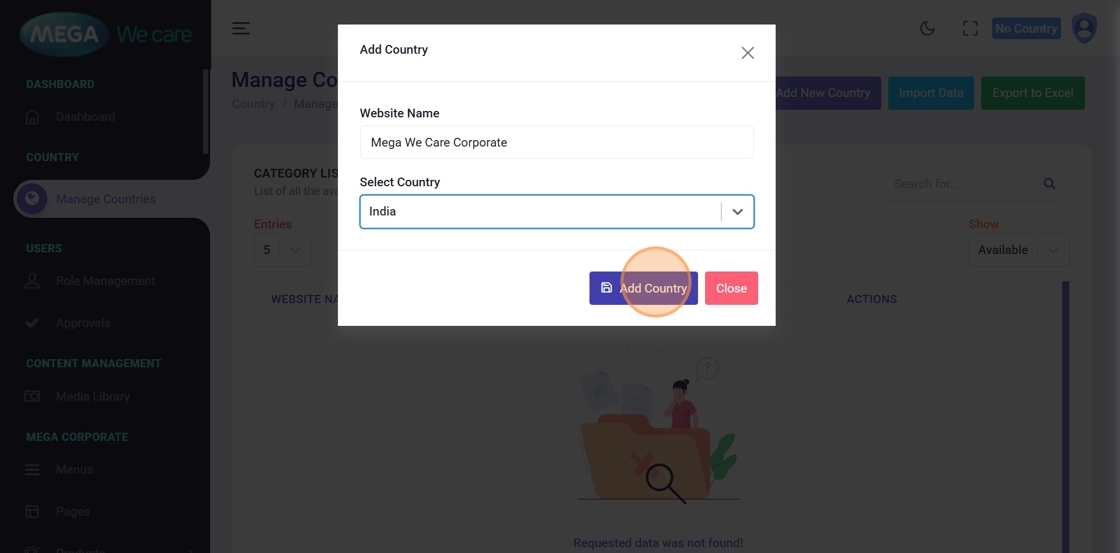
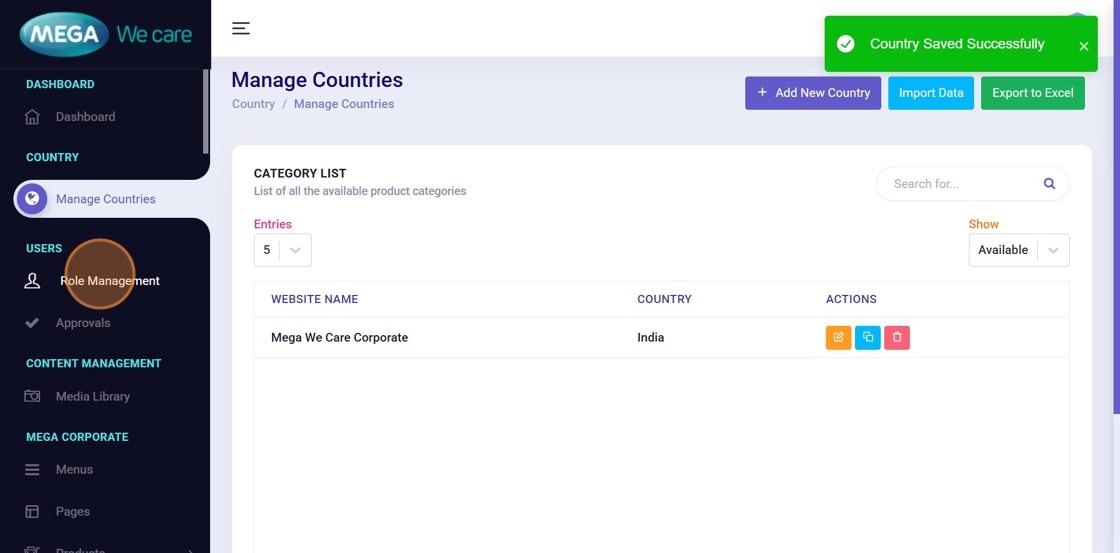
✅ Result: The country and website are successfully created.
Creating Roles and Permissions
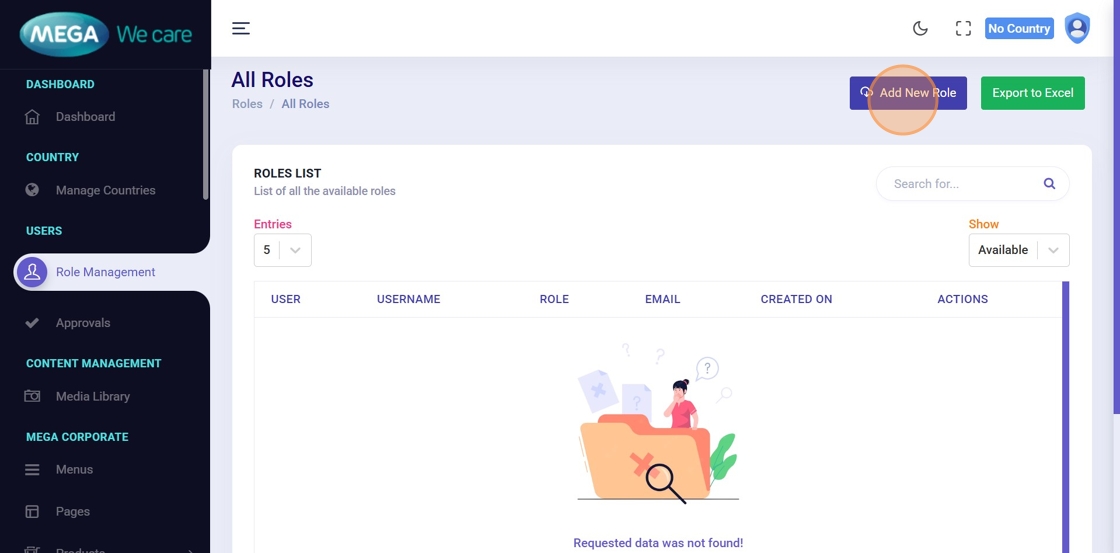
Step 5: Open Role Management
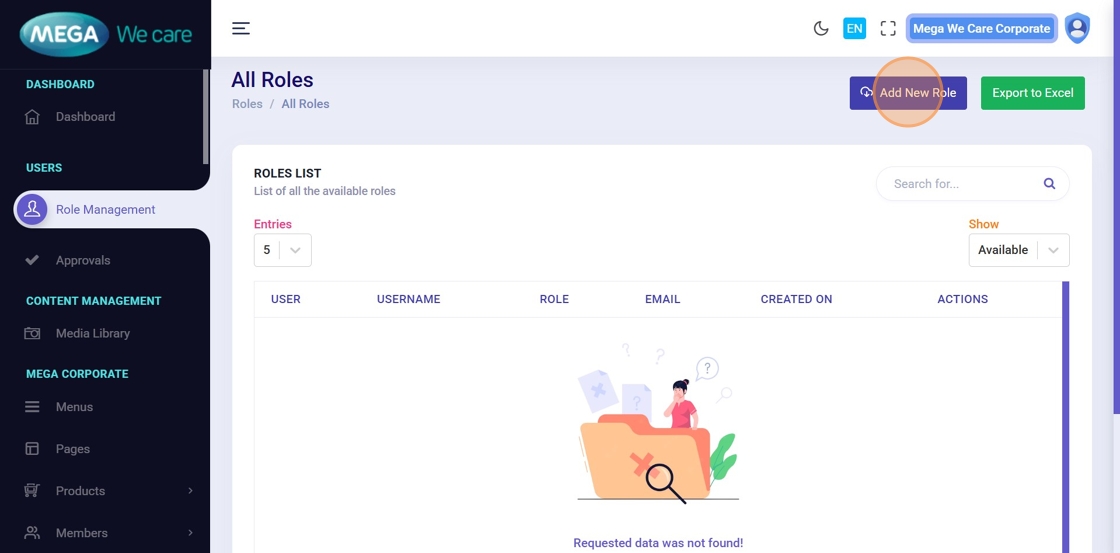
From the sidebar menu, click Role Management.
Step 6: Add a New Role
Click Add New Role.
Step 7: Select Website
Choose the website created for the specific country.
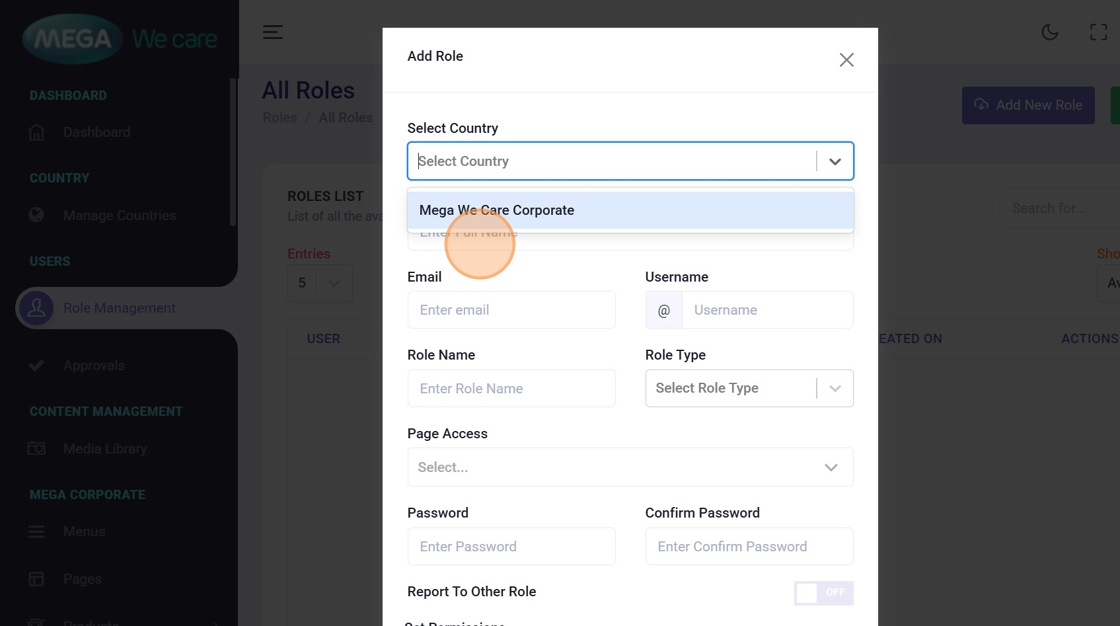
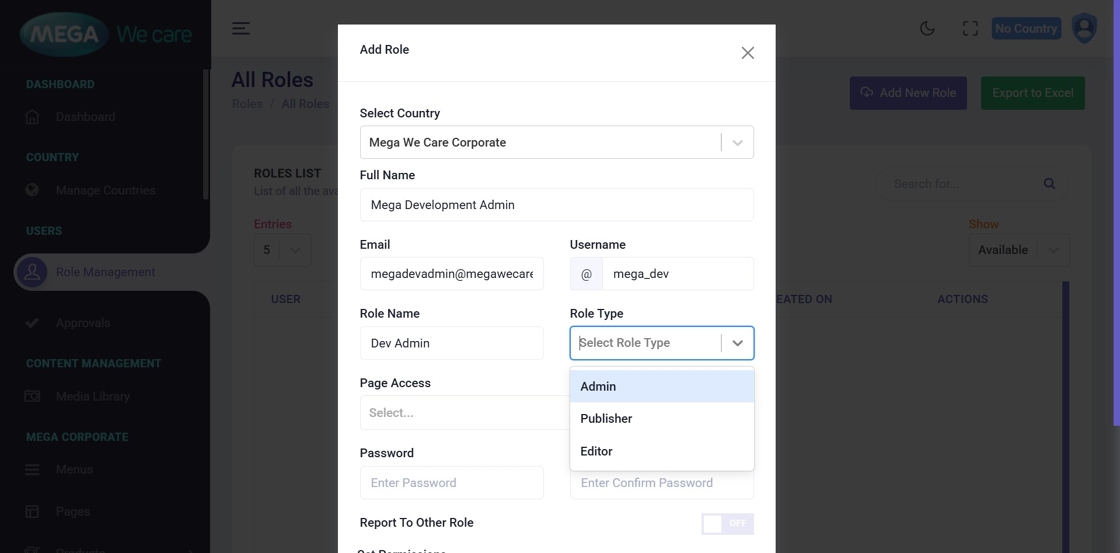
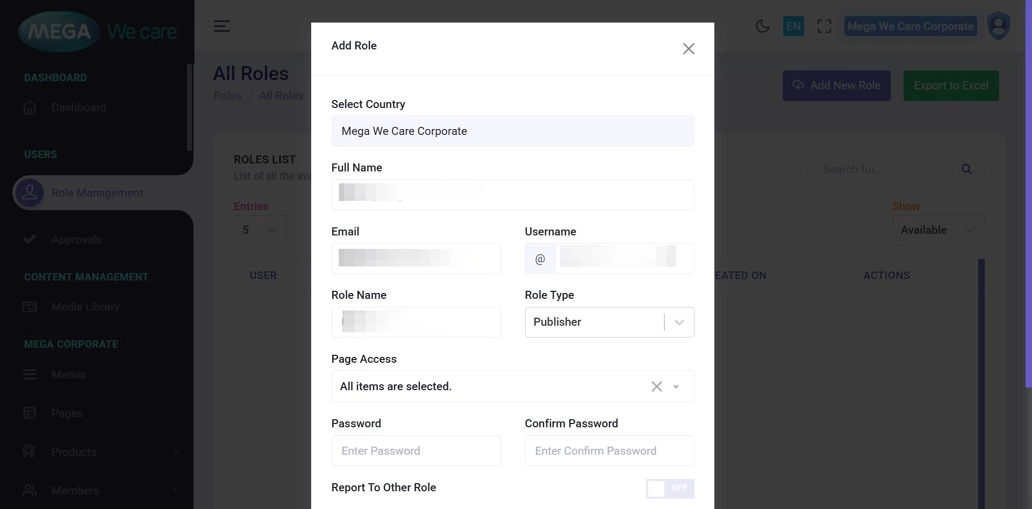
Step 8: Enter User & Role Details
Fill in the following fields:
- Full Name
- Username
- Role Name
- Role Type (Admin / Publisher / Editor)
Step 9: Configure Page Access (All Pages)
Click Page Access and select All to allow access to every page.
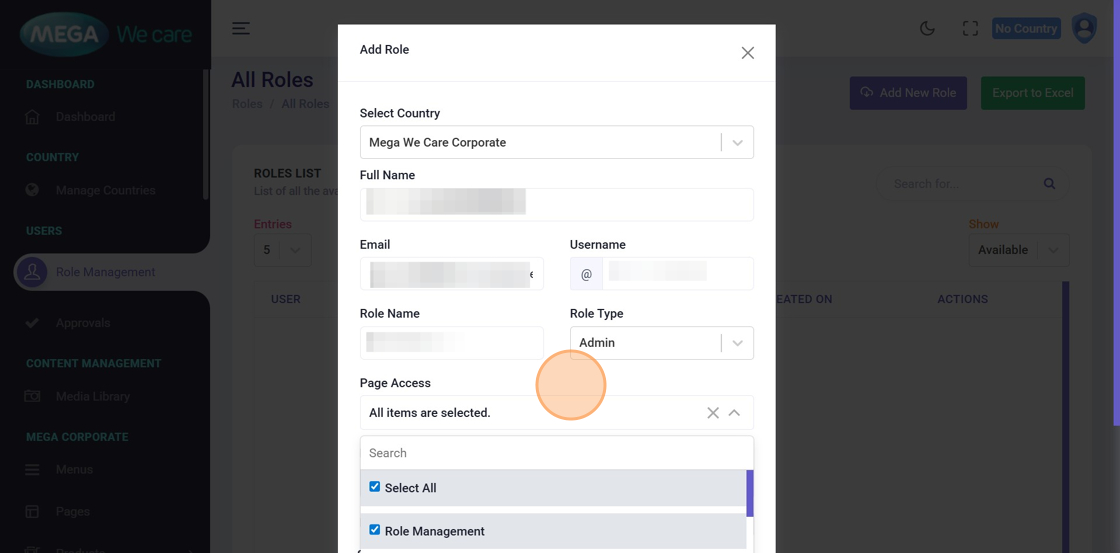
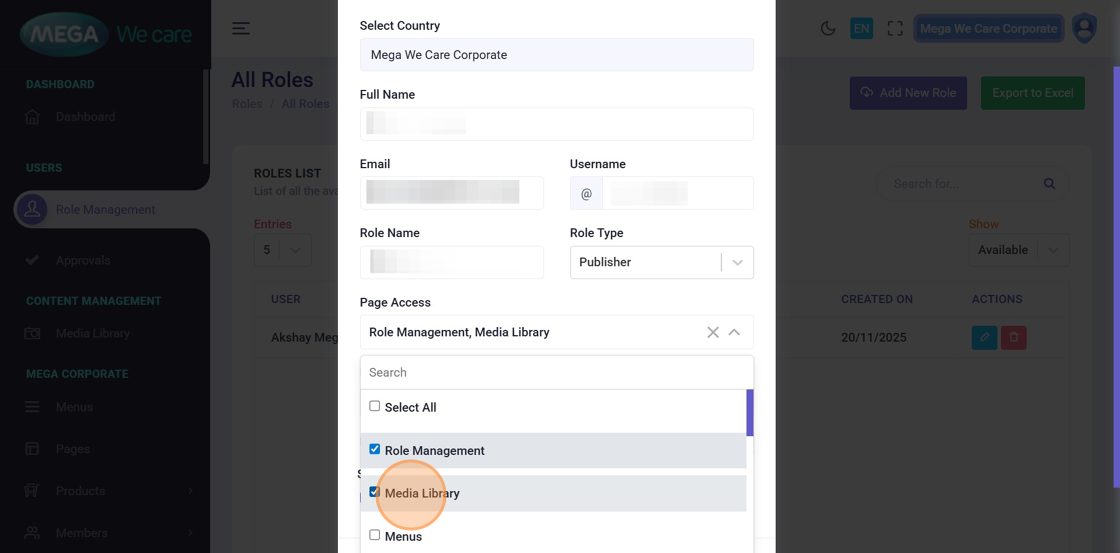
Step 10: Configure Page Access (Specific Pages)
To restrict access:
- Select specific pages from the list
- Use search to quickly locate pages
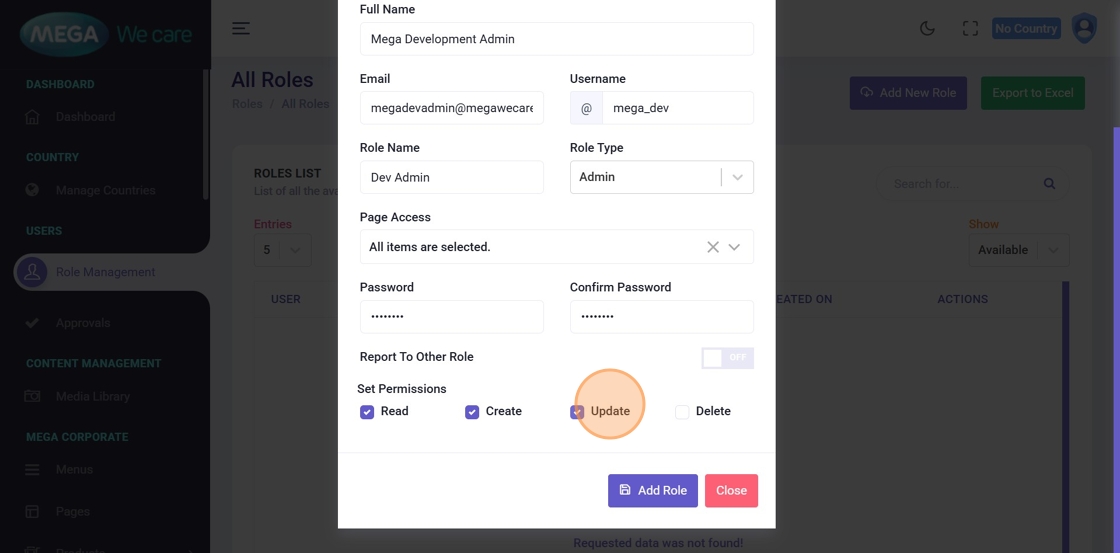
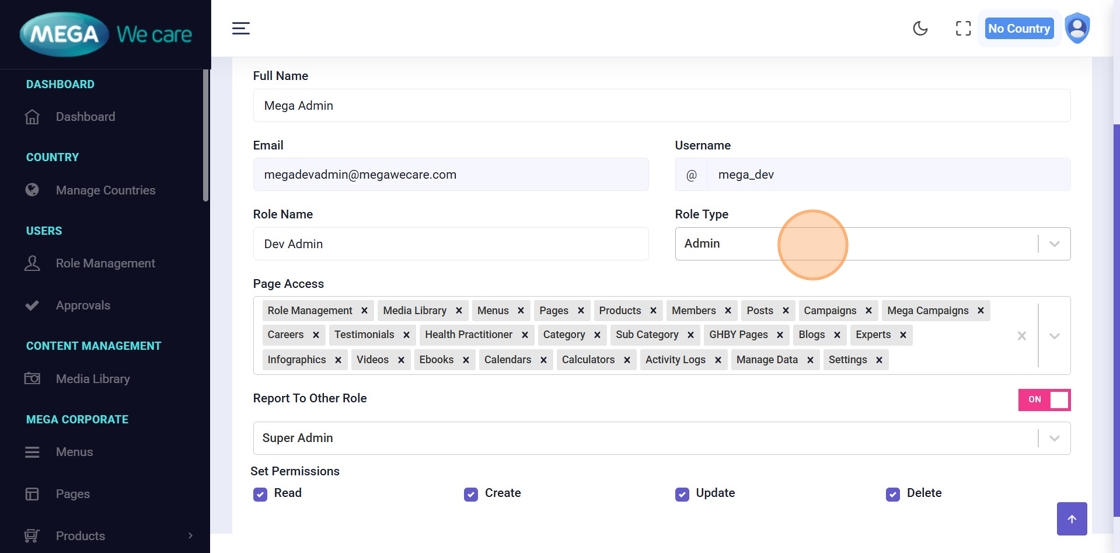
Step 11: Assign Create, Read, Update and Delete (CRUD) Permissions
Enable permissions as required:
- Create
- Read
- Update
- Delete
⚠️ Important: Unchecked permissions will restrict that action.
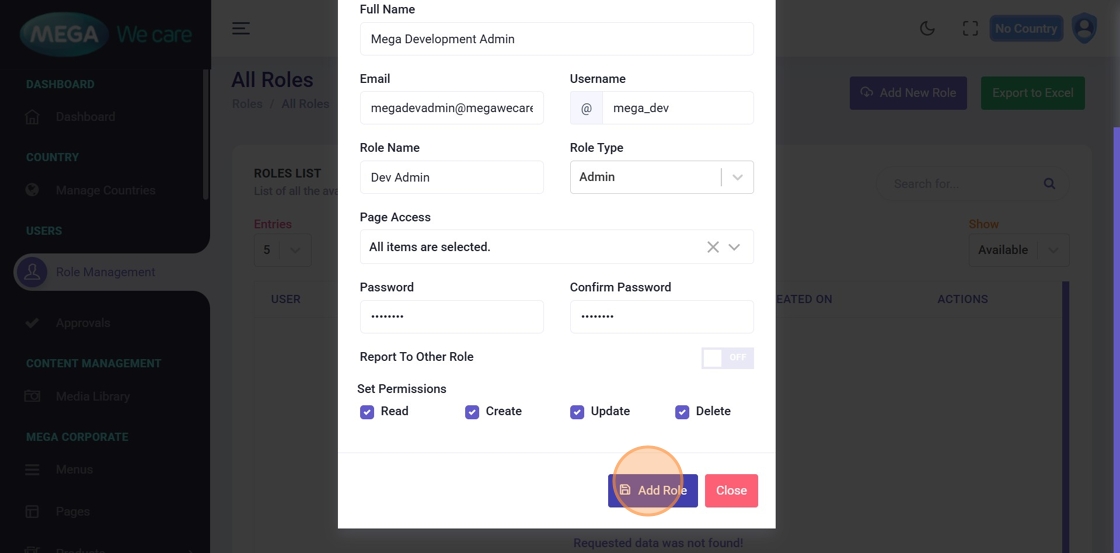
Step 12: Create the Role
Click Add Role to save.
Editing Existing Roles
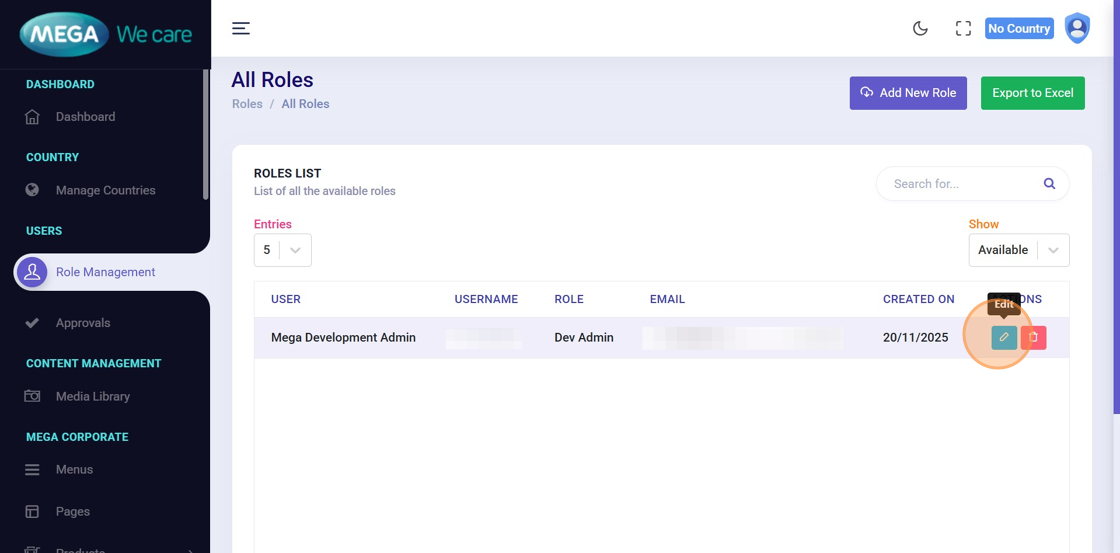
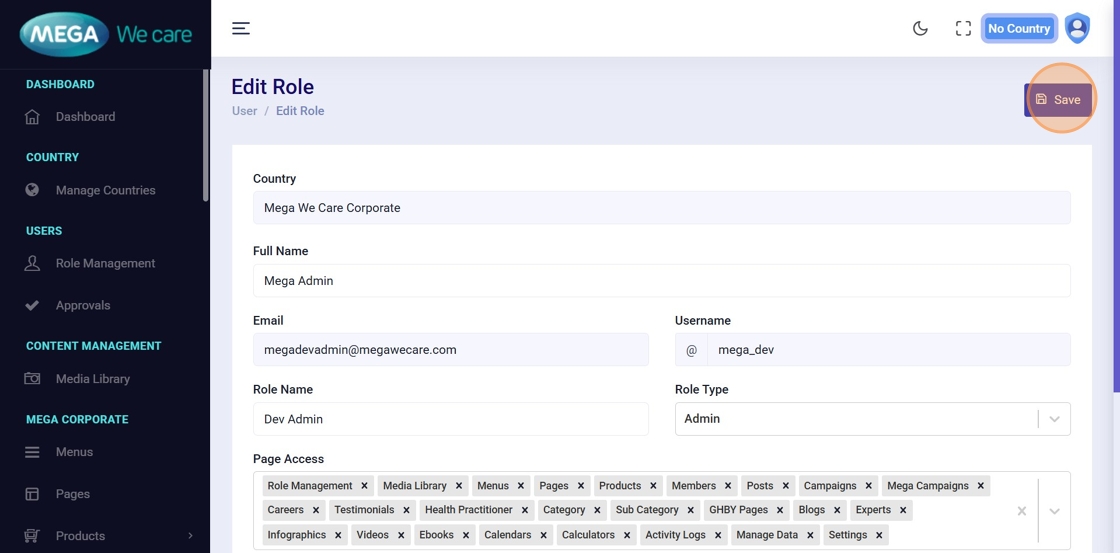
Step 13: Edit a Role
Click Edit next to the role you want to update.
Step 14: Update Role Information
Modify details such as:
- Name
- Username
- Page Access
- Permissions
Step 15: Save Changes
Click Save to apply updates.
Reusing Admin Role
Step 16: Log Out as Super Admin
The Admin role can now be reused for:
- Staging environments
- Local environments
- Multilingual databases
Log out from the Super Admin account.

Logging in as Admin
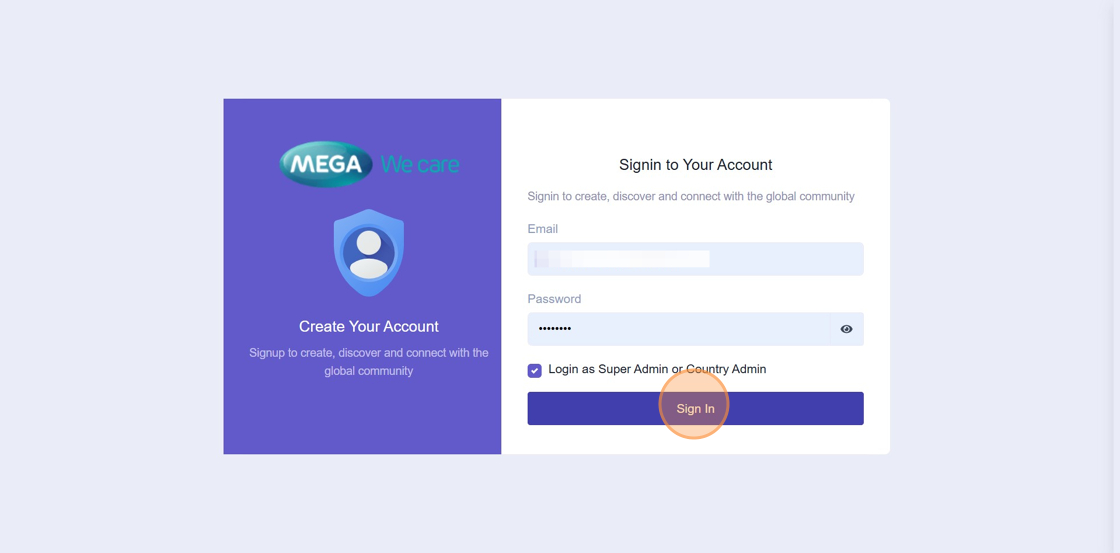
Step 17: Sign in as Admin
Log in using Admin credentials.
✅ Keep Login as Super Admin or Country Admin checked.
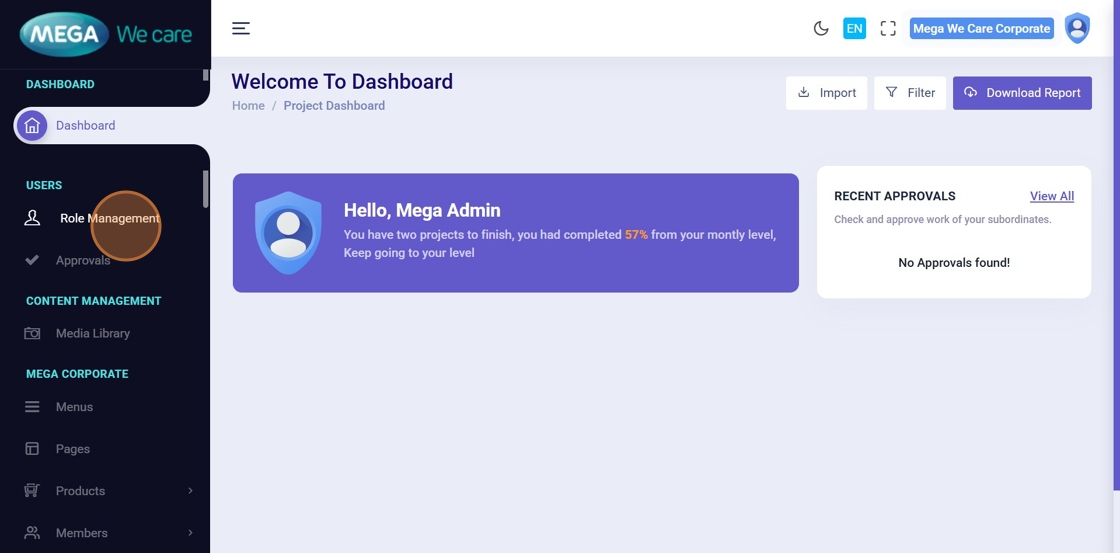
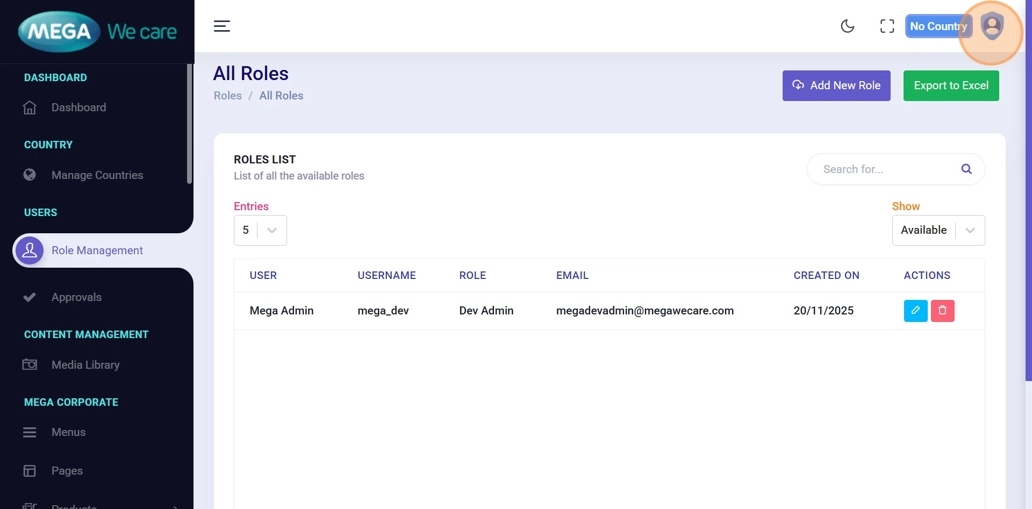
Step 18: Open Role Management
From the Admin Dashboard, click Role Management.
Step 19: Add New Role
Click Add New Role.
Step 20: Create Publisher or Editor Role
The Admin role is disabled and cannot be changed. Choose Publisher or Editor and set page access and the actions you want to allow. Then click the Add Role button to save the new role.
User Login Flow
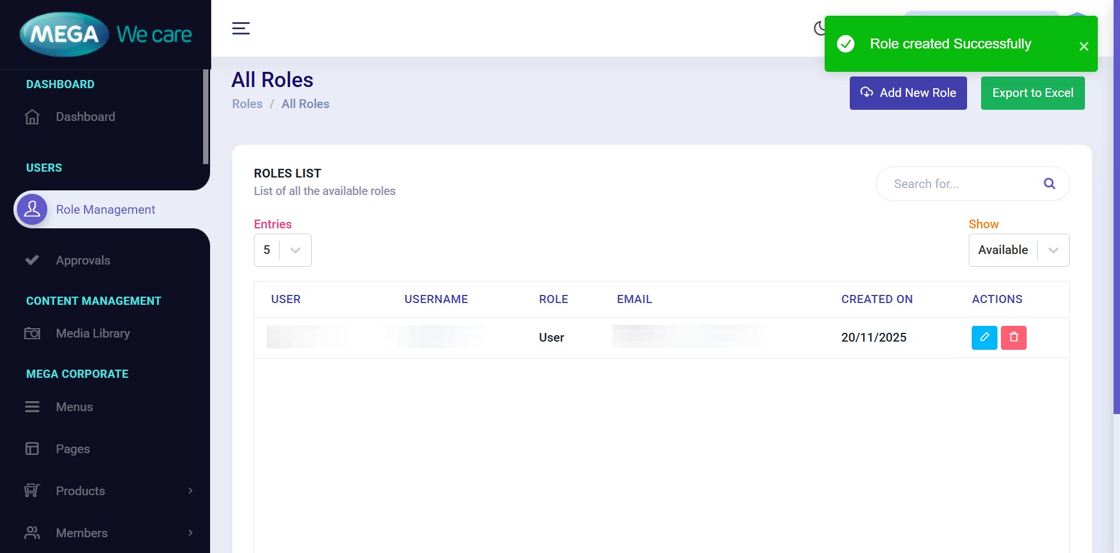
Step 21: Role Created Successfully
The new user role is created.
Step 22: Log Out
Sign out from the Admin account.
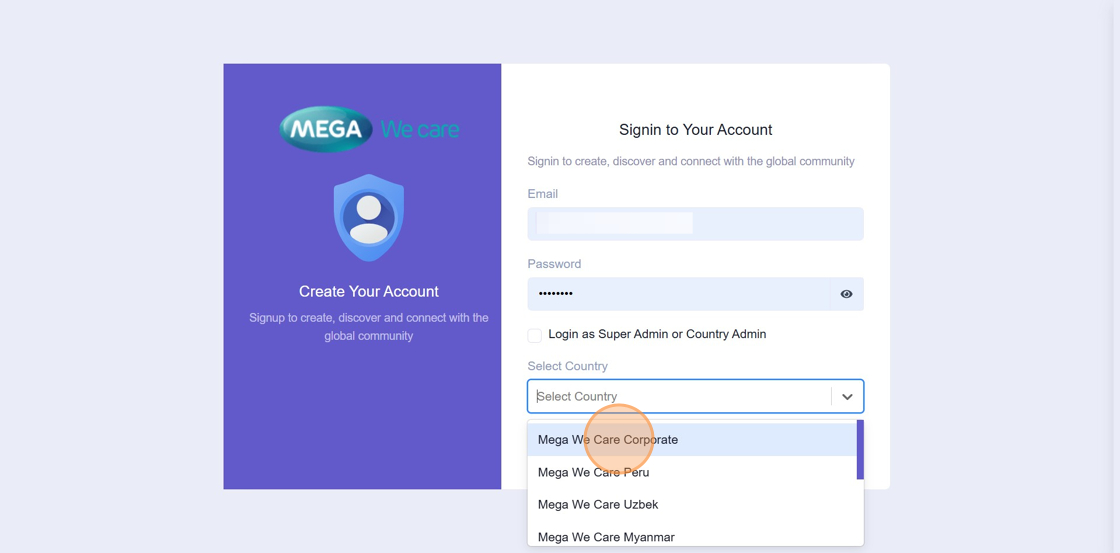
Step 23: Sign in as User
- When logging in as a user role, make sure the “Login as Super Admin” or “Country Admin” checkbox is unchecked.
- Select the country where you want to log in and manage content for the website.
- Select Website (e.g. in our case we have selected, Mega We care Corporate)
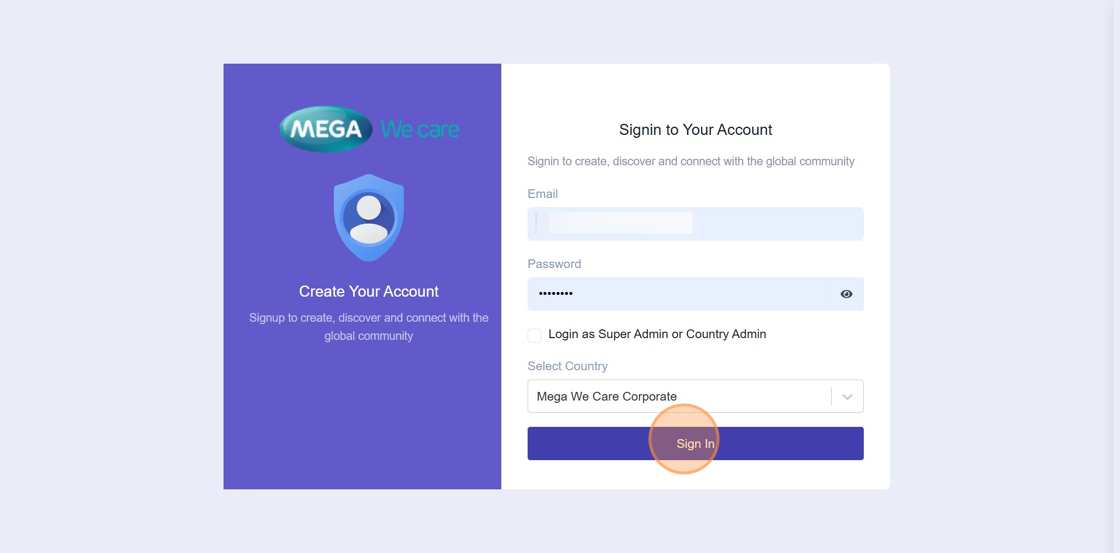
Step 24: Access User Dashboard
Click Sign In to reach the user dashboard.
Important Notes
- On the login page, select the “Login as Super Admin or Country Admin” checkbox only when signing in as a Super Admin or Admin using their credentials. If you are logging in as a Publisher or Editor (user roles), make sure this checkbox remains unchecked.
- Super Admin → Creates Admin Roles
- Admin → Creates User Roles (Publishers & Editors)
- Publisher / Editor → Limited access
Summary
By following these steps, you can log in with the correct role, complete the initial project setup, and properly manage countries, languages, and user roles. This ensures a smooth setup process and allows you to add and manage pages and content without issues. Key Permissions