Page Navigation
How to Add, Update and Delete HCP Conferences
This document explains how conference module allows users to create, manage, and maintain conference events by entering event details, assigning speakers, managing schedules, uploading images and videos, and updating descriptive content. This ensures that all conference information is accurate, well-organized, and visually rich for end users.
Overview
Using the conference management module, users can:
- Create new conference events with complete event details
- Assign speakers and manage event schedules
- Add short and detailed descriptions for conferences
- Upload gallery images, main images, and event videos
- Edit existing conferences to keep information up to date
- Remove conferences when they are no longer required
Add New Conference
Step 1: Navigate to the Admin Dashboard
Log in to the Admin Dashboard to begin managing conferences.

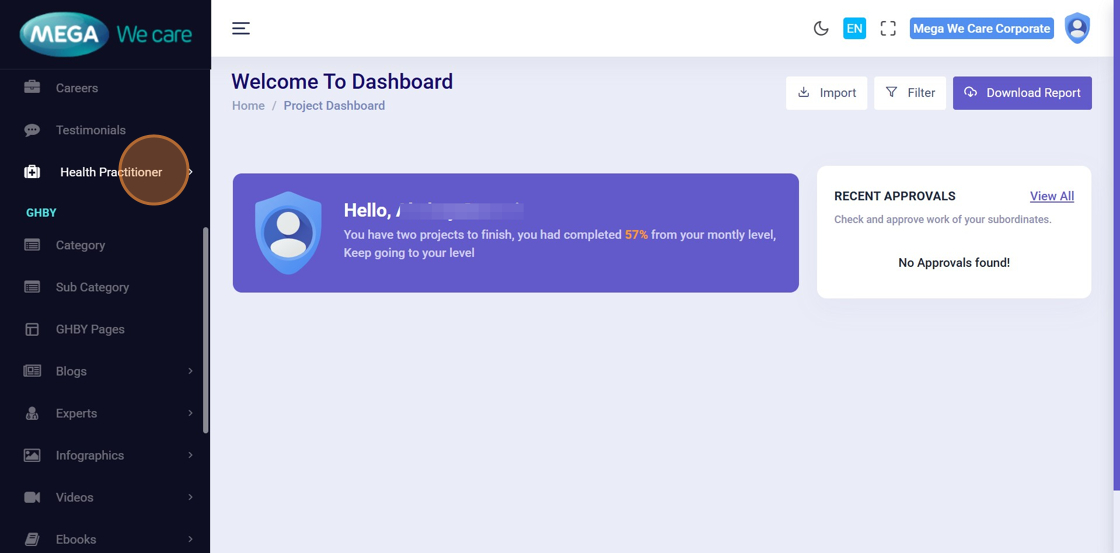
Step 2: Open Health Practitioner Section
Click Health Practitioner from the left sidebar to expand its options.
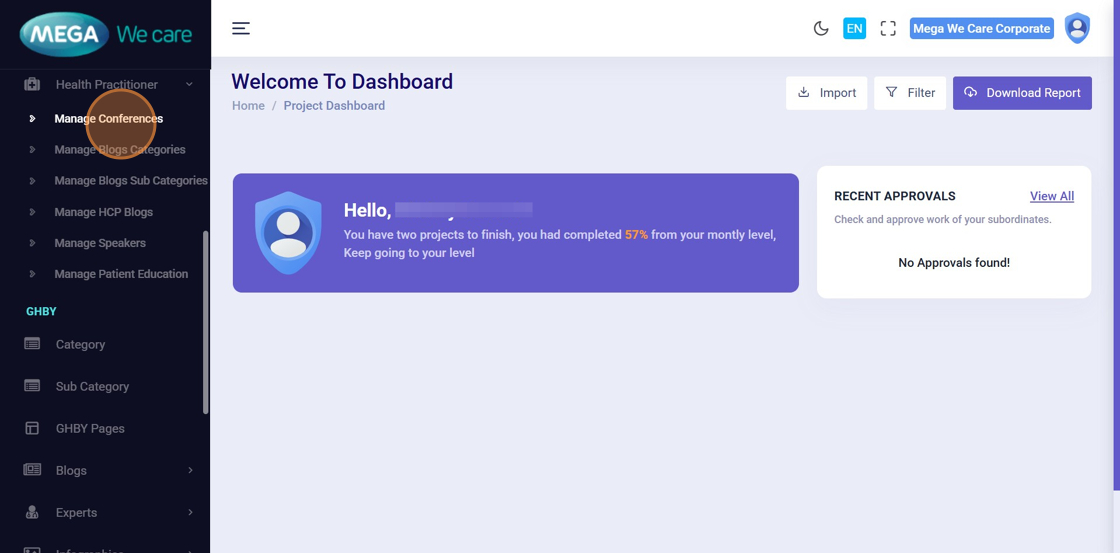
Step 3: Open Manage Conferences
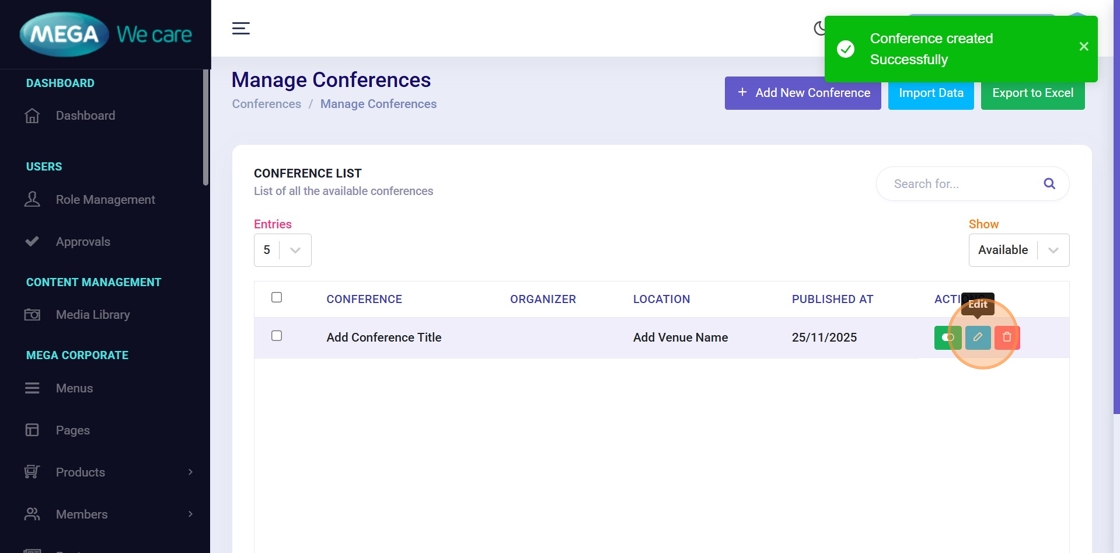
Click Manage Conferences to view the list of existing conferences.
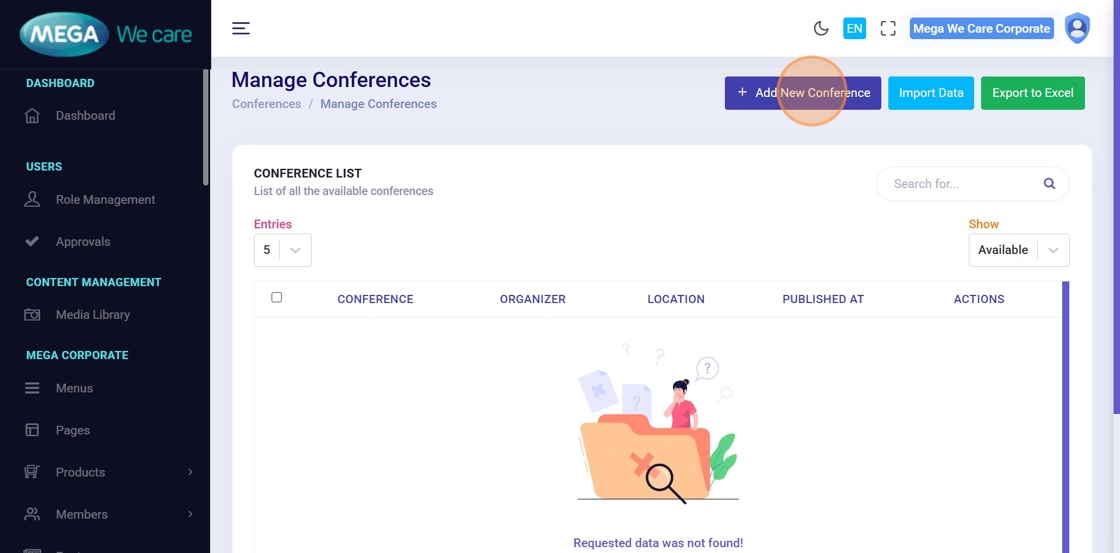
Step 4: Start Creating a Conference
Click Add New Conference to open the conference creation form.
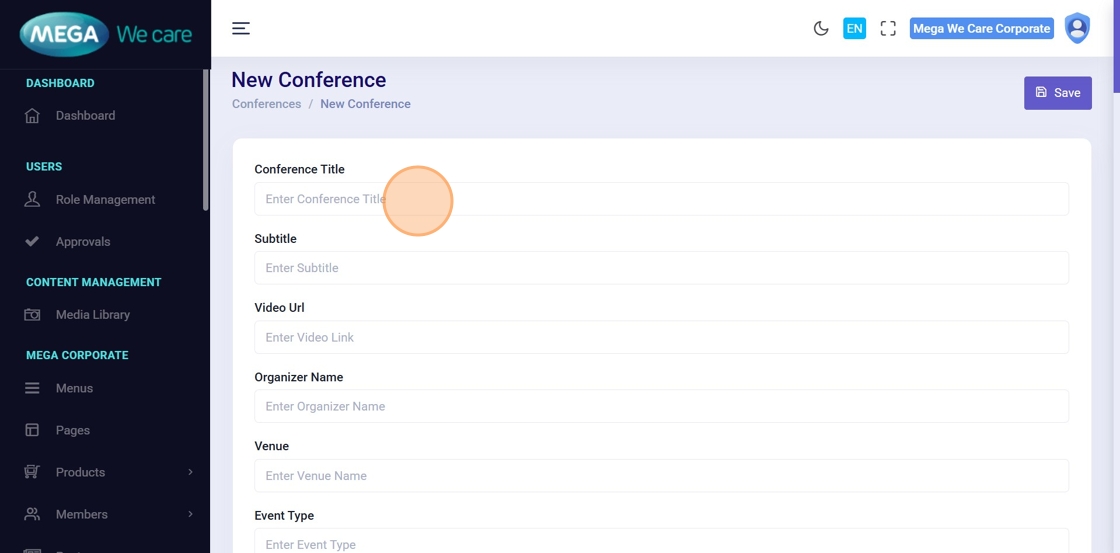
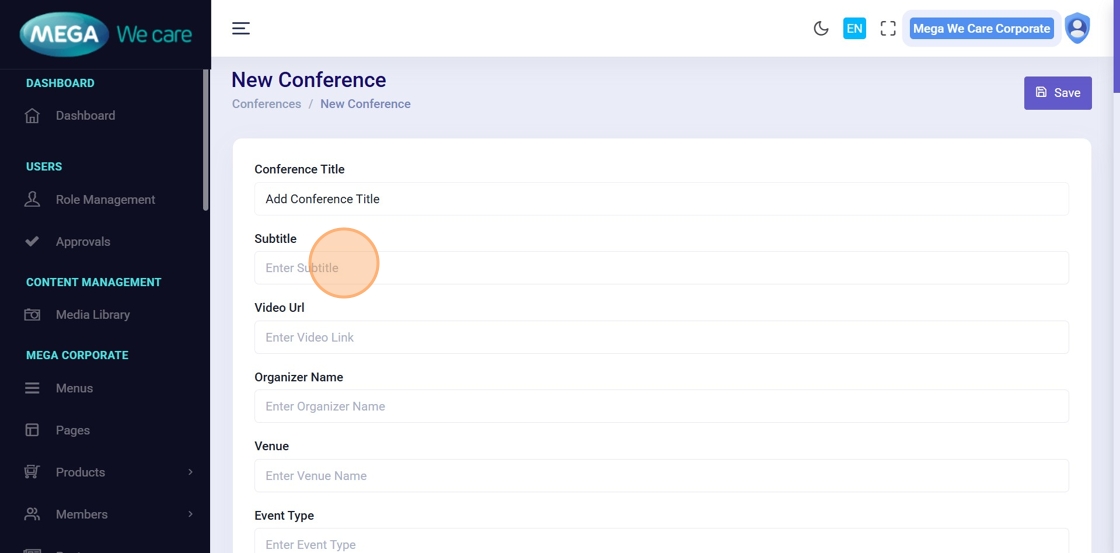
Step 5–8: Enter Basic Event Details
Enter the required conference information:
- Conference Title
- Subtitle
- Venue Name
- Event Type
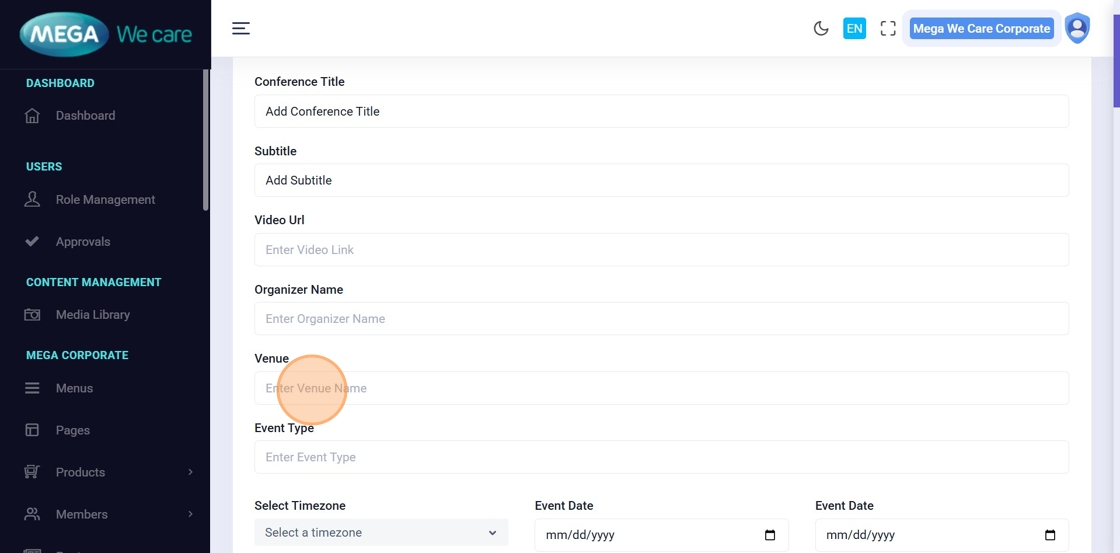
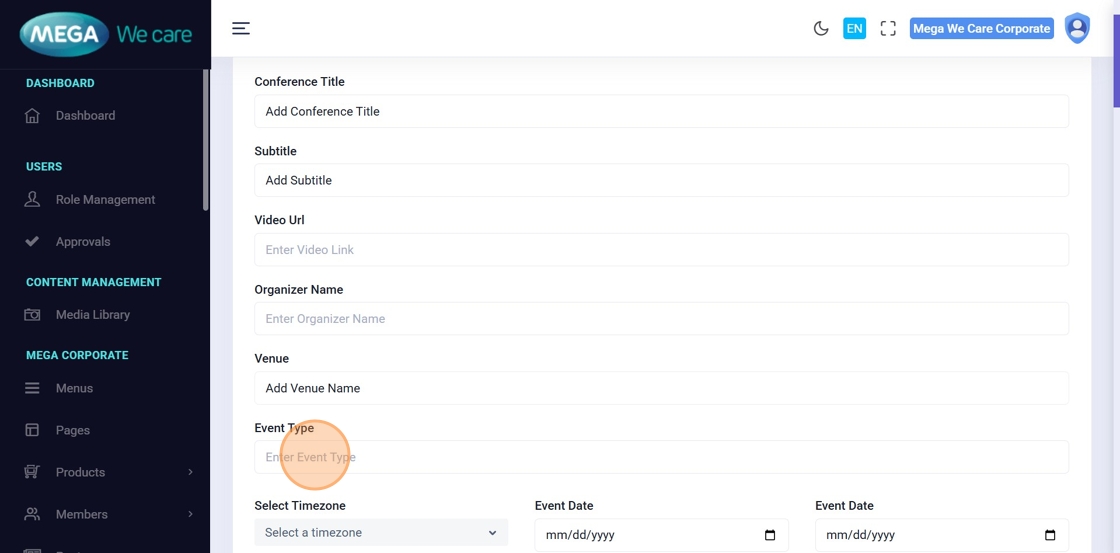
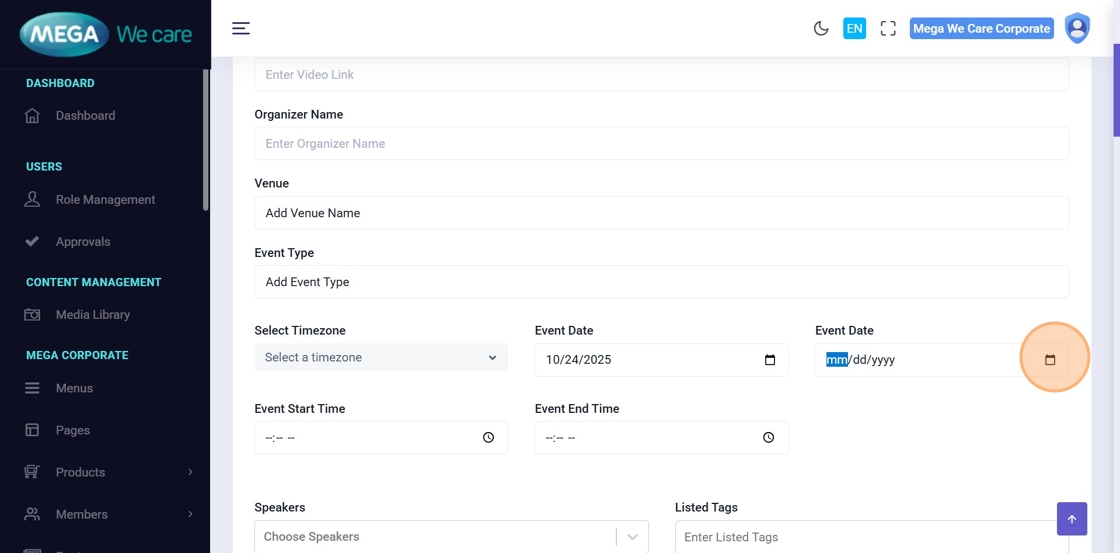
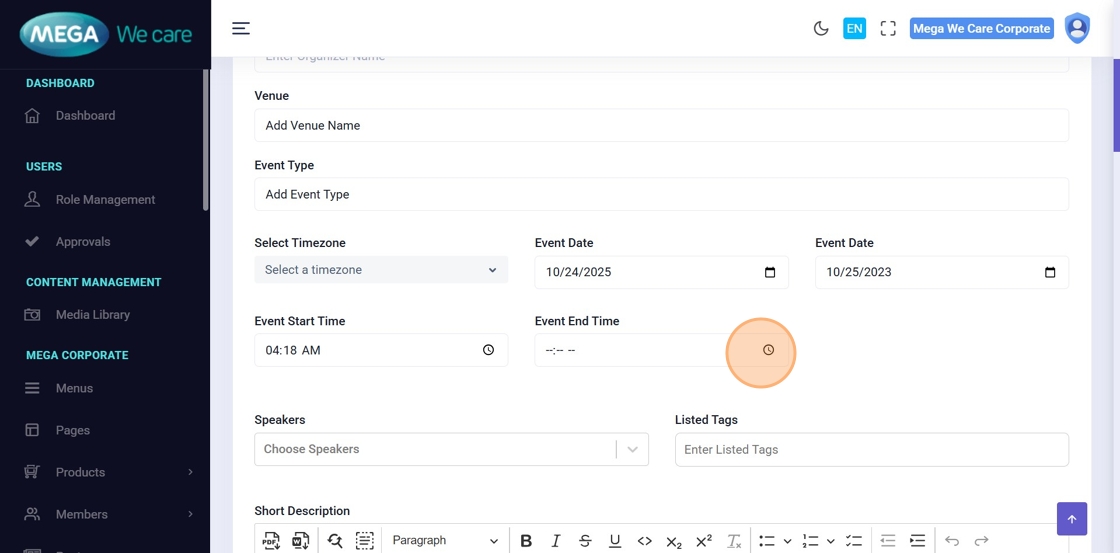
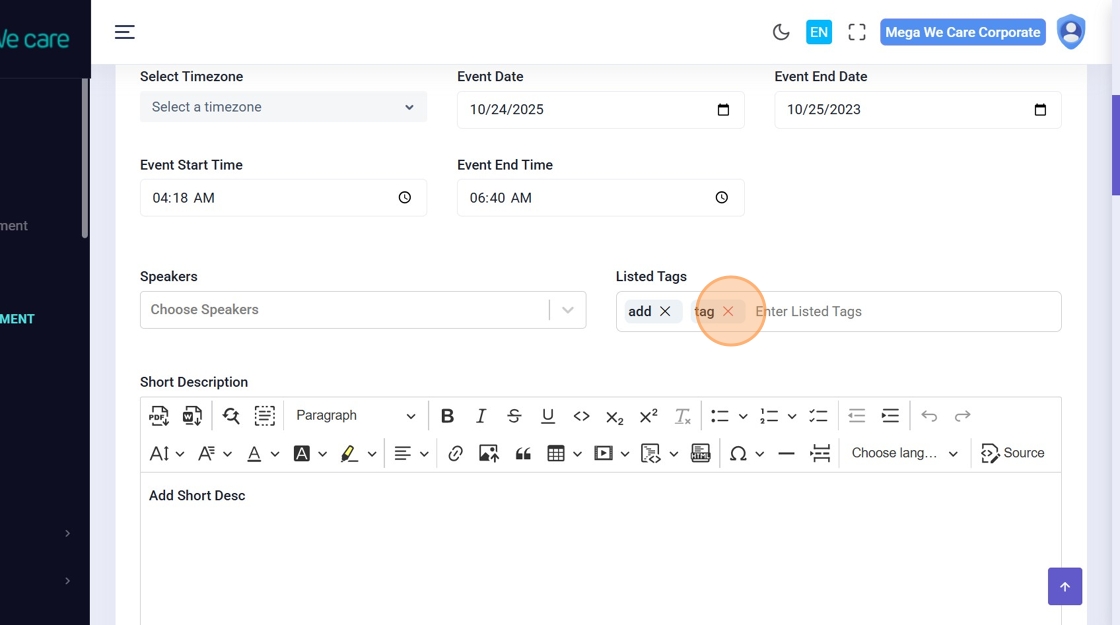
Step 9–12: Set Event Dates and Time
Select the event’s start and end dates and times.
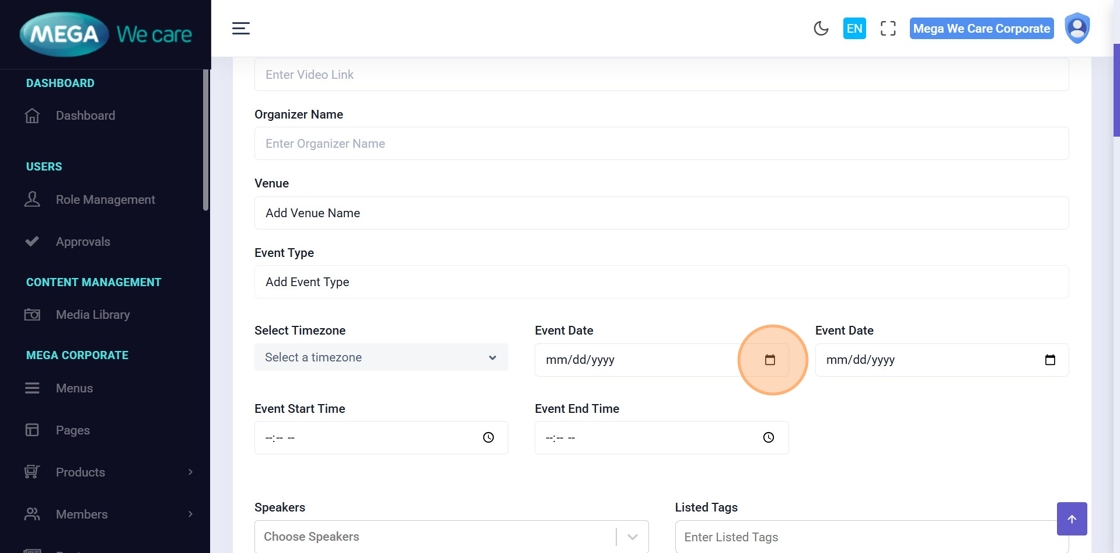

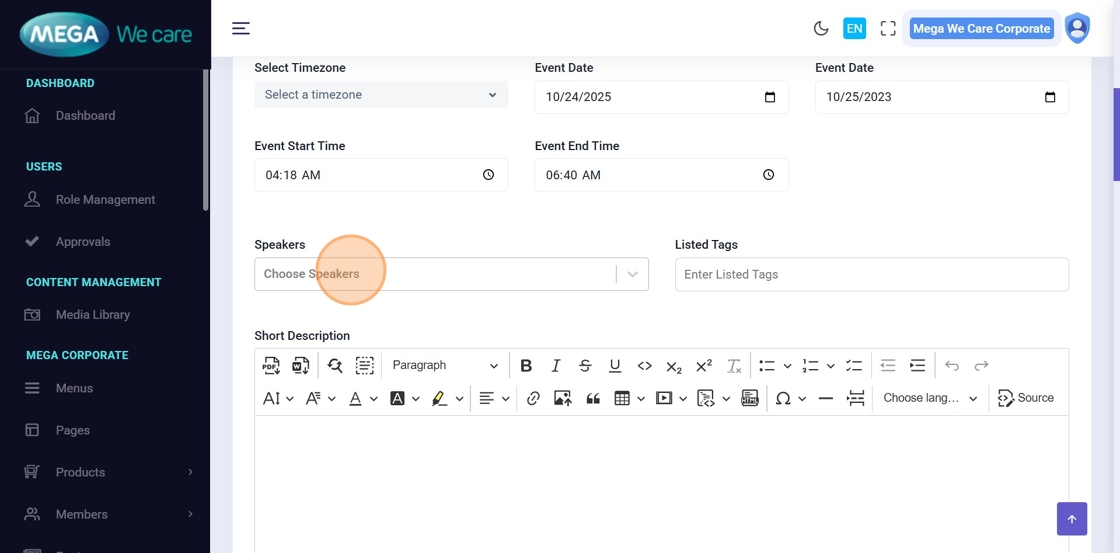
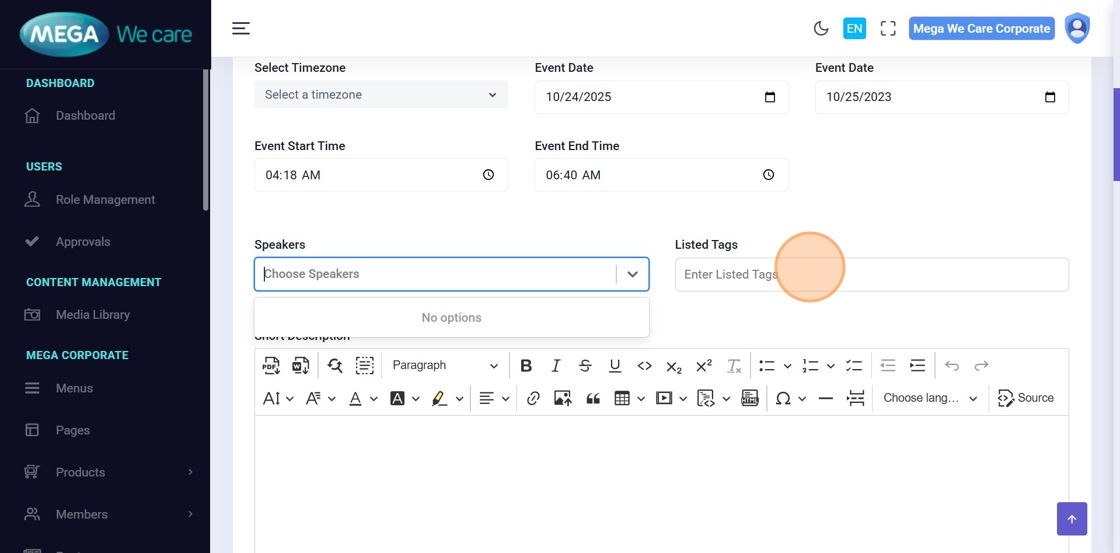
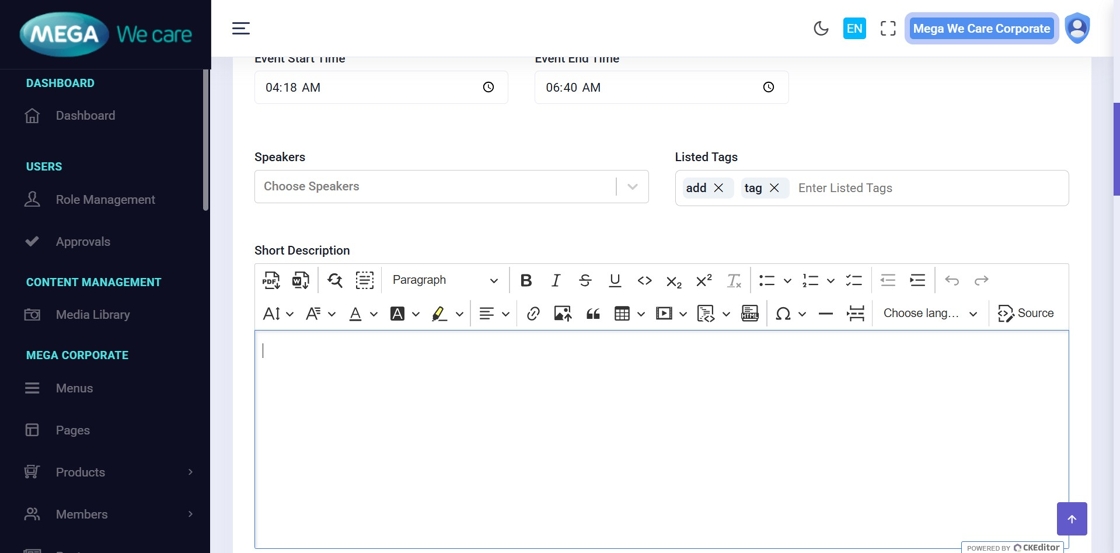
Step 13: Assign Speakers
Choose one or more speakers from the Choose Speakers dropdown.
Step 14–15: Add Tags
Enter keywords in the Listed Tags field and press Enter to add multiple tags.
Step 16–18: Add Conference Content
Provide detailed content for the conference:
- Short Description
- Description
- About Conference

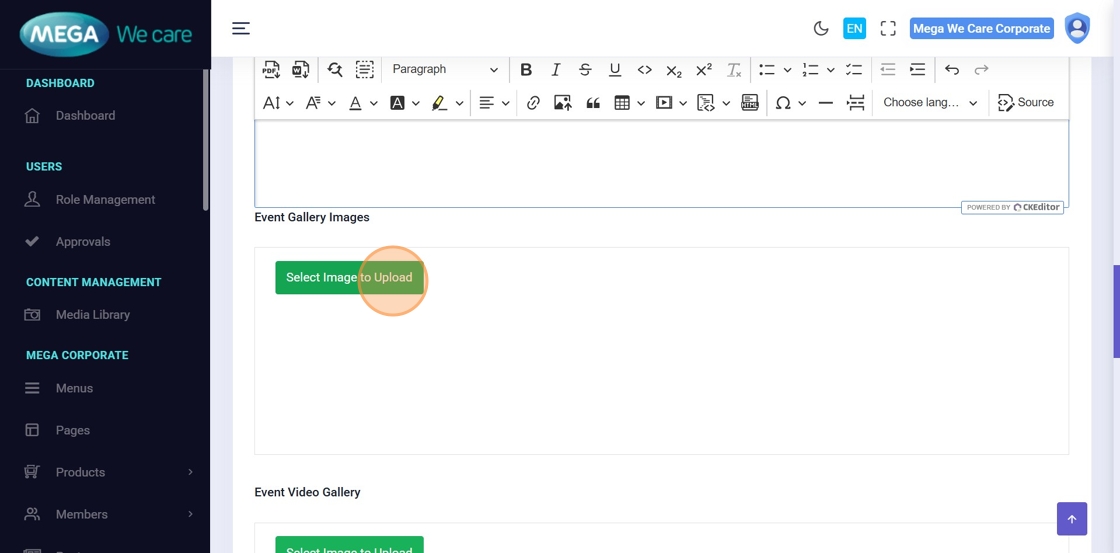
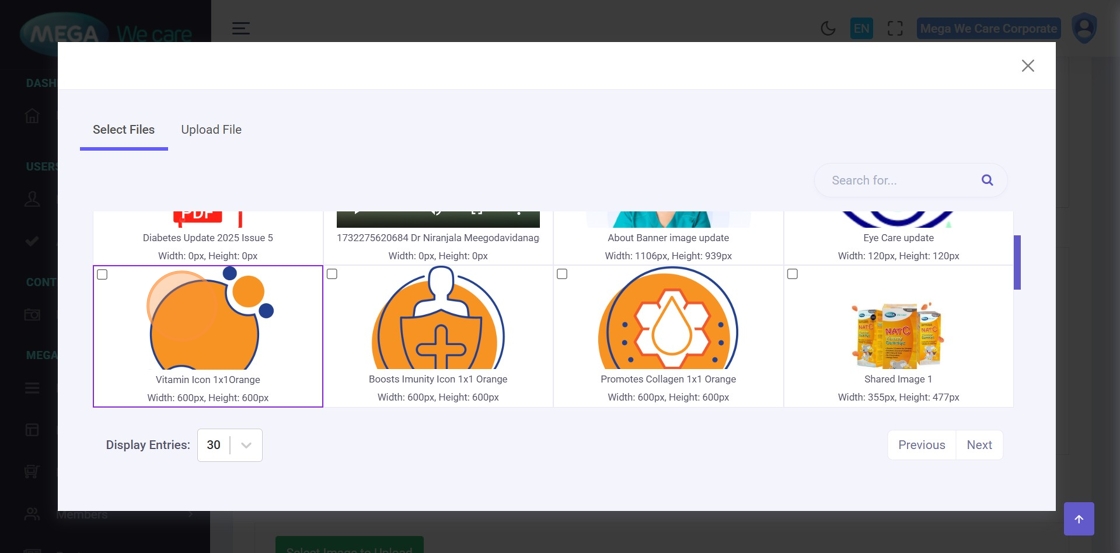
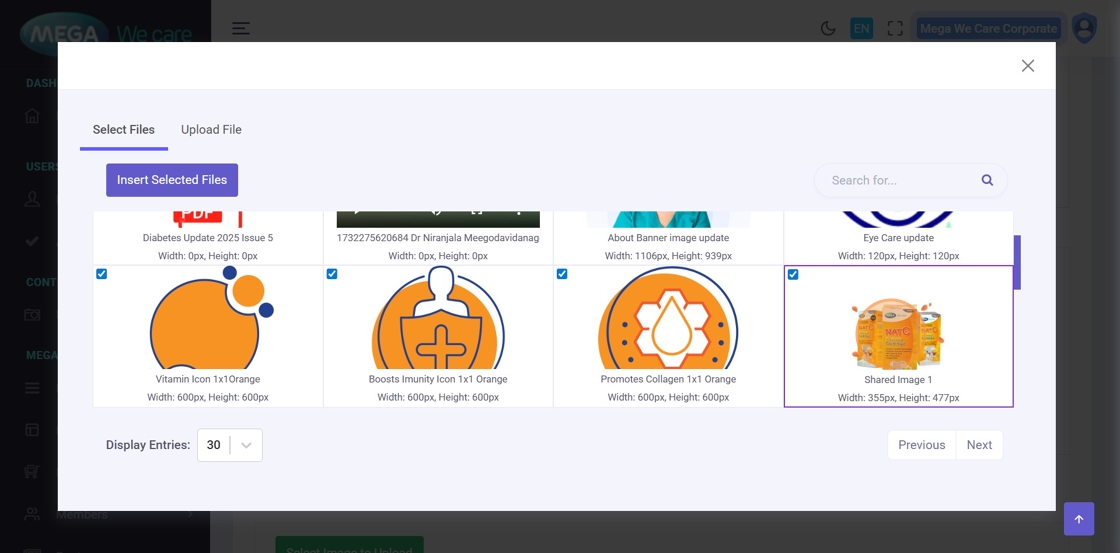
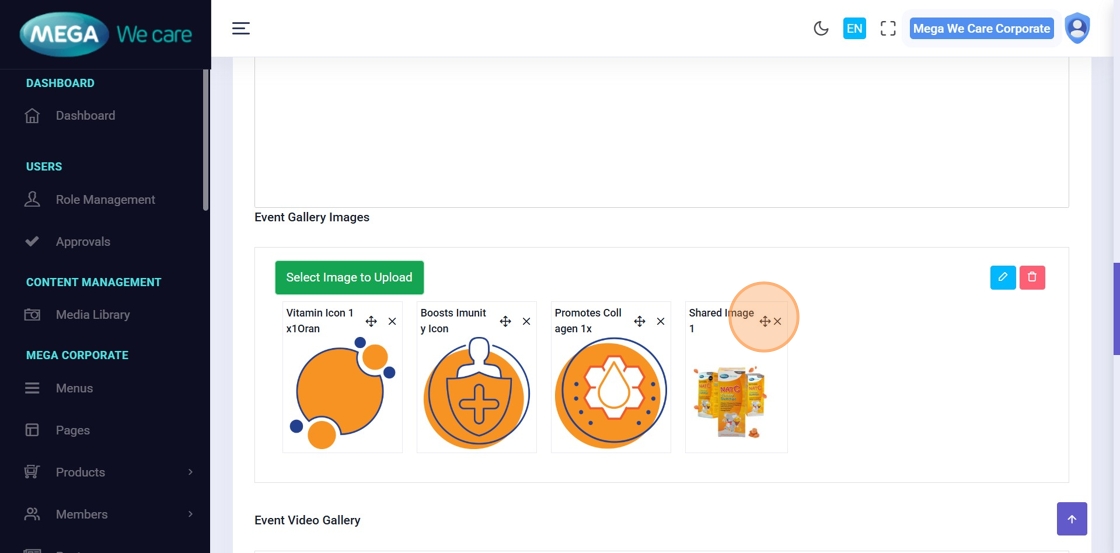
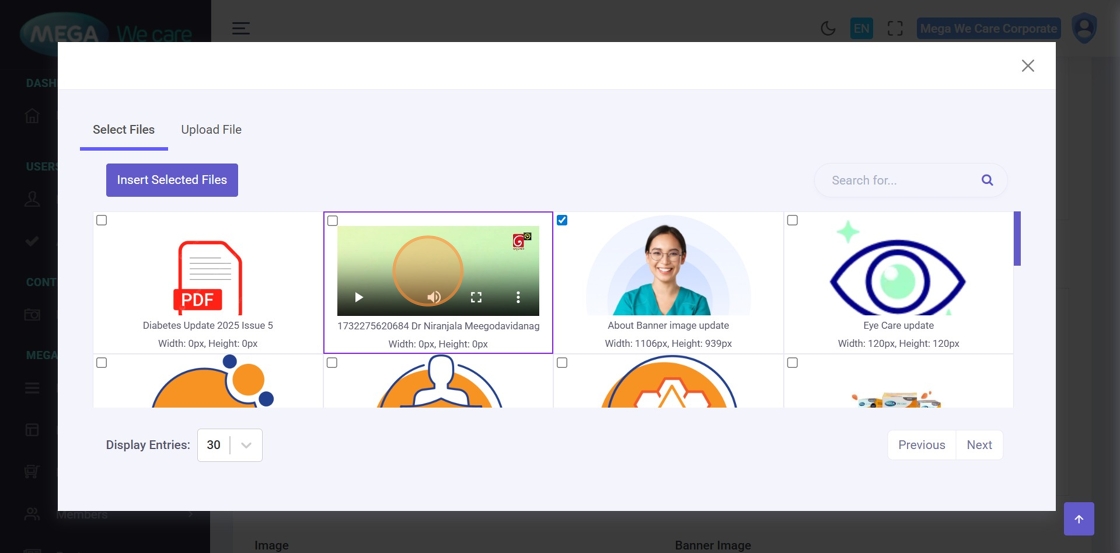
Step 19–22: Upload Event Gallery Images
Upload multiple gallery images, select several files at once, and reorder them as needed.
Step 23–24: Upload Main Conference Image
Upload or select the primary conference image.
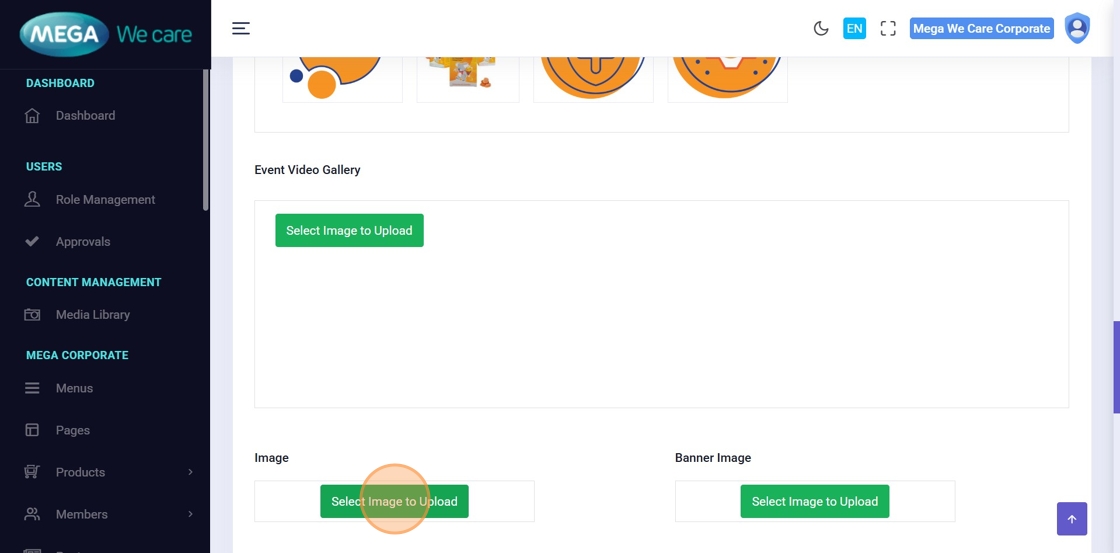
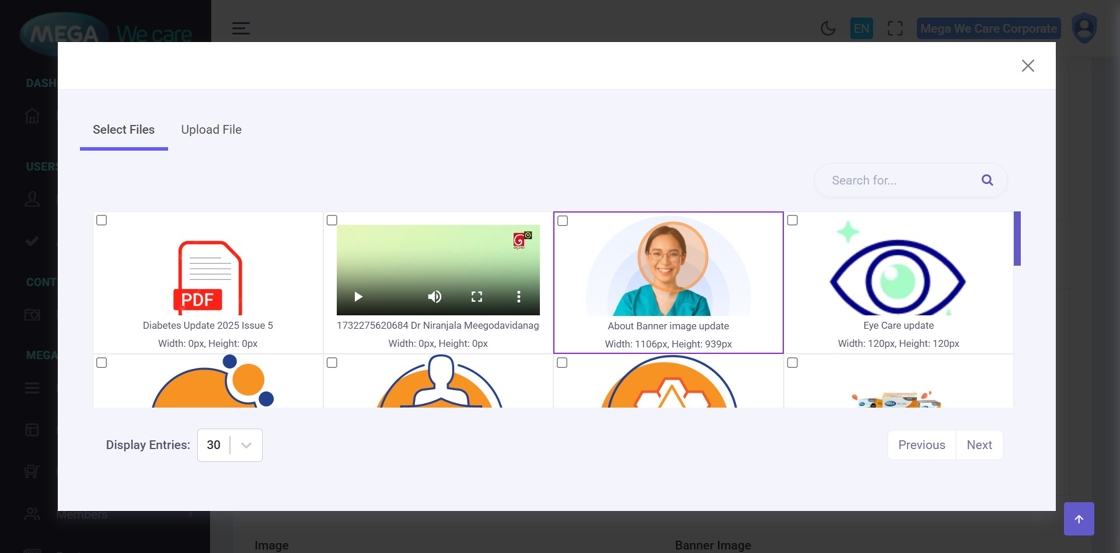
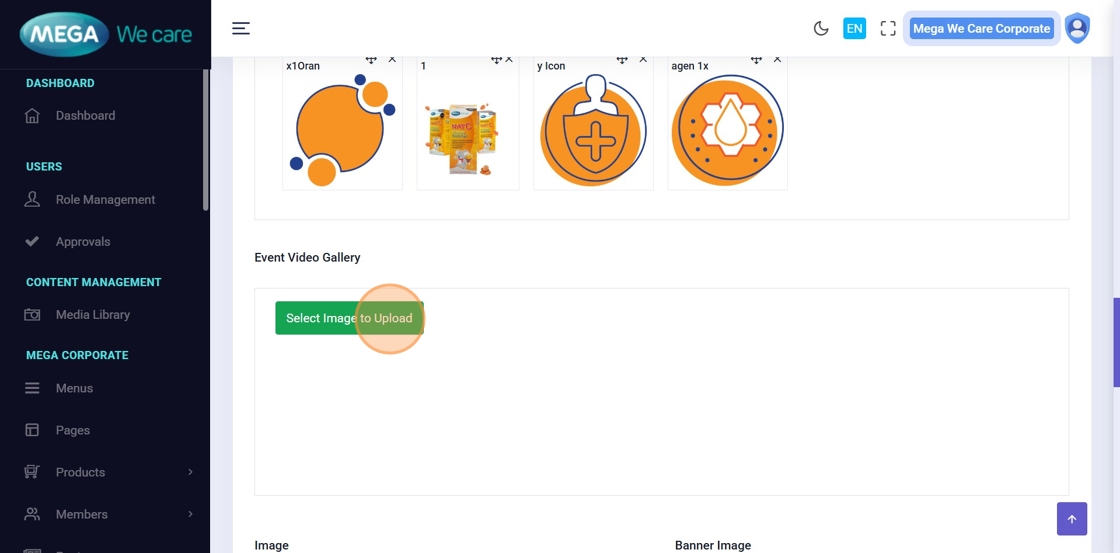
Step 25–27: Add Event Gallery Videos
Attach one or more videos to the conference gallery.

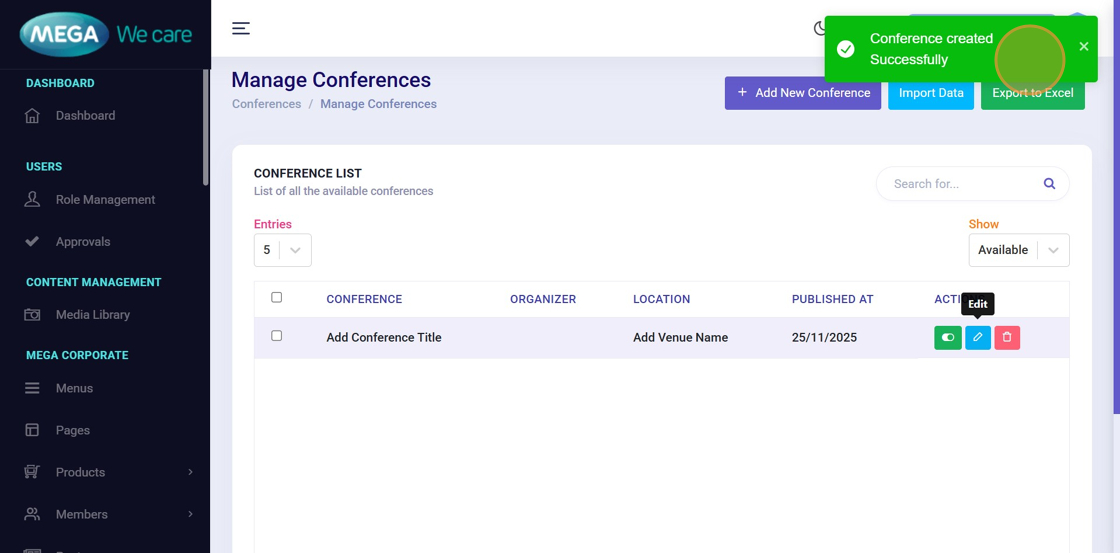
Step 28–29: Save Conference
Click Save to create the conference and wait for the success confirmation.

Edit Conference Details
Step 30: Open Conference for Editing
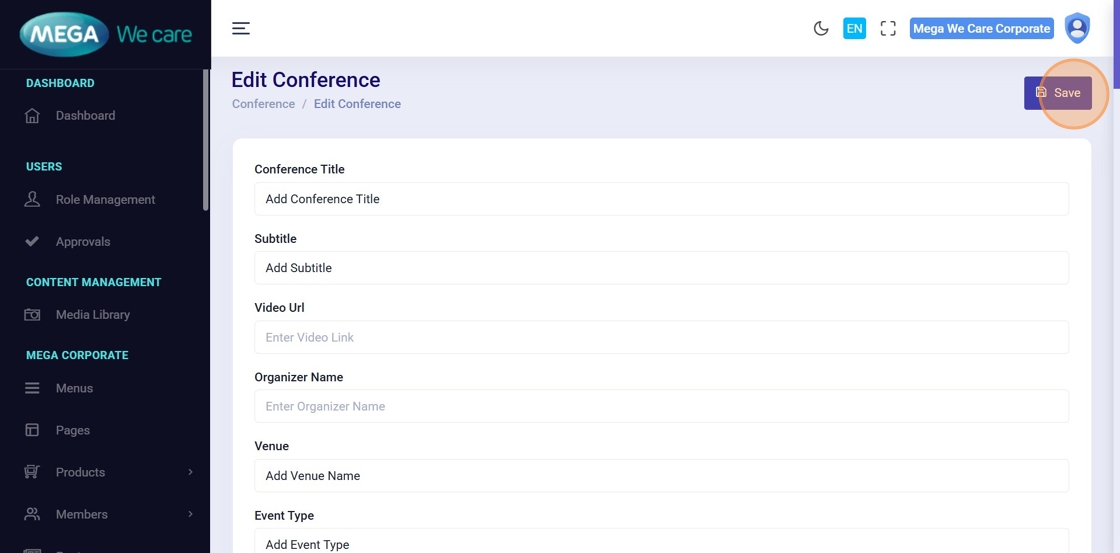
Click the Edit icon next to the conference you want to update.
Step 31–32: Update Conference Details
Modify any required fields such as dates, speakers, tags, images, or content, then click Save.
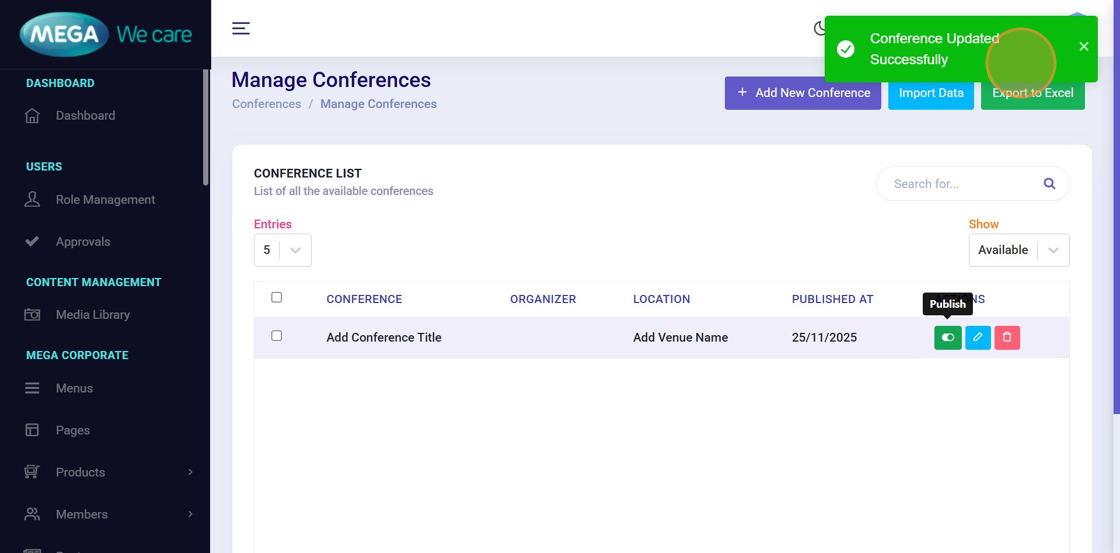
Step 33: Confirm Update
Wait for the confirmation message indicating the conference has been updated successfully.
Important Notes
- Upload images in WEBP format, ensure the image size is not too large, and do not use PNG, JPG, or JPEG files. If the image is in any of these formats, convert it to WEBP before uploading.
- Upload the thumbnail image first, followed by its video. If you are uploading multiple videos (for example, 3 videos), follow the same order for each one—image first, then video. Make sure to upload compressed video files in the Event Gallery Video section.
Summary
By following this document, users can create and manage detailed conference listings, assign speakers and schedules, upload images and videos, update event details, and maintain accurate, well-structured, and easy-to-manage conference content within the backend dashboard.