Page Navigation
How to Upload, Edit and Delete any Media (Images, Videos, Documents, etc.)
This document explains how to upload, edit, delete, filter, sort, and search media files inside the Backend Dashboard’s Media Library.
Overview
The Media Library helps you organize and manage all files used across the website, including:
- Images
- Videos
- PDFs and Documents
- Audio files
Upload and Manage the Media Library Assets
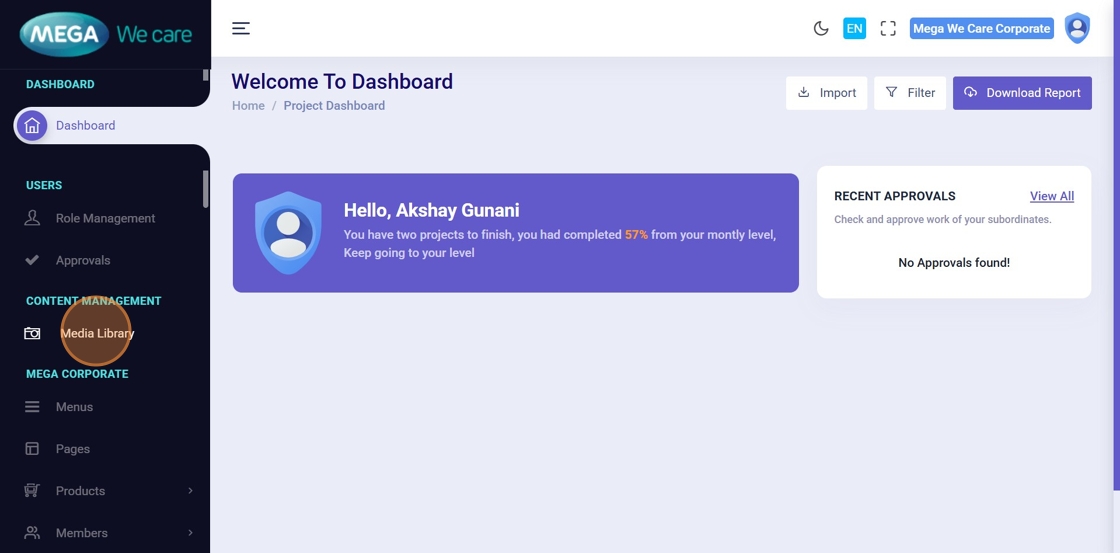
Step 1: Open the Media Library
After logging into the Admin Dashboard:
- Go to the Media Library section
- This is where you can upload new files, manage existing files, and remove unwanted ones
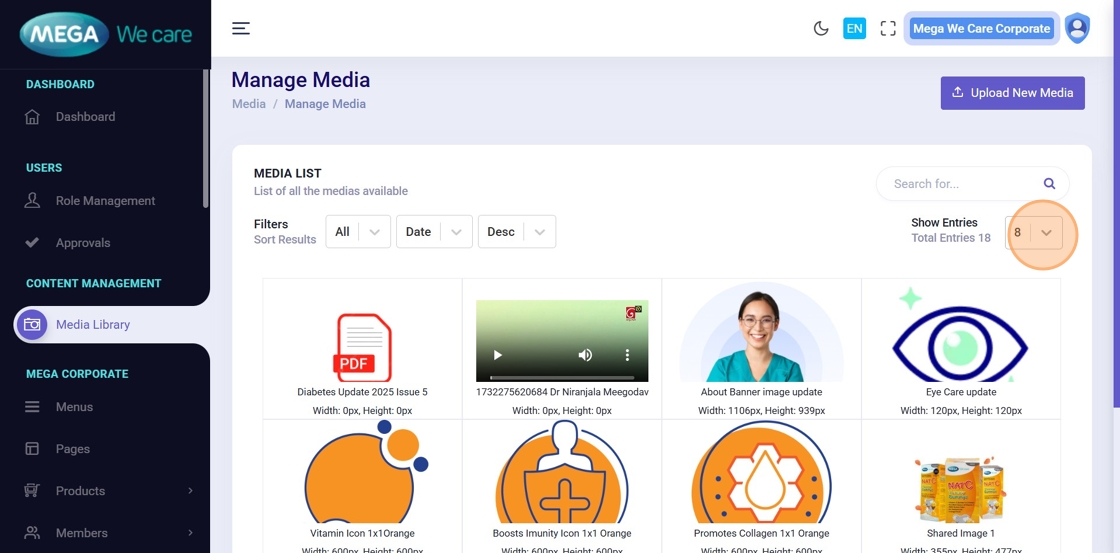
Step 2: View All Media Files
Inside the Media Library, you will see a list of all uploaded files such as:
- Images
- Videos
- PDFs
- Audio files
To upload new files, click the “Upload New Media” button.

Step 3: Choose Files to Upload
Click the upload area to open your device’s file browser.
This allows you to select files from your computer or mobile device.
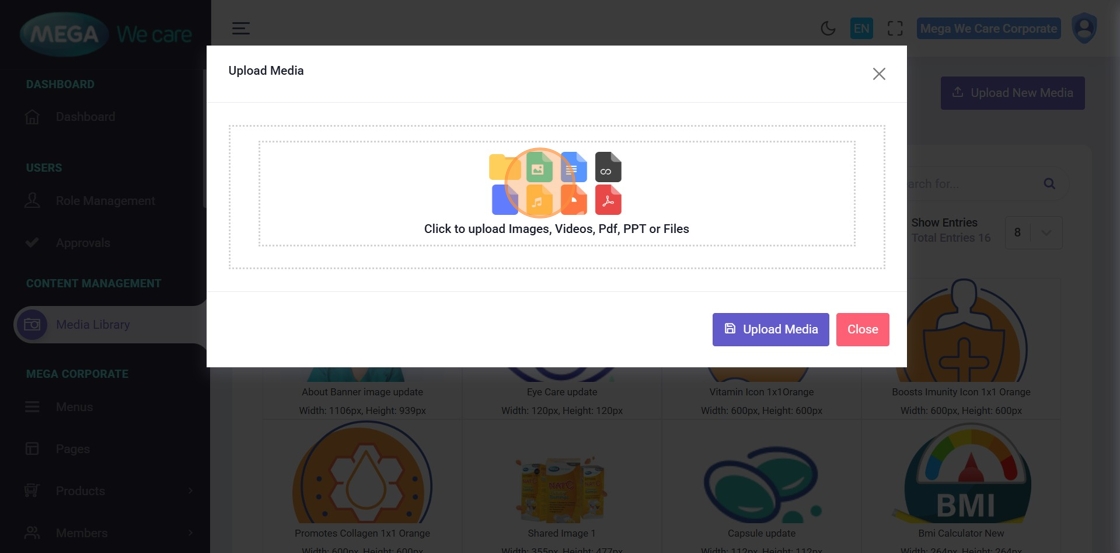
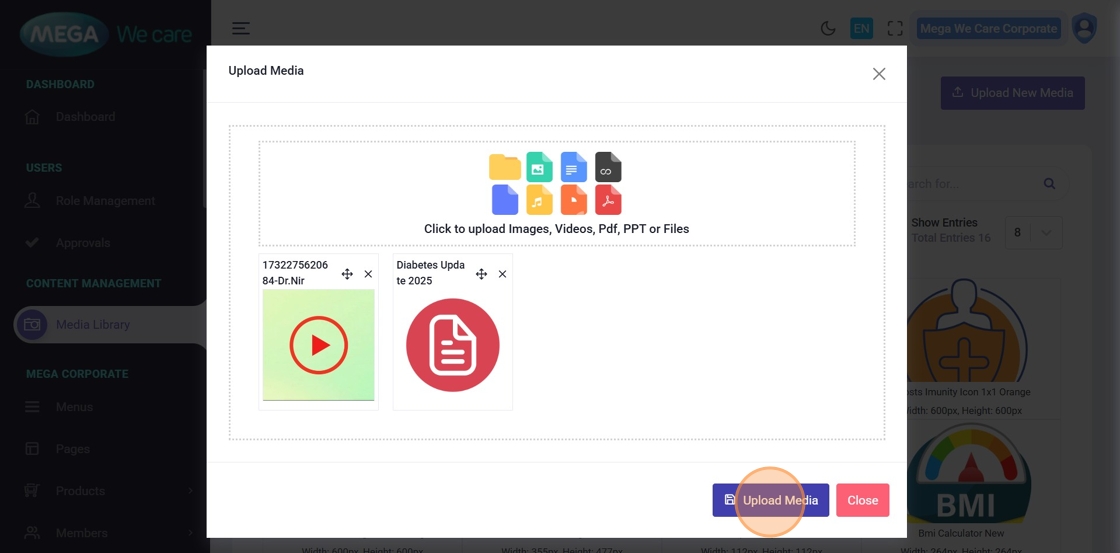
Step 4: Upload Multiple Media Files
You can upload up to 20 files at the same time.
After selecting files:
- Make sure all selected files appear in the preview
- Click Upload Media to save them into the Media Library
Your files will now be available for use throughout the website.
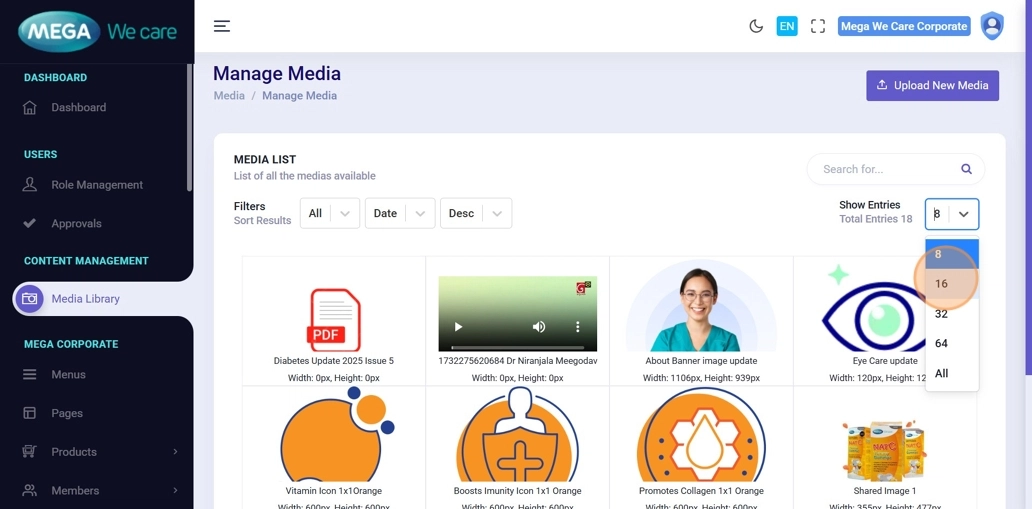
Step 5: Adjust How Many Media Files You See Per Page
Click this icon to change the number of items displayed on the page.
You can choose page sizes such as 16, 32, or 64 to view more or fewer files at once.
This helps when browsing large media collections.
Step 6: Change the Page Size
Adjust the page size to display more or fewer media items.
Example:
If you choose 32, the page will show 32 files at once.
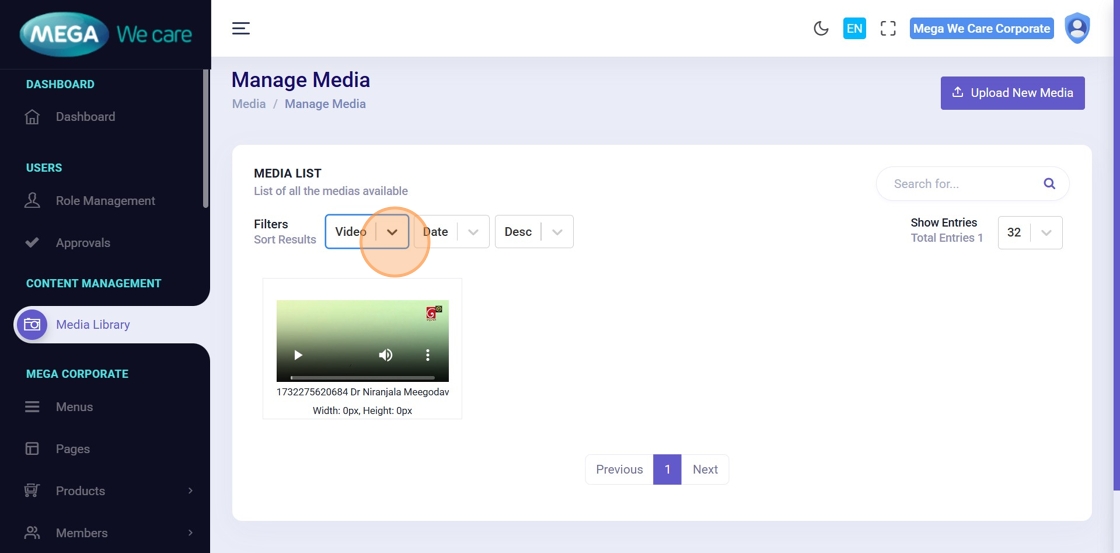
Step 7: Filter Media by Type
Use the filter options to display only specific types of media.
For example:
- Select Images to see only image files
- Select Videos to see only video files
- Select Audio to see only audio files
- Select PDF / Documents to see only document files
This makes it easier to locate the type of file you need.

Step 8: View Only Videos or Other File Types
Similarly, choosing Videos will show only video files, and selecting other file types will filter them accordingly.
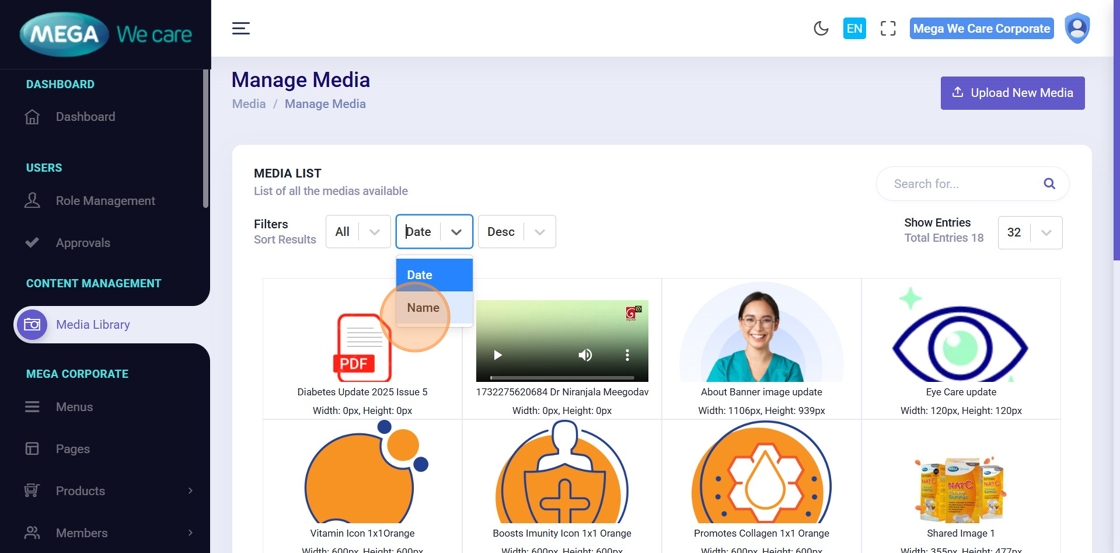
Step 9: Filter Media by Date or Name
Use the filter options to refine your search even further.
You can filter by:
- Date (newest or oldest)
- Name (alphabetically)
This helps you locate files quickly.
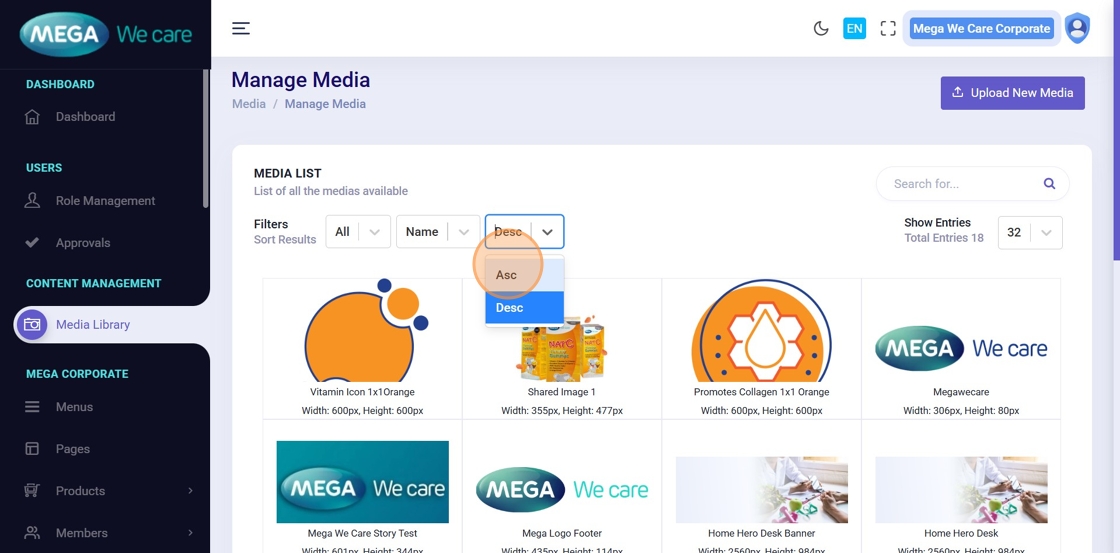
Step 10: Sort Media Files
You can sort media files in:
- Ascending order (A → Z or Oldest → Newest)
- Descending order (Z → A or Newest → Oldest)
Sorting allows you to view files in the order that works best for you.
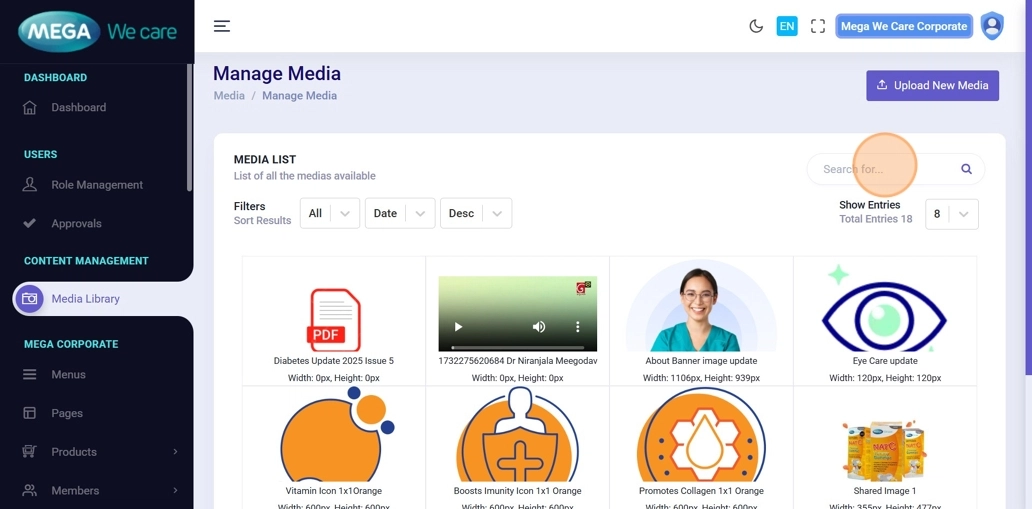
Step 11: Search for a Media File
Use the search bar to find media by its name.
This is useful when you have a large collection of media files and need to quickly locate one specific file.
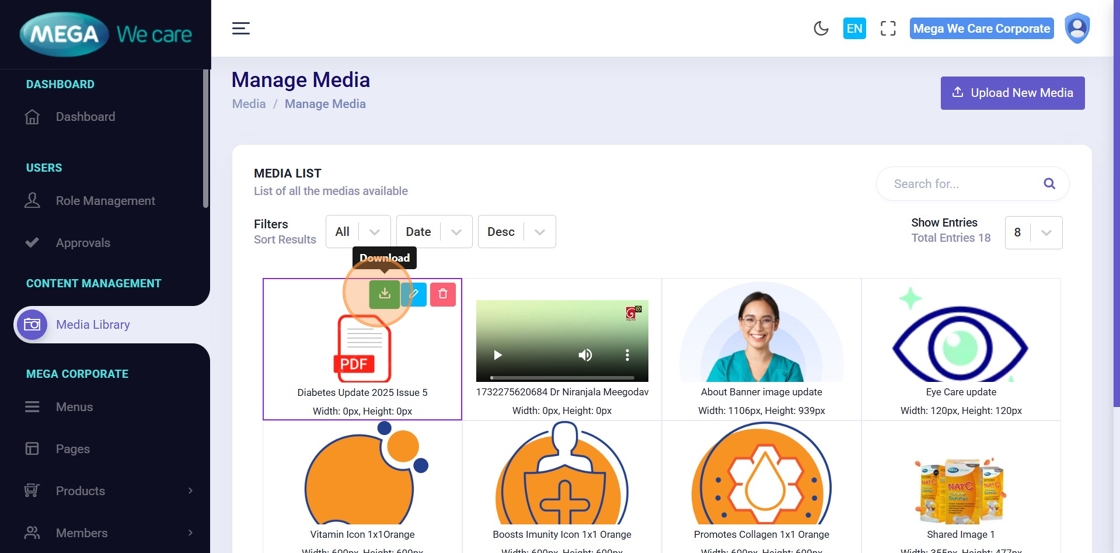
Step 12: Download a Media File
Click the download icon to download any media file to your device.
This allows you to review, share, or reuse files outside the system whenever necessary.
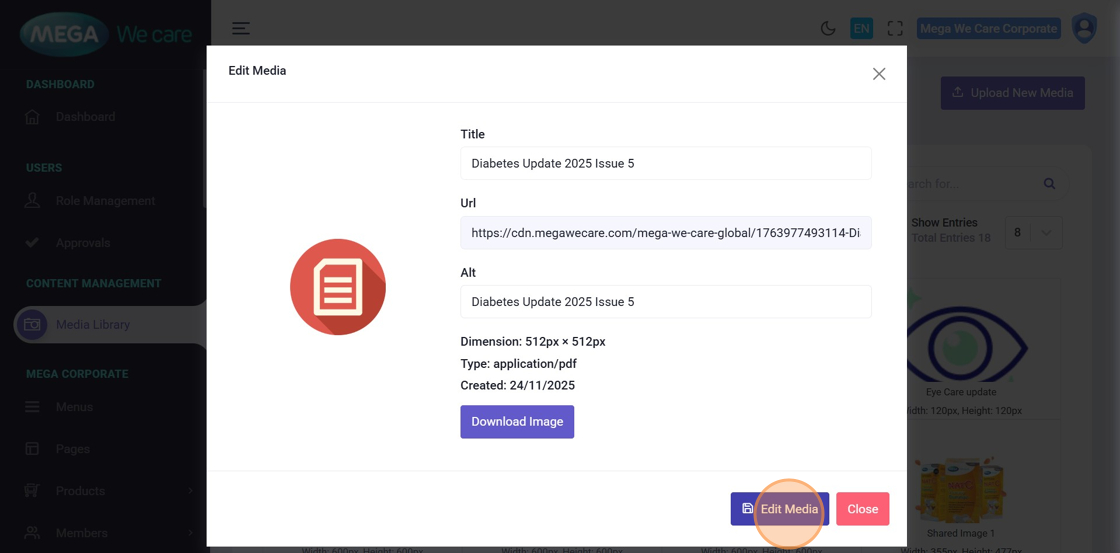
Step 13: Edit a Media File
To update the details of a file:
- Click the edit icon next to that file
This opens a popup where you can modify information about the media.

Step 14: Update Media Information
In the edit popup:
- You can update the Title of the media
- You can update the Alt Tag, which helps with accessibility and SEO
After entering the updated information:
- Click “Edit Media” to save the changes
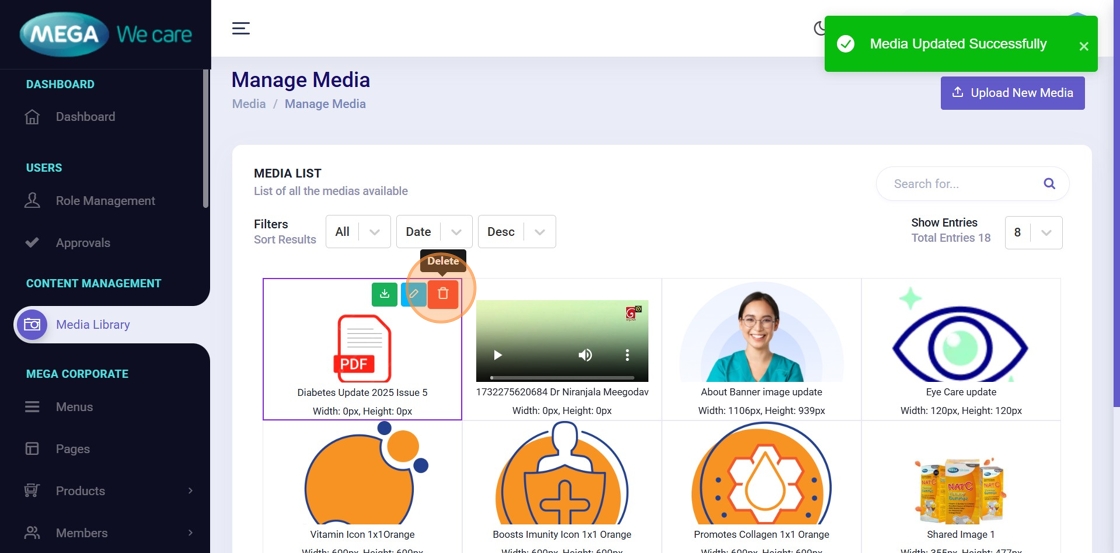
Step 15: Confirmation After Editing or Deleting
After editing, you will see a message such as:
- “Media Updated Successfully”
You can also delete any media by clicking the delete icon.
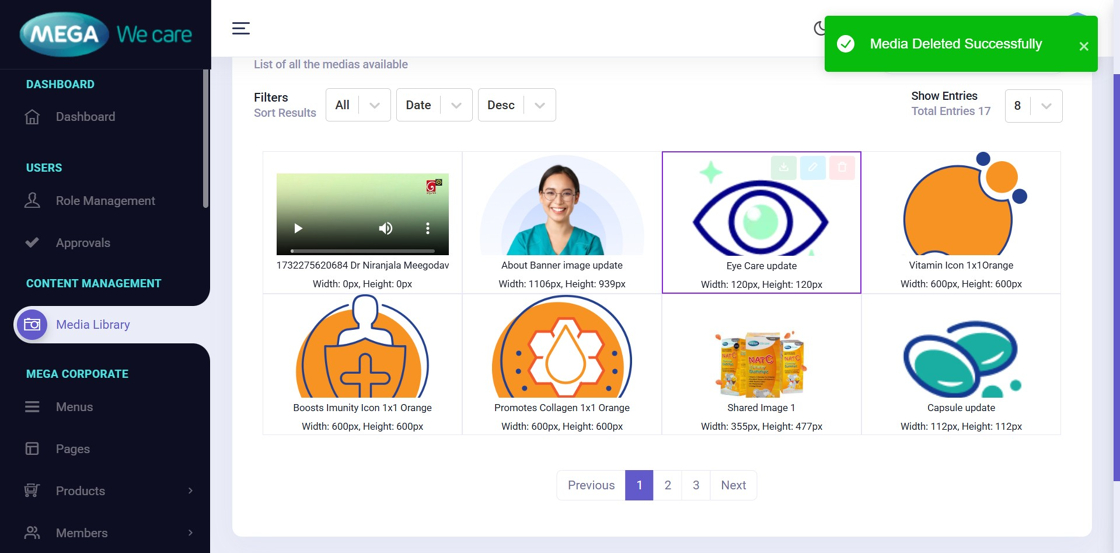
Step 16: Successful Media Deletion
After deleting a media file, a confirmation message will appear, such as:
- “Media Deleted Successfully”
This confirms that the file has been removed from the Media Library.
Important Notes
- You can upload different types of files such as images, PDFs, audio, videos, and other documents. You can upload up to 20 files at a time, including compressed files, as long as each file is not larger than 30 MB.
- You can edit image titles and alt tags, and download any file to your device directly from the Media Library.
Summary
Using the Media Library, you can easily upload multiple files, edit media details, delete unwanted media, and search, sort, or filter files to stay organized. This helps keep your website’s media content clean, updated, and easy to manage.