Page Navigation
How to Add, Update and Delete HCP Sub Category
The HCP Blog Sub Categories module allows administrators to further organize Health Care Practitioner (HCP) blog content under parent categories. Using this module, you can create, edit, and manage subcategories, assign them to categories, customize their appearance, add FAQs, configure SEO details, and upload images to improve content structure and search visibility.
Overview
This guide explains how to:
- Create new HCP blog subcategories
- Map subcategories to parent categories
- Customize background and title colors
- Add short and detailed descriptions
- Add and manage FAQs
- Configure SEO and schema details
- Upload and manage subcategory images
- Edit existing subcategories
Following these steps ensures HCP blog content is well-structured, easy to navigate, and optimized for search engines.
Add New HCP Blog Sub Category
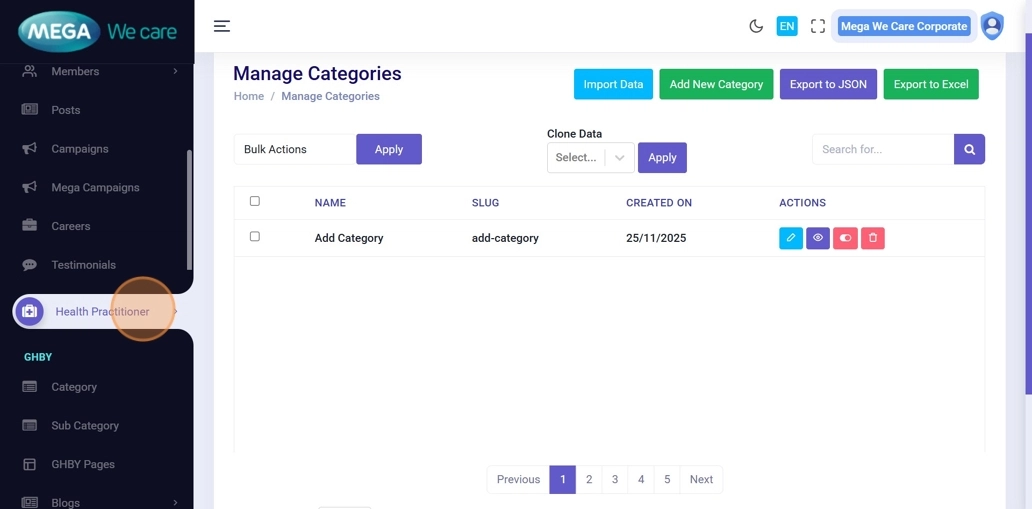
Step 1: Open Sub Category Management
Click Health Practitioner, then select Manage Blogs Sub Categories to begin managing subcategories.
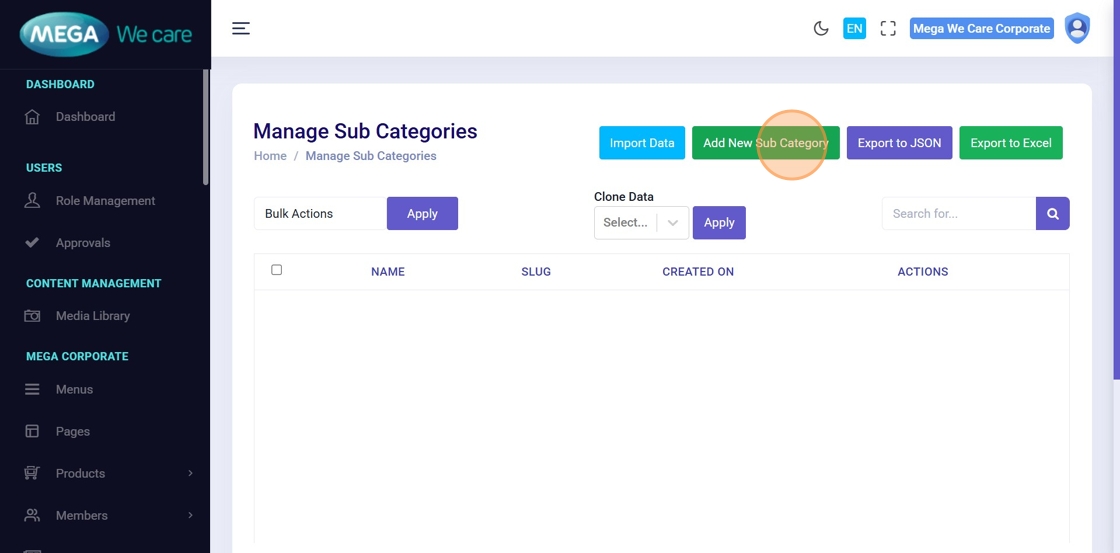
Step 2: Start Creating a Sub Category
Click Add New Sub Category to create a new subcategory.
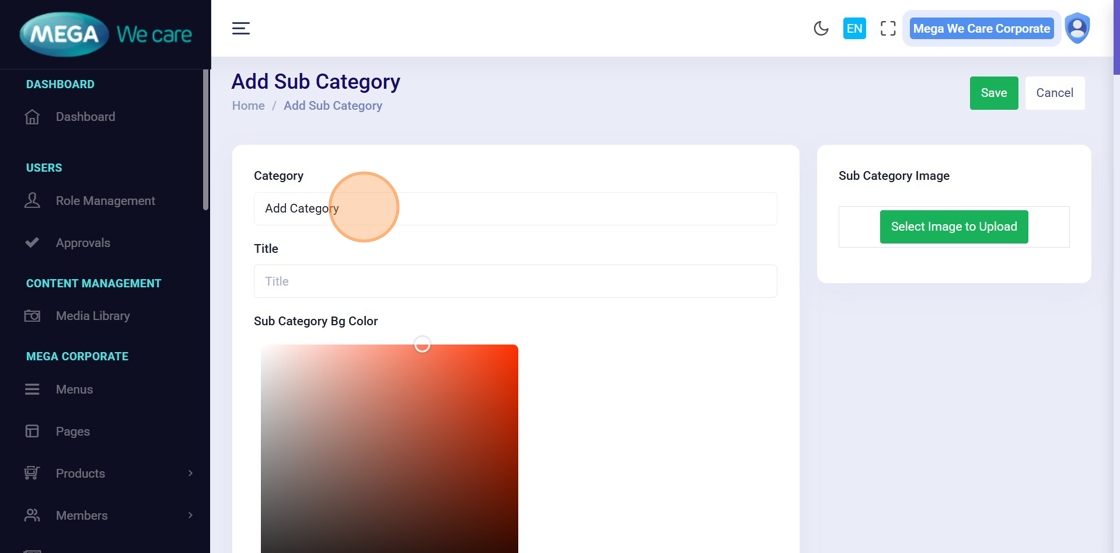
Step 3: Select Parent Category
From the Category dropdown, select the parent category to which the subcategory should be mapped.
You may leave this unselected if mapping is not required.
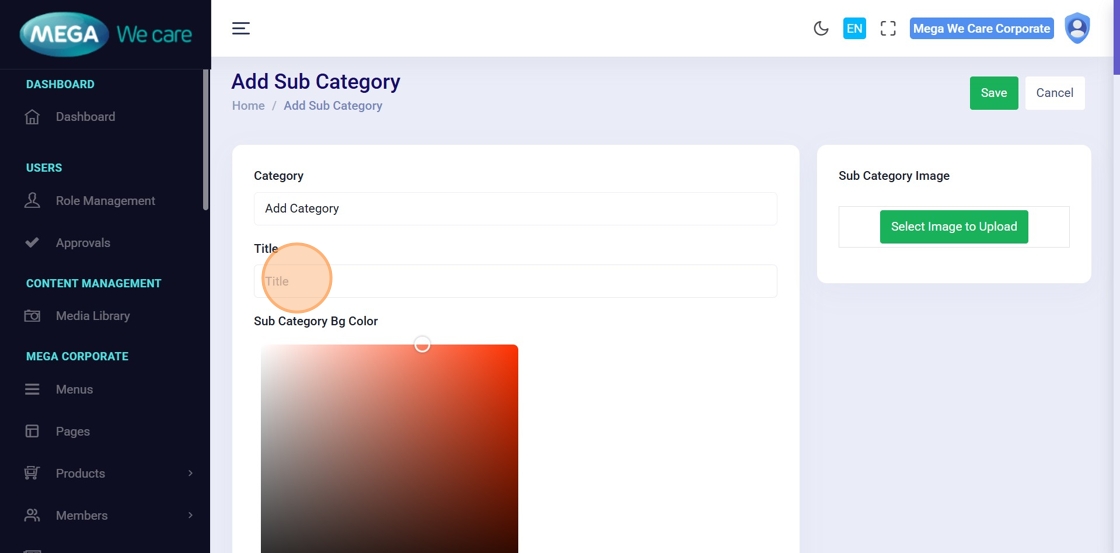
Step 4: Enter Sub Category Title
Enter the subcategory name in the Title field.
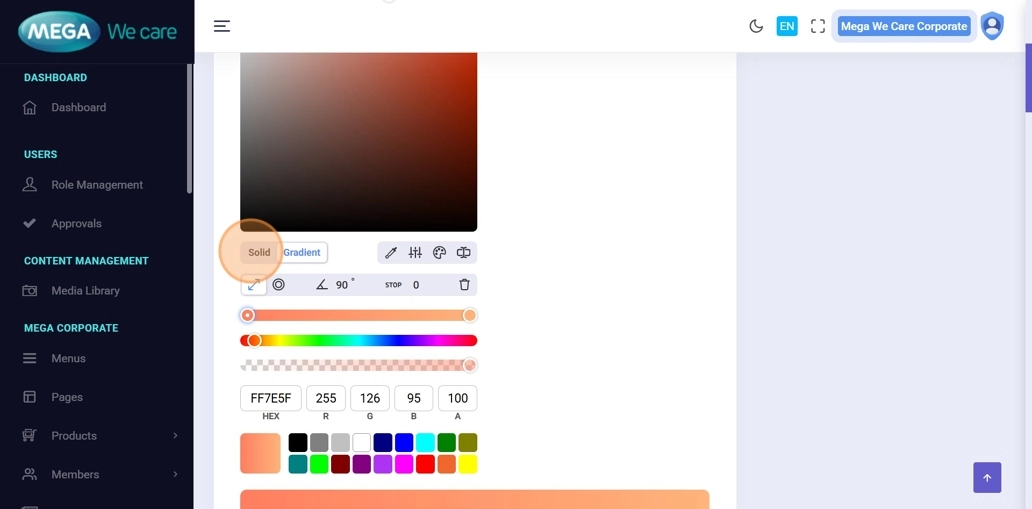
Step 5: Choose Color Styles
For Sub Category Background Color and Sub Category Title Color, toggle between Solid and Gradient to apply the desired color style.
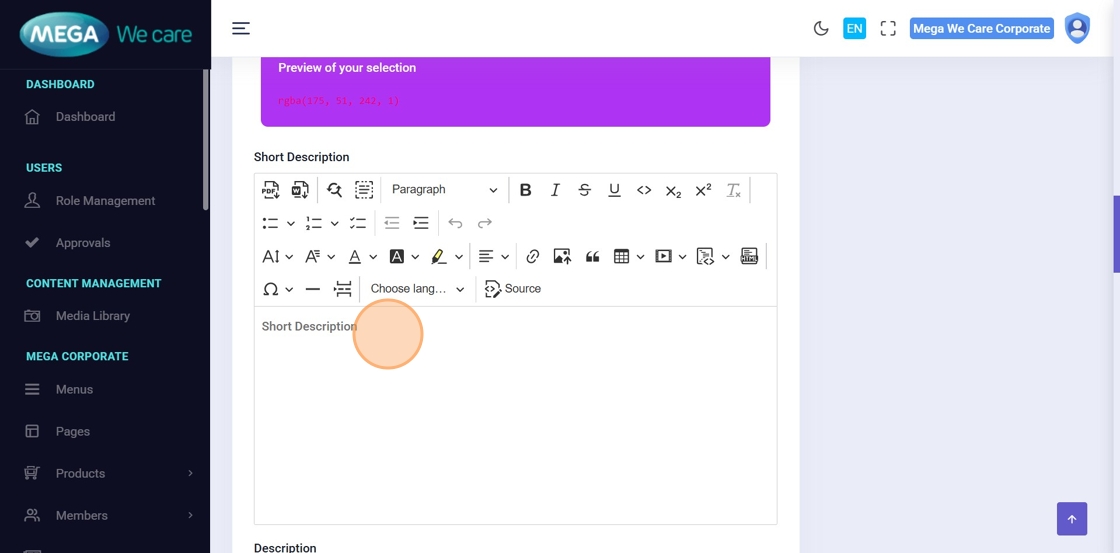
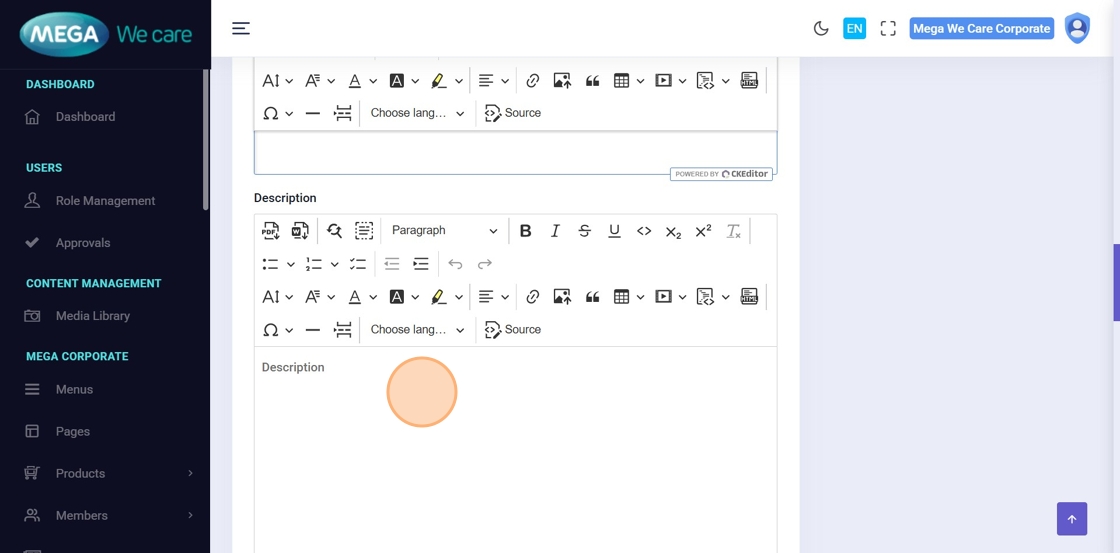
Step 6–7: Add Sub Category Descriptions
- Enter a brief overview in the Short Description field
- Enter detailed content in the Description field
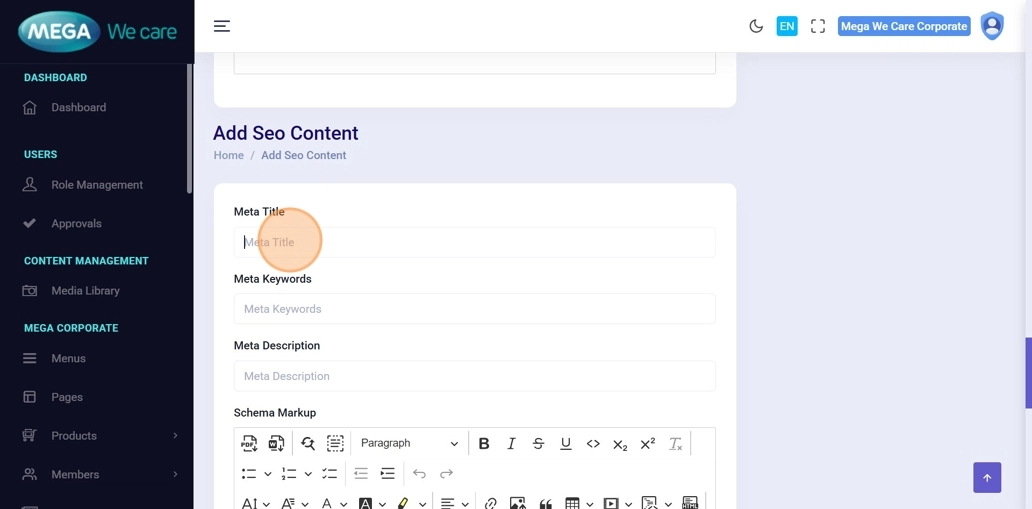
Step 8: Configure SEO Details
Fill in all required SEO fields, including:
- Meta Title
- Meta Keywords
- Meta Description
- Schema
- Image Alt Text
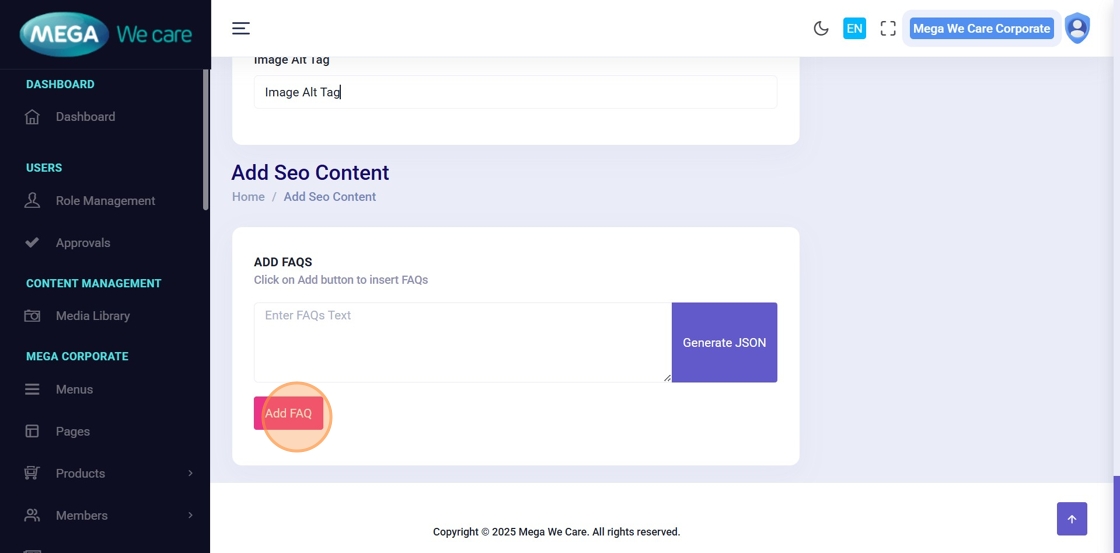
Step 9–12: Add and Manage FAQs
Click Add FAQ to include frequently asked questions for the subcategory.
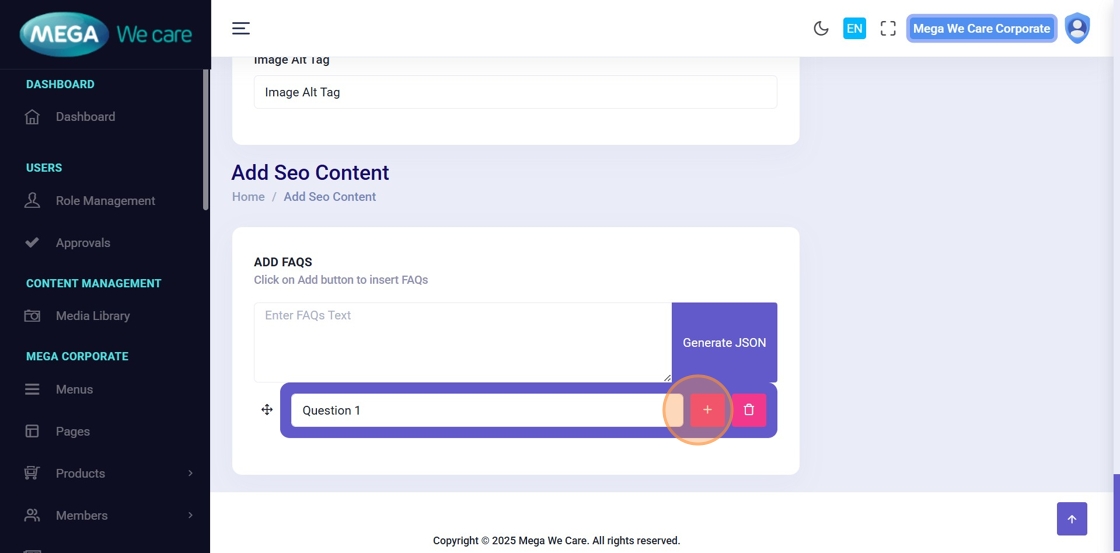
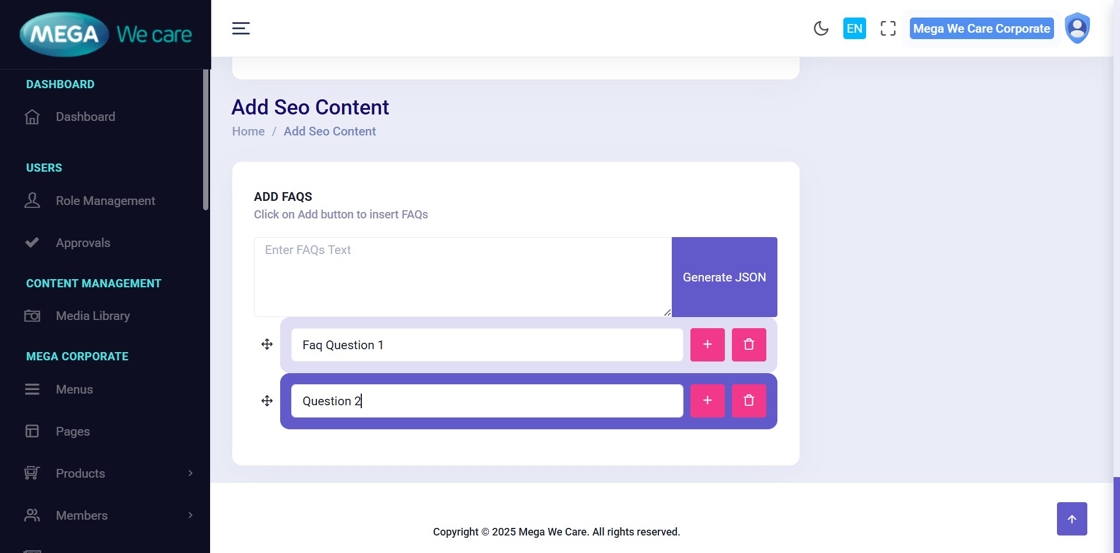
You can:
- Add multiple FAQs using the Add (+) button
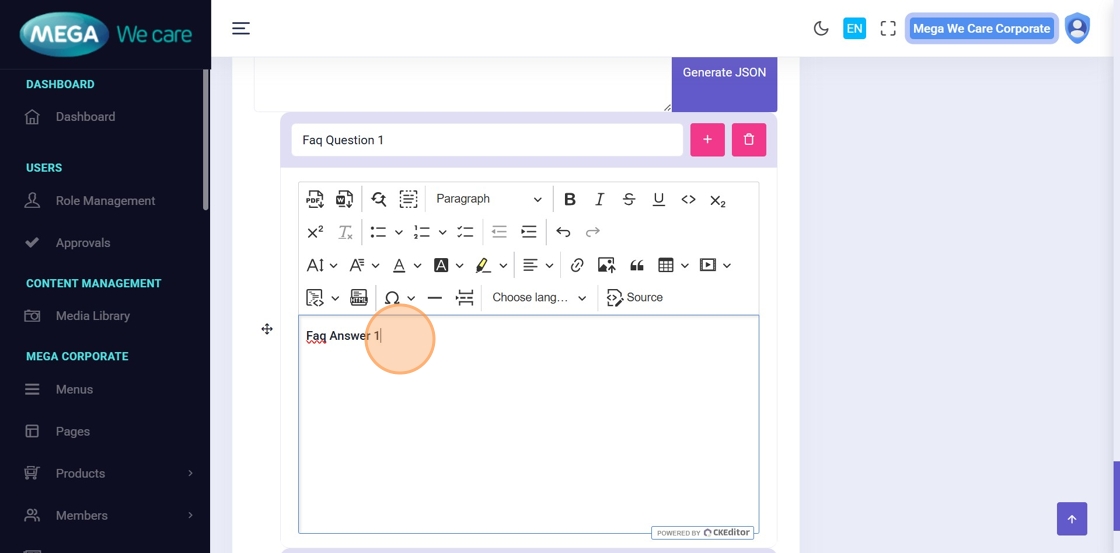
- Edit questions and answers
- Remove any FAQ using the Trash icon
Ensure all FAQ content is reviewed before saving.
Step 13: Upload Sub Category Image and Save
Click Select Image to Upload to choose an image from the media library or upload a new one from your device.
After selecting the image, click Save to create the subcategory.

Edit HCP Blog Sub Category
Step 14: Edit Existing Sub Category
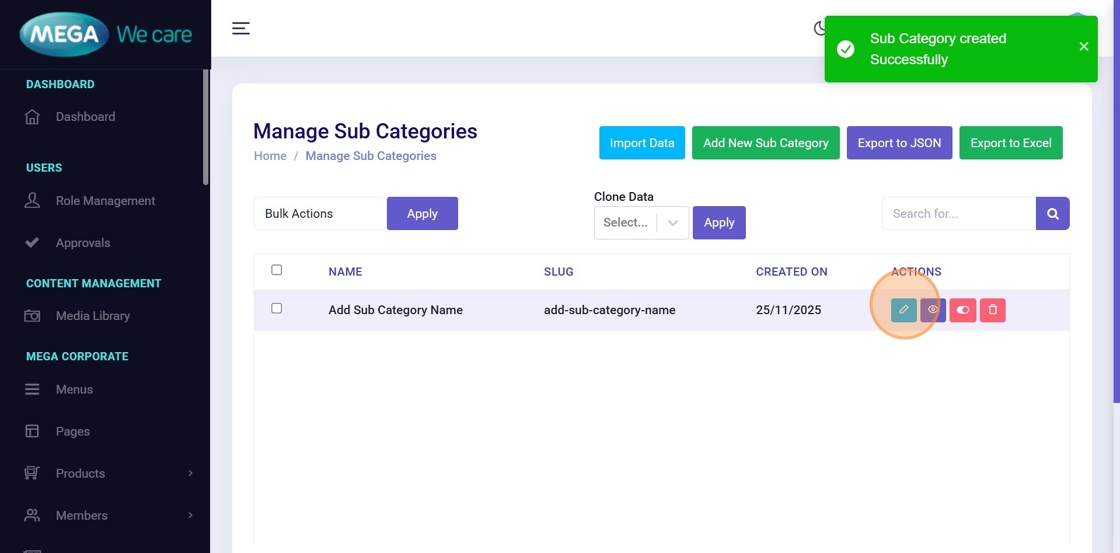
After successful creation, a confirmation message will appear.
To modify the subcategory, click the Edit icon.
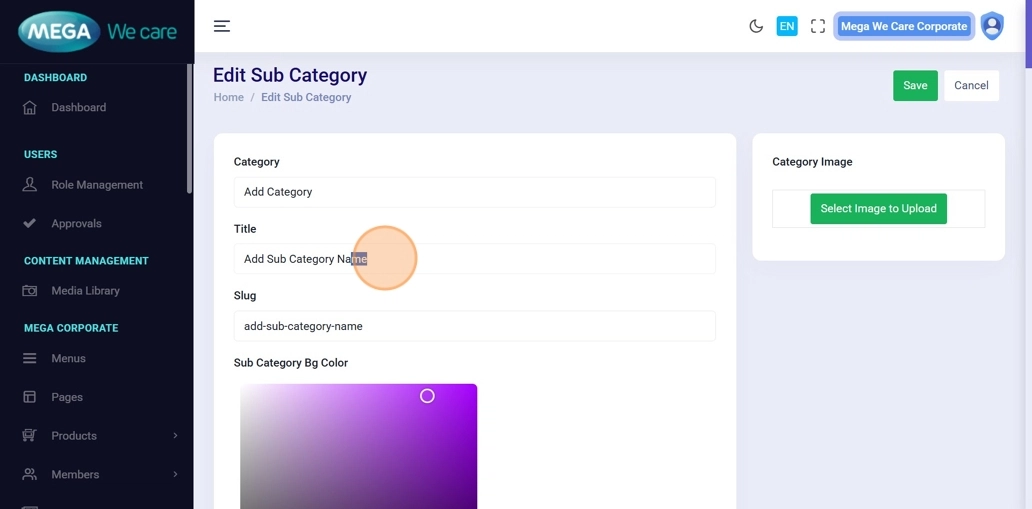
Step 15: Update Sub Category Details
On the Edit Sub Category page, update any required fields such as title, slug, descriptions, SEO details, FAQs, or image.
Click Save to apply the changes.
Important Notes
- Upload images in WEBP format, ensure the image size is not too large, and do not use PNG, JPG, or JPEG files. If the image is in any of these formats, convert it to WEBP before uploading.
Summary
By using the HCP Blog Sub Categories module, administrators can organize blog content under the right parent categories, customize visuals, manage descriptions, FAQs, SEO details, and images, and update subcategories as needed. This helps maintain a clear content structure, improves SEO, and enhances user navigation across HCP blog content.