Page Navigation
How to Add, Update and Delete GHBY Infographics
This document explains how the Infographics module enables administrators to efficiently manage GHBY visual content. Using this module, users can create, edit, publish or unpublish, organize, and delete infographics, upload single or multiple images, manage image order, and control publishing details.
Overview
By following this document, you will be able to:
- Create new infographics with main and multiple images
- Assign categories and subcategories
- Upload, reorder, edit, or remove infographic images
- Update infographic titles, slugs, and publish dates
- Delete infographics individually or in bulk using Trash
Create a New Infographic
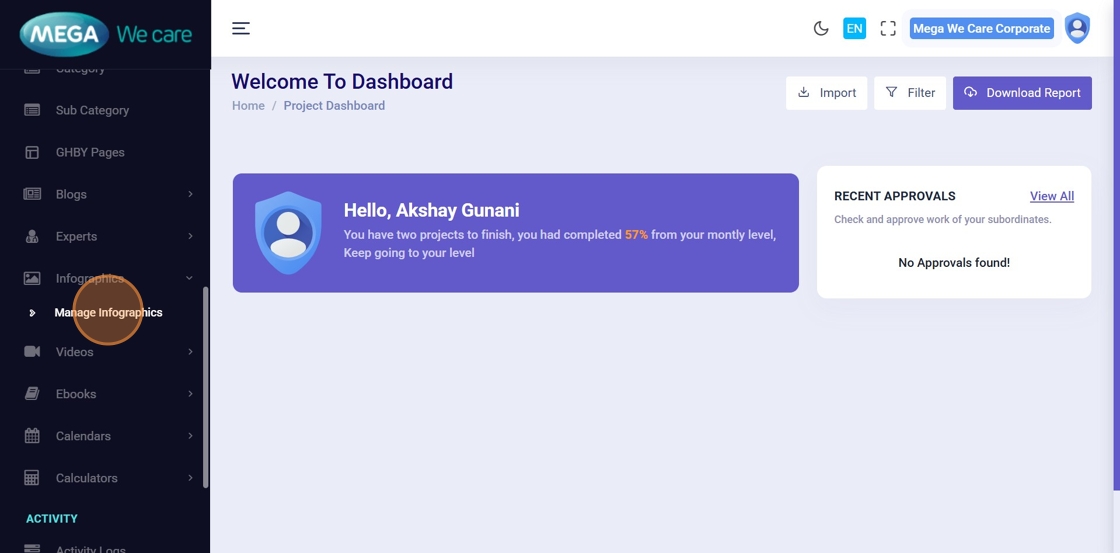
Step 1: Open Infographics
From the Backend Dashboard sidebar:
- Click Infographics
- Click Manage Infographics
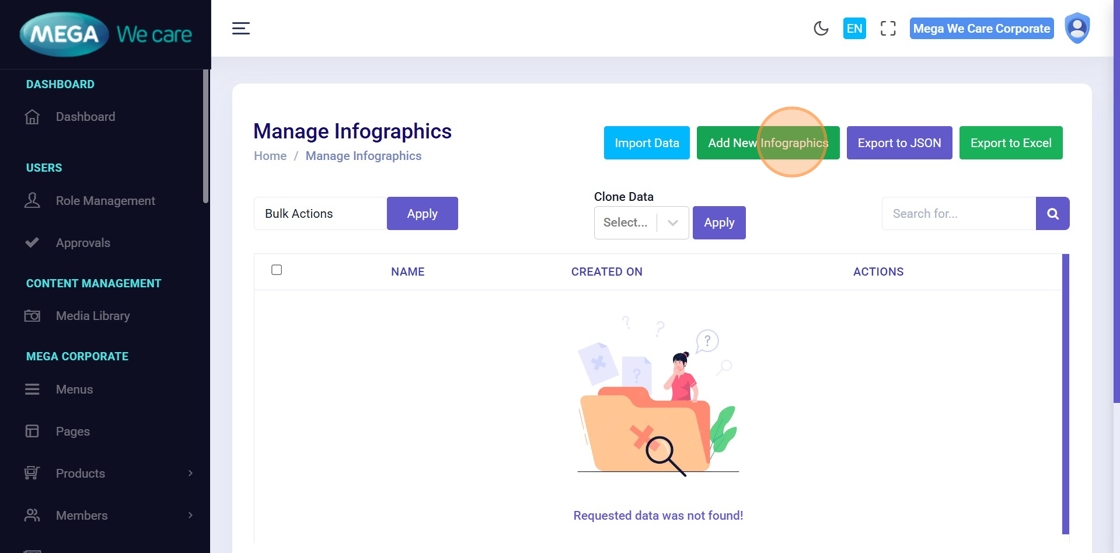
Step 2: Click “Add New Infographics”
Click Add New Infographics to open the creation form.
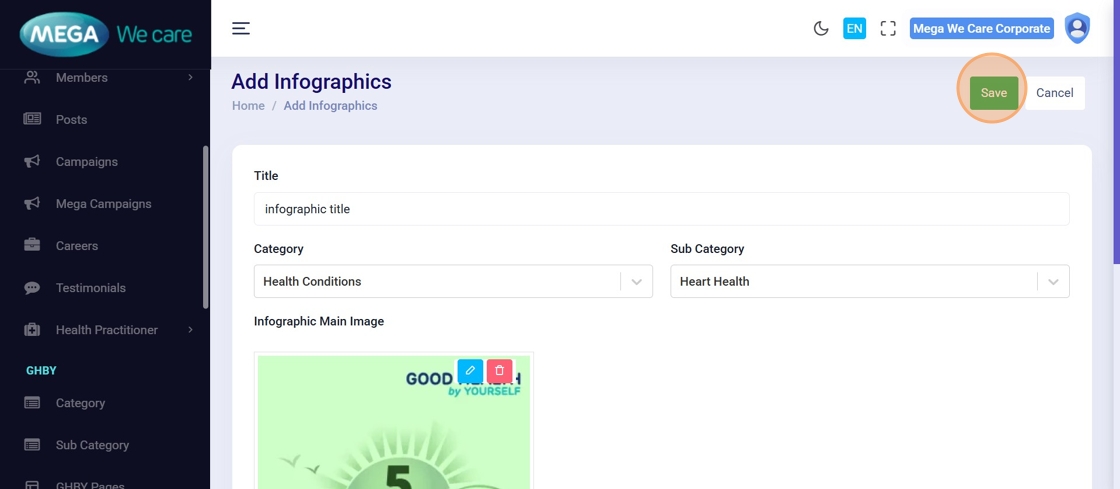
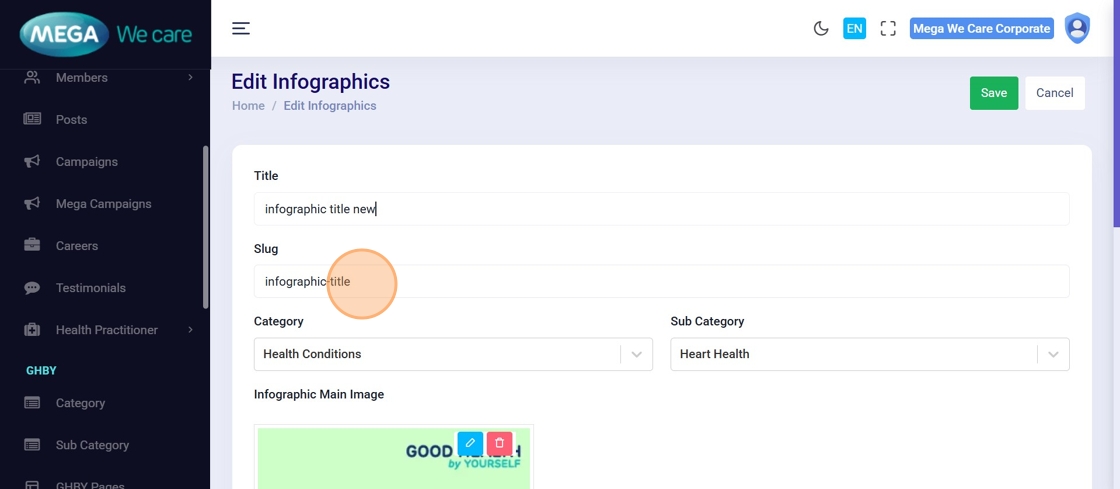
Step 3: Enter Infographic Title
Enter a clear and descriptive Infographic Title.
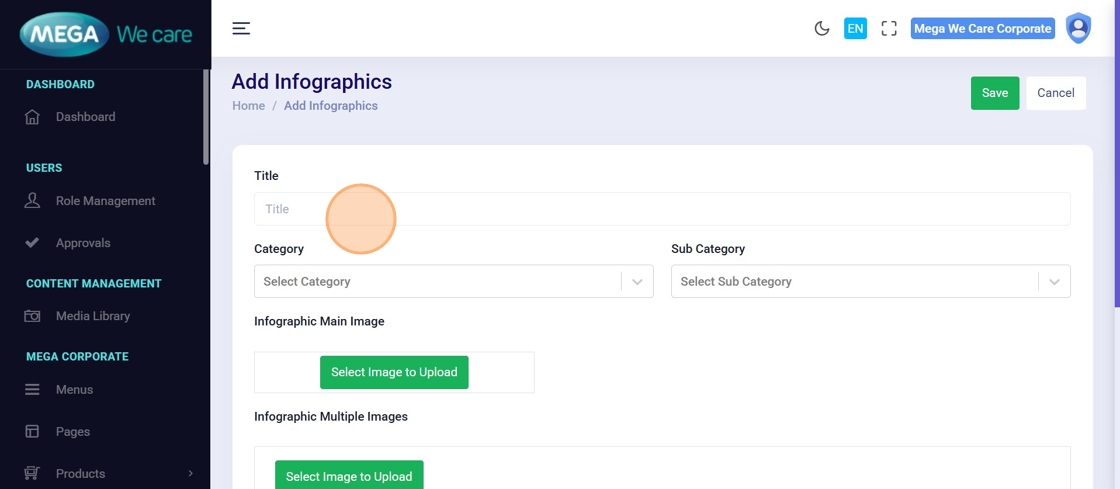
Step 4: Select Category
Choose the relevant Category from the dropdown.
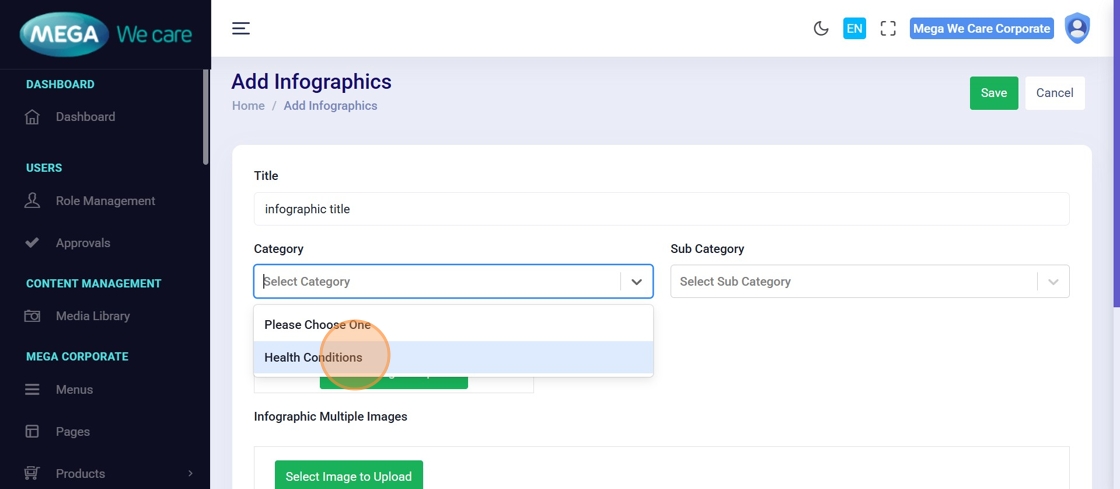
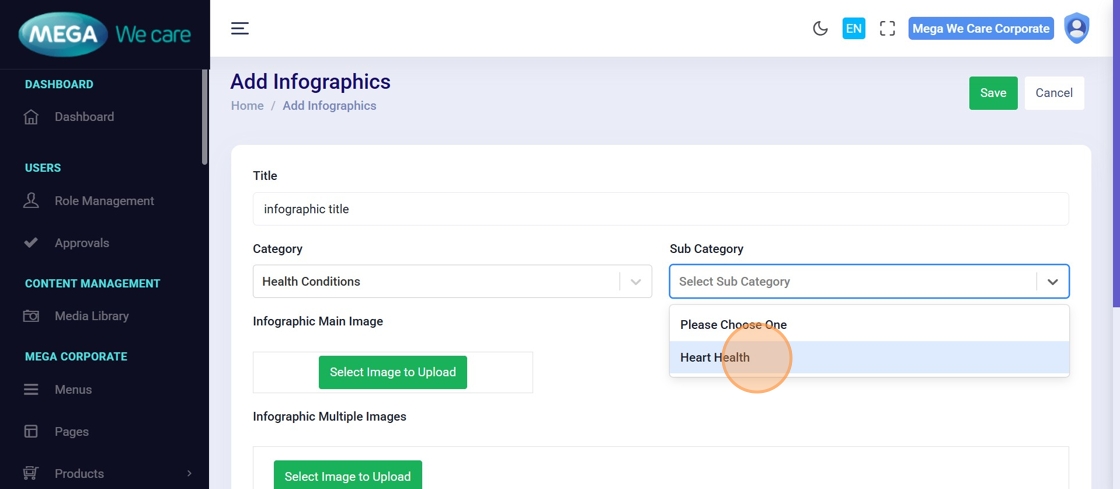
Step 5: Select Subcategory
Choose the appropriate Sub Category (if applicable).
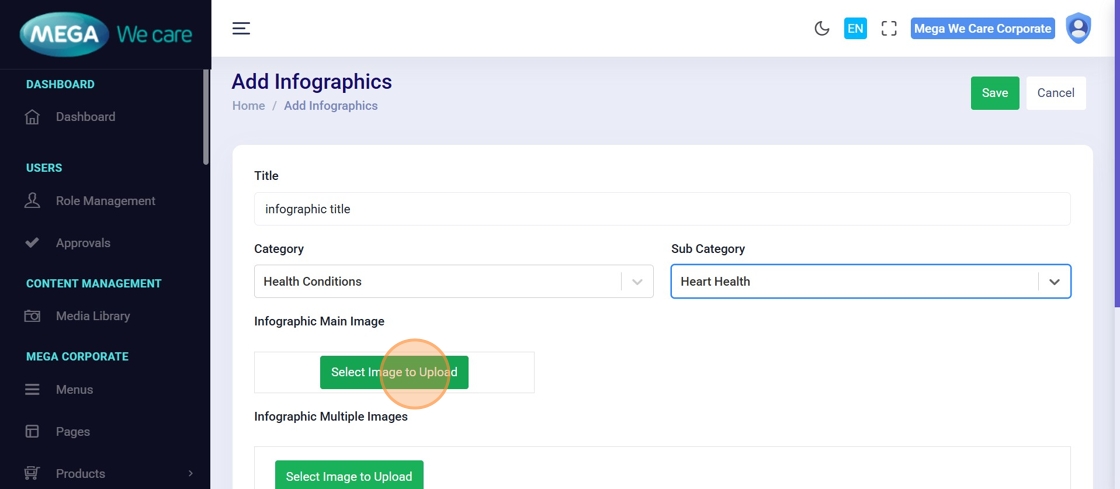
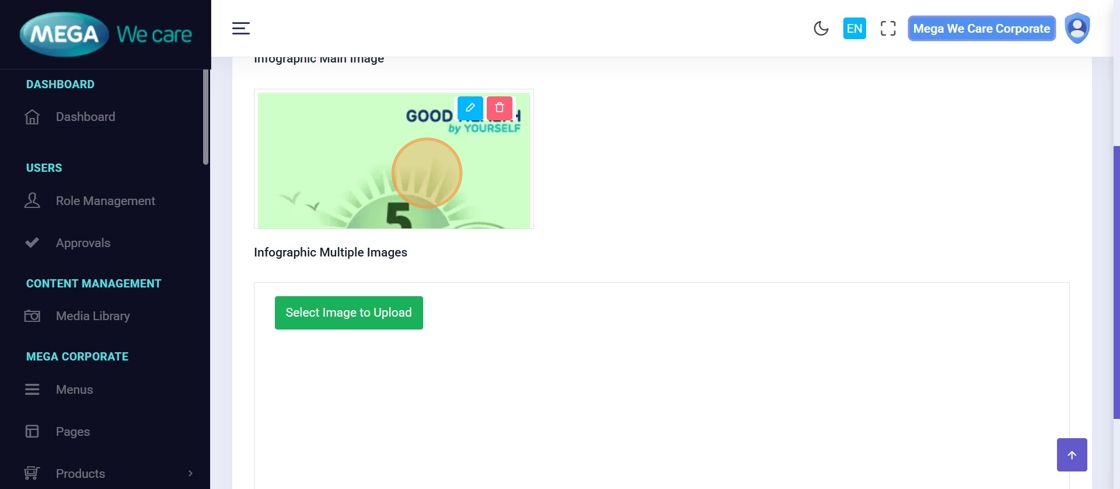
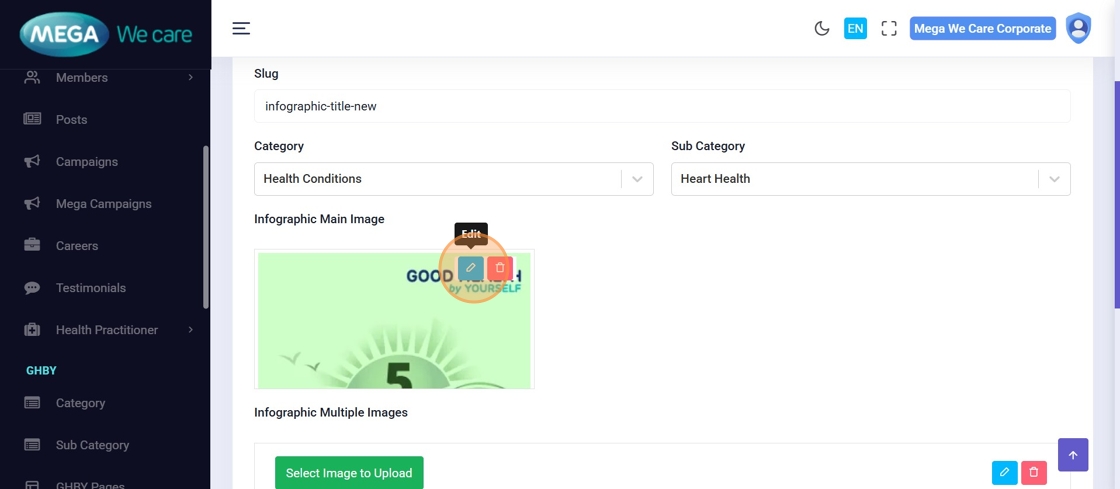
Step 6: Upload Main Infographic Image
Under Infographic Main Image, click Select Image to Upload.
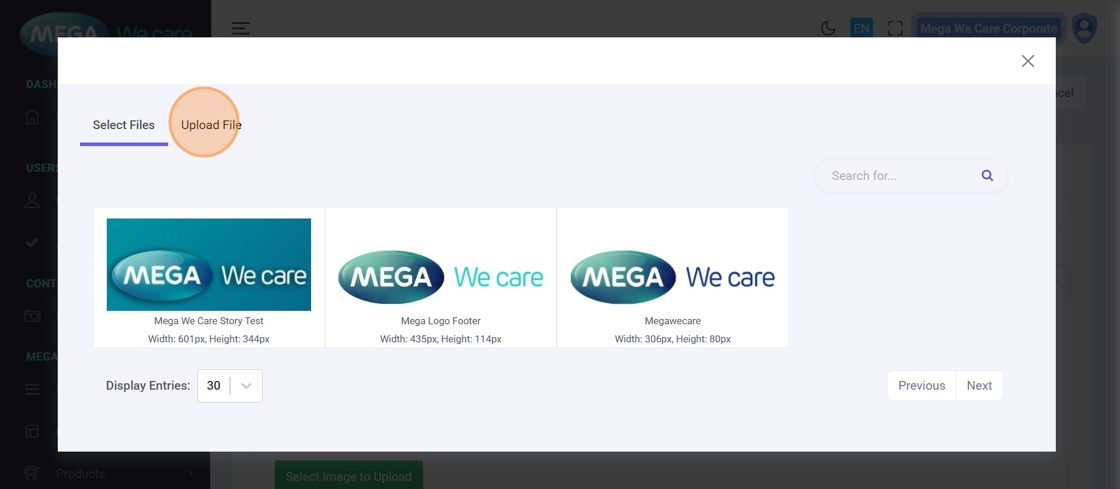
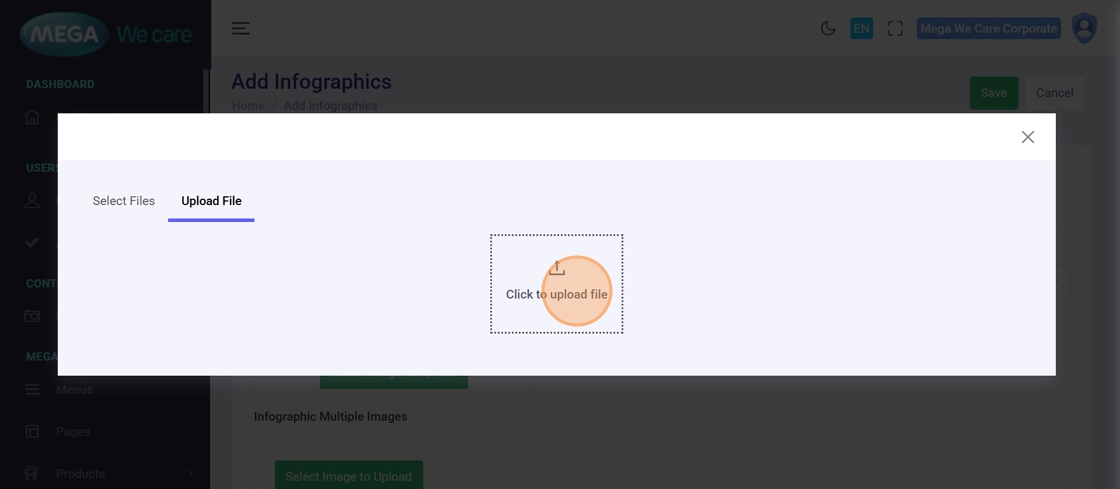
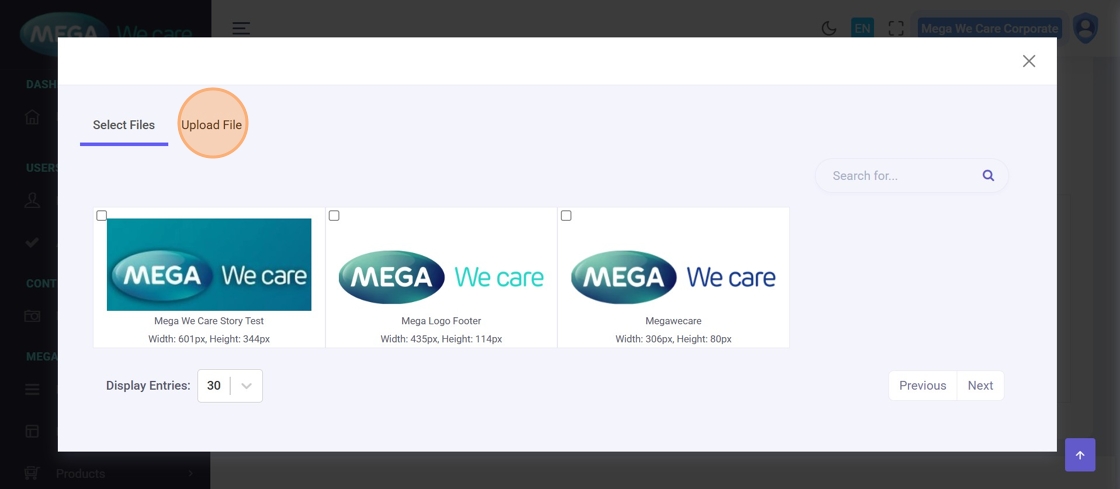
Step 7–9: Select & Preview Main Image
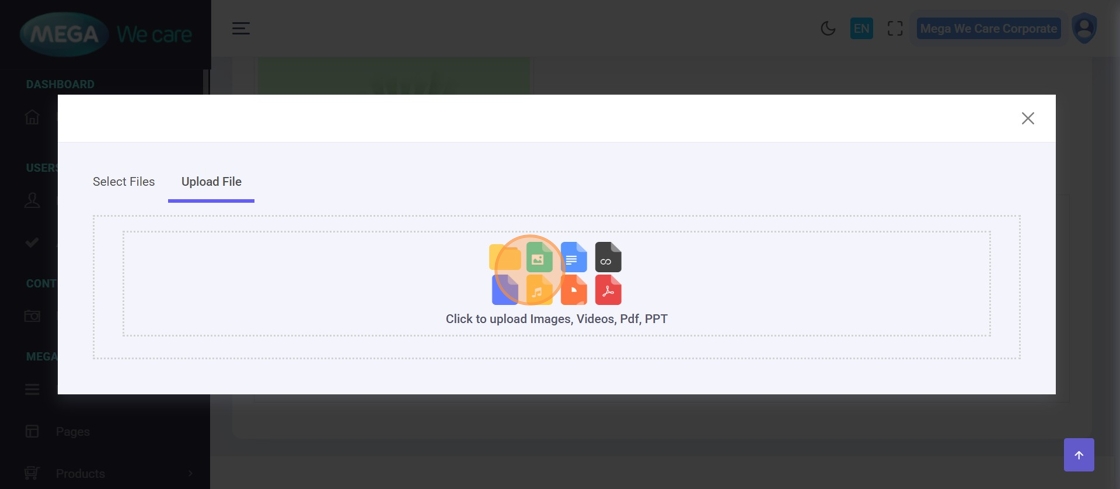
Upload the image from your device or media library and verify the preview.
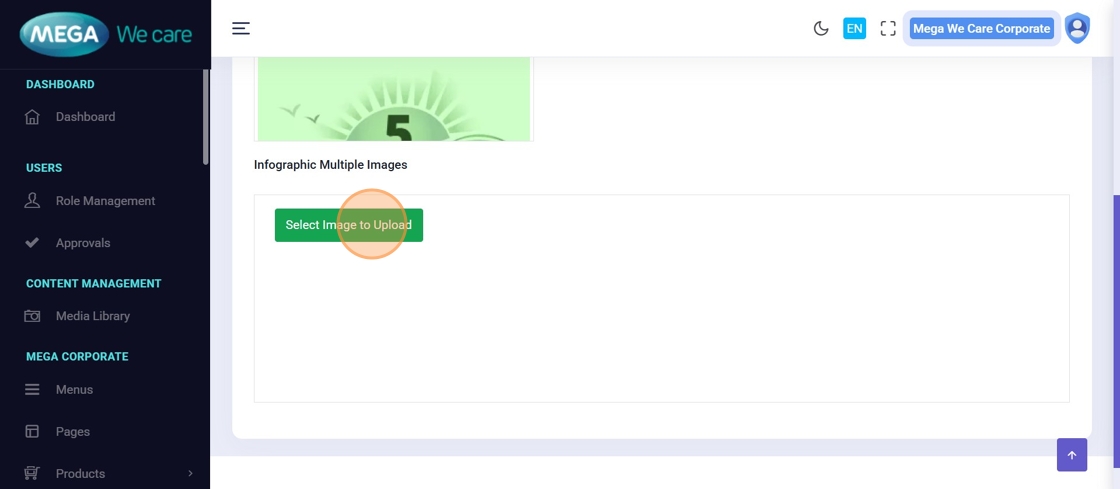
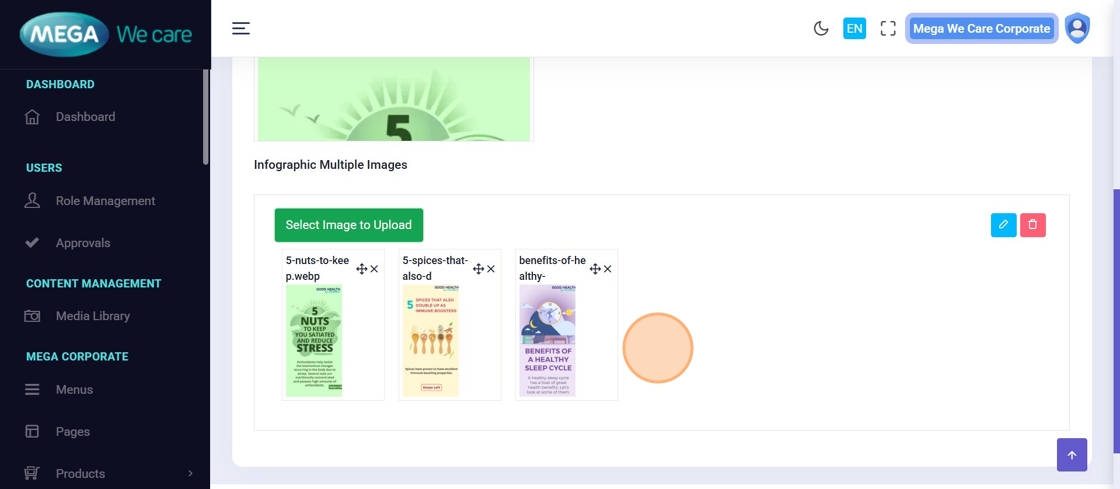
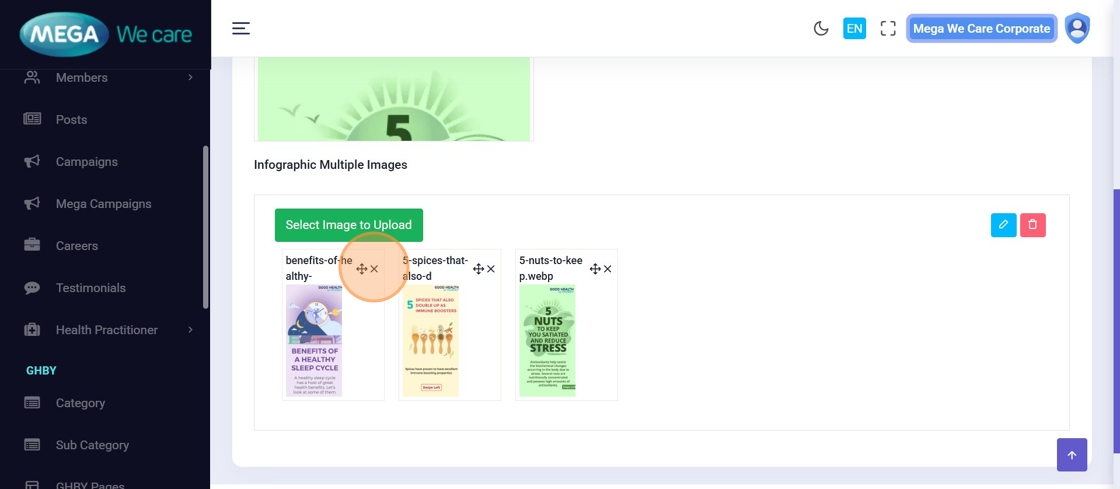
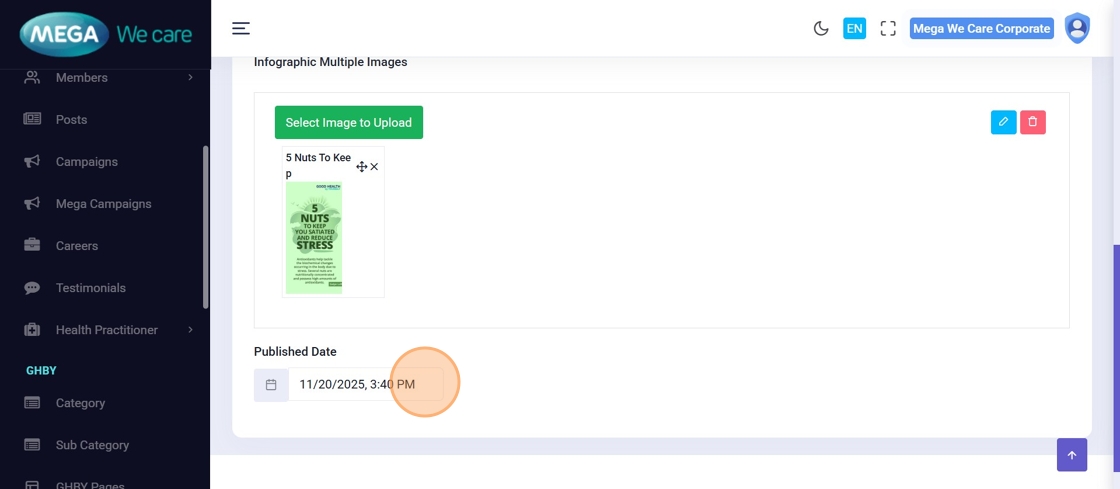
Step 10–14: Upload Multiple Infographic Images
Add additional infographic images:
- Upload multiple files
- Preview each image
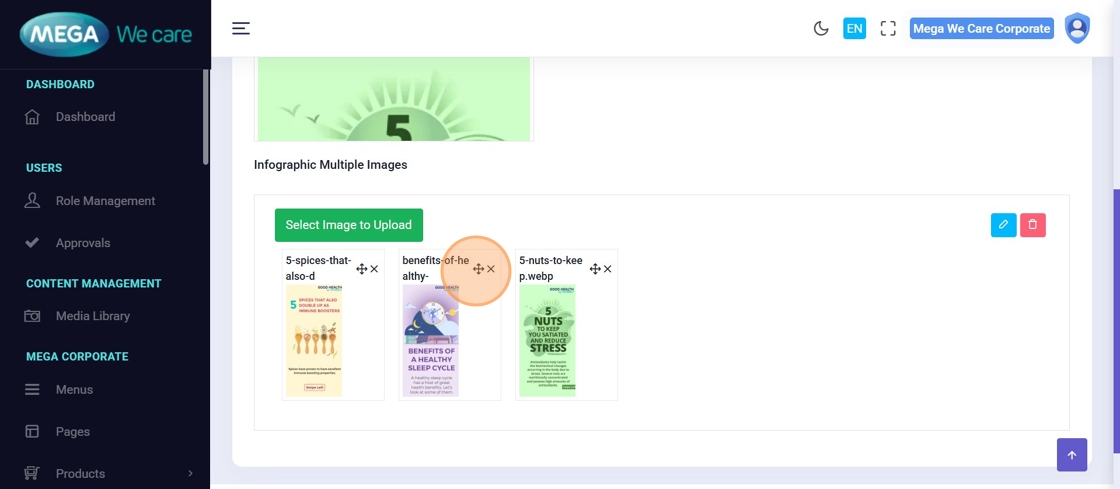
- Arrange image order using drag and drop
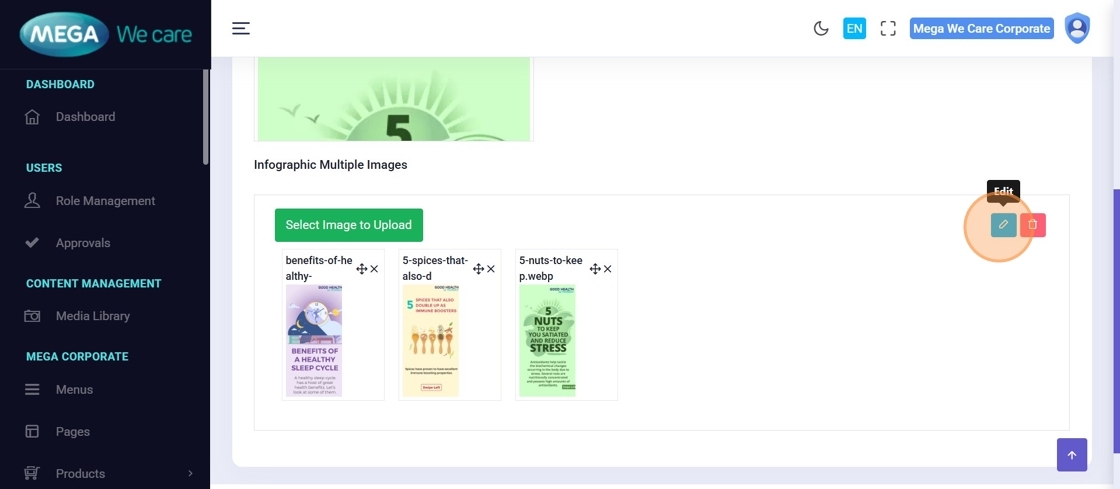
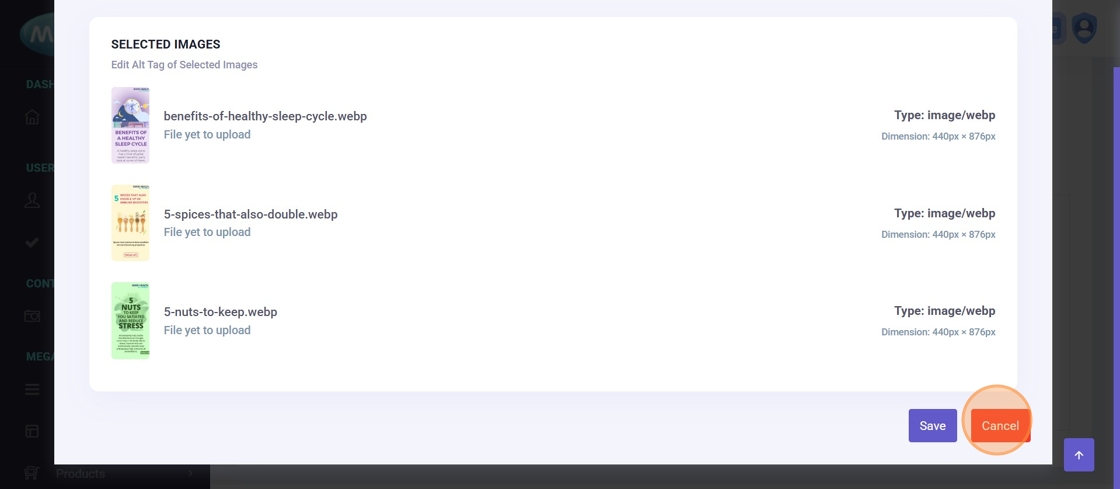
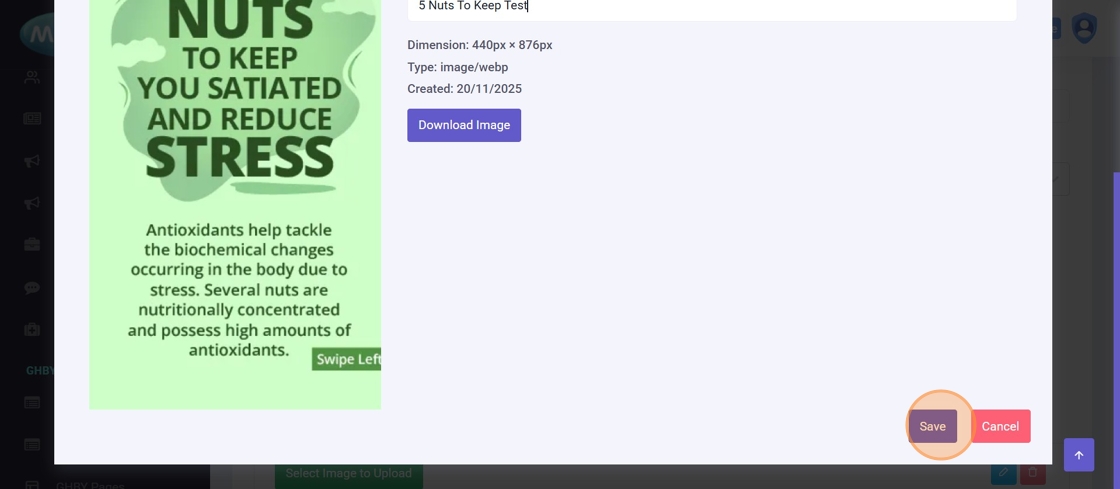
Step 15: Edit Image Details
Click Edit to update image details (e.g., alt text).
Step 16: Cancel Image Edit (Optional)
Click Cancel if you do not want to save changes.
Step 17: Remove an Image
Click the cross (×) icon to remove an image.
Step 18: Save Infographic
Click Save to create the infographic.
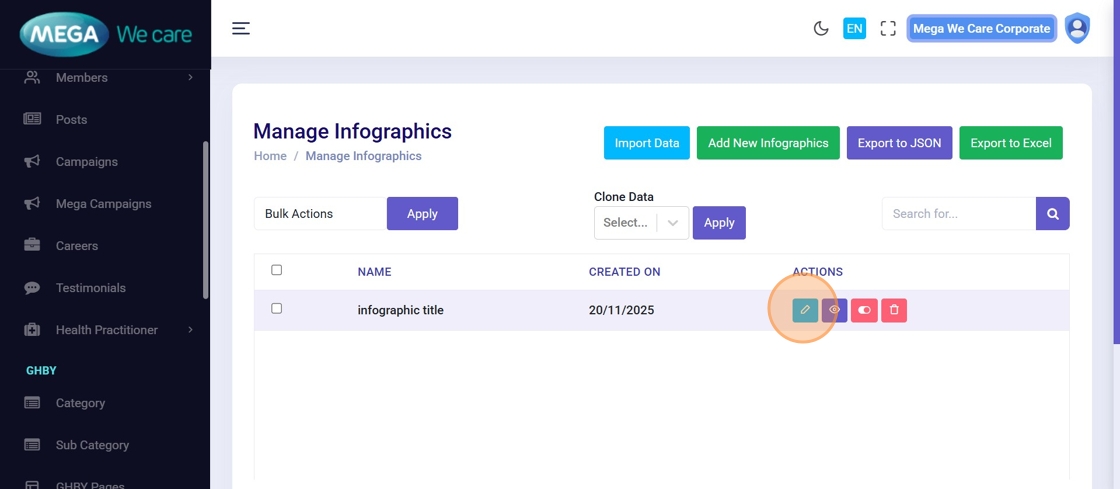
Step 19: Confirm Infographic Creation
Verify the infographic appears in the Manage Infographics list.

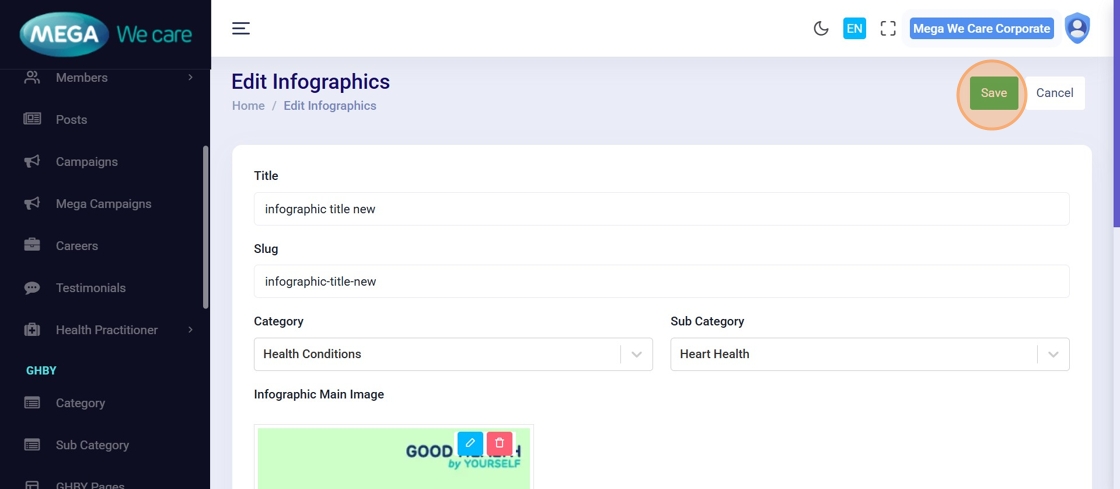
Edit & Update Infographics
Step 20: Click Edit Icon
Locate the infographic and click Edit.
Step 21: Update Title
Modify the infographic Title if required.
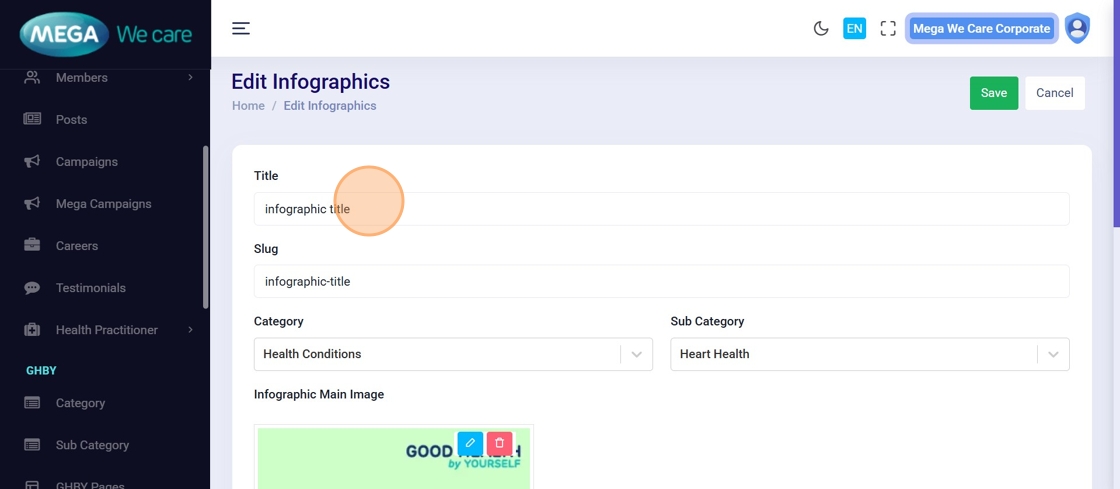
Step 22: Update Slug
Edit the Slug if necessary.
Step 23: Edit Main Image Details
Update main image information such as alt text.
Step 24: Save Image Changes
Click Save after editing image details.

Step 25: Remove Multiple Images (Optional)
Delete additional images if no longer required.
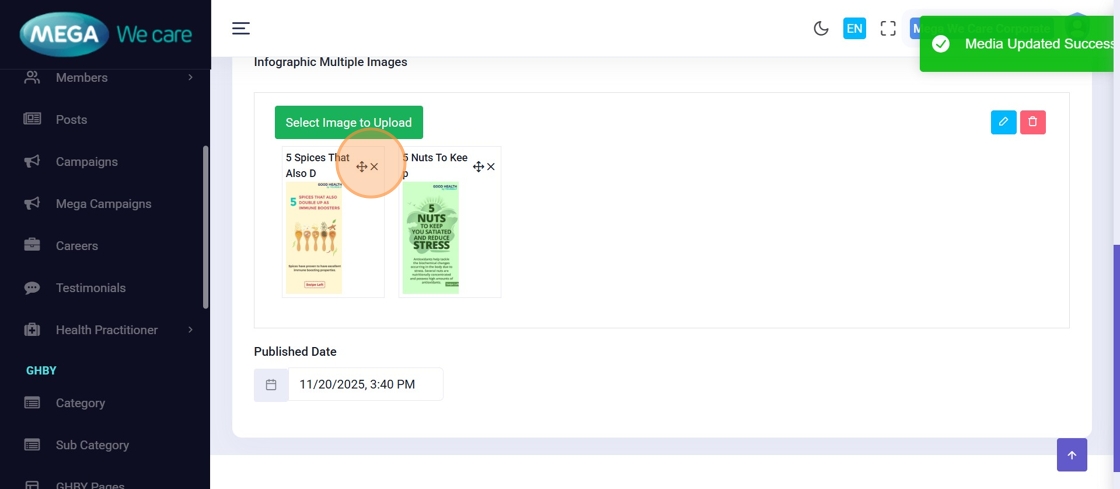
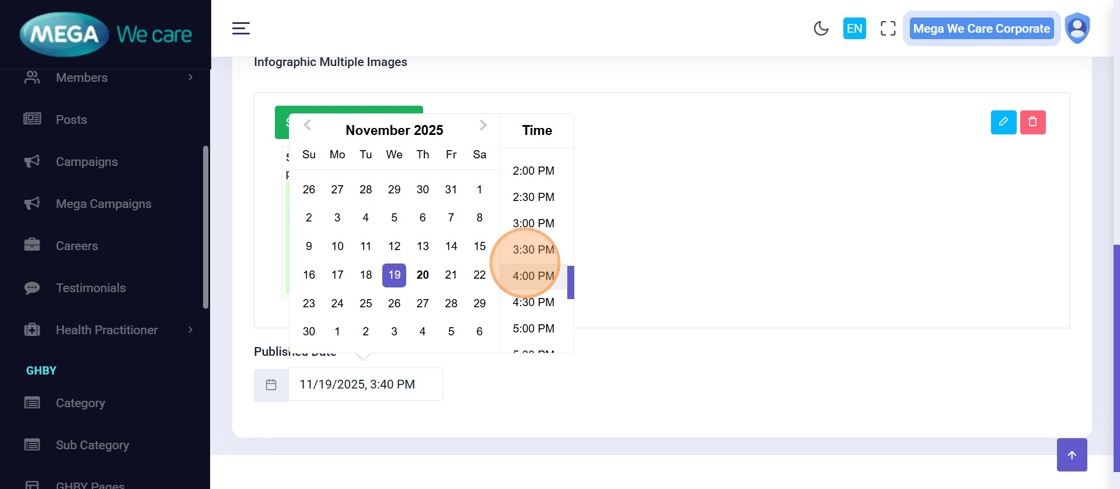
Step 27: Update Published Date
Select a new Published Date and time.
Step 28–29: Save Updated Publish Date
Click Save to apply the new publish date.
Step 30: Confirm Update
A success message confirms the infographic has been updated.

Delete Infographics
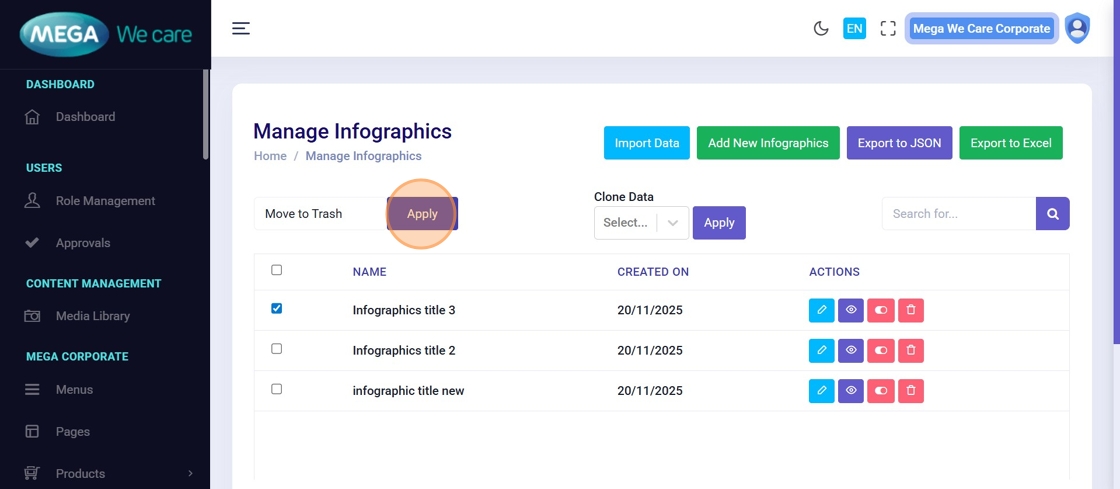
Step 31: Bulk Move to Trash
Select one or more infographics → choose Move to Trash from Bulk Actions → click Apply.
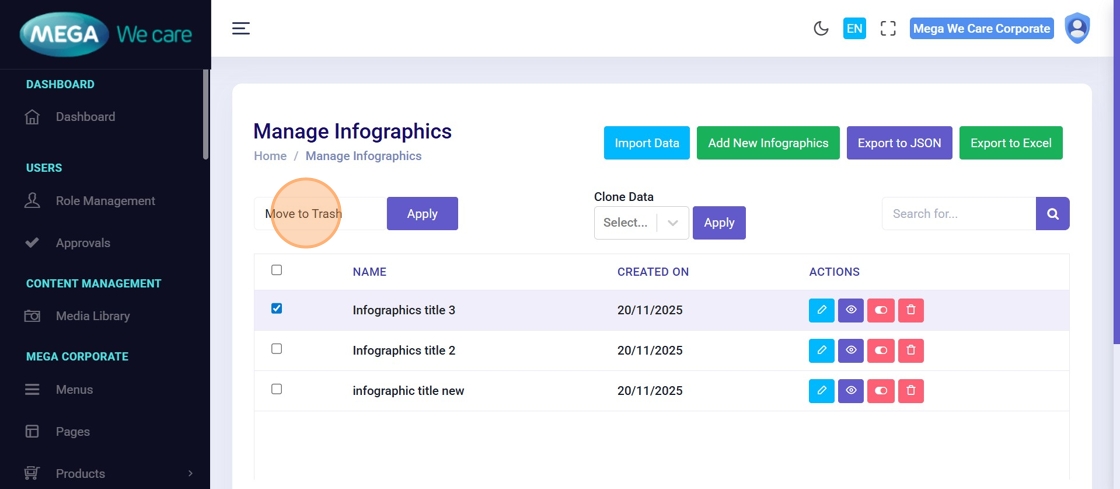
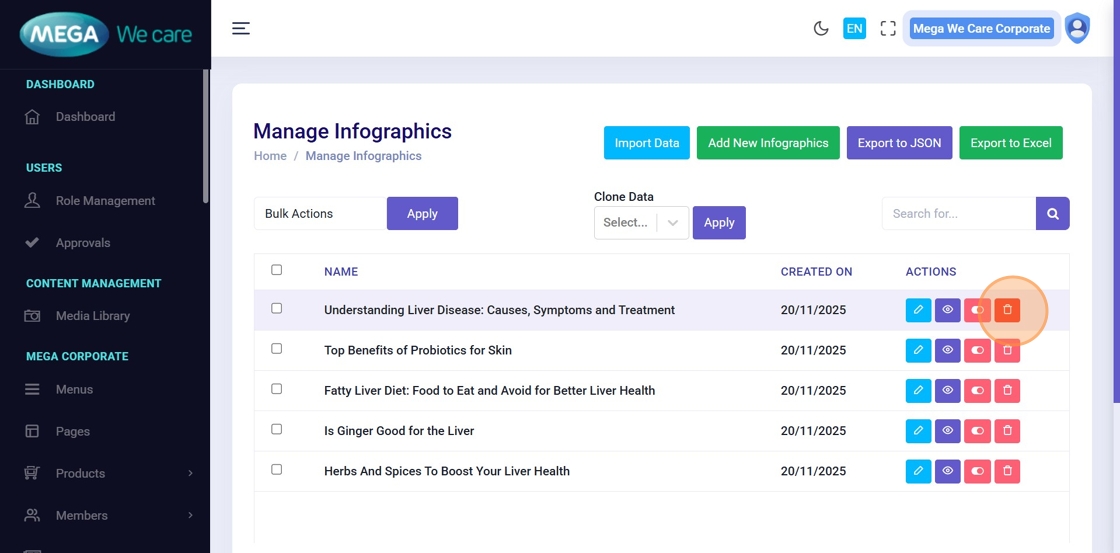
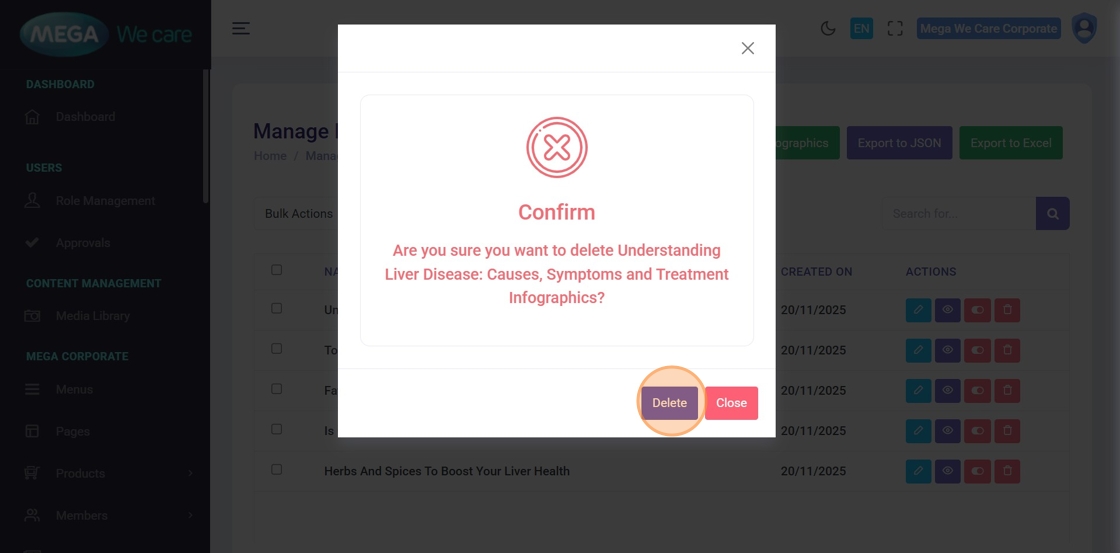
Step 32: Permanently Delete an Infographic
Click the Delete icon and confirm deletion.
⚠️ This action cannot be undone.
Important Notes
- Upload images only in WEBP format; do not use PNG, JPG, or JPEG files
- You can upload infographic multiple images up to 20 images at a time
Summary
By following this document, users can create infographics using single or multiple images, organize content with categories and subcategories, reorder, edit, or remove infographic images, update titles, slugs, and publish dates, and safely delete or permanently remove infographics. This process helps keep infographic content clean, professional, and visually consistent across the GHBY platform.